

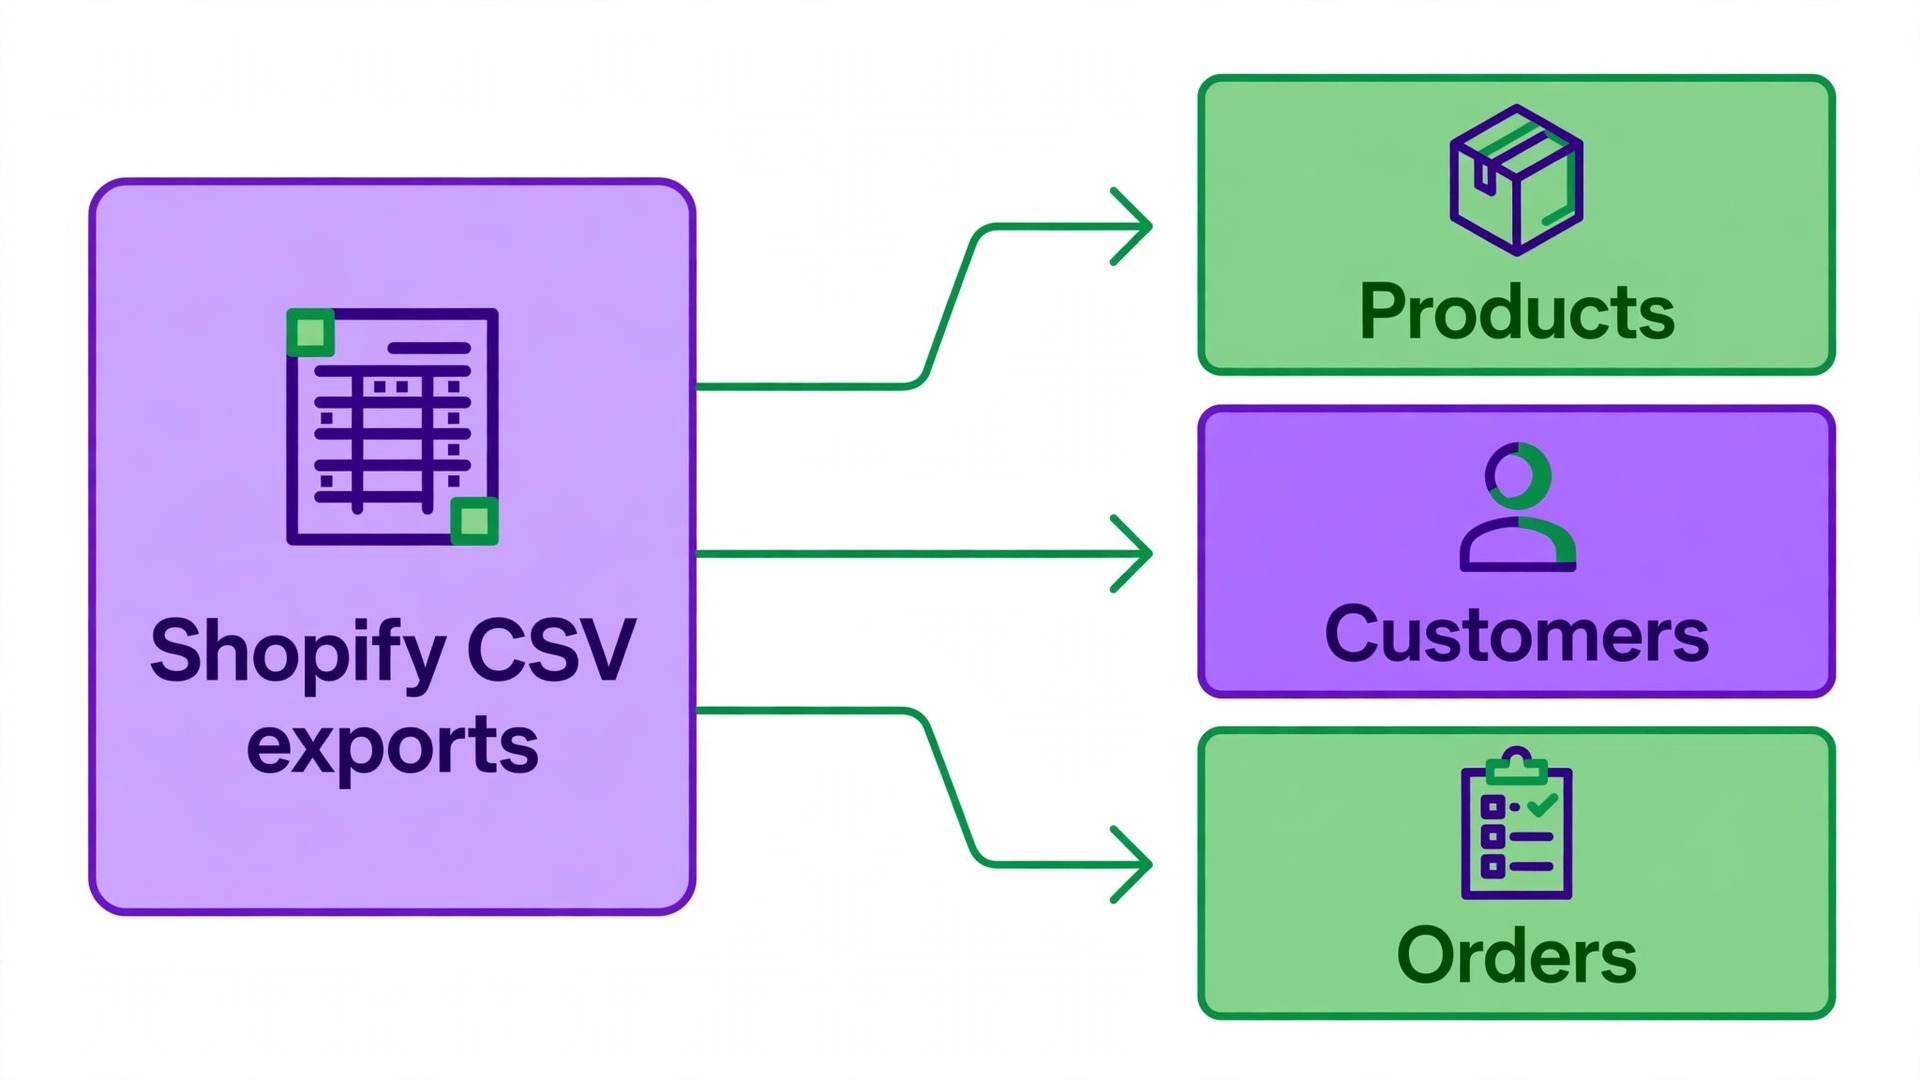
Shopify charges a monthly fee plus transaction fees, and WooCommerce is free and open source on WordPress. That difference is why thousands of small stores move every year. But the move is not a button press. Products, customers and orders export as CSV files, while passwords, subscriptions and reviews do not move at all. How to switch from Shopify to WooCommerce safely means knowing those limits before you start.
A small store with under 500 products can finish the data move in a day using the built in importer. A larger store with variants, discounts and subscriptions should budget a week and test everything on staging first. The work is straightforward. The risk is launching with broken checkouts, missing redirects or customers who cannot log in.
This guide walks through the whole move in eight steps, with a checklist up front, a table showing what transfers and what does not, and a timing plan for a small store. Keep Shopify live until the new store has passed a full test order, and build every redirect before you point the domain.
Before the Switch Checklist
Do every item on this list before you export anything. A store move done in the right order keeps selling. A store move done in a hurry loses orders on day one.
How to switch from Shopify to WooCommerce starts with a backup and a plan for the things that cannot move. Passwords, subscriptions and reviews all need a customer message, not a technical fix, so write those messages before cutover day.
- Export products, customers and orders as CSV files from Shopify and save them locally.
- Note your top 20 product URLs from Search Console, since those redirects matter most.
- List every Shopify app you use and what it does, so each one gets a WooCommerce replacement.
- Check active subscriptions, gift card balances and discount codes, since none of them transfer automatically.
- Choose WordPress hosting that can handle your traffic and WooCommerce requirements.
- Set up a staging copy of WordPress and WooCommerce and block search engines from it.
- Write down payment gateways, shipping zones, rates and tax settings to recreate them.
- Note your SEO titles and descriptions for the top 20 products and pages.
- Plan a welcome email asking customers to reset passwords, since passwords cannot migrate.
- Test your theme choice on staging with real products before you commit to it.
- Pick a quiet time for cutover, and warn your team about the date.
- Lower DNS TTL to 300 seconds 24 to 48 hours before cutover.
What Carries Over and What Does Not
Shopify built in export covers products, customers and orders as CSV files, and that export is the first step in how to switch from Shopify to WooCommerce without losing data. Everything else needs a tool, a manual rebuild or a customer message. The table below is the honest version for a small store.
Two limits matter most. Customer passwords cannot be exported for security reasons, so every customer must set a new password. Active subscriptions cannot transfer automatically either, so subscription customers need to re-subscribe on the new store.
| Item | Transfers | What to do about it |
|---|---|---|
| Products and variants | Yes, through CSV | Export from Shopify, import with WooCommerce importer, audit 20 to 30 products |
| Product images | Yes, as URLs | Images import from URLs in the CSV, then check a sample by eye |
| Customers | Yes, through CSV | Names, emails and addresses move, but passwords do not |
| Customer passwords | No | Customers reset passwords on first login, so send a welcome email |
| Orders and history | Yes, through CSV | Import for records and support, and keep the CSV saved locally |
| Collections | No, rebuild | Recreate as WooCommerce categories using vendor and product type |
| Discount codes | No, rebuild | Recreate each code in WooCommerce and test it at checkout |
| Gift card balances | No | Note balances and issue replacements, or warn customers in advance |
| Subscriptions | No | Set up WooCommerce Subscriptions at 199 dollars a year and ask customers to re-subscribe |
| Product reviews | No, needs an app | Use a migration tool or a reviews plugin, and verify counts after import |
| Blog posts and pages | Partly | Export and import where possible, then rebuild the rest by hand |
| Theme and design | No, rebuild | Choose a WooCommerce theme and rebuild the storefront on staging |
| SEO URLs | Partly | Match slugs where possible, then 301 redirect the rest |
| Backlinks | Yes, through redirects | A proper 301 passes ranking power to the new product URL |
One detail catches many stores. Shopify product variants are limited to 100 per export, so a large catalog may need several exports. WooCommerce supports unlimited variants, so you can expand options after the move, but check that every variant, SKU and stock level arrived correctly before you go live.
Step 1. Back up and export your Shopify data
Log in to Shopify admin and export products, customers and orders as CSV files. Go to Products, then Export, choose all products, and save the file. Do the same for Customers and for Orders. Save all three files locally and keep a second copy somewhere safe, since these files are the only record of your store if anything goes wrong.
The product export includes titles, descriptions, prices, variants, SKUs, inventory and images as URLs. The customer export includes names, emails, addresses and order totals, but not passwords. The order export includes order numbers, products, customer details and fulfillment status, which matters for support after the move.
Note what the standard export does not include. Product reviews, gift card balances, blog posts, navigation menus, discount codes and custom metafields need manual work or a specialist tool. List each one now, so nothing is discovered on launch day.
Take a backup of your theme files and any custom code as well. You will not use the Shopify theme on WordPress, but the files hold your colors, text and layout decisions, which make rebuilding the new storefront much faster.
Step 2. Set up WordPress hosting and WooCommerce
Choose a WordPress host that supports WooCommerce requirements, including a current PHP version, enough memory and SSL. Install WordPress on a staging domain first, then install and activate the WooCommerce plugin. Do not build on the live domain yet. Build on staging while Shopify keeps selling.
Configure the basic WooCommerce settings to match your Shopify setup. Set the currency, the country, the tax rules and the store address. Then set up shipping zones, methods and rates to replicate your current Shopify shipping before you import any products. Shipping that is wrong on launch day costs orders immediately.
Choose a WooCommerce theme and customize it on staging with a few real products. Test it on a phone as well as a desktop, since most shoppers will see the new store on mobile first. Check the product page, the cart and the checkout on a small screen before you commit to the theme.
Install RankMath or your SEO plugin of choice now, and set the permalink structure to match your old Shopify URLs as closely as possible. Matching slugs now saves redirects later, and it keeps old product links working without extra work.
Step 3. Import products with the built in importer
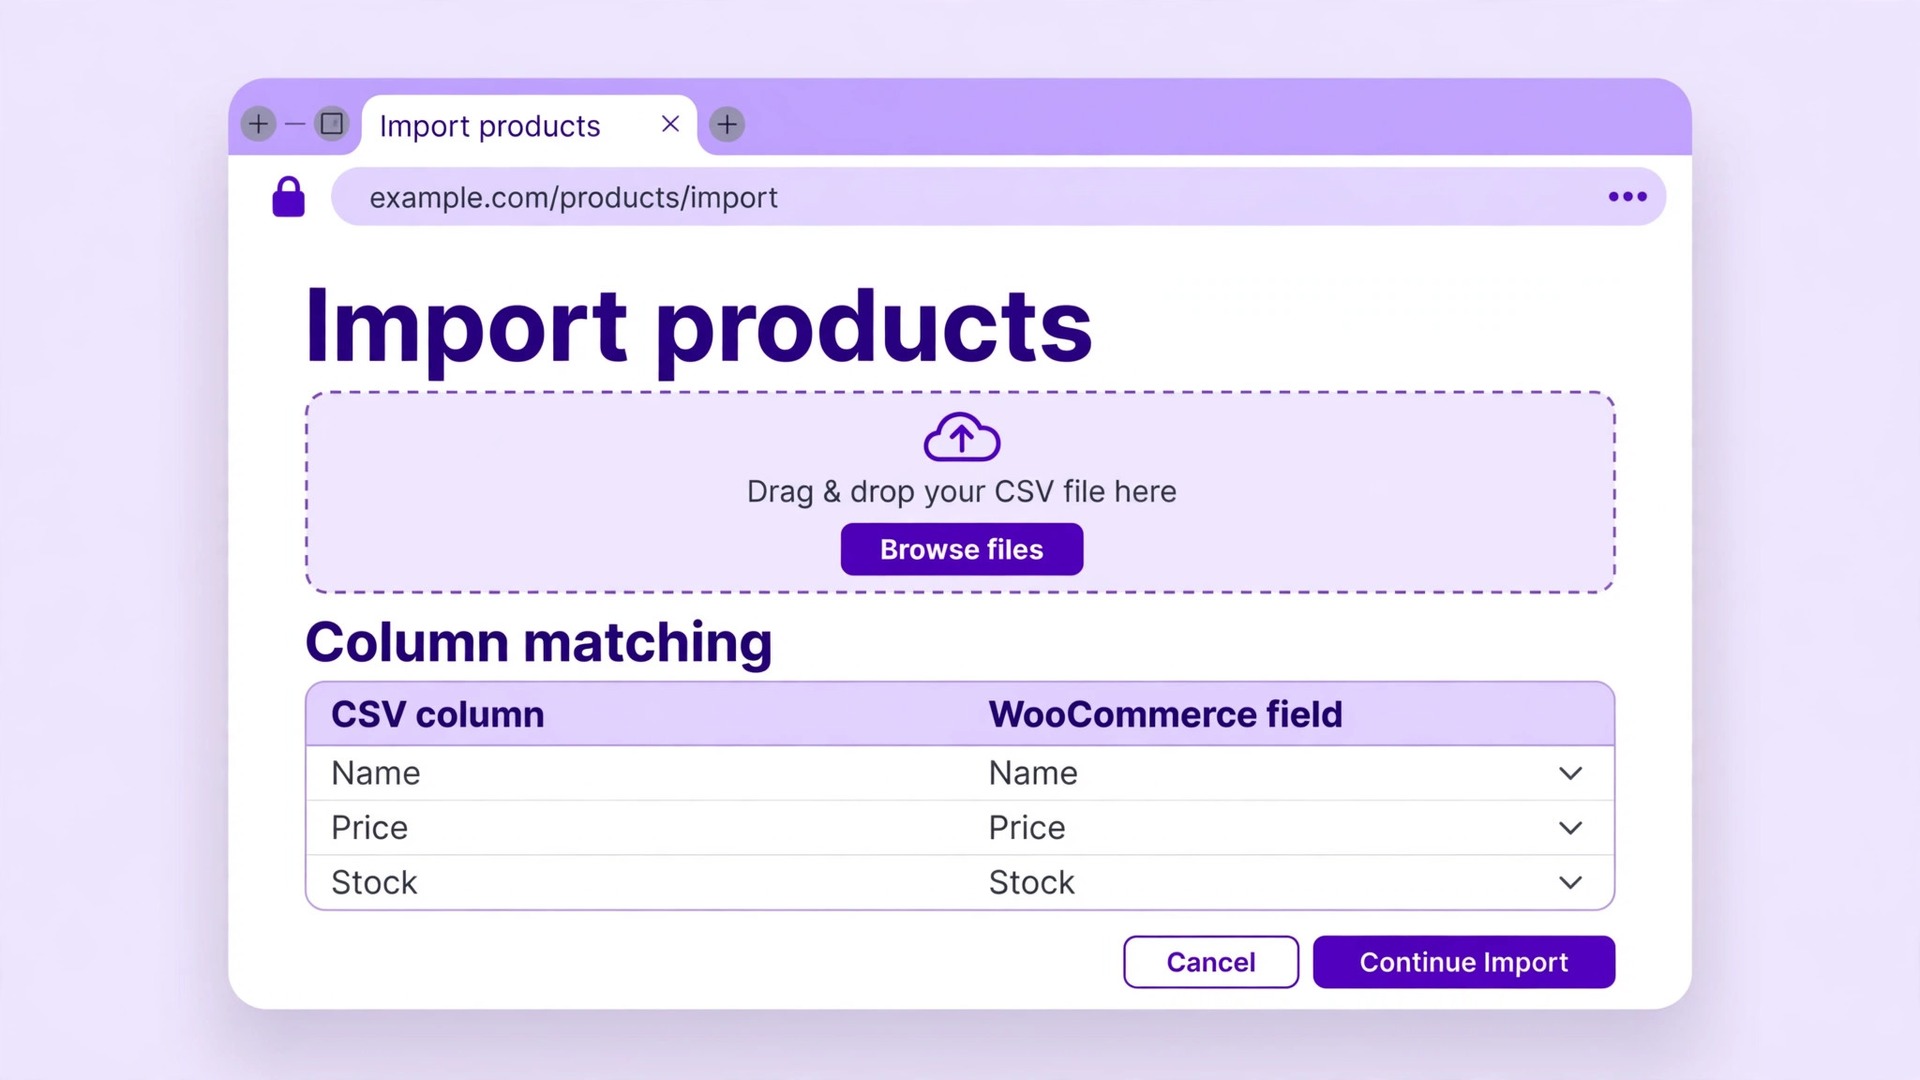
For a catalog under 500 products with simple variants, use the WooCommerce built in CSV importer. Go to Products, then Import, upload the Shopify products CSV, and map each Shopify column to the matching WooCommerce field. Pay close attention to variants, SKUs, inventory levels and prices, since a mapping error here repeats across the whole catalog.
After import, audit a random sample of 20 to 30 products by hand. Check titles, descriptions, prices, variants, stock and images on each one. Open the product page on staging and confirm the images loaded, the price is right, and the buy button works. A sample audit catches systematic errors before they reach customers.
If your catalog is larger or complex, use a migration tool such as Cart2Cart or LitExtension, or the Migrate and Import Shopify to WooCommerce plugin, which moves coupons, pages and blog posts for 79 dollars a year. Those tools handle format differences that the built in importer cannot, and they save hours on a large store.
Recreate your collections as WooCommerce categories. Shopify collections do not transfer directly. The importer creates categories from each product vendor and product type, so check the category tree after import and fix anything that landed in the wrong place. Assign products to the right categories before you go live.
Step 4. Import customers and order history
Import customer data using the WooCommerce customer importer or a plugin such as WP All Import. Map Shopify customer fields to WooCommerce user fields, including billing and shipping addresses and order history where legally allowed. Keep the import compliant with privacy rules in your market, and do not import customers who asked to be forgotten.
Passwords cannot migrate for security reasons, so every customer will need to create a new password on the WooCommerce store. Plan a welcome email campaign for launch day that explains the move, asks customers to reset their passwords, and offers help if they cannot log in. Send it after launch, not before, so the reset link works.
Import order history for records and customer service, even though WooCommerce does not natively import it the same way products import. Having the history lets your team answer where is my order questions and check past purchases. Keep the original Shopify order CSV saved locally as well, since it is the cleanest record you own.
Test the customer experience on staging. Create a test account, log in, check the address book, and confirm that past orders appear. A customer who cannot see their history will assume it is lost, so verify this before launch rather than after the first complaint.
Step 5. Recreate discounts, pages and blog posts
Recreate every discount code in WooCommerce by hand, and test each one at checkout on staging. A code that worked on Shopify and fails on WooCommerce will be discovered by a customer, not by you, unless you test it first. Check percentage discounts, fixed amounts, free shipping and minimum spend rules separately.
Recreate navigation menus, store pages and blog posts that did not import cleanly. The free Shopify to WooCommerce exporter from WPBeginner moves products, customers, orders and tags, while the paid Migrate and Import plugin adds coupons, pages and blog posts for 79 dollars a year. Use whichever fits your catalog size.
Rebuild the pages that earn traffic or sales first, such as the home page, about page, shipping information and returns policy. Keep the same slugs where possible, so old links keep working. Check internal links as you rebuild, since links between posts and products still point at Shopify URLs.
Set up transactional emails in WooCommerce, then Settings, then Emails. WooCommerce sends emails for new orders, processing updates, completed orders, customer invoices and password resets. Send a test of each one to yourself and confirm it arrives and reads correctly before launch.
Step 6. Set up payments, shipping and taxes
WooCommerce does not process payments on its own, so connect a payment gateway such as Stripe or PayPal and test it fully. Place a test order with each payment method you offer, from adding to cart through the order confirmation email. Verify that tax calculations are correct, shipping rates display properly, and discount codes work.
Recreate your shipping zones, methods and rates to match Shopify exactly, then test them with addresses in each zone you serve. A shipping rate that is wrong by a few dollars will either lose sales or lose money on every order, so test with real addresses rather than assuming the settings are right.
Set up tax rules for every region you sell to, and confirm that WooCommerce applies them the same way Shopify did. Tax errors are quiet and expensive, since they surface weeks later in accounting rather than on launch day. Check one order per tax region on staging before you go live.
For subscriptions, install WooCommerce Subscriptions at 199 dollars a year and set up the subscription products. Active subscriptions cannot transfer automatically, so you will need to work with customers to re-subscribe. Warn them in advance, explain the new process, and offer help for anyone who struggles.
Step 7. Build 301 redirects for every Shopify URL
This is the most critical step for preserving search rankings. Every URL from your Shopify store must redirect to its equivalent on WooCommerce. Without redirects, every indexed product and page returns a 404, and your organic traffic drops with your crawl coverage in Search Console.
Install the free Redirection plugin for WordPress and create redirect rules for every Shopify URL pointing to the corresponding WooCommerce URL. Use your Search Console export as the source list, and start with the top 20 product and category pages that earn the most traffic. Use 301 for permanent, never 302 for temporary.
Redirects only start working once your domain points at the WordPress site, so build them on staging and test a sample before cutover. After go live, crawl the site with Screaming Frog to catch any 404 errors, and resubmit your XML sitemap to Google Search Console.
Never redirect everything to the home page. A redirect to the matching product keeps rankings. A redirect to the home page looks like a dead end. If a product is discontinued, redirect it to the closest live product or its category, not to the home page.
Step 8. Test everything, then cut over DNS
Complete the full pre launch checklist on staging before you touch DNS. Test the cart, checkout, payments, emails, mobile layout, SSL and analytics. Place test orders with every payment method, check tax and shipping on real addresses, and confirm that discount codes, order emails and password resets all work.
Update the DNS A record to point to the new host at a quiet time, and monitor the site as the change spreads. Lowering TTL to 300 seconds 24 to 48 hours before cutover makes the switch faster. Flush any caching, including Cloudflare cache if you use it, and verify that redirects are firing on the live domain.
Monitor Google Search Console for crawl errors daily for the first two weeks. Submit the new sitemap, watch for 404 spikes, and add redirects where needed. Check the top products individually to confirm each one is indexed at the new URL and receiving clicks.
Keep Shopify accessible for a short while after launch as a backup and a reference for missed data. Cancel the Shopify plan only after the new store has run cleanly for two weeks, orders are flowing, and Search Console shows stable indexing. Keep your CSV exports saved locally as the permanent record of the old store.
How to switch from Shopify to WooCommerce on a realistic timeline
A small store fits in a day of focused work plus a week of testing when you know how to switch from Shopify to WooCommerce step by step. Use this plan to pace the move, and keep Shopify live until the last row is done.
| Phase | Time to allow | Who does it |
|---|---|---|
| Export and backup | 1 hour | You, before anything changes |
| WordPress and WooCommerce setup | 1 to 2 hours | You, or your host support |
| Product import and audit | 2 to 4 hours | You, plus checking time |
| Customers and orders | 1 to 2 hours | You |
| Discounts, pages and emails | 2 to 3 hours | You |
| Payments, shipping and taxes | 2 hours | You, with test orders |
| Redirect map | 1 to 2 hours | You, using Search Console data |
| Testing and DNS cutover | Half a day | You, at a quiet time |
| Monitoring after launch | 30 minutes a day for 2 weeks | You, in Search Console |
Common mistakes that cost sales
The first mistake is launching without test orders. A checkout that fails on one payment method will be discovered by a customer, not by you, unless you test every method on staging. Place a test order with each gateway, check tax and shipping, and confirm the confirmation email arrives.
The second mistake is forgetting that passwords cannot migrate. Customers who cannot log in will email support or abandon the store. Send the welcome and password reset email on launch day, and staff support for the extra messages in the first week.
The third mistake is skipping redirects. A store that moves without 301 redirects loses its rankings in days, and recovery takes weeks. Build the redirect list before cutover, test it on staging, and check Search Console daily for two weeks after launch.
The fourth mistake is ignoring subscriptions and gift cards. Active subscriptions cannot transfer, and gift card balances do not move automatically. Warn those customers before launch, explain the new process, and offer replacements where needed. A surprise at checkout is far worse than an honest email beforehand.
The Price of Switching
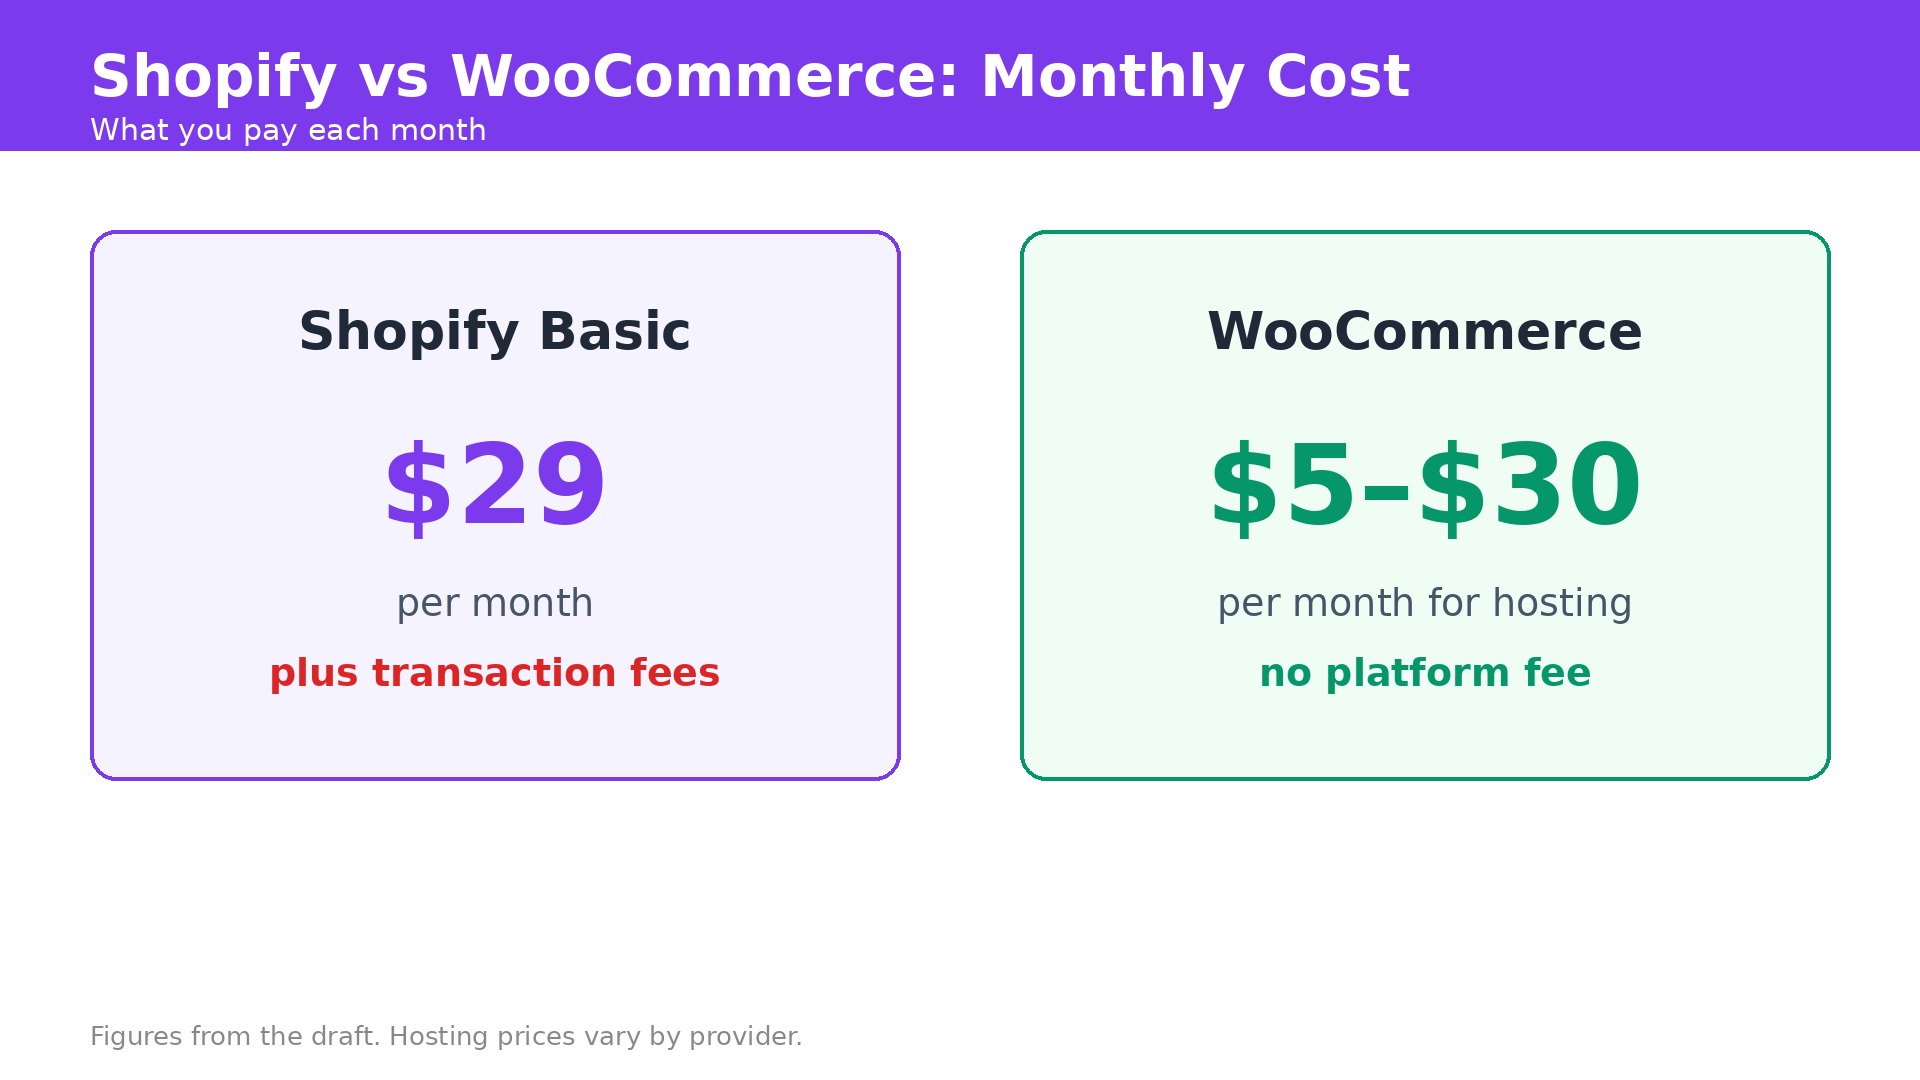
WooCommerce itself is free, and WordPress hosting for a small store costs roughly 5 to 30 dollars a month. The Migrate and Import plugin costs 79 dollars a year if you need coupons, pages and blog posts moved, and WooCommerce Subscriptions costs 199 dollars a year if you sell subscriptions. A migration service such as Cart2Cart or LitExtension charges by catalog size for larger stores.
The real cost is time. Budget a day for a small catalog under 500 products, or a week for a larger store with variants, discounts and subscriptions. Hiring a developer typically costs 50 to 80 dollars an hour, which is worth it when the store earns real revenue and a broken checkout is not an option.
Compare the total against Shopify fees. A store paying 29 dollars a month plus transaction fees saves hundreds a year on WooCommerce, but it also takes on hosting, updates and support. The move pays when you want control and lower fees, not when you want less work.
After launch, what to check each day
Check orders first every morning for the first week. Open the newest orders, confirm payment arrived, and check that the order confirmation email went out. A payment that fails silently is the worst launch problem, because the customer thinks they paid and you think they did not.
Test checkout again on day two with a real card and a small amount, then refund it. A checkout that worked on staging can fail on live if a gateway setting differs, and a small live test catches it before a real customer does. Repeat the test for each payment method you offer.
Watch the cart and shipping rates daily. A shipping zone that is wrong by a few dollars will either lose sales or lose money on every order, and it shows up fast in the first orders. Check one order per shipping zone in the first week and fix any rate that looks wrong.
Check Search Console every morning for crawl errors and 404 spikes. Submit the new sitemap on launch day, watch the coverage report, and add redirects for any old URL that returns an error. A missed redirect on a top product costs more than the whole migration saved.
Answer support messages fast in the first two weeks. Customers will ask about passwords, order history and subscriptions, and a quick helpful reply keeps them. Prepare short answers for the three most common questions, so the team can reply in minutes rather than hours.
Check stock levels against the imported numbers. A variant with the wrong stock count can sell an item you do not have, or hide an item you do have. Audit the top 20 products by stock in the first week and fix any count that does not match your records.
After two weeks of clean orders and clean Search Console reports, write a short note about what changed. Save the CSV exports, the redirect list and the new sitemap in one folder. That folder is the record of the move, and it makes the next change far easier than starting from scratch.
One last check before you cancel Shopify
Place one final test order on the new store with a real card, then refund it. Confirm the payment arrived, the stock count dropped, the confirmation email went out, and the order appears in the WooCommerce dashboard. A store that passes this test on live is ready. A store that has only been tested on staging is not.
Compare the new store with the old one product by product for your top 20 sellers. Check the title, the price, the images and the variants on each one, and fix anything that differs. A price that moved by a dollar in the import will be noticed by a returning customer, and a missing variant will be noticed faster.
Confirm that no link, email or ad still points at the Shopify checkout. Search your site, your email templates and your social profiles for the old store address, and update every hit. A customer who clicks an old link after you cancel Shopify will reach a dead page, so this check is worth an hour of careful clicking.
Keep a copy of the old Shopify theme files and the exported CSVs in a safe place for a year. A tax question, a customer dispute or a warranty claim can need an old order or an old product detail, and the saved files answer it in minutes. Delete nothing until the next tax year is filed, since the cost of storage is zero and the cost of a missing record is not.
Where the Evidence Points
Moving from Shopify to WooCommerce is a data move plus a rebuild, and it rewards testing. Anyone who follows how to switch from Shopify to WooCommerce in the order above will keep their products, their customers and their rankings. Export everything first, build on staging, import and audit products by hand, and build the redirect list before you point the domain. Test checkout with every payment method, and warn customers about password resets before launch.
The payoff is ownership. WooCommerce gives you control of your store, your data and your costs, with no monthly platform fee and no limits on variants. For a small store that wants to grow on its own terms, that control is worth a careful week of work.
Frequently Asked Questions
Will I lose SEO when moving from Shopify to WooCommerce?
No. The core of how to switch from Shopify to WooCommerce without losing SEO is 301 redirects for every Shopify URL to its WooCommerce equivalent. Redirects pass ranking power to the new pages, and matching slugs where possible reduces the work. Skip the redirects and your rankings will drop within days.
How long does it take to switch from Shopify to WooCommerce?
A small store with under 500 products can finish the data move in a day, with a week for testing and cutover, when you know how to switch from Shopify to WooCommerce and follow the steps in order. A larger store with variants, discounts and subscriptions should budget a full week. Build on staging first and keep Shopify live until the new store passes a full test order.
Do customer passwords transfer to WooCommerce?
No. Passwords cannot be exported from Shopify for security reasons, so every customer must create a new password on the WooCommerce store. Plan a welcome email for launch day that explains the move and asks customers to reset their passwords.
Can subscriptions move from Shopify to WooCommerce?
No, active subscriptions cannot transfer automatically. Set up WooCommerce Subscriptions at 199 dollars a year, recreate the subscription products, and work with customers to re-subscribe. Warn them in advance so the change is expected, not a surprise.
What is the easiest way to migrate products?
For a small catalog, use the WooCommerce built in CSV importer and audit 20 to 30 products by hand after import. For larger or complex catalogs, use Cart2Cart, LitExtension or the Migrate and Import plugin, which also moves coupons, pages and blog posts for 79 dollars a year.
Should I cancel Shopify right after launching on WooCommerce?
No. Keep Shopify accessible for at least two weeks after launch as a backup and a reference for missed data. Monitor Search Console daily for crawl errors, fix any missing redirects, and cancel only when orders flow normally and rankings look stable.