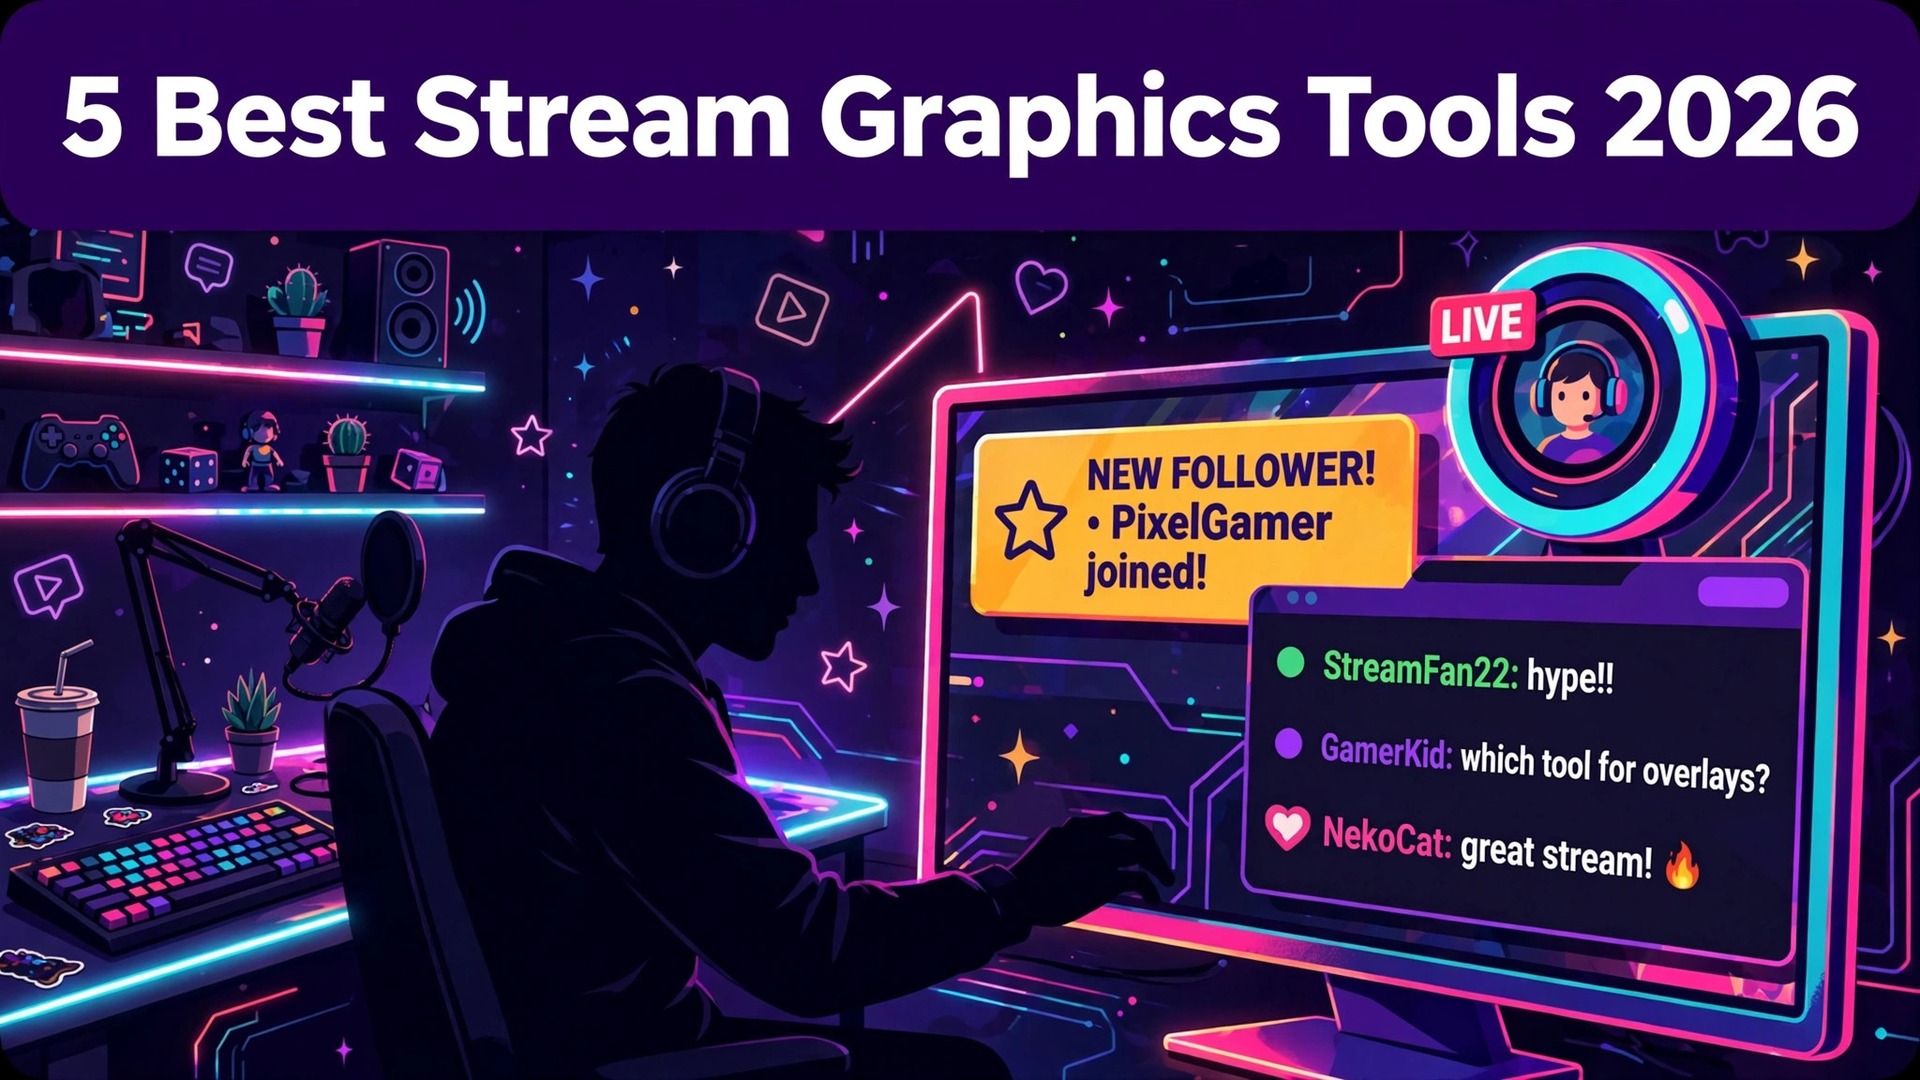
Viewers decide whether to stay on a stream in the first ten seconds, and the best stream graphics tools do much of that work before the streamer says a word. Industry surveys of Twitch viewers consistently show that channels with clean overlays, readable alerts, and a consistent visual identity keep viewers longer than channels with a bare screen, even when the gameplay is the same.
A new viewer who lands on a stream with a polished starting screen, a clear alert for follows, and a tidy webcam frame assumes the streamer is serious. A new viewer who lands on a default screen with no alerts assumes the opposite, and clicks away. That first impression is exactly what the best stream graphics tools are built to control.
Stream graphics cover more than a pretty frame. Overlays shape the whole screen, alerts celebrate follows and subs, widgets show chat and goals, and a consistent set of screens carries the viewer from starting soon through the live show to the closing screen. The best stream graphics tools in this guide split into two kinds. Integrated suites like Streamlabs and StreamElements bundle overlays, alerts, chatbots, and tipping into one free service. Libraries like OWN3D Pro and Nerd or Die sell ready made designs that drop into OBS Studio or Streamlabs Desktop. Both kinds work, and the right choice depends on whether the streamer wants to build a look or buy one.
This guide compares five tools that streamers actually use in 2026, with pricing checked against vendor pages and independent 2026 comparisons. The ranking weighs overlay quality, alert design, ease of setup, platform support, and price. Use the best pick table to shortlist, then test two tools with a real broadcast before committing to a look.
Best Pick by Job
| Job | Best pick | Why it wins |
|---|---|---|
| First stream, no budget | StreamElements | Free overlays, alerts, and chatbot in one suite |
| All in one desktop setup | Streamlabs | Overlays, alerts, and streaming app in one download |
| Ready made pro designs | OWN3D Pro | More than 500 overlays and 500 alerts in one library |
| One time purchase packs | Nerd or Die | Cohesive packs bought once, no subscription |
| Quick templates and branding | Placeit | Editable templates for overlays and channel branding |
How the Best Stream Graphics Tools Were Compared
Every tool was judged on the same six tests. Overlay quality covered the range of designs, the animation, and whether the set included starting, live, break, and ending screens that match. Alert design covered follows, subs, donations, and raids, with sound and animation that read clearly without overwhelming the game. Setup speed measured how long a new streamer takes from install to first live broadcast with graphics working.
Platform support covered OBS Studio, Streamlabs Desktop, XSplit, and browser sources, since a design that only works in one app limits the streamer later. Chat and widget tools covered chat boxes, event lists, goal bars, and countdowns. Price was judged on the total cost of a working setup, including any subscription, rather than the headline free tier alone.
One distinction matters before the list begins. A suite and a library solve different problems. A suite gives the streamer the tools to build and run graphics, alerts, and chat in one place, and it is usually free. A library gives the streamer finished designs to install, and it usually costs a subscription or a one time pack price. A new streamer should start with a suite. A streamer who already has a workflow and wants a better look should buy a library pack. Mixing the two is common, and the guide notes where each tool fits in that split.
What Good Stream Graphics Actually Do
The first job of stream graphics is orientation. A viewer who arrives mid stream should know in seconds who the streamer is, what game is being played, what the goal is, and how to interact. A clean overlay answers those questions without the streamer saying a word. A cluttered overlay answers none of them, because the viewer cannot find the information in the noise. The best designs use empty space deliberately, keep text large, and put the game or the camera first.
The second job is celebration. A follow, a sub, a donation, or a raid is a social moment, and the alert turns it into a shared event. A good alert is visible, readable, and short, with a sound that fits the channel. A bad alert is loud, long, and distracting, and it trains viewers to ignore the moments that matter. The tools in this guide all include alerts, but the quality of the default alerts varies widely, and the guide flags which tools need custom work before the first broadcast.
The third job is consistency. A channel with a starting screen, a live overlay, a break screen, and an ending screen that all share the same colors, fonts, and style looks like a show. A channel with a different style on every screen looks like an accident. The suites and libraries below all offer matched sets, and the guide recommends buying or building a full set rather than mixing single designs from different sources. That consistency is what turns a casual stream into a recognizable channel.
1. StreamElements
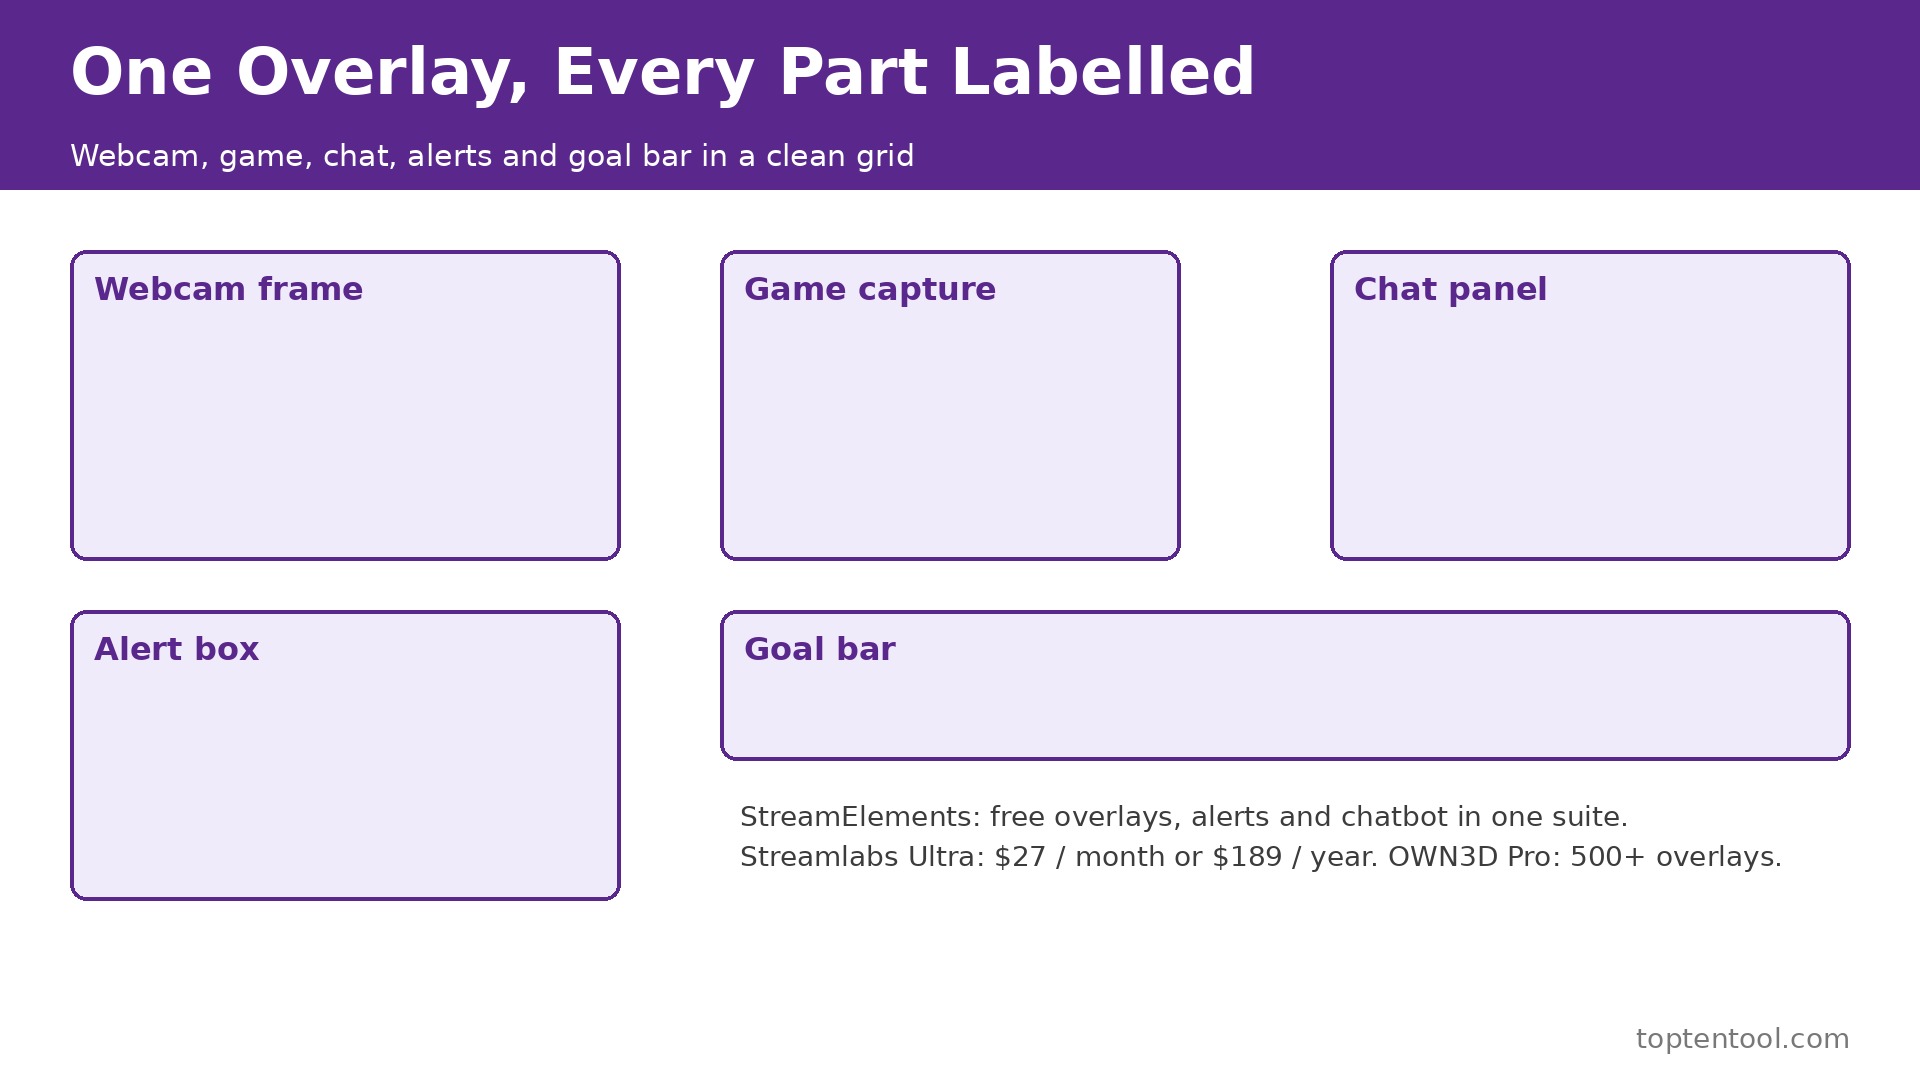
StreamElements is the best free starting point in this guide, and the strongest choice for a new streamer who wants overlays, alerts, and chat tools without paying anything. The suite is cloud based, with overlays, alerts, chatbots, tipping pages, and sponsorship tools in one free service. It is designed around OBS workflows and browser sources, and the StreamElements OBS.Live plugin installs in minutes, adding a chat box, an event list, and an alert system directly inside OBS Studio.
The strength is the combination of free and integrated. A streamer can build a full graphics setup, including alerts for follows and subs, a chat widget, a goal bar, and a tip page, without buying a pack or a subscription. The visual editor is straightforward, and the overlay themes cover the common styles a new channel needs. Feature availability can vary by region, and the service has changed ownership, with Razer acquiring its assets on July 31, 2026 and running it as a standalone platform, but the suite remains free and running.
The drawback is polish. StreamElements themes are good but not as distinctive as a paid library, and a channel that wants a unique look will eventually need custom designs or a pack from OWN3D Pro or Nerd or Die. The service also depends on the cloud, so an outage affects alerts and widgets. For a first stream, though, StreamElements is the right start. It costs nothing, sets up fast, and teaches the streamer what they actually need before they spend money on a look.
The workflow deserves a closer look because it shapes the daily experience. Overlays are built in the browser editor, then added to OBS as browser sources, which means changes update live without restarting the stream software. Alerts are configured once and trigger automatically for follows, subs, cheers, and donations. The chatbot handles commands, timers, and moderation, and the tip page gives viewers a simple way to support the channel. That integration is the reason StreamElements suits a solo streamer who does everything alone. One dashboard covers the graphics, the chat, and the money, and the streamer can focus on the show rather than the setup.
2. Streamlabs
Streamlabs is the best all in one choice for a streamer who wants the streaming app and the graphics in a single download. Streamlabs Desktop is built on the OBS engine and ships with alerts, chat widgets, a tip tracker, a merch store integration, and a theme library already wired together. The base workflow is free, and the premium Ultra plan costs 27 dollars a month or 189 dollars a year, which unlocks multistreaming, the full theme library, and six Pro tools on one bill, including Talk Studio Pro, Cross Clip Pro, Video Editor Pro, and Podcast Editor Pro.
The strength is convenience. A new streamer installs one app, picks a theme, connects Twitch or YouTube, and goes live with overlays, alerts, and a tip page working from the first broadcast. The theme library holds thousands of professionally designed overlays and themes, and the Ultra plan adds reactive overlays and the full library. The free plan keeps going live, the tipping page, 12 or more widgets, five active automations, 1 gigabyte of cloud storage, and a limited selection of free themes for as long as the streamer wants it. That free tier is permanent and does the core job.
The drawback is performance and price creep. Independent testing in November 2025 recorded Streamlabs Desktop at 5 percent CPU and 1.2 gigabytes of RAM on an identical 1080p60 scene, against OBS Studio at 1 percent CPU and 232 megabytes, which matters on a mid range gaming PC. Ultra at 27 dollars a month is also dearer than the older Prime pricing, and the premium themes sit behind the subscription. For a streamer with a strong PC who values convenience over raw performance, Streamlabs is the easiest path to a professional looking stream. For a streamer on a tight PC budget, StreamElements with OBS Studio runs lighter.
The extra tools in Ultra deserve a note because they change the value case. Cross Clip turns Twitch, YouTube, and Kick clips into vertical video for TikTok, Shorts, and Reels, which is the fastest way to grow a channel beyond live viewers. Talk Studio runs a browser based studio for interview shows, and the Video Editor and Podcast Editor handle AI transcription and filler word removal. A streamer who uses two or more of those tools gets real value from the single subscription. A streamer who only wants overlays should stay on the free plan and buy a design pack instead.
3. OWN3D Pro
OWN3D Pro is the broadest ready made library in this guide, and the best choice for a streamer who wants a polished look without designing it. The free tools include a chat widget, a chatbot, a donation page, goal bars, and a countdown. A paid subscription unlocks more than 500 overlays and 500 alerts, plus widgets, Twitch extensions, and a library of more than 12,000 stream designs. The designs support OBS Studio, Streamlabs, XSplit, and other browser source tools, so the streamer is not locked to one app.
The strength is the size and the coordination of the library. Every pack includes matching overlays, alerts, screens, and widgets, so the channel looks consistent from the starting screen to the ending screen without the streamer designing anything. That coordination is hard to achieve by mixing free designs from different sources, and it is the reason OWN3D Pro suits a streamer who wants to look professional from the first broadcast. The free tools are genuinely useful, and the paid library is deep enough to cover most games and styles.
The drawback is the subscription model and the need to check what is included. OWN3D Pro uses a monthly subscription for the Pro library, and separate shop assets may be one time purchases, so a streamer should check whether a specific asset is included in the active pass before buying it. The designs are also widely used, so a popular pack can look familiar to viewers who watch many channels. For a streamer who wants the largest ready made library and a fast setup, OWN3D Pro is the strongest library in this guide.
The install workflow is simple, which matters for a streamer who wants to go live tonight. Pick a pack, install the overlay files as browser sources or import the profile into OBS Studio, connect the alert URLs, and test the alerts with a simulated follow before going live. That test is worth doing, because an alert that triggers late or not at all is worse than no alert. OWN3D Pro documentation covers the install for each supported app, and the support team answers setup questions, which helps a first time installer get it right.
4. Nerd or Die
Nerd or Die is the one time purchase option, and the best choice for a streamer who dislikes subscriptions. The store sells cohesive overlay packs, alert packs, and full stream packages that are bought once and owned forever, with no monthly fee. That model suits a streamer who wants a distinctive, coordinated look and is happy to pay once rather than rent a library every month. The designs are known for clean layouts, strong typography, and a modern style that suits a wide range of games.
The strength is the value over time. A pack bought for a one time price costs less than a year of a subscription library, and it never expires or loses access if the streamer cancels. The packs are also cohesive, with matching overlays, alerts, screens, and widgets, so the channel looks designed rather than assembled. That cohesion is the same advantage OWN3D Pro offers, delivered through ownership rather than a subscription. For a streamer who has a stable brand and does not change looks often, Nerd or Die is the most economical way to look professional.
The drawback is the upfront cost and the narrower range. A single pack costs more than one month of a subscription, and the library is smaller than OWN3D Pro, so a streamer who likes to change looks monthly will find the choice limited. The packs also need manual install and some OBS knowledge, which is fine for an experienced streamer but slower for a beginner. For a streamer who wants to buy once and keep the design, Nerd or Die is the best value in this guide.
The design quality deserves a closer look because it is the reason the store has lasted. Nerd or Die packs use restrained colors, readable type, and generous empty space, which keeps the game visible and the alerts clear. That restraint is a deliberate choice, and it suits channels that want to look professional without looking busy. A streamer who buys a pack should still customize the colors and the text to match the channel, because a pack used exactly as sold will look like every other channel that bought the same pack. A small amount of customization turns a bought design into a channel identity.
5. Placeit
Placeit is the template option, and the best choice for a streamer who wants editable templates and broader channel branding in one place. It offers overlay templates, logo makers, and channel art that can be edited in the browser, with individual purchases or a monthly or annual subscription. The catalog covers OBS, Streamlabs, and XSplit workflows, and the templates are easy to customize with the channel name, colors, and game.
The strength is flexibility. A streamer who also needs a logo, a banner, a thumbnail, and social graphics can make them all in Placeit without learning a design tool, and the templates are quick to edit. That breadth suits a new channel that needs a full brand kit in an afternoon rather than a single overlay. The subscription covers the whole catalog, so a streamer can try several looks before settling on one.
The drawback is exclusivity and depth. Template designs are less exclusive than a bought pack, because many channels use the same catalog, and the overlay designs are simpler than OWN3D Pro or Nerd or Die. The catalog and pricing change over time, so a streamer should confirm the current subscription price and check whether a specific template is included before buying. For a streamer who wants fast, editable templates and a full brand kit at a low price, Placeit is a practical choice.
The workflow is the fastest in this guide. Pick a template, type the channel name, change the colors, download the files, and add them to OBS as image or browser sources. That speed suits a streamer who is still finding a style and wants to test a look for a week before committing to a paid pack. Placeit works well as a starting point, and many streamers move from Placeit templates to a Nerd or Die pack once the channel grows and the brand settles. That path costs little and teaches the streamer what they actually want before they spend more.
Side by Side Comparison of the Best Stream Graphics Tools
| Tool | Cost model | Overlays | Alerts | Best for |
|---|---|---|---|---|
| StreamElements | Free suite | Free themes, visual editor | Yes, built in | First stream, no budget |
| Streamlabs | Free, Ultra 27 dollars a month or 189 dollars a year | Thousands of themes on Ultra | Yes, built in | All in one desktop setup |
| OWN3D Pro | Free tools, paid subscription | More than 500 overlays | More than 500 alerts | Ready made pro designs |
| Nerd or Die | One time pack purchase | Cohesive packs, bought once | Yes, in packs | Ownership, no subscription |
| Placeit | Individual purchases or subscription | Editable templates | Yes, in templates | Quick templates and branding |
Prices change often. Confirm the current figure on each vendor pricing page before buying, since stream tool pricing moves frequently.
Fee Breakdown Before You Choose
The cheapest setup in this guide costs nothing. StreamElements is free, OBS Studio is free, and a streamer can go live with overlays, alerts, and a chatbot without spending a dollar. Streamlabs free is also free, with the same core job done. That free start is the right choice for a first stream, because the streamer does not yet know which look fits the channel, and a free setup teaches that lesson without a bill.
The first paid step is usually a design pack or a library subscription. A Nerd or Die pack bought once costs less over a year than a monthly library subscription, and it never expires. OWN3D Pro subscription gives the largest library for a monthly fee, which suits a streamer who changes looks often. Streamlabs Ultra at 27 dollars a month or 189 dollars a year is the dearest option here, but it bundles multistreaming and six Pro tools, so a streamer who uses Cross Clip and Talk Studio gets value beyond the overlays. Run the twelve month total for each path, including any pack purchases, before deciding.
Also count the hidden cost of performance. Streamlabs Desktop uses more CPU and RAM than OBS Studio with StreamElements, and a mid range gaming PC may drop frames with the heavier app. That performance cost is real, because a stream that stutters loses viewers faster than a stream with plain graphics. Test the chosen setup with a real game running, and watch the frame rate and the CPU usage before the first public broadcast. The lightest setup that looks good is usually the right one.
How to Set Up Stream Graphics in One Evening
Start with the suite, not the library. Install OBS Studio and the StreamElements plugin, or install Streamlabs Desktop, and build a basic setup with a starting screen, a live overlay, a break screen, and an ending screen. Add alerts for follows, subs, and donations, and test each alert with a simulated trigger before going live. That basic setup takes an evening and covers the first month of streaming.
Next, pick one visual style and commit to it for a month. Choose two colors, one font pairing, and one overlay set, and use them on every screen. Do not mix packs from different sources, because the inconsistency shows on stream. If the free themes feel too generic after a few weeks, buy one Nerd or Die pack or subscribe to OWN3D Pro for a month and test the new look on a quiet stream before using it for a big event.
Finally, test the full setup live with a private stream. Go live to a test account or a small group of friends, play the game at full settings, and ask them to follow, chat, and trigger alerts. Watch the recording back and check whether the alerts are readable, the chat is legible, and the game stays visible. Fix the layout before the next public stream, because a viewer who arrives during a broken alert will not come back to see it fixed.
How to Choose in One Afternoon
Start with the PC, not the look. A streamer on a strong gaming PC can run Streamlabs Desktop and enjoy the convenience of one app. A streamer on a mid range PC should run OBS Studio with StreamElements, because the lighter footprint keeps the game smooth. A streamer who already has a workflow should buy a design pack from Nerd or Die or subscribe to OWN3D Pro, because the look is the bottleneck rather than the setup.
Next, test the alerts. Make a test stream, trigger a follow, a sub, and a donation, and watch whether the alert is readable, the sound fits the channel, and the timing feels right. An alert that is too loud or too long will annoy regulars, and an alert that is too quiet will not celebrate the moment. Adjust the sound, the duration, and the size until the alert feels like part of the show rather than an interruption.
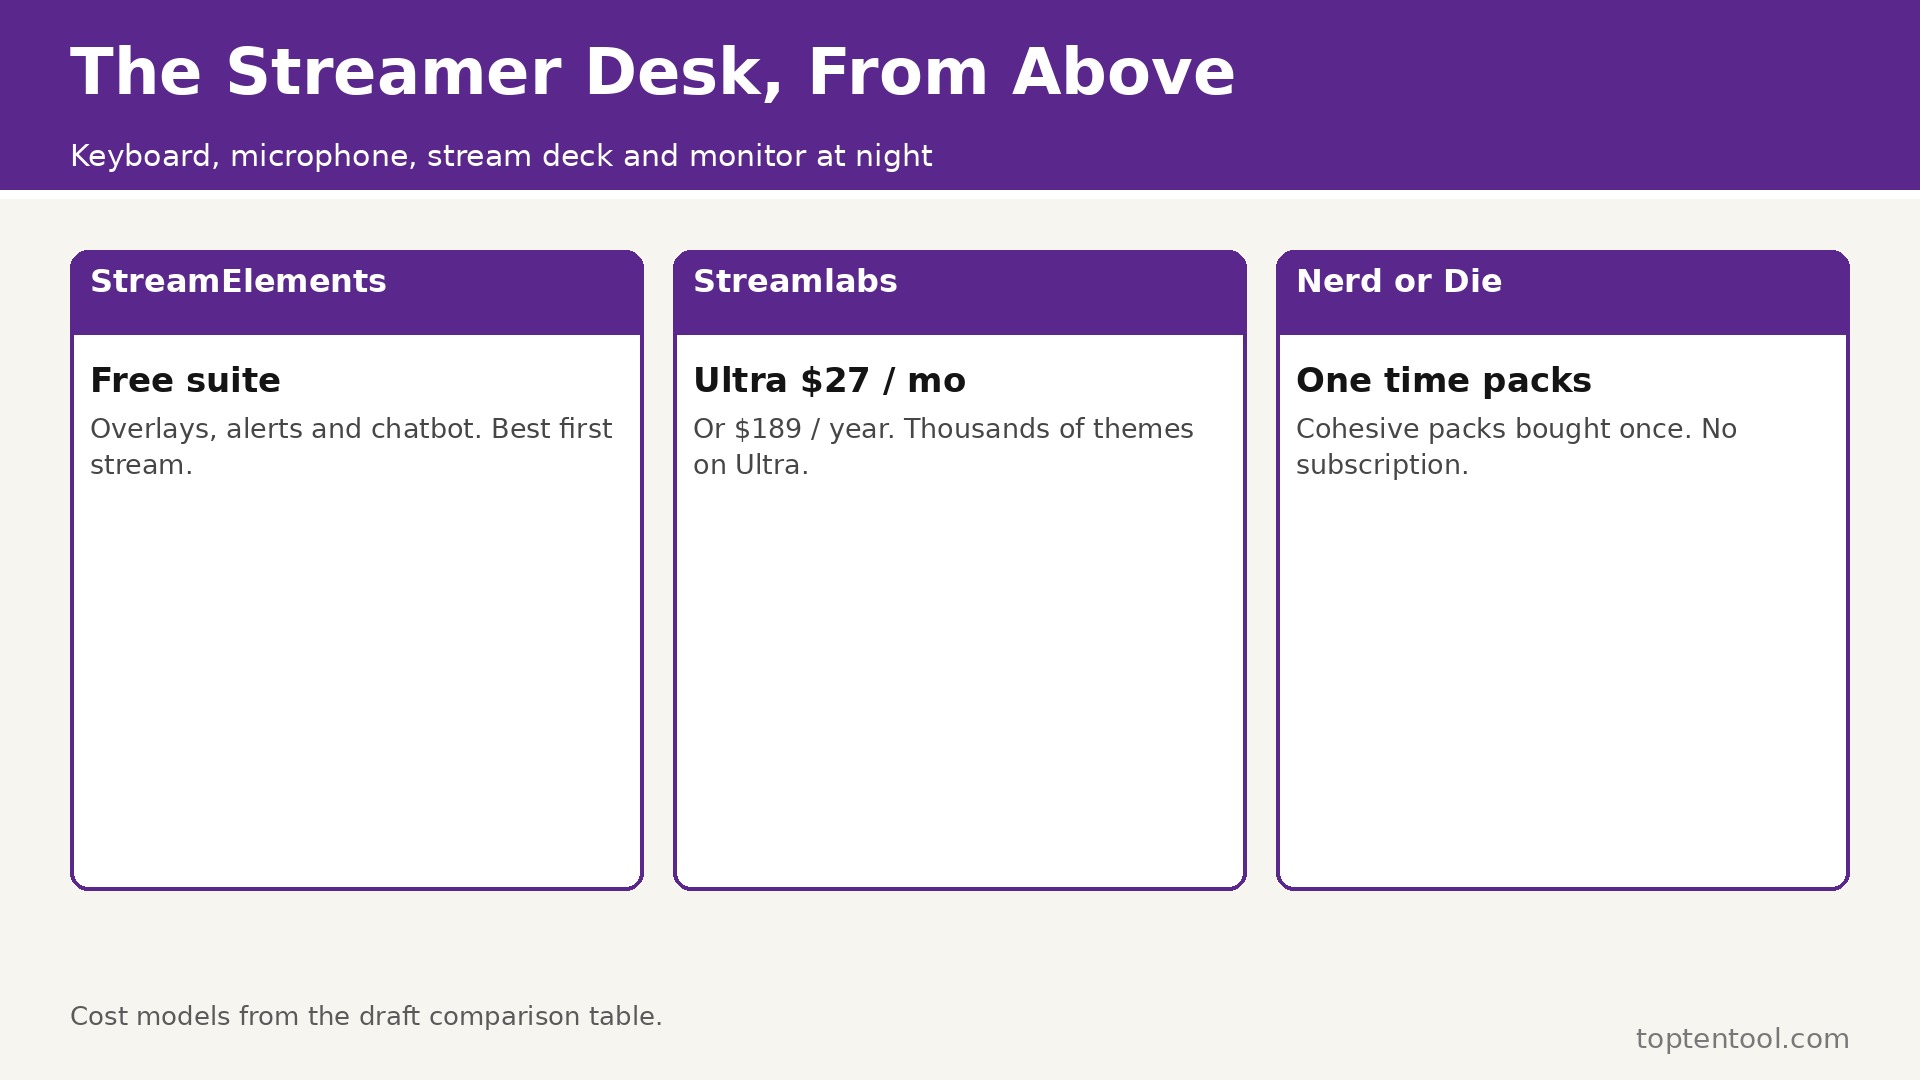
Finally, check the total cost for the year. Add the subscription, any pack purchases, and any Pro tools, and compare the twelve month total of the two finalists. The best stream graphics tools for a streamer on a budget are the ones that stay cheap across the whole year, not just in the first month. The cheapest year is usually the free suite plus one bought pack, which gives a professional look without a monthly bill. The dearest year is Ultra plus a library subscription, which only makes sense if the streamer uses the extra Pro tools every week.
Frequently Asked Questions
What are the best stream graphics tools for a beginner?
For most beginners, StreamElements is the best stream graphics tool to start with, because the suite is free, the overlays and alerts are built in, and the OBS plugin installs in minutes. Streamlabs is the closest alternative for a streamer who wants the streaming app and the graphics in one download. Both are free to start, so trial both with a test stream before choosing.
Do I need to pay for stream overlays?
No. StreamElements and Streamlabs both offer free overlays, alerts, and widgets that cover the core job. Paid options buy a more distinctive look, a larger library, or extra tools like multistreaming. A new streamer should start free, learn what the channel needs, and buy a design pack from Nerd or Die or a subscription to OWN3D Pro once the brand settles.
What is the difference between Streamlabs and StreamElements?
Streamlabs is a desktop streaming app built on the OBS engine, with overlays, alerts, and a theme library wired in, plus a paid Ultra plan at 27 dollars a month. StreamElements is a free cloud suite that works through OBS Studio and browser sources, with overlays, alerts, a chatbot, and tipping. Streamlabs is more convenient, StreamElements runs lighter on the PC, and both cover the same core graphics job.
Can I use OWN3D Pro overlays in OBS Studio?
Yes. OWN3D Pro designs support OBS Studio, Streamlabs, XSplit, and other browser source tools. Install the overlay files as browser sources or import the profile into OBS Studio, connect the alert URLs, and test the alerts with a simulated follow before going live. Check whether a specific asset is included in the active Pro pass, since separate shop assets may be one time purchases.
How do I make my stream look professional on a budget?
Start with a free suite, pick one overlay set, and use the same colors and fonts on every screen. Add alerts for follows and subs, keep the layout clean with empty space around the game, and test the setup on a private stream. A single Nerd or Die pack bought once is the cheapest way to lift the look beyond the free themes, and it costs less over a year than a monthly library subscription.
Verdict
The best stream graphics tools depend on the streamer, and the honest answer changes as the channel grows. For a first stream, StreamElements is the best choice, because it is free, integrated, and light on the PC. Streamlabs is the pick for a streamer who wants the app and the graphics in one download and is willing to pay 27 dollars a month for Ultra and its Pro tools. OWN3D Pro is the strongest ready made library for a streamer who wants a polished look fast, and Nerd or Die is the smart money pick for a streamer who wants to buy once and own the design.
Whichever tool you choose, judge it by the viewer test, not by the feature list. Go live, watch the recording back, and ask whether a new viewer can tell who you are, what you are playing, and how to interact, all within ten seconds. A setup that passes that test earns the follow. A setup that fails it needs a simpler layout, a larger title, or a quieter alert. The graphics are there to serve the stream, not to compete with it, and the channels that remember that are the ones viewers stay with.