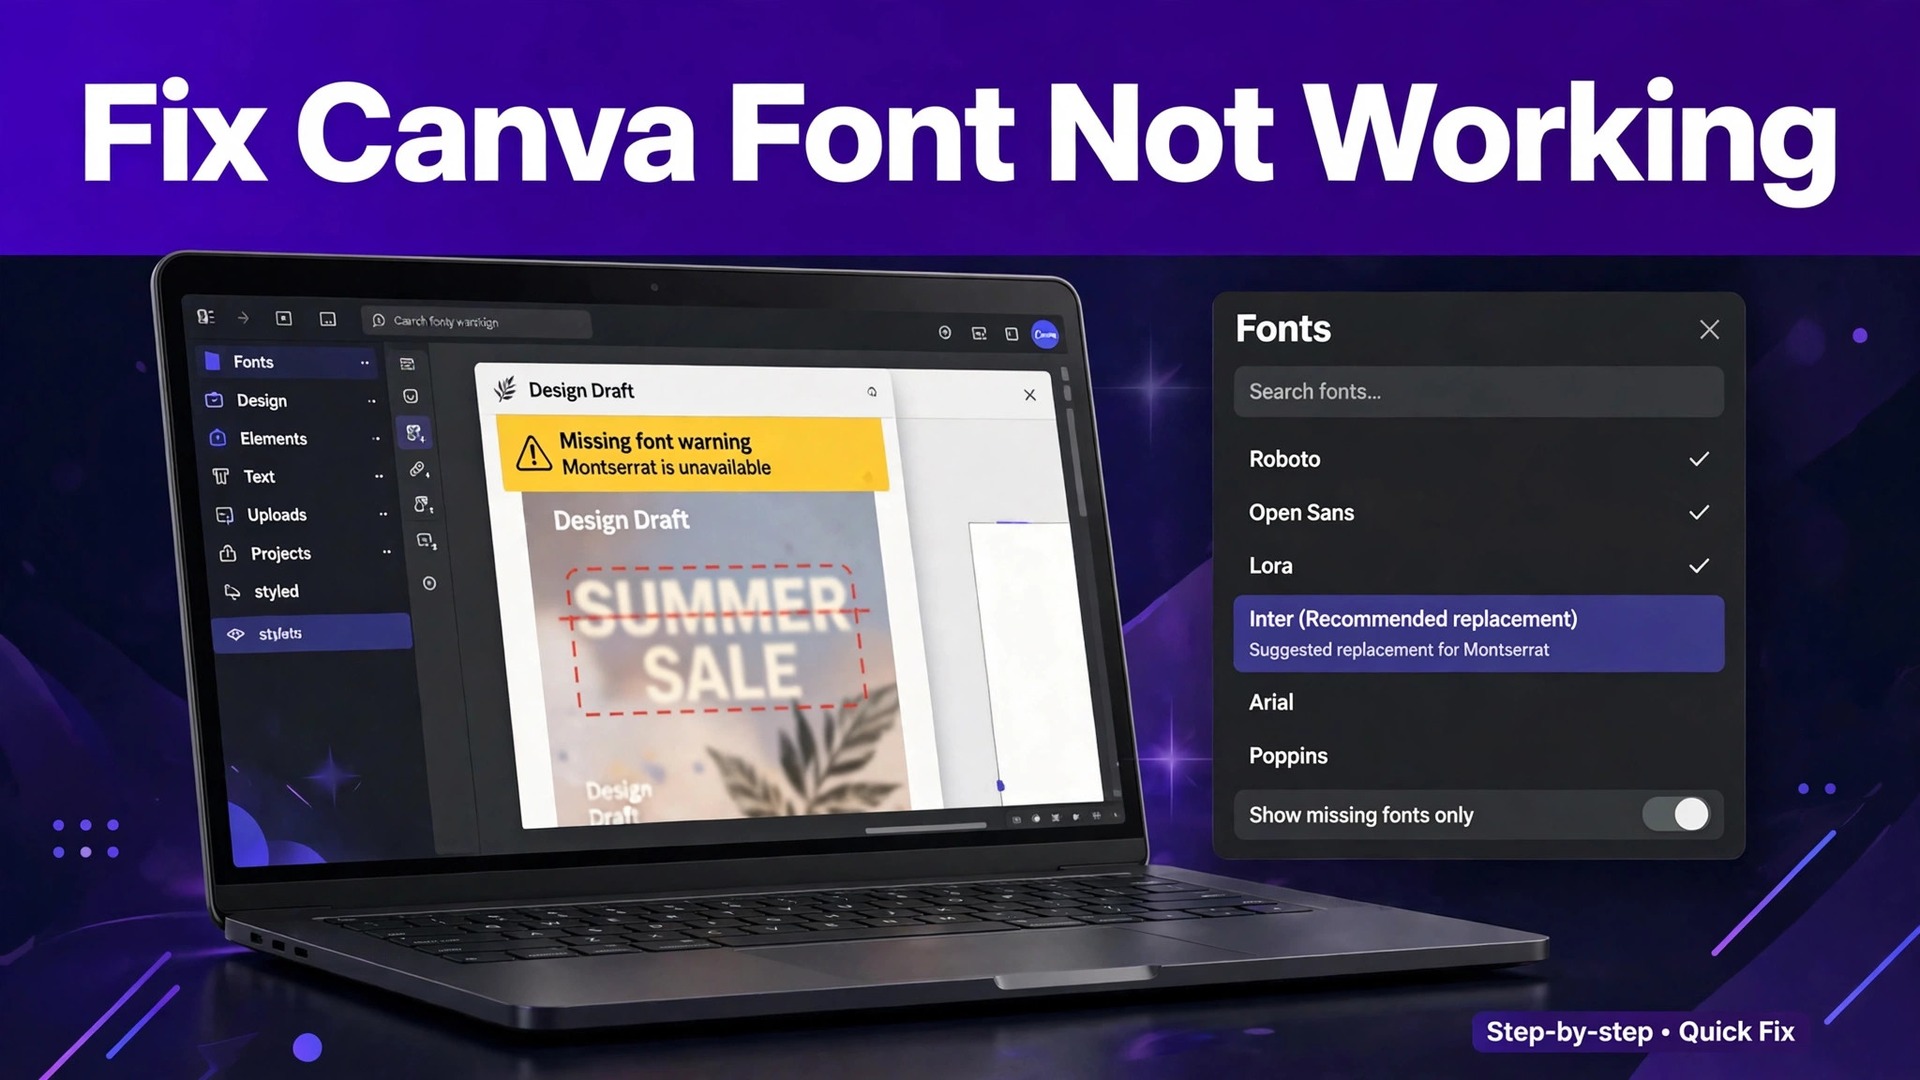
A heading that looked perfect yesterday and reads in a plain default font today is one of the most unsettling faults in Canva, because nothing was deleted and the design still opens. The text is there, the layout is there, and the font is gone. The cause is almost always one of seven things, and the fix takes less than ten minutes once you know which one it is. This guide to fix canva font not working works through all seven causes in order, starting with the ones you can check in under a minute.
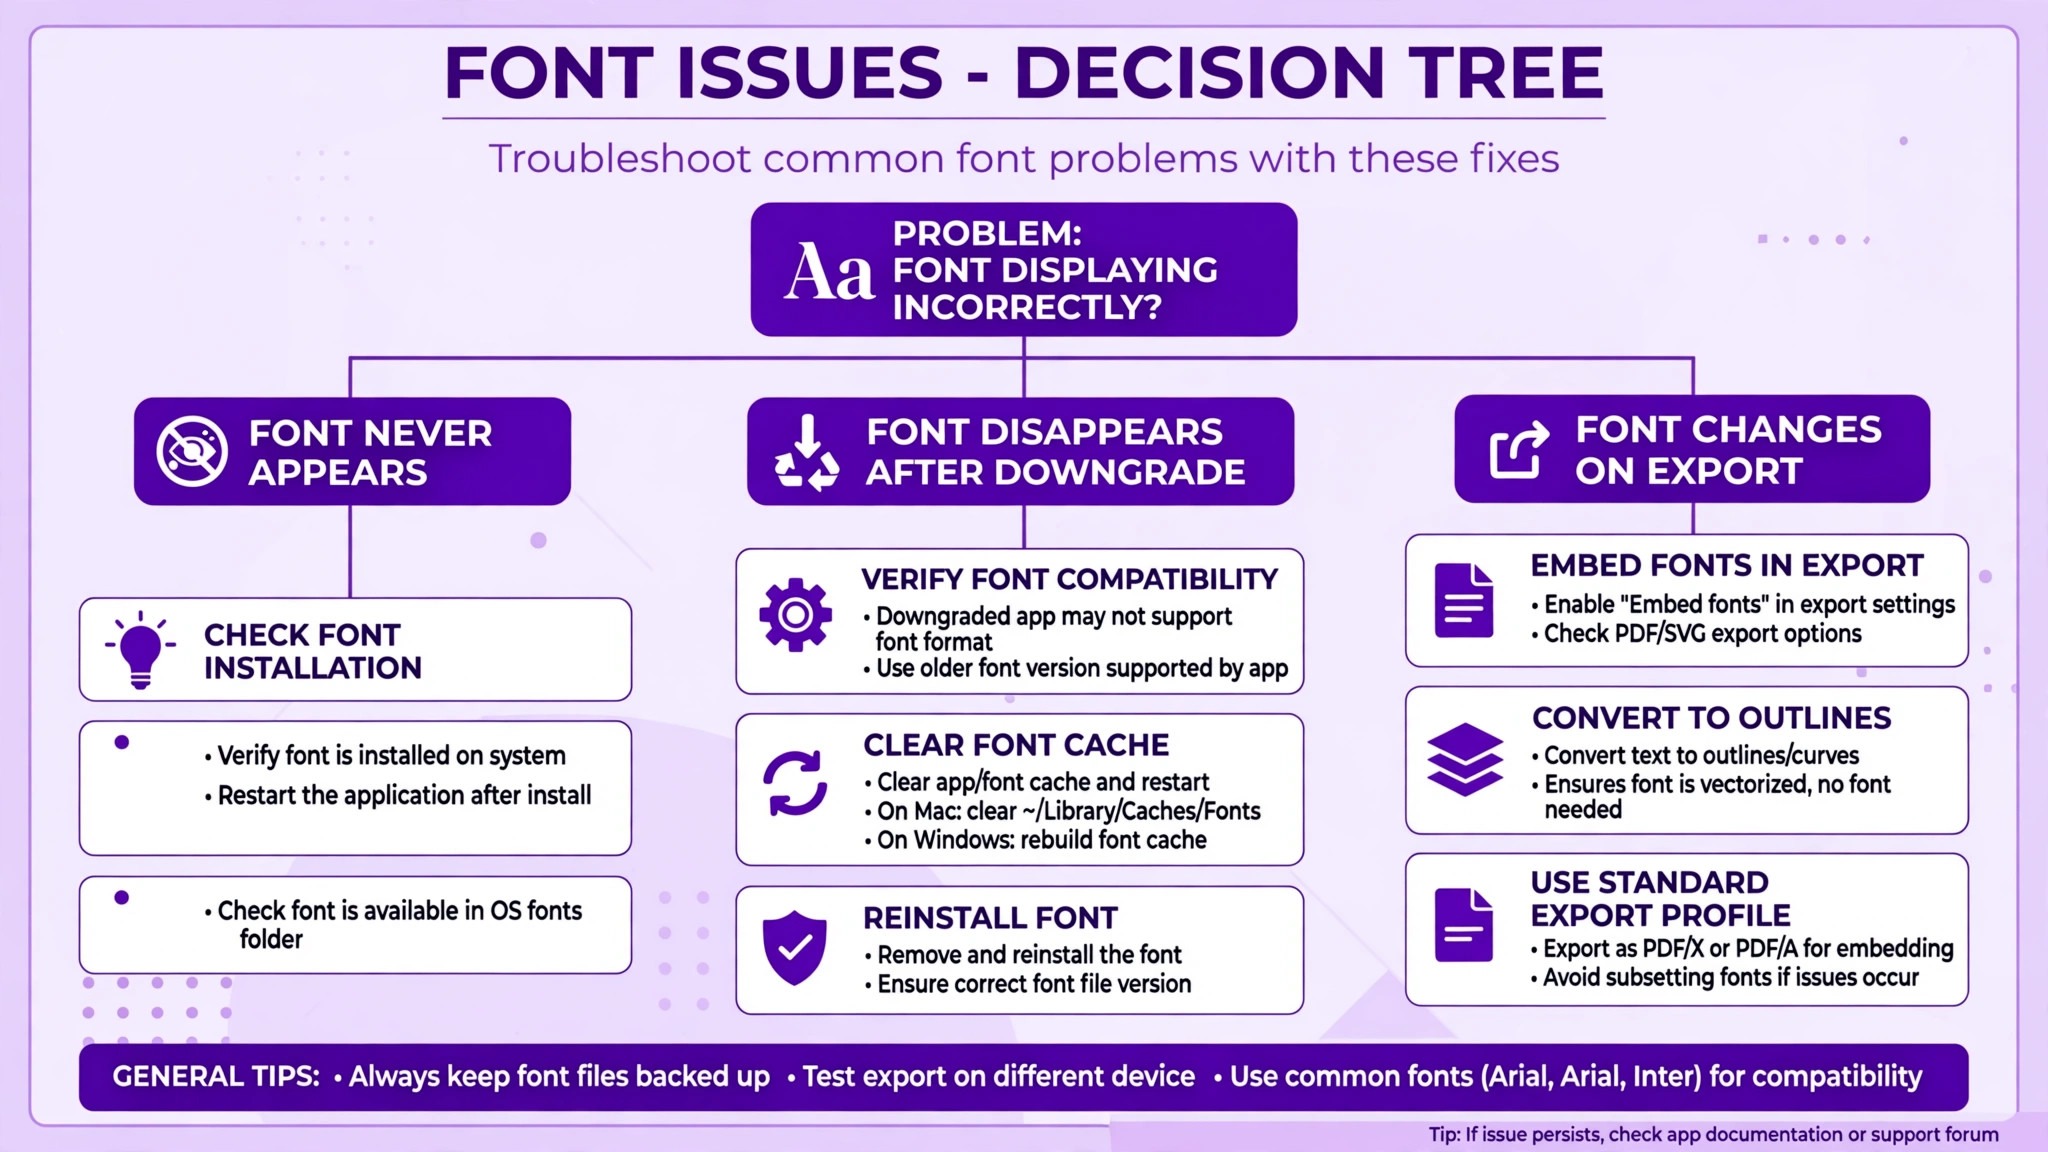
The first thing to work out is what changed. A font that never appeared after upload has a different cause from a font that appeared and then vanished, and a font that looks right on screen but changes in the export has a different cause again. If the font never appeared, the file or the plan is usually at fault. If it vanished after a downgrade, the plan is usually at fault. If it changes only in the export, the export format is usually at fault. That split is the first step to fix canva font not working, because the symptom tells you where to look.
To fix canva font not working, start with the visible checks, because they solve most cases, and work through the file, plan, and export checks only if the visible checks fail. Check the Brand Kit first, because an uploaded font lives there and the font menu only shows what the Brand Kit holds. Then check the file format and the license, because those two facts decide whether Canva will accept the font at all. This guide gives you that order, with a clear fix for each cause.
Quick Diagnosis Checklist to Fix Canva Font Not Working
Work through this checklist in order, and stop as soon as the font works. Most cases resolve in the first three checks.
| What you see | Try this first | Likely cause |
|---|---|---|
| Uploaded font never appears in the menu | Open Brand Kit and check Brand Fonts | Editor not refreshed, or font never saved |
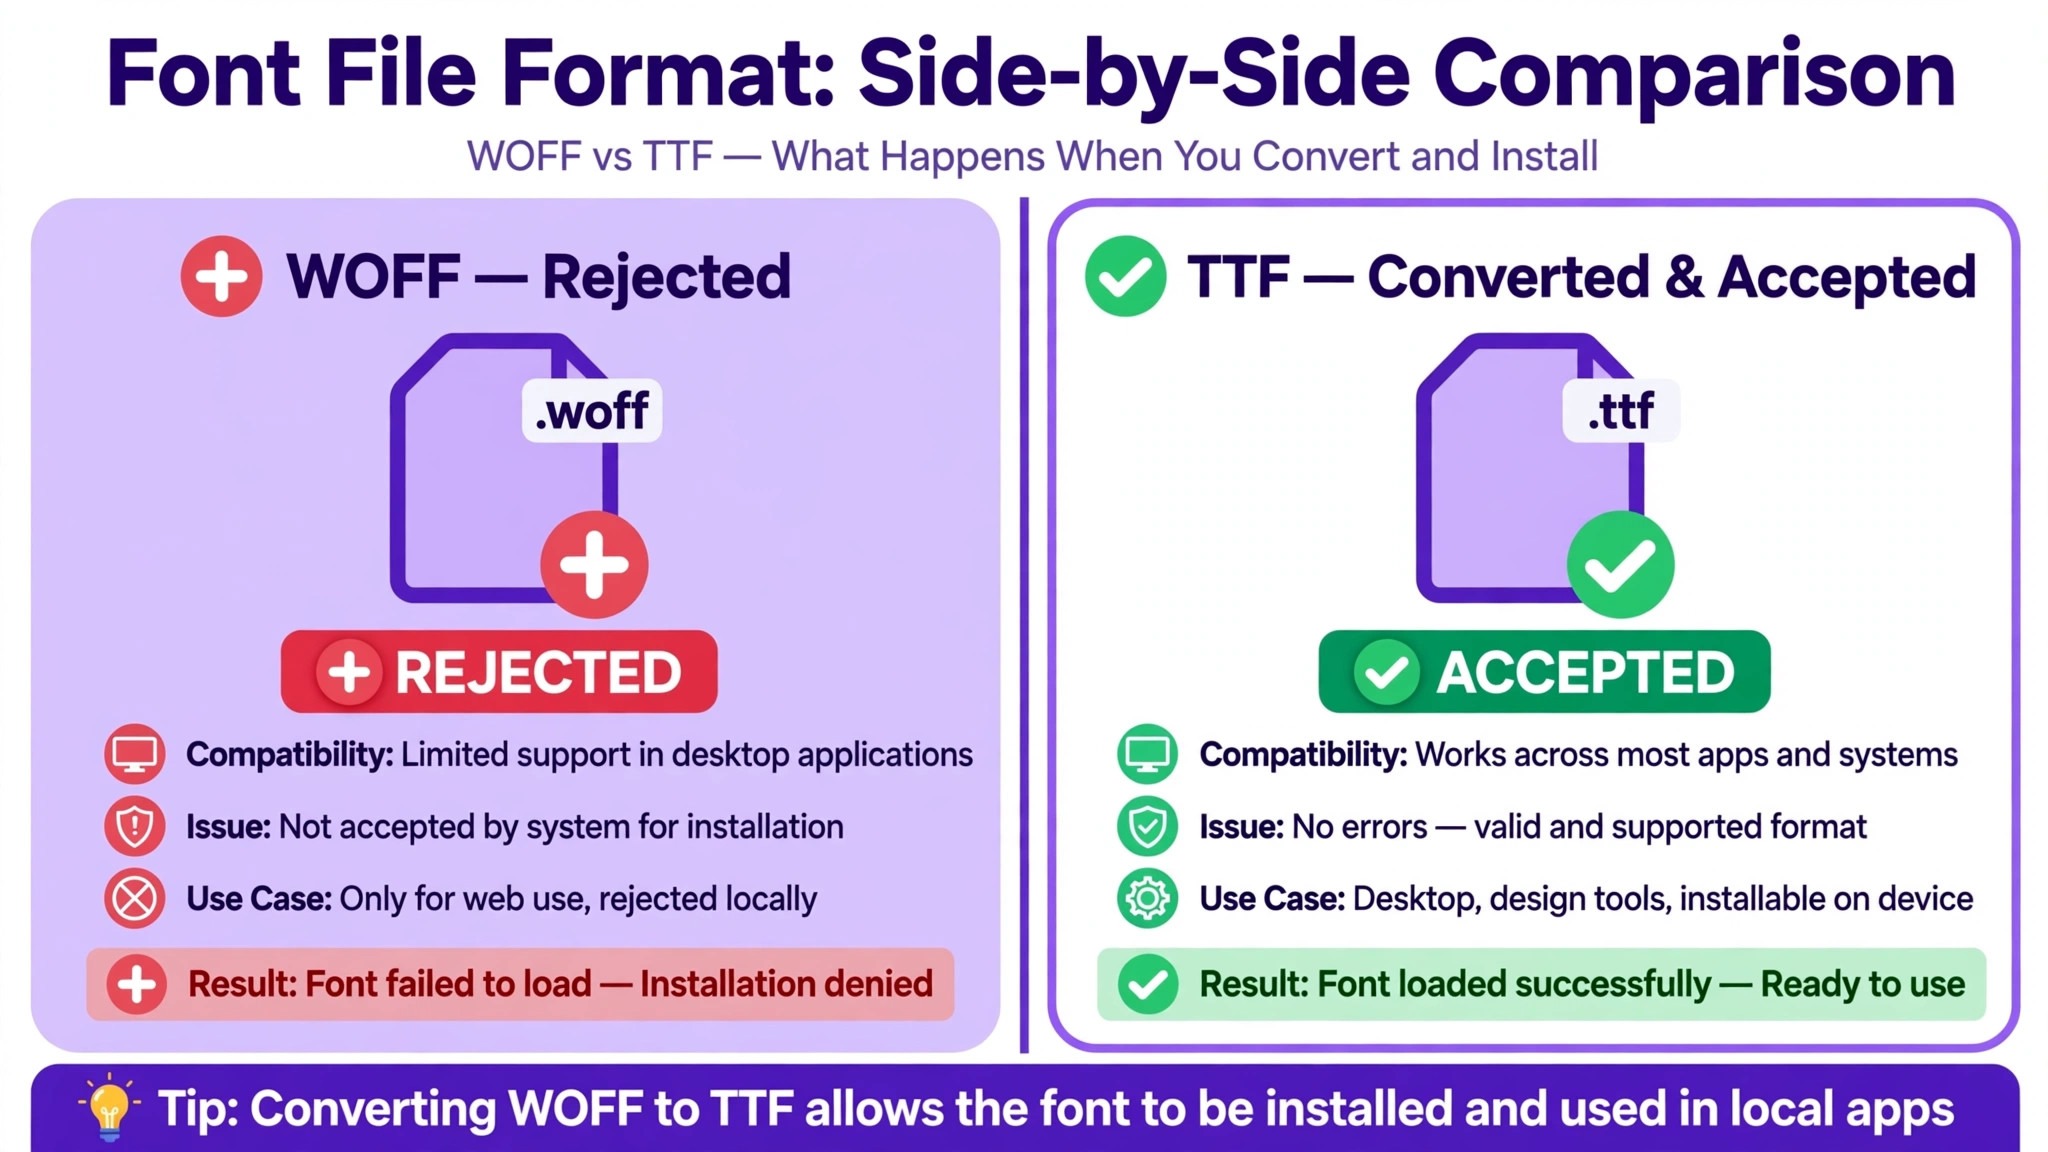
| Font shows a fallback font instead | Check the file format, TTF or OTF only | Unsupported format like WOFF |
| Font disappears after a downgrade | Check the current plan | Pro font lost on a free account |
| Font looks right on screen, wrong in export | Export as PDF Print instead of PDF Standard | Export format flattens the font |
| Font menu is missing or greyed out | Click the actual text box to select it | No text box selected, or layer locked |
| Font works on desktop, not on mobile | Update the app and check the font list | Mobile app lags behind desktop |
| Font missing only in one design type | Check the font licensing notes | Font restricted to certain design types |
| Font looks wrong after sharing | Check the viewer plan and Brand Kit | Shared viewer lacks the Pro font |
If the font works after any check, save a copy of the design before you keep editing, because a font that fails once can fail again, and a saved copy is the fastest recovery. If none of the checks work, go to the still not working section at the end of this guide, and work through the account and device steps there.
1. The Editor Was Not Refreshed After Upload, So Check Brand Fonts First
Canva only accepts TTF and OTF uploads, needs a paid plan for font uploads, and rejects fonts whose license does not allow embedding. Most likely fix is refresh and check Brand Fonts, because the upload often succeeds and the editor simply has not caught up. The font lives in the Brand Kit, and the font menu only shows what the Brand Kit holds, so a font that is not in the Brand Kit cannot appear in the menu no matter how many times the design is reopened.
How to tell it is this cause. The upload seemed to succeed, no error appeared, and the font is nowhere in the font menu. The Brand Kit font list is the test, because if the font is listed there, the editor just needs a refresh, and if it is not listed there, the upload did not finish. A font uploaded five minutes ago is the most common case, because the processing takes a moment and the editor does not always refresh on its own.
How to fix it.
- Reload the Canva tab and wait for the editor to load fully before you open the font menu.
- Open the font menu and look under Brand Fonts, because uploaded fonts sit there rather than in the main list.
- Open Brand, then Brand Kit, then Fonts, to confirm the font is listed, and re-upload it if it is not.
- Wait a few minutes after upload before you search for the font, because processing takes time on a large file.
- Log out and log back in if the font still does not appear, because a fresh session reloads the Brand Kit from the server.
Do not re-upload the same file five times while the first upload is still processing, because each attempt queues another copy and can slow the recovery. Wait for the Brand Kit to show the font, then open the design once, and the font should be there.
2. The Font File Uses an Unsupported Format, So Convert It to TTF or OTF
Canva accepts TTF and OTF files, and a font packaged only as WOFF or WOFF2 will fail silently rather than showing a clear error. A font inside a zipped folder will also fail, because Canva needs the font file itself, not the archive that holds it. Re-exporting or converting the font file to TTF before re-uploading resolves this in most cases, and it is the second thing to check after the Brand Kit.
How to tell it is this cause. The upload fails with a font error, or it seems to succeed and the font never appears, and the file extension is WOFF, WOFF2, or ZIP. A font downloaded from a web font site is the most common case, because those sites hand out WOFF files for websites, not TTF files for design tools. A font that came from a designer as a ZIP is the next most common case, because the ZIP holds the TTF inside it and Canva cannot open the archive.
How to fix it.
- Check the file extension on your computer, and confirm it ends in TTF or OTF.
- Unzip any zipped folder first, then upload the TTF or OTF file inside it, not the ZIP.
- Convert a WOFF or WOFF2 file to TTF or OTF with a free font converter, then upload the converted file.
- Download a fresh copy of the font from the original source, in TTF or OTF, if the converted file still fails.
- Check the file size, because a very large font file can time out during upload, and a smaller weight of the same family may upload cleanly.
Keep the converted file on your computer after upload, because you will need it again if the font ever needs re-uploading. A font in TTF or OTF is the safest format, and it uploads cleanly in almost every case.
3. The Font License Does Not Allow Embedding, So Check the License First
A font license decides whether Canva can use the font at all, and a license that does not allow embedding will block the upload even when the file is perfect. Adobe Originals and desktop only licenses are common examples, because they allow the font on one computer and not inside a cloud editor. A font that displays correctly on screen but changes in the exported file is often an embedding issue tied to the same license, because the export needs to pack the font data into the file and the license forbids it.
How to tell it is this cause. The file is TTF or OTF, the upload fails or the font reverts to a fallback, and the font came from a foundry with a restrictive license. A font bought for desktop use only is the most common case, because the buyer owns the right to use it on their own machine and not the right to embed it in a cloud tool. A font that works in a desktop app and fails in Canva is the next clue, because the desktop app never needs to embed it.
How to fix it.
- Read the license that came with the font, and confirm it allows embedding or cloud use.
- Contact the foundry and ask for a web or cloud license if the current license is desktop only.
- Use Google Fonts or another open license font if you are unsure, because those licenses allow embedding.
- Pick a close match from the Canva library as a temporary stand in, then replace it once the license is sorted.
- Keep the license receipt with the font file, so the next person who uploads it does not repeat the same failure.
Do not try to work around a license by converting the font to another format, because the format is not the problem and the license still applies. A font with the right license uploads cleanly, and a font without it will keep failing no matter how many times it is converted.
4. A Corrupt Font File Breaks the Upload, So Download a Fresh Copy
A font file can be corrupt in a way that no error message explains. The download may have stopped halfway, the file may have been damaged when it was copied, or the original file on the foundry site may have been replaced. A corrupt file uploads and then vanishes, or it uploads and the text renders with missing letters, and the fault follows the file from computer to computer, which is how you know the file itself is the problem.
How to tell it is this cause. The same file fails on every computer and every browser, while other fonts upload fine on the same account. A font downloaded on a weak connection is the most common case, because a half downloaded file looks complete in the folder and fails when Canva tries to read it. A font that worked last year and fails now is the next case, because the file on the computer may have been damaged since then.
How to fix it.
- Delete the font file from your computer and download a fresh copy from the original source.
- Check the file size against the size listed on the source site, because a smaller file means the download stopped early.
- Upload the fresh file to the Brand Kit, then wait for processing to finish before you open a design.
- Test the fresh file in a blank design first, with a short sentence, before you apply it to the real design.
- If the fresh file still fails, try a different weight of the same family, because one weight can be corrupt while the rest are fine.
Keep the working file in a folder with the license, so a fresh copy is always at hand. A font that is downloaded cleanly uploads cleanly, and a corrupt file will keep failing until it is replaced.
5. The Plan or the Permissions Block the Font, So Check the Account
Custom font uploads are a Canva Pro feature, so if you are on a free account, an uploaded font simply will not show up as an option, even if the upload itself seemed to succeed. If you are on Pro and the font still is not listed, the plan is not the problem, and the file or the license is.
A design that reverts to a different font when you reopen it almost always happens when the design uses a font tied to a plan or a Brand Kit that is no longer active on the account viewing it, for example a Pro font opened later on a free account, or a design shared with someone whose plan does not include that typeface.
How to tell it is this cause. The font worked last month and vanished after a downgrade, or the font works for the owner and not for a teammate, or the font is missing only when a shared viewer opens the design. Canva substitutes its closest default rather than leaving the text blank, which is why the change can look like a random swap rather than an obvious licensing message.
Checking the font name against your current plan available list is the fastest way to confirm this is what happened.
How to fix it.
- Check the current plan in account settings, and confirm it is Pro, Teams, or another plan that includes font uploads.
- Check the Brand Kit sharing settings, because a font in one Brand Kit may not be visible to every team member.
- Ask the design owner to confirm the font is still in the Brand Kit, and re-upload it if the kit was changed.
- Upgrade to Pro if the font is essential and the account is free, or pick a free font from the library as a stand in.
- Check the viewer plan when a shared design looks wrong, because a viewer on a free account will see a fallback font even when the owner sees the real one.
Do not delete the design to fix a plan problem, because the design is fine and the plan is the problem. Fix the plan or the sharing, reopen the design, and the font should return.
6. No Text Box Is Selected or the Layer Is Locked, So Select the Text First
The font option is missing or greyed out in many cases because the selected layer is not editable text, the font upload has not finished processing, or the workspace restricts the available typefaces. If the text box is not highlighted, Canva often hides the font dropdown. Click the exact live text layer so the font name in the top bar updates, because clicking the background or the page will not show the font controls.
How to tell it is this cause. The font menu is missing, or the font name in the top bar does not change when you click, or the font change affects nothing. A grouped design is the most common case, because grouped elements and some generated designs require selecting each live text element individually. A locked layer is the next case, because the editor may let you select it but will not enable font controls.
How to fix it.
- Click the text box itself, the actual text element, not the background, and check that a selection outline appears.
- Open Layers and toggle the lock off if the layer is locked, then click the text again.
- Ungroup a grouped design, or double click into the group to select the live text element inside it.
- Highlight only part of the text first if you want to swap fonts for one word, because the change applies to the selection.
- Check the bottom toolbar on the mobile app, because text formatting controls live there on Android, not in the desktop top toolbar shown in most tutorials.
A font that displays correctly on screen but changes in the exported file is usually an embedding issue tied to the export format, not a selection problem, so if the selection is correct and the font still changes on export, move to the next cause. Selection problems are fast to fix, and they are the reason the font menu feels missing on mobile, where the controls sit in a different place.
7. The Export Format Changes the Font, So Export as PDF Print
A font that displays correctly on screen but changes in the exported file is usually an embedding issue tied to the export format. PDF Standard, in particular, can flatten certain font styles differently than PDF Print or PNG. If this happens, try re-exporting in a different format as a test, and if the font holds up correctly there, the original export format was the cause, not the font itself.
How to tell it is this cause. The design looks right in the editor, the font is in the Brand Kit, and the downloaded file shows a different font or missing letters. A print job is the most common case, because the printer needs the font embedded in the PDF and PDF Standard does not always carry it. A PNG export that looks right while the PDF looks wrong is the next clue, because the PNG is a picture and the PDF needs the font data.
How to fix it.
- Export the design as PDF Print, not PDF Standard, because PDF Print embeds the font data a printer needs.
- Tick the Flatten PDF checkbox if the font still fails, because flattening converts the text into fixed shapes and prevents missing font errors completely.
- Check the exported PDF at 300 percent zoom before you send it to a printer, because a missing font shows up as a changed shape at high zoom.
- Export as PNG as a test, because a PNG that looks right proves the design is fine and the PDF format was the problem.
- Ask the printer for a pre-press check if typography is critical, because a professional check catches font problems before the job is printed.
Do not flatten a PDF with low resolution images alongside the text without checking, because flattening merges everything into one layer. Test the export, inspect the PDF, and send it with a note explaining the issue if the printer still reports a problem. A font that is embedded correctly prints correctly, and the export format is the switch that controls it.
Still Not Working
If you have worked through all seven causes and the font still will not work, this is the point where a systematic check still pays off. Work through these steps in order, and stop as soon as the font works. First, check the Canva status page for an active incident, because a server problem affects every user at once, and the only fix is to wait.
Second, try a different device entirely, a phone if you were on a computer, or a computer if you were on a phone, because a device problem will follow the device, and a design problem will follow the design. Third, duplicate the design from the Projects page, and open the copy, because a corrupt design file can sometimes be repaired by duplication, and the copy will tell you whether the original file is the problem.
Fourth, clear the browser cache and cookies for Canva, then sign in again, because a corrupt cache can hide a font that was uploaded yesterday. Fifth, check that your Canva account is in good standing, and that your subscription is active if the design uses Pro fonts, because a lapsed Pro subscription can block Pro fonts and Pro features.
Sixth, contact Canva support through the Help Center, and tell them which design is affected, which font is missing, which browser and device you used, and which of the seven causes you already ruled out, because that list saves the support team time and gets you a useful answer faster. Before you write to support, try the font once more in a private window with extensions off, and note the time it failed, because support will ask for both.
Do not delete the design, and do not start over from scratch, until you have tried the duplicate step and the different device step. A design that loses a font once is usually repairable, and a new design built from memory will not match the original spacing and sizing. Save a copy first, then troubleshoot, and keep the copy until the font works.
Prevention Checklist
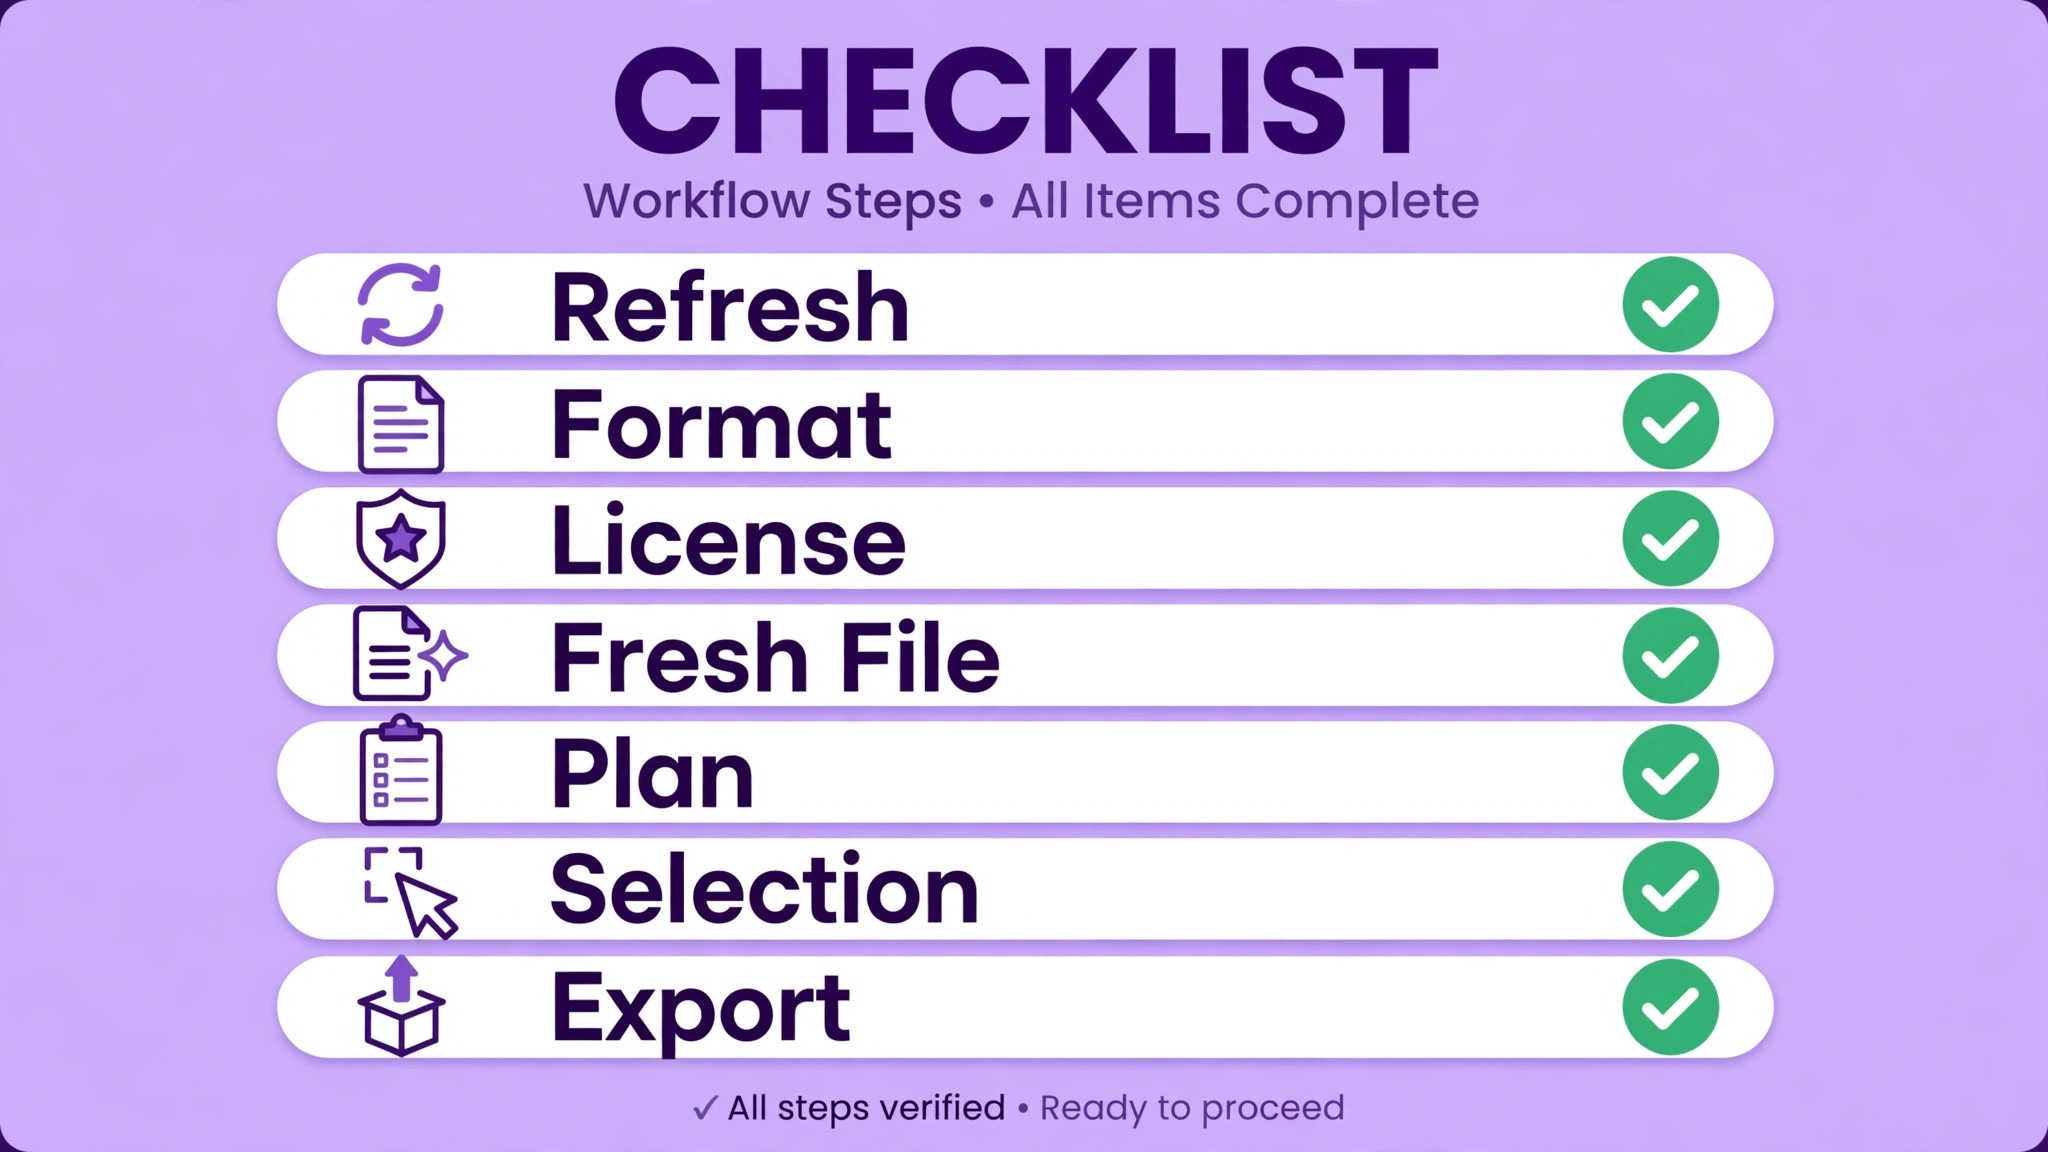
Use this checklist before you share or download any design, and font problems will become rare. Upload fonts only in TTF or OTF, and keep the license with the file. Check the Brand Kit after every upload, and wait for processing to finish before you open a design. Keep the account on Pro if the design uses Pro fonts, and check the plan before you share a design with a teammate.
Check the layers panel for locked elements before you edit text, and select the actual text box before you open the font menu. Export print work as PDF Print, and check the PDF at high zoom before you send it to a printer. Keep the browser updated, clear the cache once a month, and save a copy of the design before you export, so a failed font never loses your work.
Frequently Asked Questions
Why is my Canva font not working?
The most common reason is that the font was never saved in the Brand Kit, or that the file is WOFF instead of TTF or OTF, or that the license does not allow embedding. Check those three first to fix canva font not working, because most cases resolve in those three steps. Refresh the editor, open Brand Kit and check Brand Fonts, convert the file to TTF, and read the license.
Why did my font disappear after I downgraded Canva?
Custom font uploads are a Pro feature, and a design that uses a Pro font will revert to a fallback font when the account moves to free. Canva substitutes its closest default rather than leaving the text blank, which is why the change looks like a random swap. Upgrade to Pro again to restore the font, or pick a free font from the library and reapply it to the text.
Why does my font look right on screen but wrong when I download it?
The export format is usually at fault. PDF Standard can flatten certain font styles differently than PDF Print, and a font whose license blocks embedding will not survive the export. Export as PDF Print, tick Flatten PDF if needed, and check the PDF at 300 percent zoom. A PNG export that looks right proves the design is fine and the PDF format was the problem, and that test alone can fix canva font not working for print jobs.
How do I upload a custom font to Canva?
Open Brand, then Brand Kit, then Fonts, and upload a TTF or OTF file. Font uploads need a Pro, Teams, or Education plan, and the license must allow embedding. Wait for processing to finish, refresh the editor, and look under Brand Fonts in the font menu. A WOFF file or a zipped folder will fail, so convert or unzip first.
Why is the font option greyed out in Canva?
The font option is greyed out when no editable text box is selected, or when the layer is locked, or when the text sits inside a group that needs to be opened first. Click the actual text element, unlock the layer in the Layers panel, and double click into a group to select the live text inside it. On mobile, the text controls live in the bottom toolbar, not the top toolbar.
Verdict
To get a font back in Canva, start with the Brand Kit and a refresh, because an uploaded font that is not in the Brand Kit cannot appear in the menu, and a font that is there only needs the editor to catch up. That order is the core of how to fix canva font not working without wasting an hour on the wrong cause. Then check the file format, because a WOFF file will never upload, and convert it to TTF or OTF. Then check the license, because a desktop only license will never embed.
If the font still fails, download a fresh copy, check the plan, select the actual text box, and export as PDF Print. Work through the seven causes in order, save a copy before you keep editing, and use the prevention checklist on every design you share. Most readers will only need the first three causes to fix canva font not working, and the rest are there for the stubborn cases. The text is almost always still there, and the font is almost always simpler to restore than it looks, so a careful pass through the seven causes will fix canva font not working in most designs.