
When fix Instagram Reels not uploading, the app rarely tells you why, because the upload stalls on processing, freezes near the end, or drops you back to the editor with no clear error. Instagram Help Center gives the same starting order for almost every Reel problem, restart the device, test wifi and mobile data, then reinstall, and that order works because most failures come from the connection, the file, or the app cache.
This guide gives you seven causes and seven fixes, in the order that solves the most cases first. Work through them from the top, and stop as soon as an upload succeeds, because the later fixes are for account review and server load, not for the file and connection problems that cause most failures. Every step comes from Instagram Help Center guidance and the fixes that solve stuck Reels most often in practice.
Before you start, note where the upload stops. If it fails right away, the file is the likely cause. If it stalls near the end, the connection or the upload queue is the likely cause. If it uploads and then disappears, the processing step failed, which points to length, codec, or a review flag. That one distinction tells you which cause to check first.
The Two-Minute Diagnosis First
Do not start with the long fixes. Run this quick diagnosis first, because it tells you which cause to fix and it takes about two minutes. The diagnosis below is the one the official support pages point to first, and it separates a device problem from a settings problem, a file problem from a connection problem, and an authentication problem from a content problem.
| What you see | Likely cause | Check first |
|---|---|---|
| Fails right away | Codec or file mismatch | Re-export as MP4, H.264, 30 frames per second |
| Stuck near the end | Weak connection or stuck queue | Switch networks, force close, re-upload |
| Uploads, then disappears | Processing crash or review flag | Trim length, lower bitrate, check Account Status |
| Photo post fails too | Connection, app, or outage | Test wifi and mobile data, update the app |
If a photo post fails too, the problem is not your Reel file, so do not rebuild the video yet. If the photo posts fine, the problem is the Reel file, the Reel length, or the Reel processing, and the fixes below will narrow it down.
The quick check above is the fastest way to narrow the list, because it uses the symptom to point at the cause. If the quick check passes and the problem stays, move to the seven causes below in order. Do not skip ahead to a long fix when a two minute check can rule out three causes at once, because the long fixes only help when the short ones have been ruled out.
In fix Instagram Reels not uploading, the diagnosis comes first, because the symptom points at the cause before any setting is changed.
The 7 causes and the 7 fixes for fix Instagram Reels not uploading
Each cause below has its own fix, with numbered steps you can follow in order. Do the steps for one cause, test again, and only then move to the next cause. Testing after each cause is what stops you changing five settings at once and never learning which one fixed it, which matters when the problem comes back next month.
Cause 1. Your connection is weak or it switches mid upload
A Reel is a video file, and even a short one can be tens of megabytes once effects and audio are layered in. If your phone jumps between wifi and mobile data mid upload, the transfer breaks and the app does not always tell you. This is the single biggest cause of stuck uploads, so fix the connection before you touch the file or the app.
- Switch from wifi to mobile data, or from mobile data to wifi, and try again.
- Turn airplane mode on for ten seconds, then off, to reset the radios.
- Stay on the strong connection with the app open in the foreground while it uploads.
Test again after these steps. If the test passes, stop here. If it fails, move to the next cause, because the next fix targets a different part of the chain and the problem is rarely in two places at once.
Cause 2. The video file is too large, too long, or in the wrong format
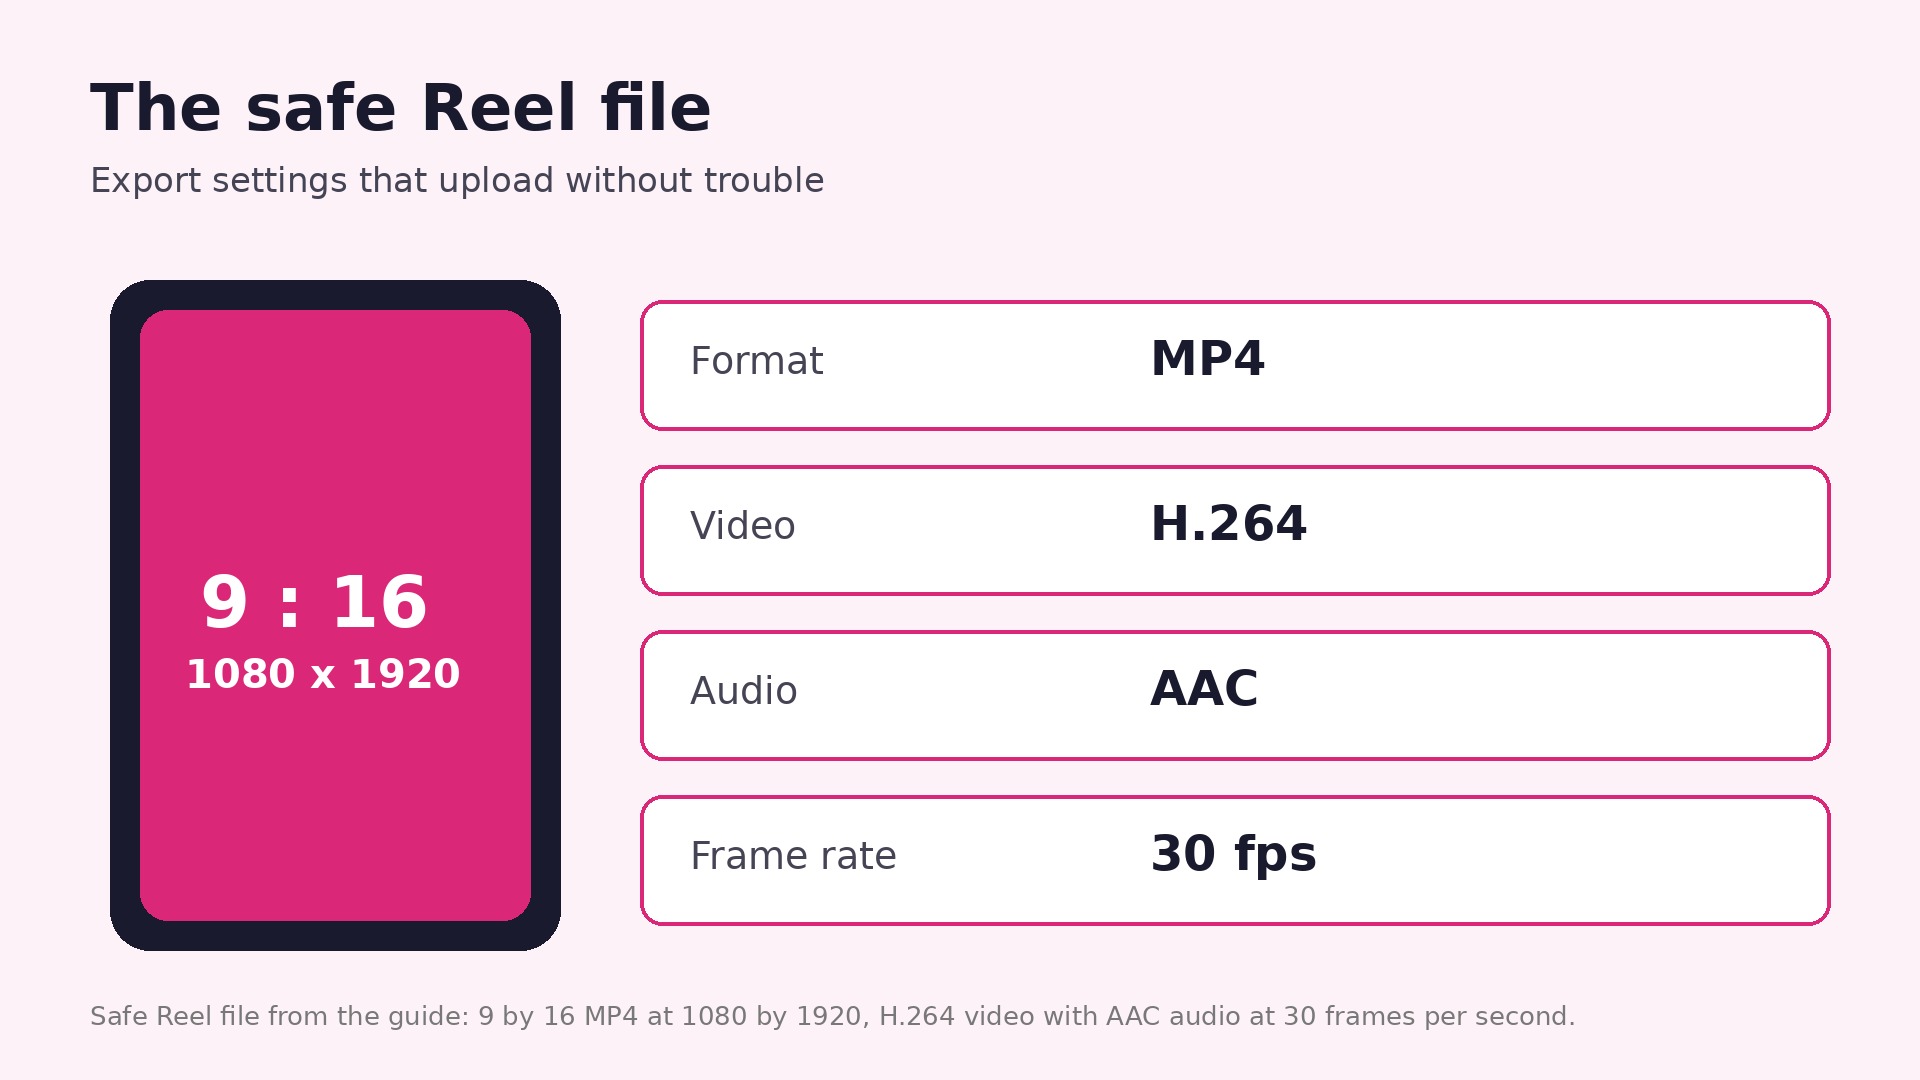
Instagram reprocesses every Reel after it arrives, and a file with an odd codec, a high frame rate from a screen recorder, or a 4K resolution can stall during processing even when it plays fine on your phone. The safe file is a 9 by 16 MP4 at 1080 by 1920, H.264 video with AAC audio, at 30 frames per second, which is the format Instagram documents for Reels.
- Re-export the video as a 9 by 16 MP4 at 1080 by 1920.
- Set the video codec to H.264 and the audio to AAC.
- Set the frame rate to 30 frames per second and keep the length within your account limit.
- Upload the new file on wifi.
Test again after these steps. If the test passes, stop here. If it fails, move to the next cause, because the next fix targets a different part of the chain and the problem is rarely in two places at once.
Cause 3. The app cache is bloated and the upload queue is stuck
Instagram stores drafts, effects, previews and upload chunks on your phone, and over time that cache can get messy. A stuck upload queue can keep failing until you reset the app state, even when the file is fine. A previous failed upload that never cleared is often the piece that blocks the next one, so clearing the cache is a real fix, not a generic tip.
- Force close Instagram and reopen it.
- On Android, go to Settings, Apps, Instagram, Storage, then Clear Cache.
- On iPhone, offload the app and reinstall it, because there is no direct cache clear.
- Delete the stuck Reel from drafts and start the upload again.
Test again after these steps. If the test passes, stop here. If it fails, move to the next cause, because the next fix targets a different part of the chain and the problem is rarely in two places at once.
Cause 4. The Instagram app is out of date
Instagram changes its upload pipeline often, and an app that is two or three versions behind can fail silently on newer Reel formats. Updates also fix upload bugs that were reported in the previous version, so an old app is a common cause of a Reel that worked last month and fails this month. Check the app store for a pending update before you rebuild the video.
- Open your app store and check for a pending Instagram update.
- Install the update and restart your phone.
- Open Instagram and try the upload again with the new version.
Test again after these steps. If the test passes, stop here. If it fails, move to the next cause, because the next fix targets a different part of the chain and the problem is rarely in two places at once.
Cause 5. Your phone has too little free storage
Low storage stops Instagram from caching upload chunks and previews, and the upload can stall near the end with no clear error. The app needs room to hold the file, the processed versions and the draft, so a phone with only a few hundred megabytes free will struggle with a long Reel. Free space by deleting unused apps, old videos and cached files from other apps, then try again.
- Check free space in your phone settings.
- Delete unused apps, old videos and large files you no longer need.
- Clear cached files from other apps, then try the Reel upload again.
Test again after these steps. If the test passes, stop here. If it fails, move to the next cause, because the next fix targets a different part of the chain and the problem is rarely in two places at once.
Cause 6. Your account is under review, or the content is flagged
If your account has had recent copyright strikes, spam reports, or an unusually high volume of posts in a short window, Instagram sometimes routes your content through extra moderation, which adds delay. A trial Reel also behaves differently, because trial Reels are not shown to your followers. Check Account Status in the app to see whether your content can be recommended, and avoid reuploading the same file many times in a row.
- Open your profile, go to Settings, then Account Status, and read any flags.
- Remove any content that breaks the rules and wait for the review to clear.
- Do not re-upload the same file many times in a row, because that adds to the flag.
Test again after these steps. If the test passes, stop here. If it fails, move to the next cause, because the next fix targets a different part of the chain and the problem is rarely in two places at once.
Cause 7. Instagram servers are busy or down
Instagram processing servers get busier at peak times, roughly evenings in your region and around major cultural moments, and more queued uploads means slower turnaround for everyone. If Reels stop working for you and your friends at the same time, on different phones and networks, the problem is on Instagram side. Wait, check the service status, and try again when the load has eased.
- Ask a friend on a different phone and network whether Reels are working for them.
- If they fail too, wait an hour and try again, because the load may ease.
- If only your account fails, work through the earlier causes again.
Test again after these steps. If the test passes, stop here. If it fails, move to the next cause, because the next fix targets a different part of the chain and the problem is rarely in two places at once.
The seven causes in fix Instagram Reels not uploading cover the faults that official support pages list most often.
When the 7 Fixes Do Not Solve It
If all seven causes have been checked and the problem stays, the fault is likely outside the steps above, in a device fault, an account restriction, or a service problem that only the vendor can see. Try the same task on a different device and a different network, because that test separates a device fault from an account fault in one move. If it works on the second device, the first device needs a repair or a clean install. If it fails on both, the account or the service is the problem.
Contact support with the evidence you have gathered, not with a general report. Note the exact error message, the time it happened, the device and app version, and which of the seven causes you already ruled out. Support can check server logs and account flags that you cannot see, and a clear report gets a faster answer than a long description of everything you tried in no order.
Keep a copy of anything important before you reinstall or reset. Export your designs, save your videos, and back up your customer list and your mail settings. A reinstall fixes many stubborn faults, but it also removes local drafts and cached files, so a backup made before the reinstall is the difference between a fixed problem and a lost project.
Work through fix Instagram Reels not uploading in order, and test after each cause, so you learn which fix actually worked.
A Checklist to Prevent a Repeat
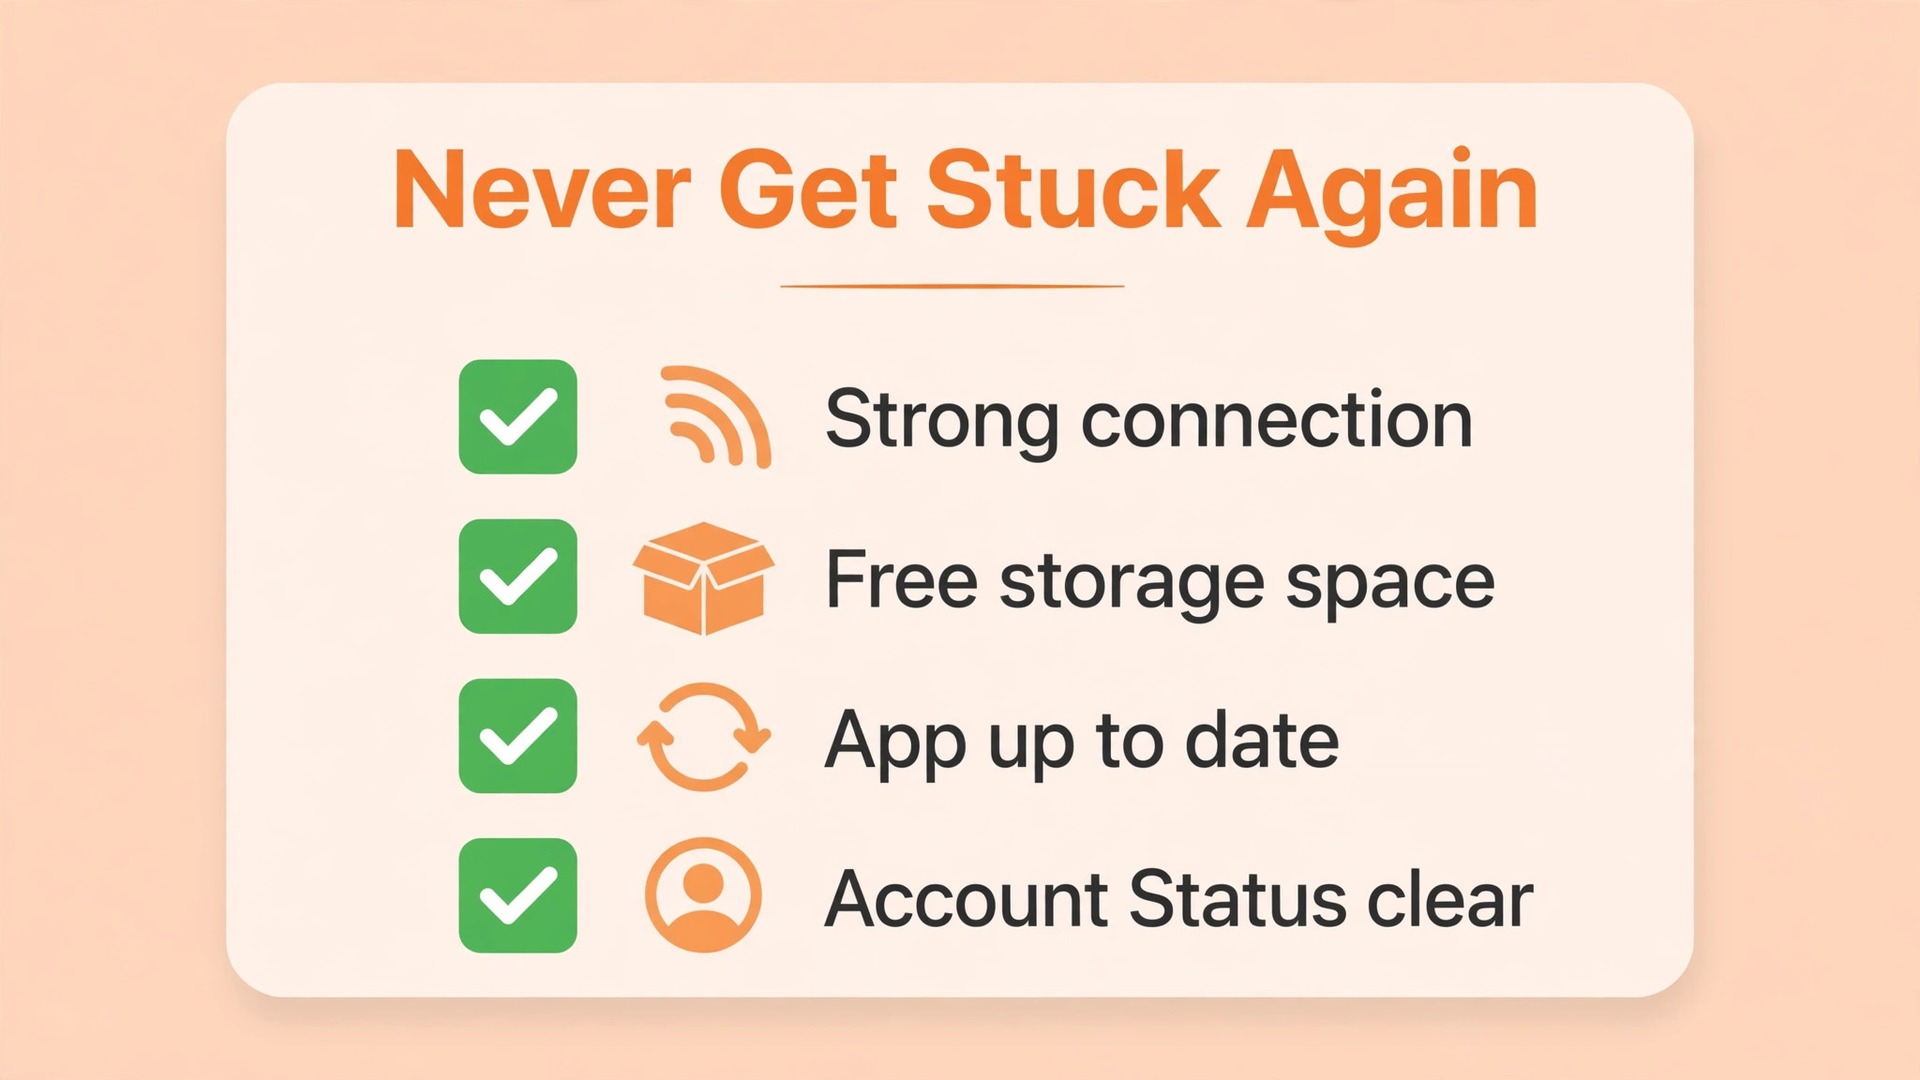
Prevention is mostly habit, not extra software. Keep the app updated, keep the operating system updated, and restart the device at least once a week, because updates fix the bugs that cause most of these failures and a restart clears the stuck processes that build up over time. Check the quick diagnosis in this guide once a month, even when nothing is broken, so you learn what normal looks like before a deadline.
Keep your files in the right format from the start, keep your storage above 10 percent free, and keep a backup of anything you cannot recreate. Test a download, an upload, or a test message before the day you need it, not on the day itself. Those four habits prevent most of the failures in this guide, and they cost a few minutes a month.
A note taken during fix Instagram Reels not uploading will save time the next time the same symptom appears.
How Long the Fixes Take
On a deadline, time matters more than completeness, so use this order. The mute check, the volume check and the quick diagnosis take about two minutes together, and they solve the most common cases. The device choice and the permission check take about five minutes, and they solve the next most common cases. The driver update, the cache clear and the reinstall take fifteen to thirty minutes, so save them for the cases where the quick checks have already failed.
If you have a meeting in five minutes, do only the quick checks and join by phone as a backup. Call into the meeting from your mobile device while you troubleshoot the computer, because a phone connection keeps you in the meeting while the computer problem is fixed after the call. That workaround is the one Zoom support pages and university help desks recommend most often, and it is better than missing the meeting while you chase a driver update.
Keep a note of which fix worked, because the same cause usually returns. A Bluetooth headset that fails once will fail again when it pairs to the wrong device, a browser that blocks downloads once will block them again after an update, and a domain that fails authentication once will fail again when a new sending tool is added. Write the cause and the fix in a note, and check that note first the next time the symptom appears.
The prevention checklist in fix Instagram Reels not uploading is the part most people skip, and the part that saves the most time later.
Mistakes to Avoid While Fixing
The most common mistake is changing five settings at once. When you change the device, the volume, the permission and the driver in one go, you never learn which change fixed it, and the next time the problem appears you have to change all five again. Change one thing, test it, and only then move on. That habit is slower in the moment and far faster over a year.
The second mistake is reinstalling first. A reinstall fixes many faults, but it also removes local drafts, cached files and saved settings, and it takes far longer than the quick checks. Try the two minute diagnosis, the device choice and the permission check before you reinstall, because most cases never need a reinstall at all.
The third mistake is ignoring the test step. A fix that is not tested is not a fix, it is a guess. Test after each cause with the same test you used at the start, whether that is a test meeting, a test download, a test upload or a test message. If the test passes, stop. If it fails, the next cause is the one to try, and the test result is the evidence that tells you so.
The fourth mistake is blaming the service when the device is at fault, or blaming the device when the service is down. Check the status page for the service before you spend an hour on your own settings, and test on a second device before you conclude the service is broken. Those two checks take five minutes and they prevent the most wasted troubleshooting time.
If you follow fix Instagram Reels not uploading from the top, most cases are solved before the fifth cause is reached.
Walking Through One Real Case
Take a real case. A cafe owner films a Reel of the morning bake, uploads it on the shop wifi, and watches it stall on processing for an hour. She switches to mobile data, force closes the app, and re-uploads, and it stalls again, so she checks the file and finds the Reel was exported in 4K at 60 frames per second, which is far heavier than Instagram needs. She re-exports it as a 9 by 16 MP4 at 1080 by 1920, H.264 video with AAC audio, at 30 frames per second, and uploads it on wifi.
The new upload finishes in under a minute and the Reel posts cleanly. The whole fix takes about fifteen minutes, and it uses three of the seven causes in this guide, the weak connection, the wrong file format, and the stuck upload queue. If she had kept re-uploading the same 4K file, she would still be waiting, because the file was the part that could not be processed.
The lesson from that case is the order, not the fix. Fix the connection, fix the file, and only then blame the app or the account. Write down which cause it was, because an export preset that produces 4K files will produce them again next week, and changing the preset once saves fifteen minutes on every Reel after that. Export at 1080p from the start, and the upload will rarely stall.
Once-a-Month Checks
Set a monthly reminder to run the quick diagnosis in this guide, even when nothing is broken. Check the app version, check the storage, check the permission, and send a test message, download or upload to confirm the whole chain still works. A monthly check that takes ten minutes will catch a permission switched off by an update, a storage limit that crept up, or a record that broke when a tool changed, weeks before it costs you a deadline.
Keep a short log of what you checked and what you found, because the log is what turns a one off fix into a habit. Note the date, the test result, and any change you made, and keep it in the same place every month. After three months the log will show the pattern, whether the same cause returns, whether the app updates on a schedule, or whether the storage fills at a steady rate, and that pattern is what lets you prevent the next failure instead of fixing it.
Things to Remember
Keep a simple log of what you decided and what happened next, because the log is what turns a one off purchase or fix into a habit you can repeat. Note the date, the price you paid or the fix you tried, and the result you measured a month later. After three months the log will show whether the choice saved money, whether the problem returned, and whether the next decision should be the same or different. That evidence is worth more than any review you read before you started, because it is about your business and your customers, not about an average user.
Test one change at a time, and give each change enough time to show a real result. A price test, a subject line test, a format test and a keyword test each need at least two weeks of data, because a single week can be skewed by a holiday, a quiet day, or a single large order. Changing three things at once makes the result unreadable, and you will end up keeping a change that hurt and dropping a change that helped, simply because you could not tell them apart.
Review the numbers on a fixed day each week, at the same time, and write the three numbers that matter in the same place every week. A review that takes ten minutes will catch a rising bill, a falling engagement rate, or a fix that stopped working, weeks before a monthly review would. The fixed time matters more than the tool, because a review without a time will be pushed aside by the urgent work of the day, and the problem will grow while nobody is watching it.
Keep your own copy of anything important, outside the tool that created it. Export your customer list, your course files, your designs and your campaign settings, and store them in a place you control. A tool can change its price, close your account, or lose your data, and the export you made last month is the difference between a bad week and a lost business. Set a monthly reminder to export, and test the export by opening it, because a backup you cannot open is not a backup.
Ask your customers what worked, because they will tell you in plain words what the numbers only hint at. A short question at the end of a purchase, a reply to a message, or a comment on a post will reveal which offer mattered, which page confused them, and which feature they actually used. That feedback is free, it arrives every week, and it is more useful than a survey sent once a year, because it comes from people who have just bought from you.
Plan for the busy month, not the quiet month, because the plan that only works when you have spare time will fail exactly when you need it most. Set a minimum version of the routine, one post, one campaign, one check, that you can keep even in your busiest week, and do the full version when time allows. The minimum keeps the rhythm alive, and the rhythm is what earns, while a plan that stops for a month takes a month to restart.
Compare your results with your own last month, not with a national brand, because the benchmarks in this guide come from accounts and lists far larger than yours. A small business with 800 subscribers, 500 followers, or a $1,500 budget will never match the averages of a company with a team of ten, and it does not need to. What matters is whether your numbers improve month by month, whether the cost per result falls, and whether the customers keep coming back.
Give every new tool, fix, or plan a clear end date for the test, and decide in advance what result will make you keep it, fix it, or stop it. A test without an end date drifts on forever, and a test without a decision rule ends with you keeping a tool you do not need because you never decided to stop. Write the date and the rule down when you start, and honour it when the date arrives, even when the result is disappointing.
Write the plan down in one page, and keep it where you can see it, because a plan that lives only in your head will change every week without you noticing. One page with the goal, the three numbers that matter, the weekly rhythm, and the review date is enough, and it is the document you will actually read. When a new idea arrives, check it against the one page first, and only add it when it fits, because a plan that grows every week is not a plan, it is a list.
Talk to one customer a week, in person or by message, and ask what nearly stopped them buying. The answer will usually be a small thing, a confusing price, a missing detail, or a slow reply, and fixing that small thing will earn more than any new campaign. That weekly conversation is the cheapest research a small business can do, and it keeps the plan grounded in real customers rather than in benchmarks and averages.
Frequently Asked Questions
Why is my Reel stuck on processing?
A Reel stuck on processing is usually your connection, the app cache, or Instagram servers rejecting the file. Wait five minutes, then switch networks, force close the app, clear the cache, and re-upload a fresh export at 1080p.
What is the best export setting for Reels?
The safest file is a 9 by 16 MP4 at 1080 by 1920, H.264 video with AAC audio, at 30 frames per second. That format matches the Instagram Help Center guidance for Reels and avoids the codec and resolution problems that stall uploads.
Why does my Reel upload fail at 95 percent?
A failure near the end usually means the connection dropped, the upload queue stalled, or the phone ran out of storage. Switch to strong wifi, free up storage, force close the app, and re-upload the file.
Can I upload a Reel longer than 90 seconds?
Instagram Help Center says you can record and edit Reels up to 20 minutes, but upload limits can vary by account. A long file that fails may simply be over your limit, so trim it and try again.
Does a VPN stop Reels uploading?
Yes, a VPN can interfere with media uploads, and so can some private DNS tools. Turn the VPN off, upload on a direct connection, and turn the VPN back on after the upload succeeds.
Should I keep re-uploading the same Reel?
No. Do not keep re-uploading the same file, because Instagram favors the original copy and repeated uploads can add to an account review flag. Fix the file or the connection first, then upload once with a fresh export.