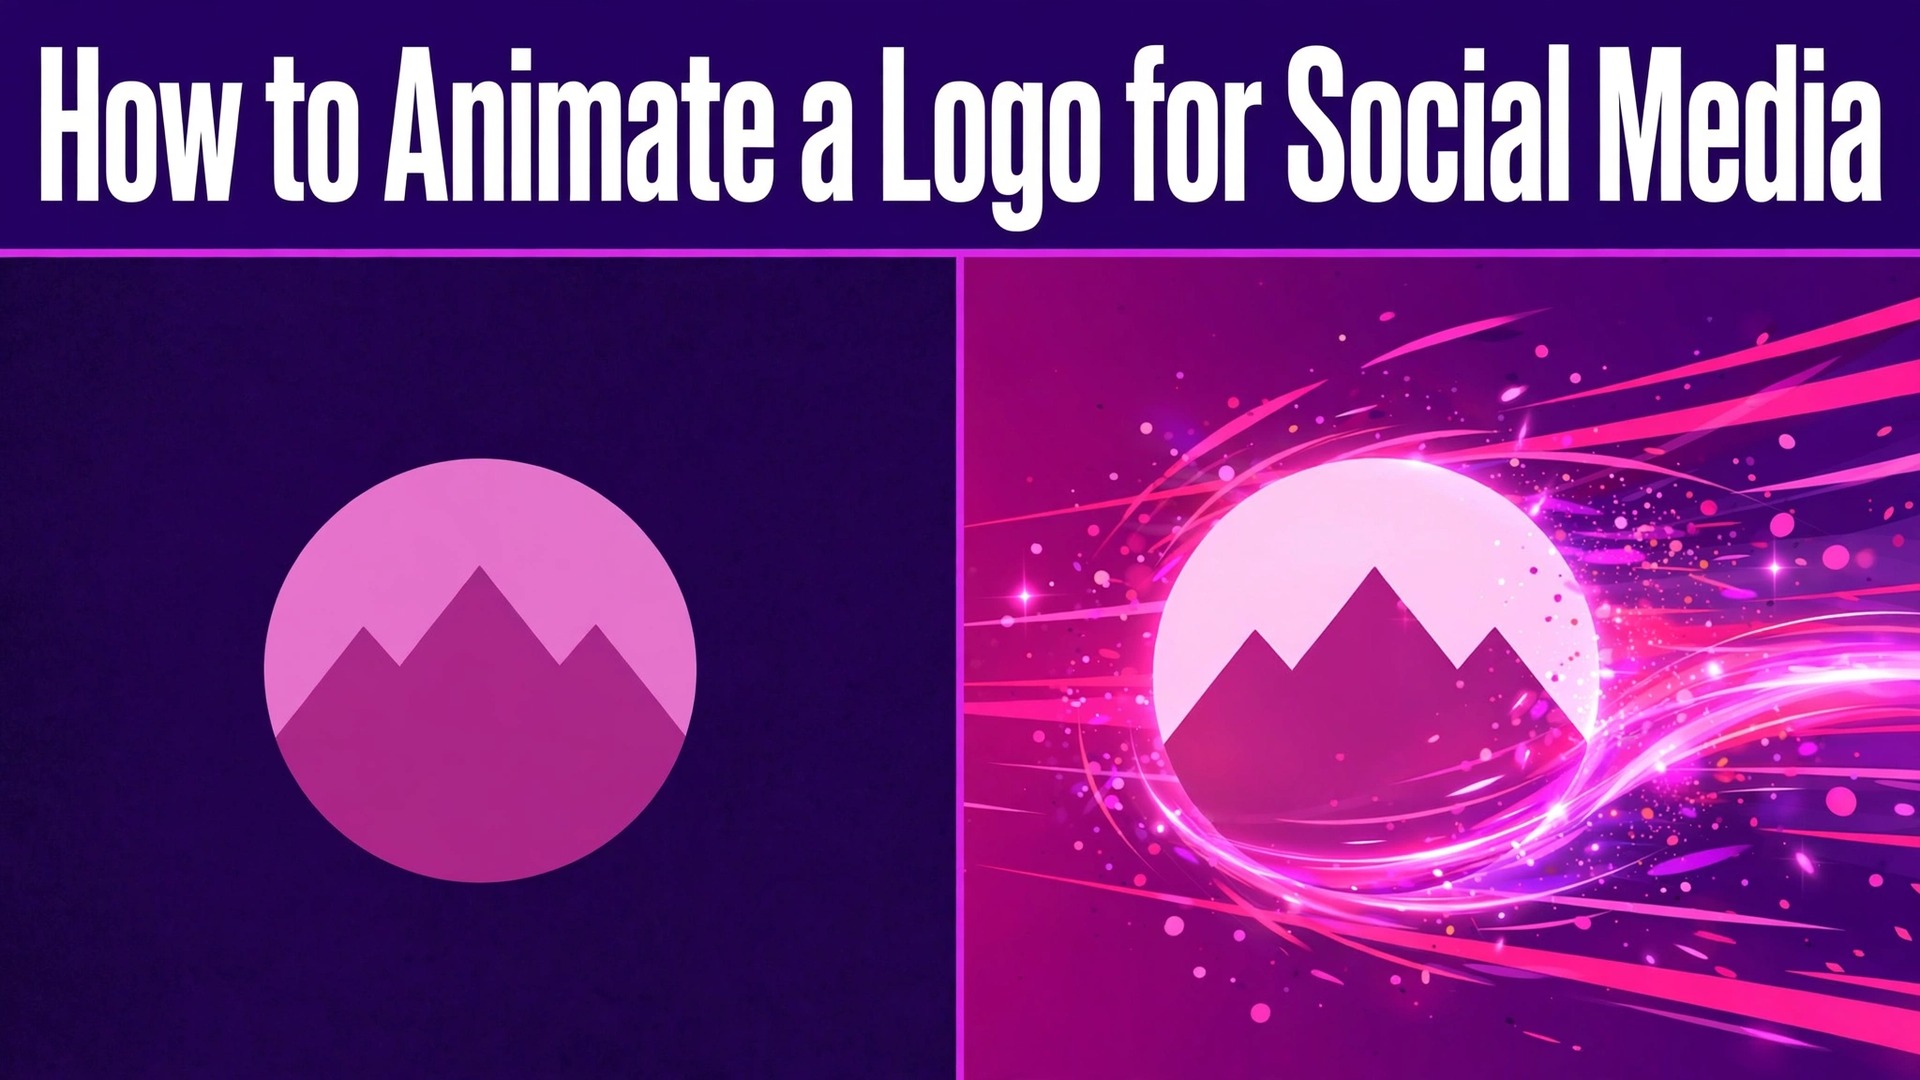
A still logo disappears in a feed built for motion. Reels, TikTok clips, and Stories all reward movement, and a static mark at the end of a video reads as an afterthought. A logo that fades in, draws itself, or snaps into place tells the viewer the brand is alive, and it does that in two seconds without a word. This guide shows you how to animate a logo for social media without hiring a motion designer, from the file you need to start with to the export settings for every platform. You can finish the first version in under an hour, and the tools below cover every budget from free to professional.
The Short Answer First
Animating a logo means turning a still mark into a short clip, usually two to five seconds, in which the logo appears, assembles, or moves. The clip opens or closes a video, starts a Reel or Story, fills a loading screen, or sits in an email signature as a GIF. The fastest route is a template tool. Upload a PNG or SVG, pick a style, set colors, and export as an MP4 for video or a GIF for email and web. Canva and Adobe Express cover that route in minutes. Renderforest and Animaker cover the next step up, with template reveals closer to broadcast work. After Effects and Blender cover full control, for a signature motion nobody else has.
Before You Animate: Get the Logo File Right
Motion makes every flaw in a logo file visible, so the file you start with decides the quality of the result. The best file is an SVG, because it is a vector and it scales to any size without losing sharpness. The next best is a PNG with a transparent background at high resolution, at least 2000 pixels on the longest side. A JPG with a white background is the worst starting point, because the white box will show as a rectangle when the logo moves over video, and the compression softens the edges.
If your logo has a tagline, decide whether it moves with the mark or appears after it. A tagline that appears a beat after the logo reads as a second line of information, and it gives the viewer time to absorb the mark first. If the logo has fine detail, such as thin lines or small text, test it at the size it will actually play. A detail that reads on a desktop can vanish on a phone, and the fix is a simplified version of the logo for small screens, not a bigger export.
Color matters more in motion than in print. Match the brand colors exactly, using hex codes rather than picking from a color wheel by eye. A logo that ends the animation in a slightly different shade from the logo on your website looks like a mistake, even if nobody can name the difference. Check the end frame first, because the end frame is the image the viewer remembers. It should show the logo exactly as it appears everywhere else, in the right colors, at the right size, holding still long enough to read.
How to Animate a Logo for Social Media in 8 Steps
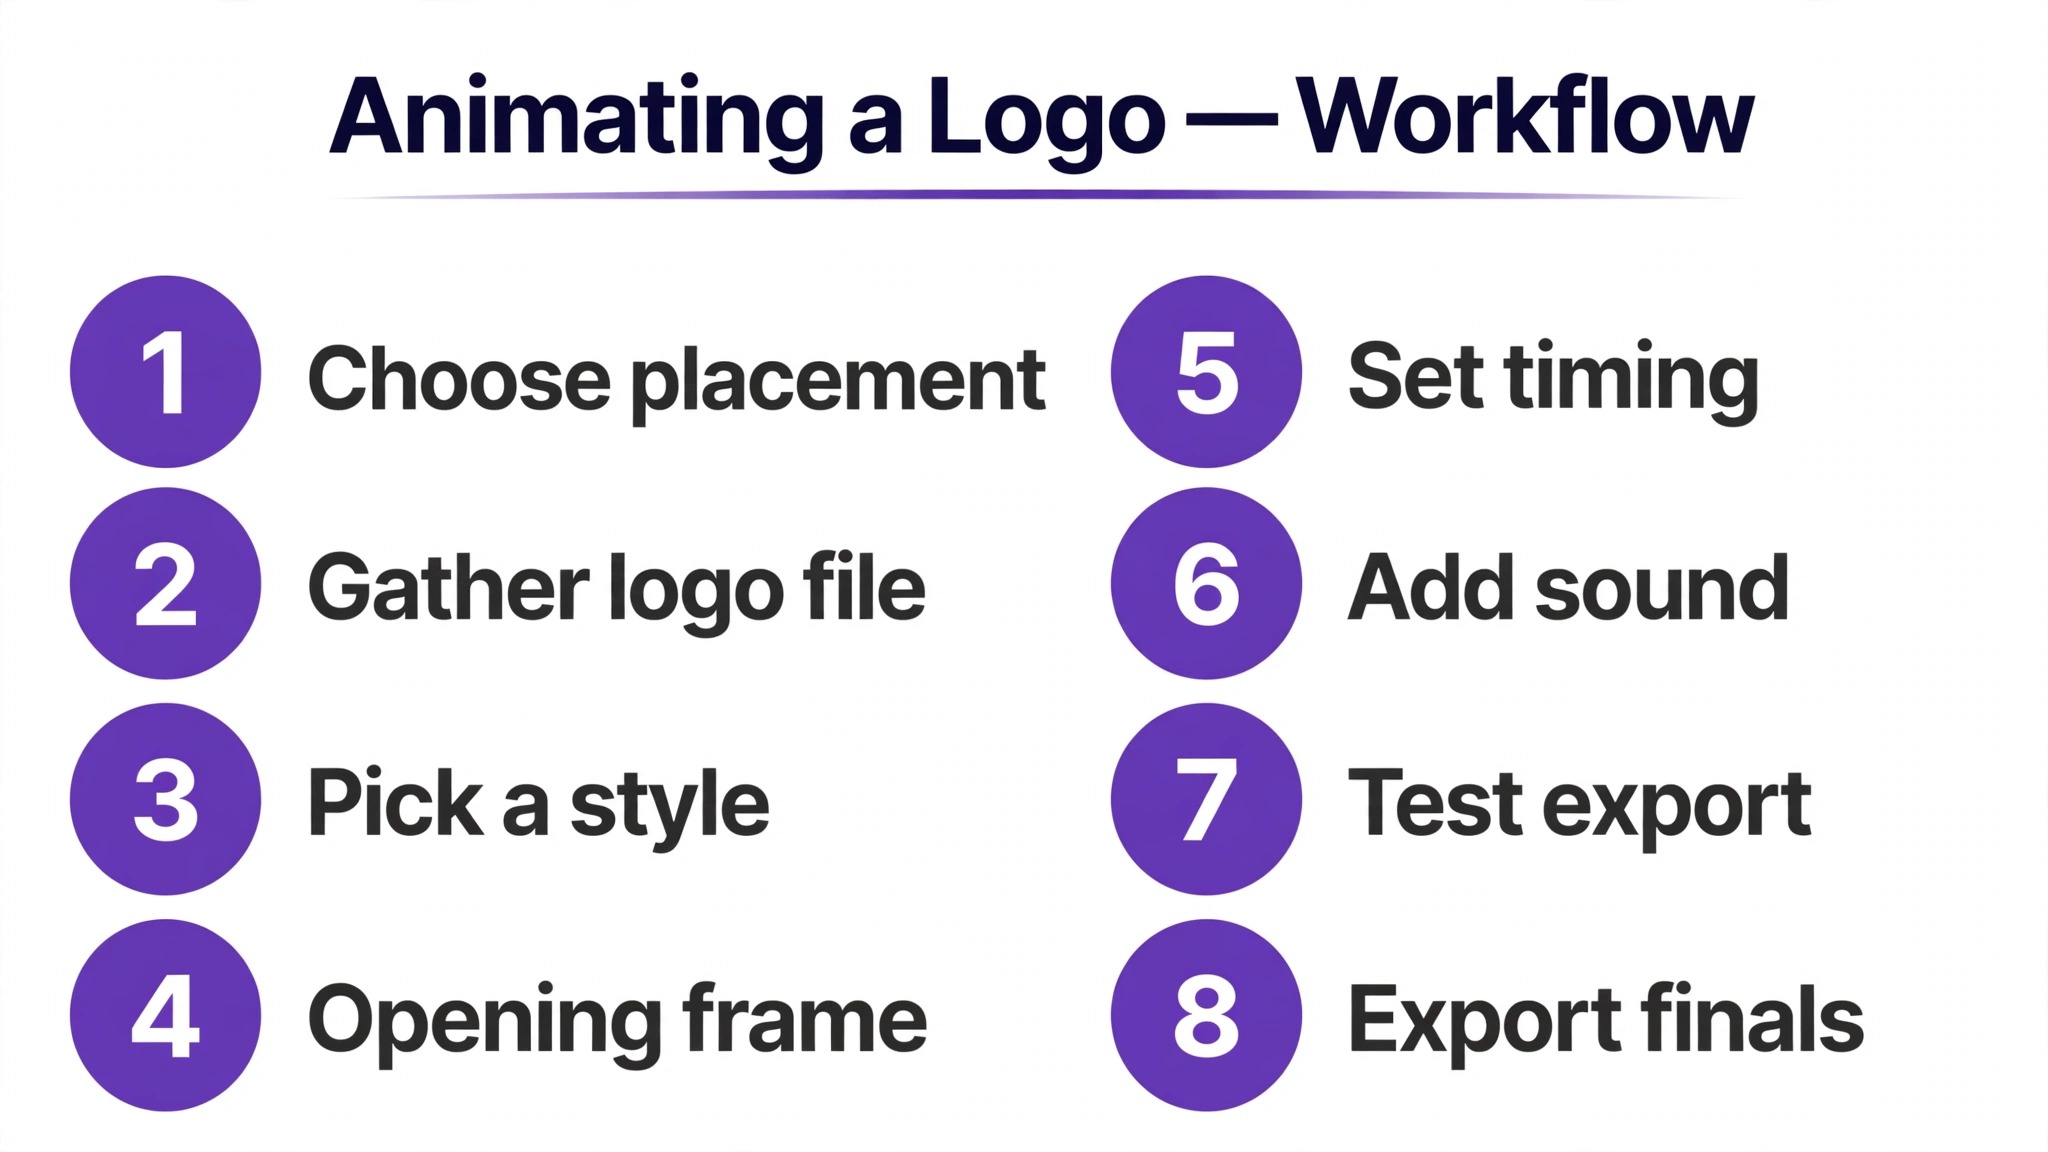
The workflow below works in every template tool, and the same order applies in professional software. Follow it once, and the second animation takes half the time.
- Decide where the animation will play before you open a tool. A square or portrait clip fits Reels, Stories, and TikTok, while a 16 by 9 clip fits YouTube intros and LinkedIn video. The format decides the canvas, and the canvas decides the layout. Animating first and resizing later means rebuilding the motion, which wastes the whole session.
- Gather the best logo file you have, an SVG or a high resolution PNG with a transparent background, and confirm the colors with their hex codes. If the only copy is a JPG, remove the background first with a background removal tool, and check the edges at full size. A rough edge that nobody notices in a still image becomes obvious the moment the logo moves.
- Pick an animation style that matches the tone of the brand. Calm brands suit fades, slides, and draws. Energetic brands suit fast scales, pops, and snaps. A law firm that bounces its logo looks unserious, and a streetwear brand that fades in slowly looks asleep. The style is a brand decision, not a decoration, so choose it the way you would choose a font.
- Build the opening frame first, with the logo off screen, faded out, or broken into parts, depending on the style. The opening frame sets up the motion, and the viewer should be able to guess what is coming without seeing it yet. Keep the background simple, because a busy background competes with the logo for attention.
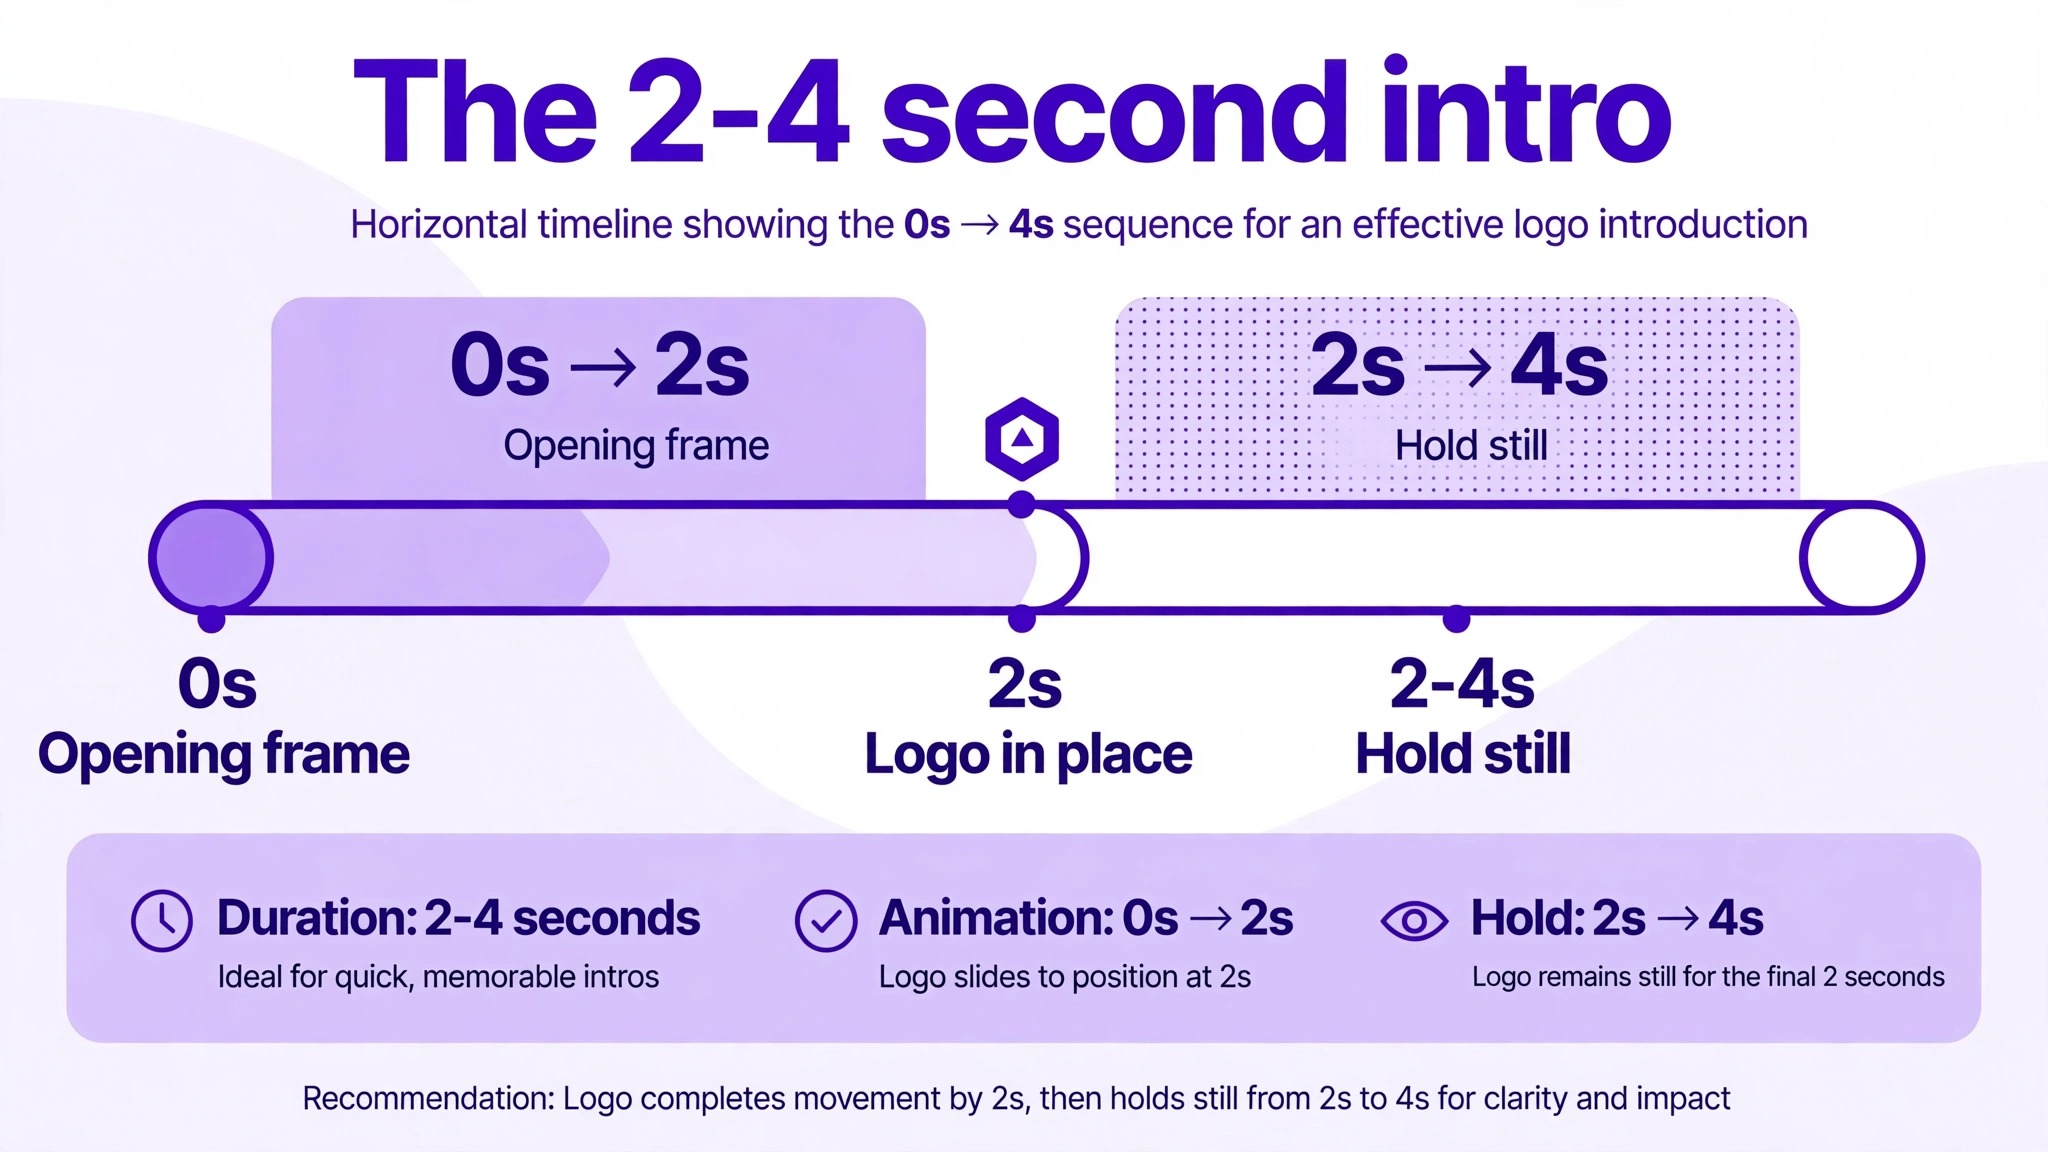
- Set the timing. Two to four seconds is enough for an intro, and a loading loop should feel shorter still. The logo should reach its final position by the halfway point and hold still for at least a second, so the viewer can read it. Motion that never settles feels unfinished, and a hold that is too long feels frozen. Watch the clip three times in a row. If you are bored by the third viewing, it is too long.
- Add sound only if the platform and the context suit it. A short whoosh or a soft chime can lift an intro, and silence is better than a stock sound that does not fit. Never let the sound carry the animation. The clip must work muted, because most social video plays muted, and the motion has to do the work alone.
- Export a test version at the size for one platform, and watch it on a phone. Check the edges for cropping, the text for readability, and the colors against the brand. If the logo looks small, enlarge it and export again. If the motion feels fast, slow it by a few frames. One round of fixes is normal, and it is cheaper than publishing a clip you will want to replace.
- Export the final versions for every platform you use, and save the project file. A single animation usually needs a portrait version, a square version, and a wide version, and exporting them now takes minutes while rebuilding them later takes an hour. Name the files by platform and size, so the next person on the team can find the right one without asking.
The Best Tools to Animate a Logo
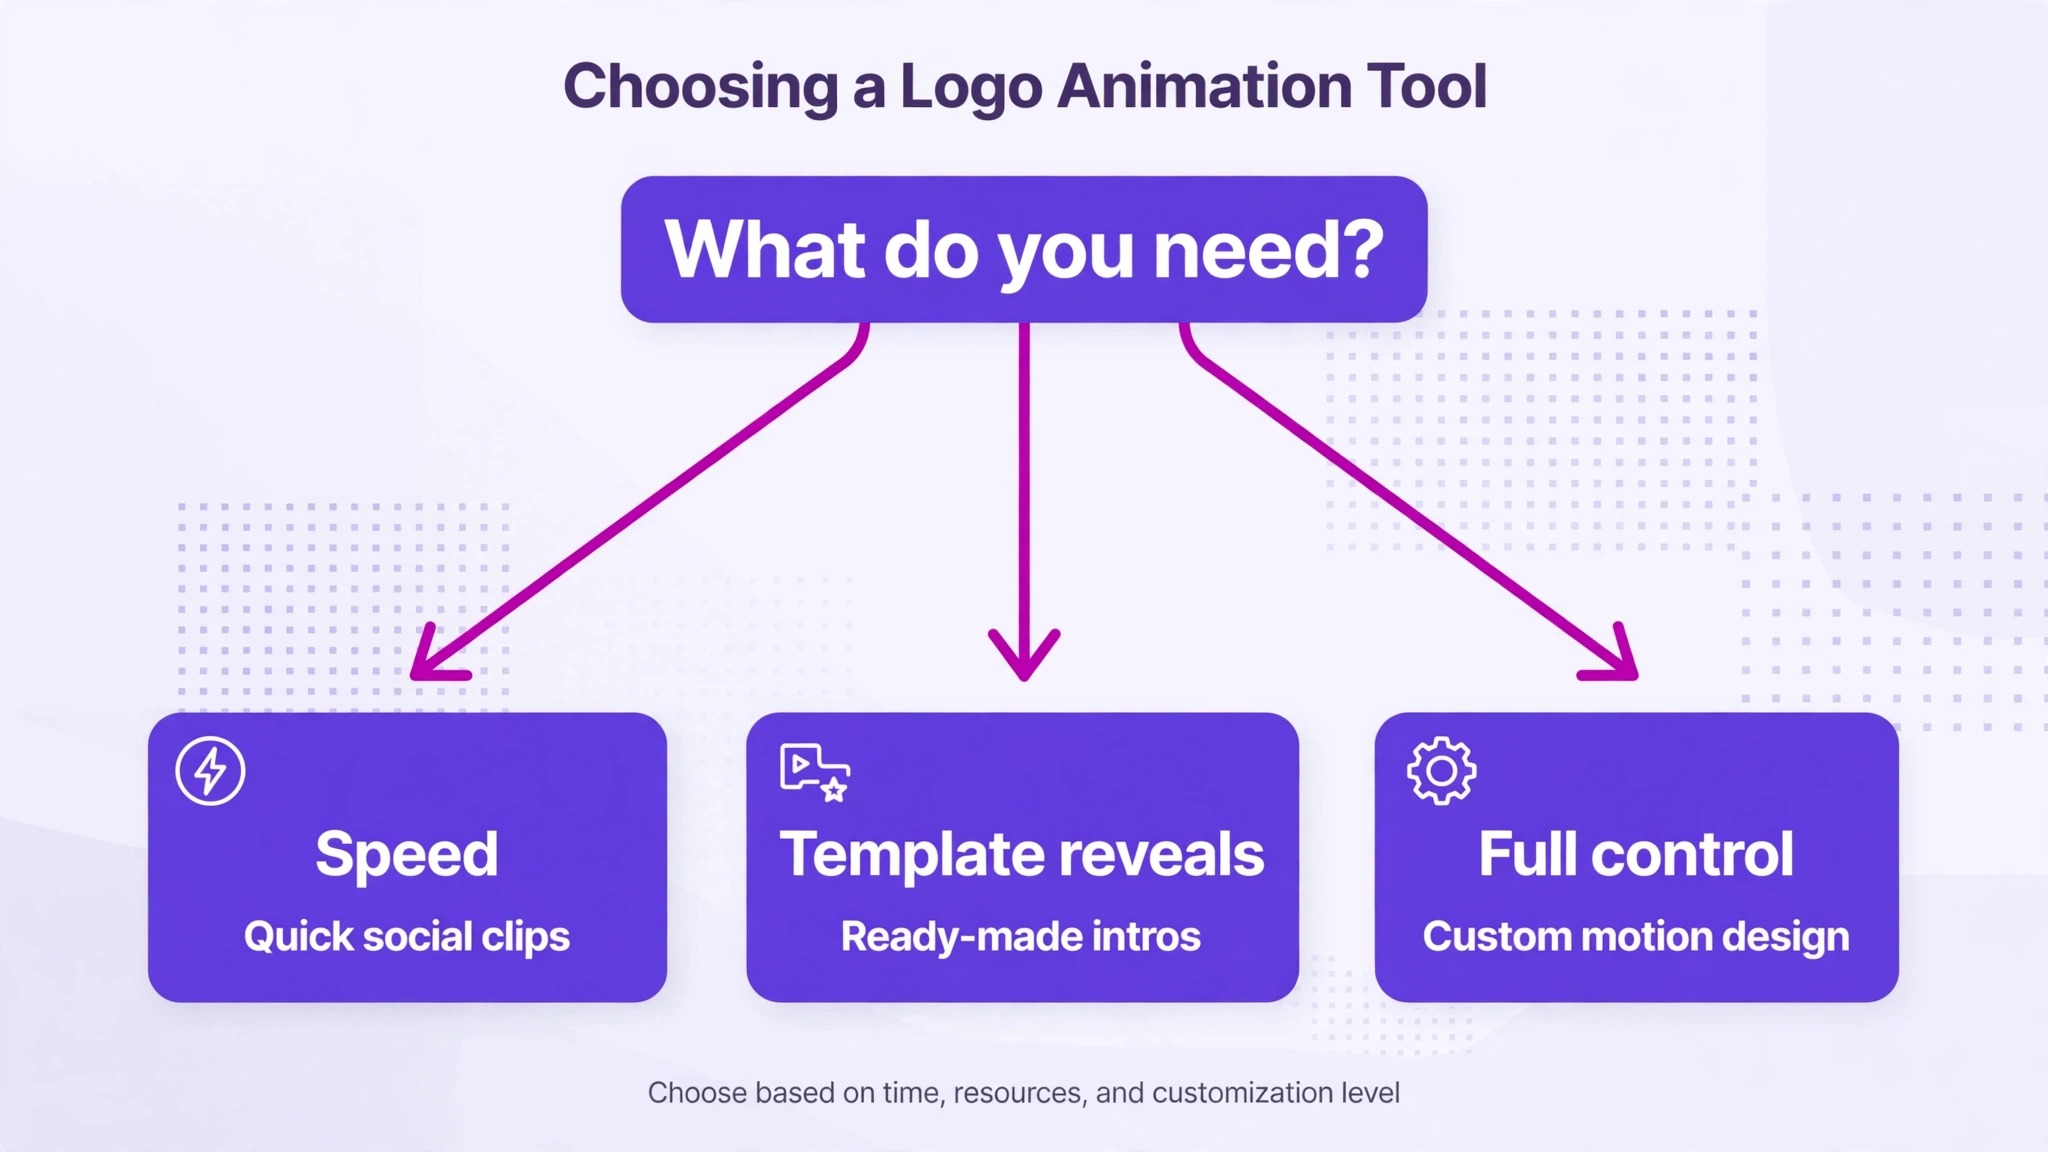
The tools below split into three groups. Template tools are fastest and cheapest. Mid-range tools give you template reveals with more polish. Professional tools give you full control and a learning curve to match. Pick by how often you will animate, not by how impressive the feature list looks.
Canva
Canva is the quickest route from a static logo to a moving one. Upload your logo as a PNG or SVG, place it on a design, and apply a style such as Pop, Tumble, Stomp, Drift, Fade, or Breathe. You can animate elements and text separately, or set the whole design in motion, and text effects include Typewriter, Burst, Roll, and Shift. Export as an MP4 video or a GIF. The free plan covers the whole job, and Pro adds brand kits and background removal. The limit is control. Timing and easing are preset, so the result looks like a preset. For stories, short social videos, and a basic intro, that is enough.
Adobe Express
Adobe Express works much like Canva, with animation presets for text and graphics and better typography control. It makes most sense if your team already uses Adobe tools, because brand colors, fonts, and logos can be shared from Creative Cloud libraries. The free plan includes thousands of templates and core editing tools. Premium costs 9.99 dollars a month and adds more fonts, templates, and brand controls. Choose Express when the logo animation sits inside a larger set of social graphics and you want the same fonts and colors across all of them without re-entering them each time.
Renderforest
Renderforest is the intro and promo specialist, with a large library of logo reveal templates from minimal to cinematic. Upload the logo, choose a template, set the colors, and render. The free plan exports HD720 video with a watermark and a three minute limit. Paid plans start near 9.99 dollars a month, with Lite removing watermarks and unlocking premium templates, and Pro adding Full HD1080, commercial use rights, and a stock library. The catch is the template boundary. You customize within the template structure, and you do not animate freely. For a polished channel intro or a product launch clip, that boundary rarely matters.
Animaker
Animaker is the value pick for teams that want more animation styles per dollar. It covers 2D character animation, whiteboard, infographics, and kinetic typography, alongside logo reveals, and paid plans start near 12.50 dollars a month billed annually. The free plan watermarks exports and caps downloads. Animaker suits small businesses that animate more than a logo, because one subscription covers explainer videos, social clips, and presentations. Read the license terms before publishing, because the cheaper tiers restrict commercial use, and watermark free commercial exports need a higher plan.
Biteable
Biteable is a video maker with logo animation templates and a drag and drop editor built for speed. Pick a template, drop in your logo, adjust the text and colors, and export. It is designed for teams that need a professional looking clip in an afternoon without learning a timeline. The free plan watermarks exports, and paid plans remove the watermark and raise the resolution. Check the current pricing page before you commit, because Biteable changes its plans more often than the larger tools. Choose Biteable when the logo animation is one clip among many, and you want the same tool for the rest of the video.
PixTeller
PixTeller is a smaller editor with a dedicated logo animation maker and a library of animated templates. Upload the logo, pick a style, and export as a video or a GIF. It suits creators who want a simple animation without the weight of a full design platform, and it runs entirely in the browser. The free plan covers basic exports, and a paid plan adds more templates and higher resolution. PixTeller is the least known tool on this list, and that is both its strength and its weakness. The templates are less reused than the popular ones, and the support and template library are smaller.
Adobe After Effects
After Effects is the professional choice, and the only tool here that gives full keyframe and easing control. You build the motion frame by frame, with expressions, masks, and 3D layers, and the result can be a signature animation nobody else has. It runs through an Adobe Creative Cloud subscription, so check the current pricing page for the cost in your region. The learning curve is real, and a first animation can take a day rather than an hour. Choose After Effects when the logo animation is a brand asset that will play for years, and the budget covers either the subscription and the learning time, or a motion designer who already knows the tool.
Blender
Blender is free and open source, and it animates logos in true 3D. A logo can rotate in space, catch light, and cast shadows, which no template tool can match. The cost is time. Blender is a 3D suite, not a logo tool, and learning enough of it for one animation takes days. It suits teams that already use Blender for product renders or 3D work, and creators who want a 3D logo reveal without paying for cinema software. For everyone else, a template tool finishes the job before Blender finishes its first tutorial.
Free vs Paid Logo Animation Tools
Every template tool on this list has a free plan, and the free plan is enough for a first animation. The catch is the watermark. Most free exports carry one, and a watermark on a brand asset looks unprofessional, so a free plan is best for testing a style before you commit. The paid tier removes the watermark, raises the resolution, and adds commercial use rights, which matter the moment the clip appears in an ad or a client video.
Paid plans start near 10 dollars a month billed annually, with Adobe Express Premium at 9.99 dollars a month, Renderforest from near 9.99 dollars a month, and Animaker from near 12.50 dollars a month billed annually. Canva Pro is a paid plan too, and its price has moved more than once, so check the current pricing page before you budget. The differences between these tools are smaller than the marketing suggests. Pick the tool whose editor you already know, because the subscription you actually use beats the cheaper one you never open.
Pay when the animation earns money. A channel intro that plays on every video, a loader on a store that converts, or an ad clip that runs daily all justify about 10 dollars a month. A one off clip for a personal project does not, and the free plan plus a clean export is enough. If you pay for one month to export a batch of clips, then cancel, most tools let you keep the exports, and that is a legitimate way to get a professional result for the price of a single month.
Export Settings for Every Platform
One animation, several exports. Each platform has a shape it prefers, and a clip exported at the wrong size will be cropped or letterboxed. Build the animation once, then export it at each size below. Getting the export right is the last technical step in how to animate a logo for social media.
| Platform | Size in pixels | Format | Notes |
|---|---|---|---|
| Instagram Reels and Stories | 1080 by 1920 | MP4 | Portrait, full screen |
| TikTok | 1080 by 1920 | MP4 | Portrait, full screen |
| YouTube intro and outro | 1920 by 1080 | MP4 | Wide, 16 by 9 |
| Facebook feed | 1080 by 1080 | MP4 | Square, works on mobile |
| LinkedIn video | 1920 by 1080 | MP4 | Wide, or square for feed |
| X posts | 1920 by 1080 | MP4 | Wide, or square for feed |
| Website loader | 1080 by 1080 | WebM or GIF | Transparent background, loop |
| Email signature | 600 by 200 | GIF | Small file, under 1 MB |
Export as an MP4 for video, because every social platform accepts it and the file stays small. Use a GIF only for email and web, where video does not play, and keep the GIF short and the file under 1 MB or it will load slowly. Use a transparent WebM or a MOV with an alpha channel when the logo must sit over footage, such as a stream overlay or a video watermark. Check the end frame on each export, because a resize can shift the logo by a few pixels and a shift is visible when the clip loops.
How Long Should a Logo Animation Be
Length is a brand decision disguised as a technical one. A logo intro of two to four seconds feels confident. Shorter than two seconds feels like a glitch, and longer than five feels like a wait. The logo should reach its final position by the halfway point and hold still for at least a second, so the viewer can read it before the video moves on.
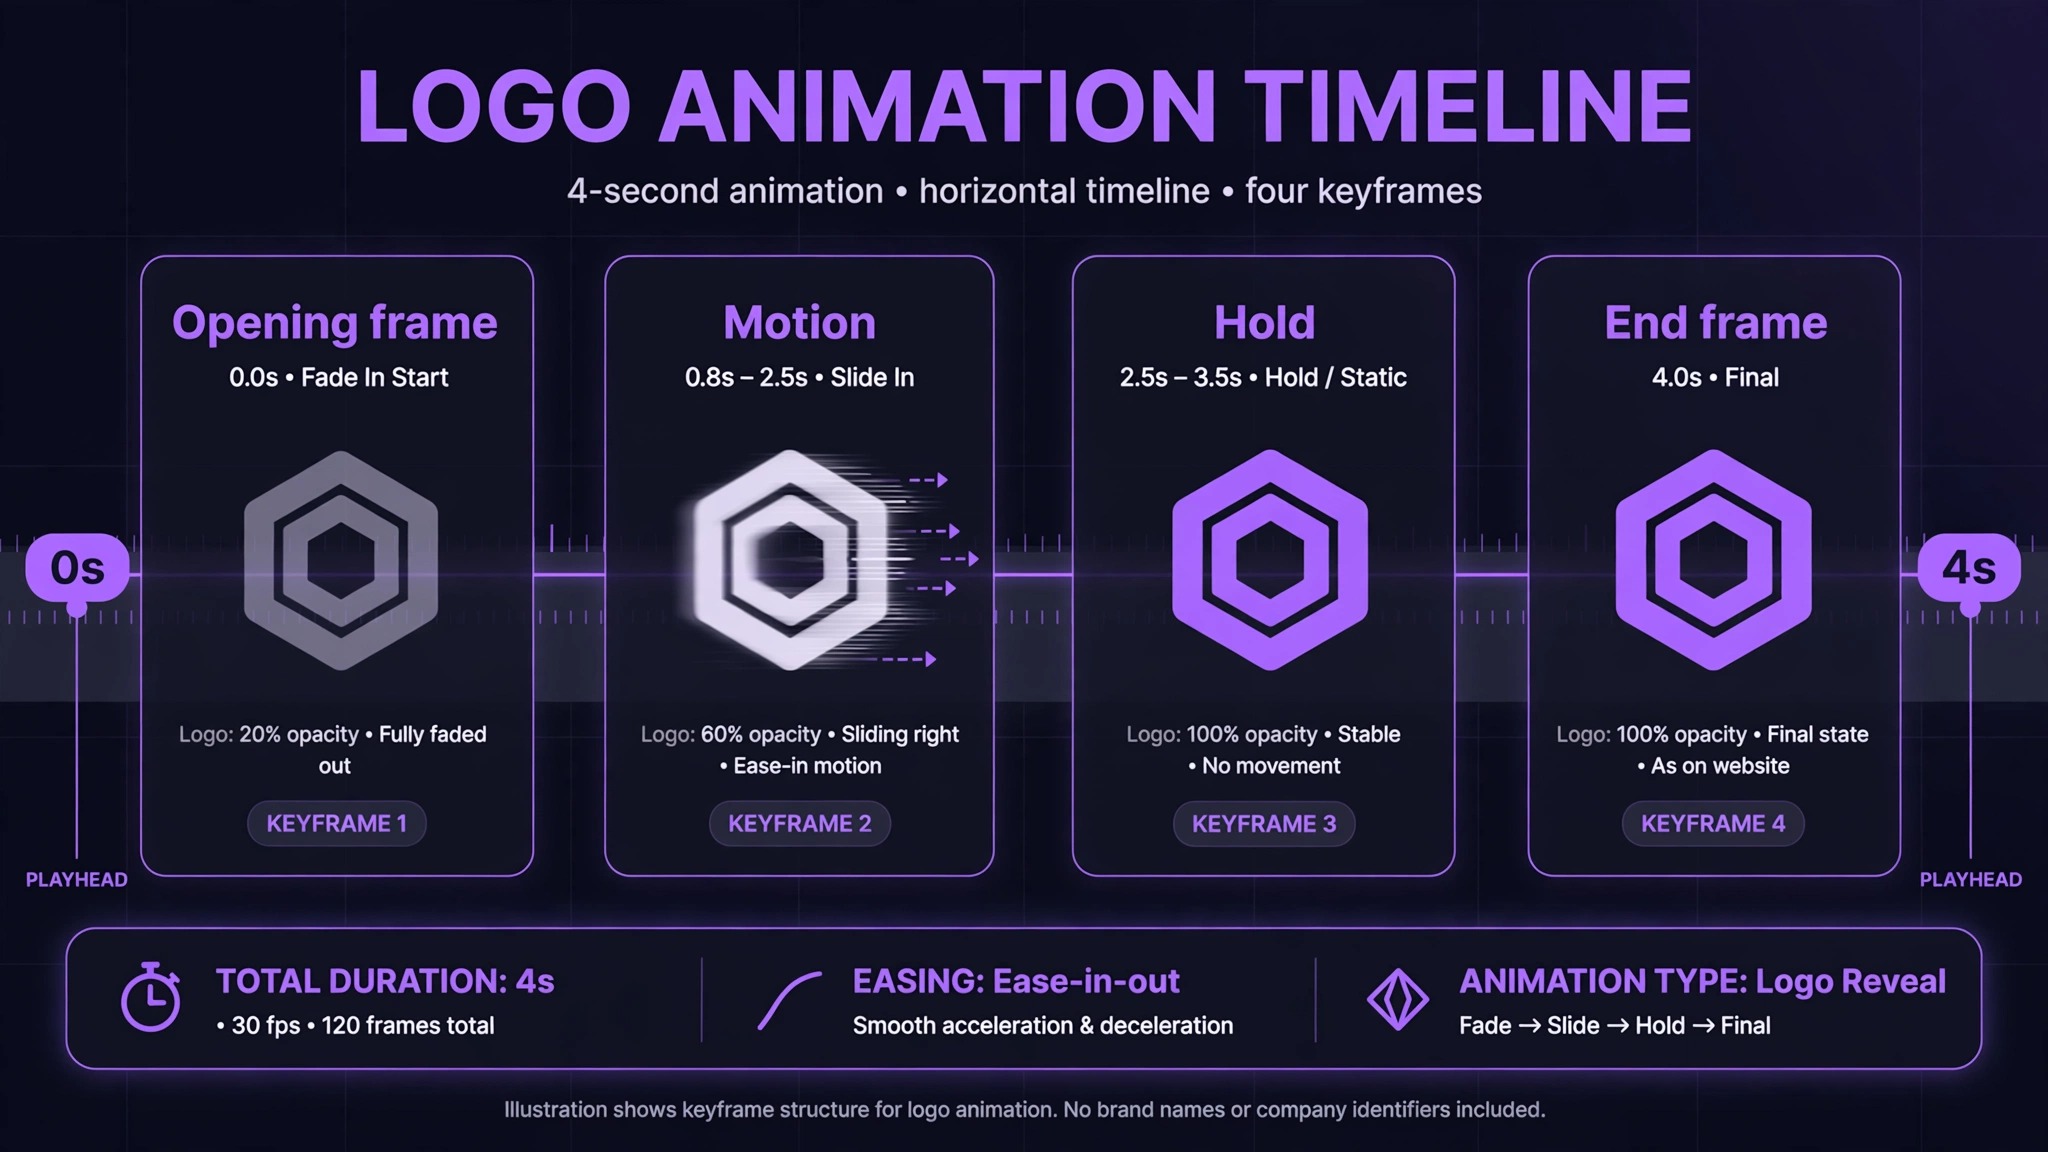
A loading loop is different. It should be one to two seconds and loop cleanly, with the end frame matching the start frame so the repeat is invisible. A stream stinger can be under a second, because its job is to mark a cut, not to introduce a brand. Test the length by watching the clip three times. If you are bored by the third viewing, cut a second. If you miss the logo, add half a second to the hold, not to the motion. That judgment is part of learning how to animate a logo for social media well, because timing separates a clip that feels confident from one that feels rushed.
Animation Styles That Fit Your Brand
Style is the personality of the motion, and it should match the personality of the brand. A fade is calm and premium, and it suits finance, legal, and luxury brands. A slide is direct and modern, and it suits tech and consulting. A pop or a bounce is playful and energetic, and it suits food, kids, and streetwear. A draw-on effect, where the logo draws itself line by line, suits craft, design, and education brands, because it feels handmade. A glitch suits gaming and music, and a morph suits brands that want to feel clever.
The safest rule is one style per animation. Mixing a bounce with a fade and a spin makes the logo look indecisive. Pick the style that matches the brand, use it consistently across every platform, and the motion becomes part of the identity, the same way a font or a color becomes part of it. When a viewer recognizes the motion before they read the name, the animation has done its job. That consistency is what turns a trick into a brand asset when you learn how to animate a logo for social media.
Where to Use Your Animated Logo
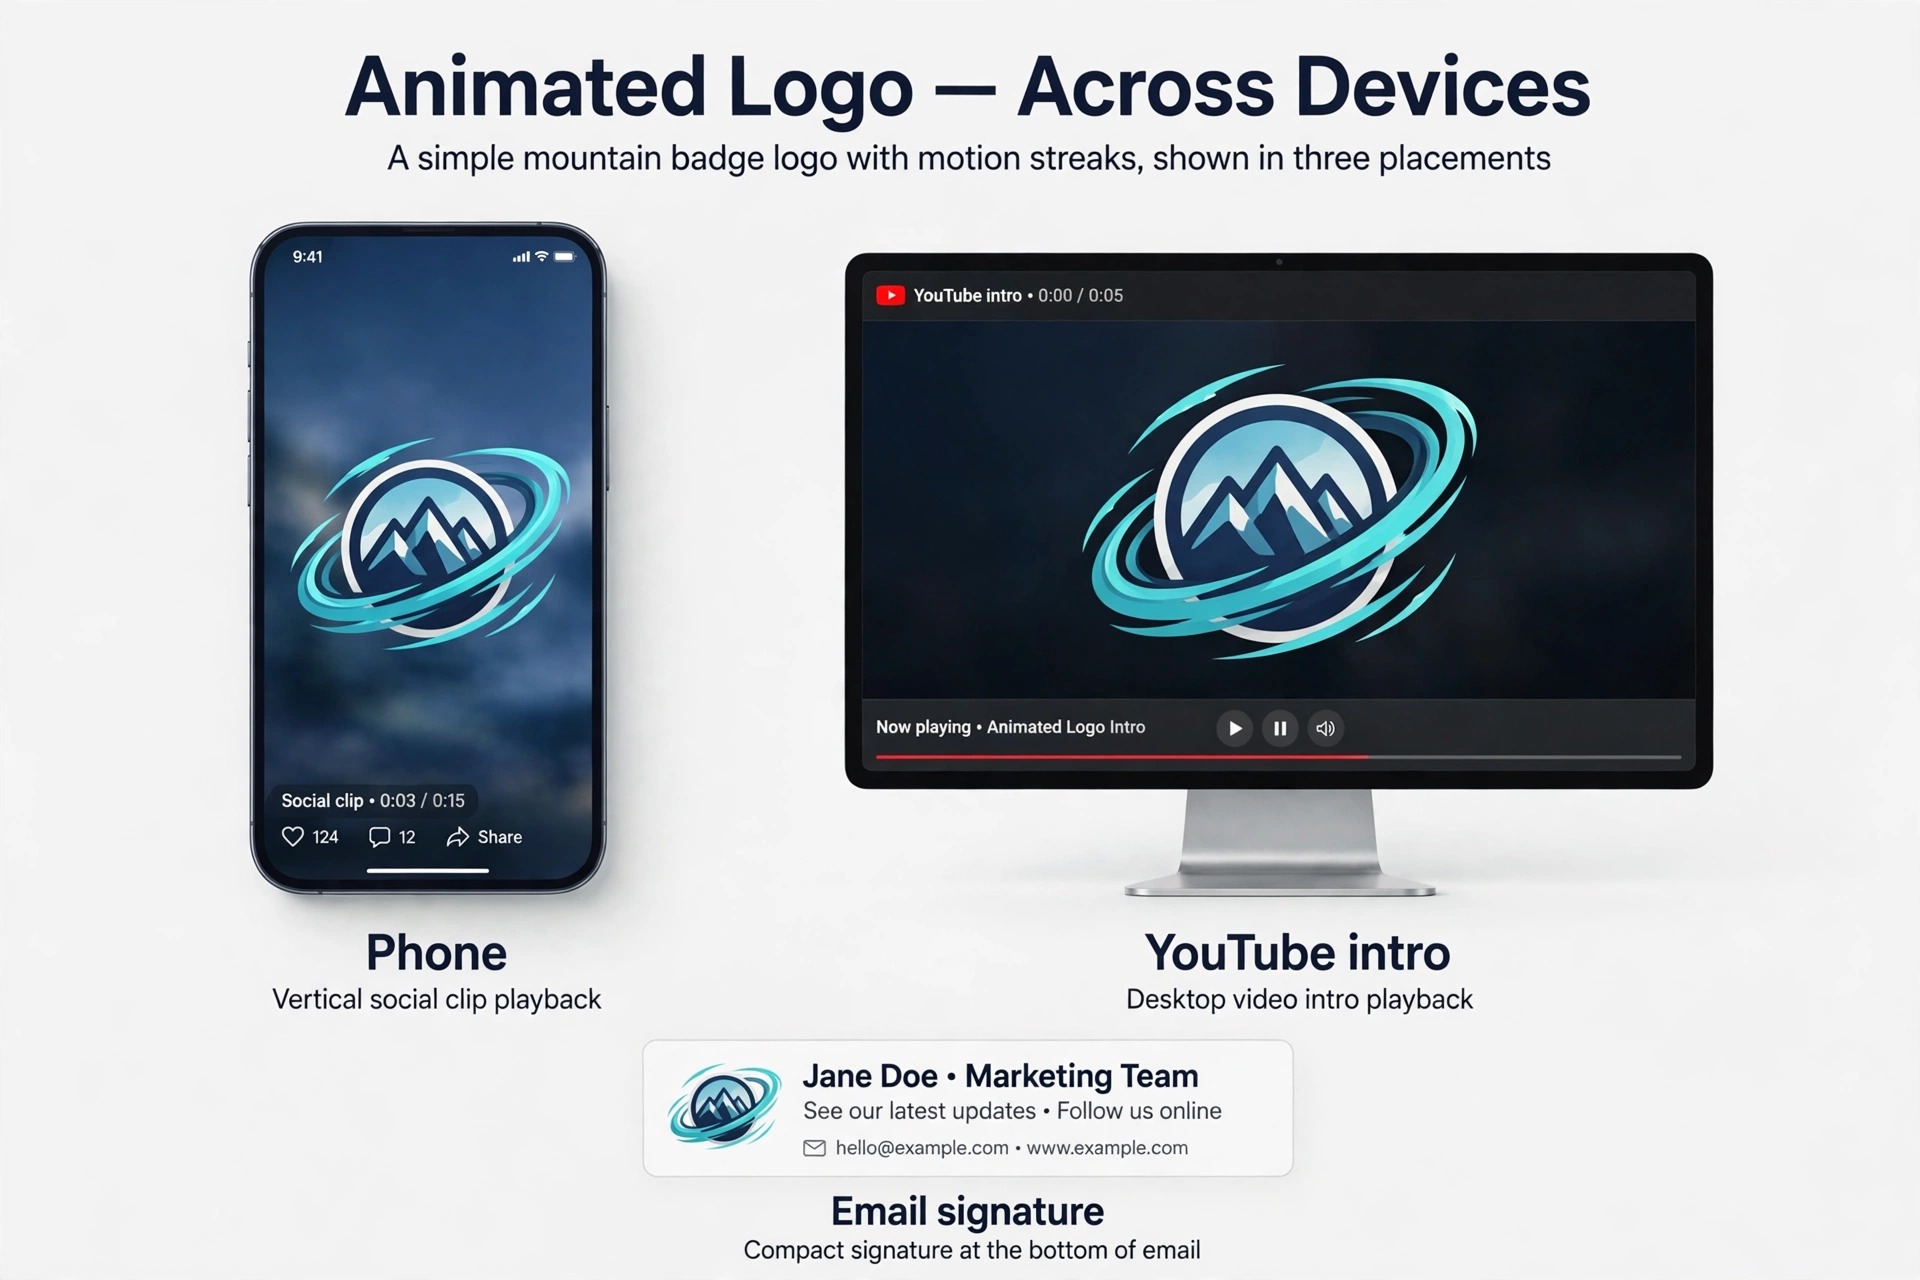
An animated logo earns its keep when it appears in more than one place, because the same clip can work across every channel with a different export size. The most common use is the video intro and outro. A two to four second clip at the start of a YouTube video sets the tone, and the same clip at the end gives the viewer a clean place to subscribe. Keep the intro short, because a long intro on every video is the fastest way to lose a new viewer.
Reels, Stories, and TikTok clips use the portrait version as an opener. A logo that assembles in the first second of a Reel tells the viewer whose video this is before they scroll past. The same clip works as a stream overlay, sitting in a corner or marking a scene change, and as a website loader, where a one to two second loop fills the wait while the page loads. An email signature takes the GIF version, and a presentation takes the wide MP4 as a title slide.
The rule for reuse is simple. One animation, many exports, and the same style everywhere. When the motion is consistent, viewers start to recognize the brand by the movement alone, and that recognition is worth more than any single clip. Save the project file, export the sizes you need in one session, and the animation becomes an asset instead of a one off task.
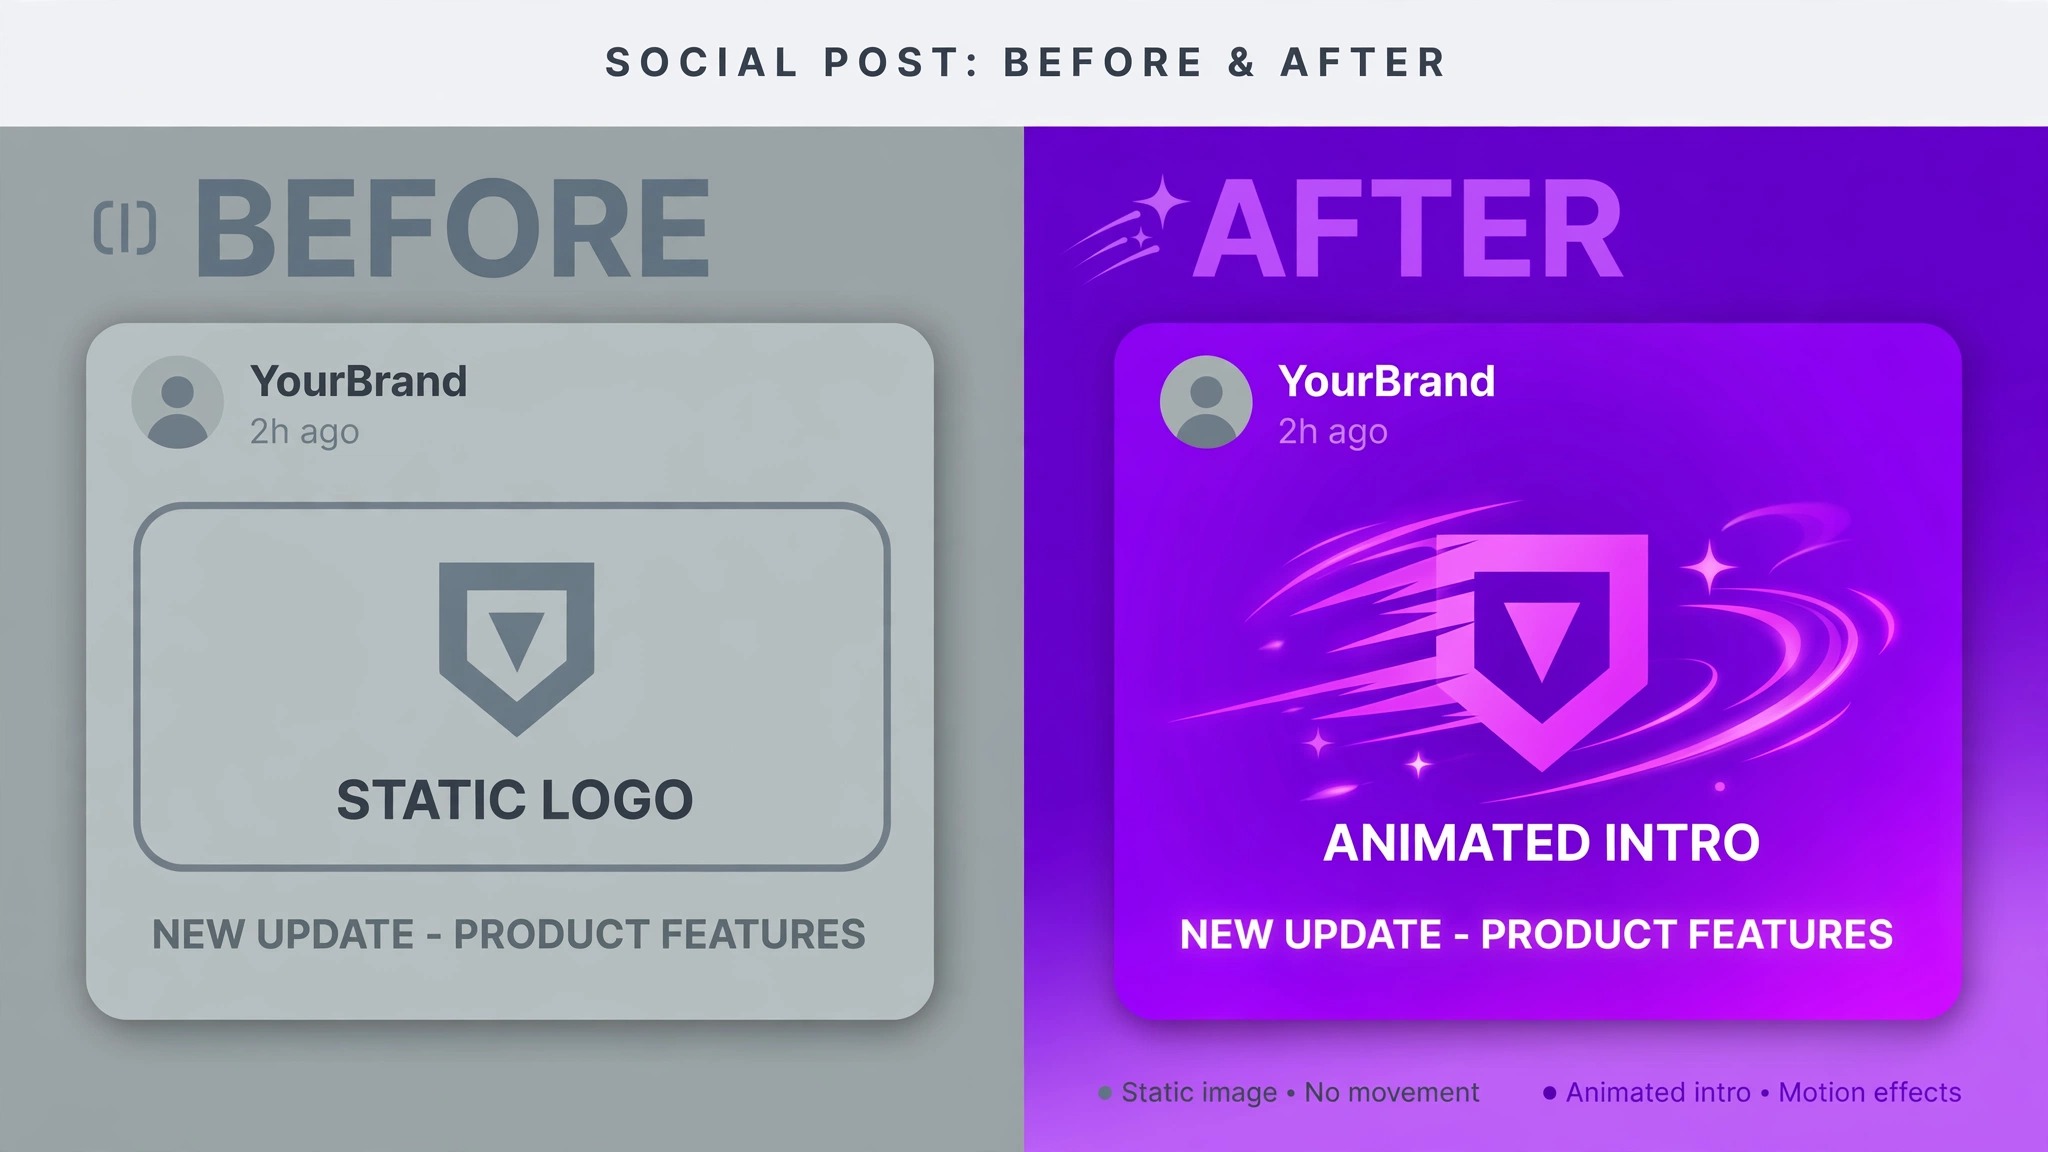
7 Mistakes That Make an Animated Logo Look Cheap
The mistakes below are the reason most attempts at how to animate a logo for social media look cheap, and all seven are avoidable. Read the list before you export, because fixing a clip after posting takes longer than preventing the mistake.
- Animating for too long. A logo intro that runs eight seconds feels like a wait, and viewers skip past it. Keep intros to two to four seconds, with the logo holding still for the last second.
- Using a JPG with a white background. The white box shows as a rectangle when the logo moves over video, and the edges look rough. Start from an SVG or a PNG with a transparent background, and the problem never appears.
- Mixing too many styles. A bounce plus a fade plus a spin makes the logo look indecisive. Pick one style that fits the brand, and use it consistently on every platform.
- Forgetting the end frame. The end frame is the image the viewer remembers, and it must show the logo exactly as it appears everywhere else. Check it before you export, and fix any color or size difference first.
- Exporting at the wrong size. A wide clip posted as a Reel gets cropped, and a portrait clip posted to YouTube gets letterboxed. Export a version for each platform, and check each one on a phone.
- Adding a watermark by accident. Free plans on most template tools watermark exports, and a watermark on a brand asset looks unprofessional. Budget for the entry paid tier, or use a free tool that exports clean.
- Adding sound that does not fit. A stock whoosh on a calm brand feels wrong, and most social video plays muted anyway. The clip must work with no sound, and any sound should be a bonus, not a crutch.
Final Export Checklist
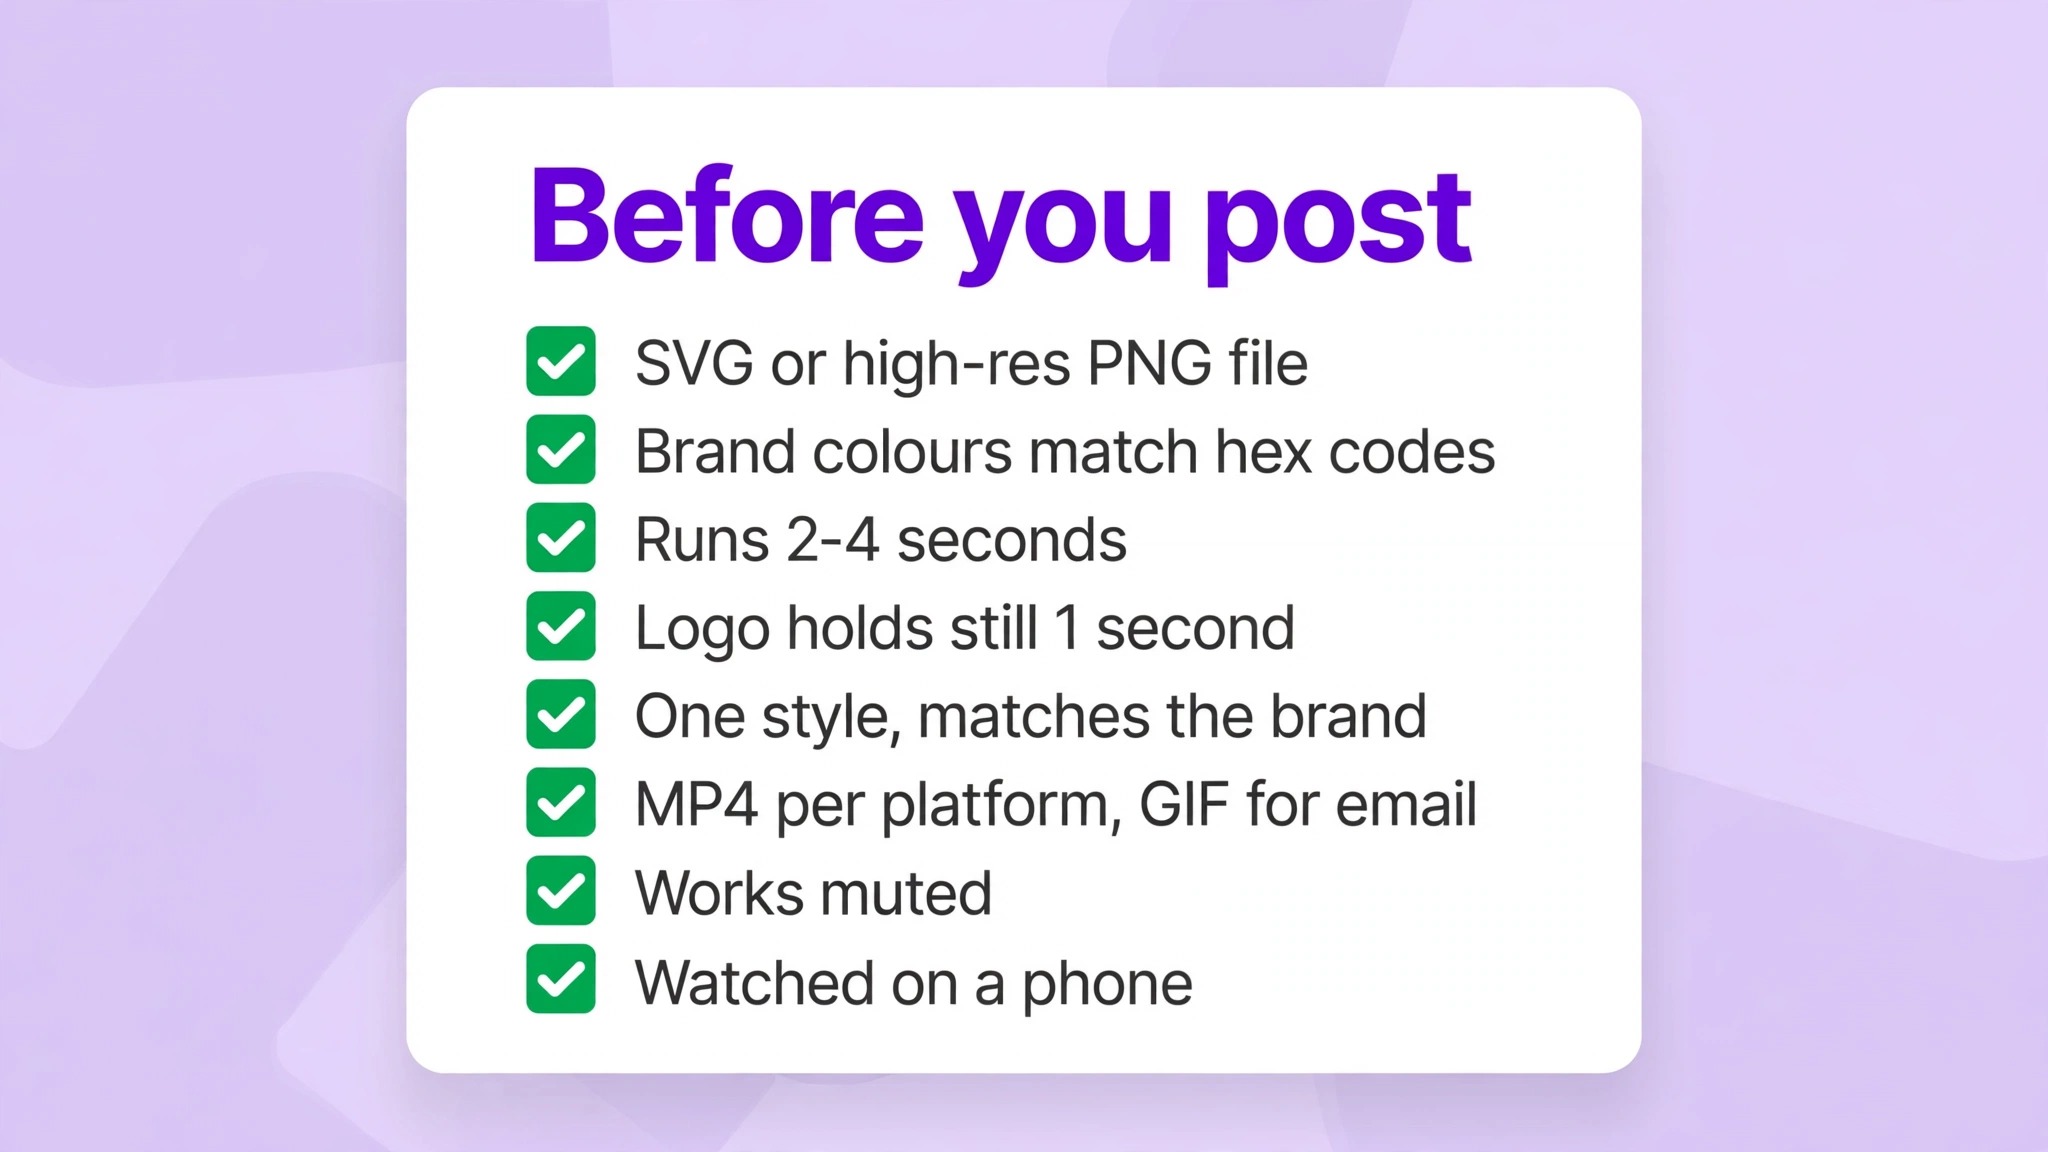
Run through this list before you post. It is the last step in how to animate a logo for social media, and each item takes seconds to check.
- Logo file is an SVG or a high resolution PNG with a transparent background.
- Brand colors match the hex codes, and the end frame shows the logo exactly as it appears on the website.
- Animation runs two to four seconds, with the logo holding still for at least one second at the end.
- One animation style is used, and it matches the tone of the brand.
- A version exists for each platform, at the right size, in MP4, with a GIF for email and web.
- The clip works muted, and any sound is optional, not essential.
- The file name says the platform and the size, and the project file is saved for the next version.
- You watched the final export on a phone, at full screen, before posting.
Frequently Asked Questions About Animating a Logo
How do I animate my logo for free?
Open Canva or Adobe Express, upload a PNG or SVG of your logo, apply an animation style, and export as an MP4 or a GIF. Both tools cover the whole job on their free plans with no watermark on the export. Blender is the free option for 3D motion, and Photopea can prepare a transparent PNG if your only logo file is a JPG.
How long should a logo animation be?
Two to four seconds is right for an intro, with the logo holding still for at least the last second so viewers can read it. A loading loop should be one to two seconds and loop cleanly. A stream stinger can be under a second. If you are bored watching the clip three times in a row, it is too long.
What format should I export an animated logo in?
Export as an MP4 for social video, because every platform accepts it and the file stays small. Use a GIF for email signatures and web pages where video does not play, and keep the file under 1 MB. Use a transparent WebM or a MOV with an alpha channel when the logo must sit over footage, such as a stream overlay or a video watermark.
Can I animate a logo on my phone?
Yes. Canva, Adobe Express, and Renderforest all have mobile apps that handle logo animation, and the workflow is the same as on desktop. Upload the logo, pick a style, and export. A phone is fine for a simple animation, and a desktop is better when you need precise timing or several export sizes, because the larger screen makes the timeline easier to read.
Do I need After Effects to animate a logo?
No. After Effects gives full control over keyframes, easing, and 3D, and it is the right tool when the animation is a long term brand asset. For social clips, a template tool finishes the job in minutes and the result looks professional. Choose After Effects when you want a signature motion nobody else has, and a template tool when you want the clip posted today.
Why does my animated logo look blurry?
Blur usually comes from a source file that is too small, or an export at a lower resolution than the platform shows. Start from an SVG or a high resolution PNG, export at the full size for the platform, and check the clip on a phone before posting. A GIF will always look softer than an MP4, because the format caps colors and resolution, so use MP4 wherever video plays. Getting the file and the export right is the quiet half of how to animate a logo for social media, and it matters as much as the motion itself.