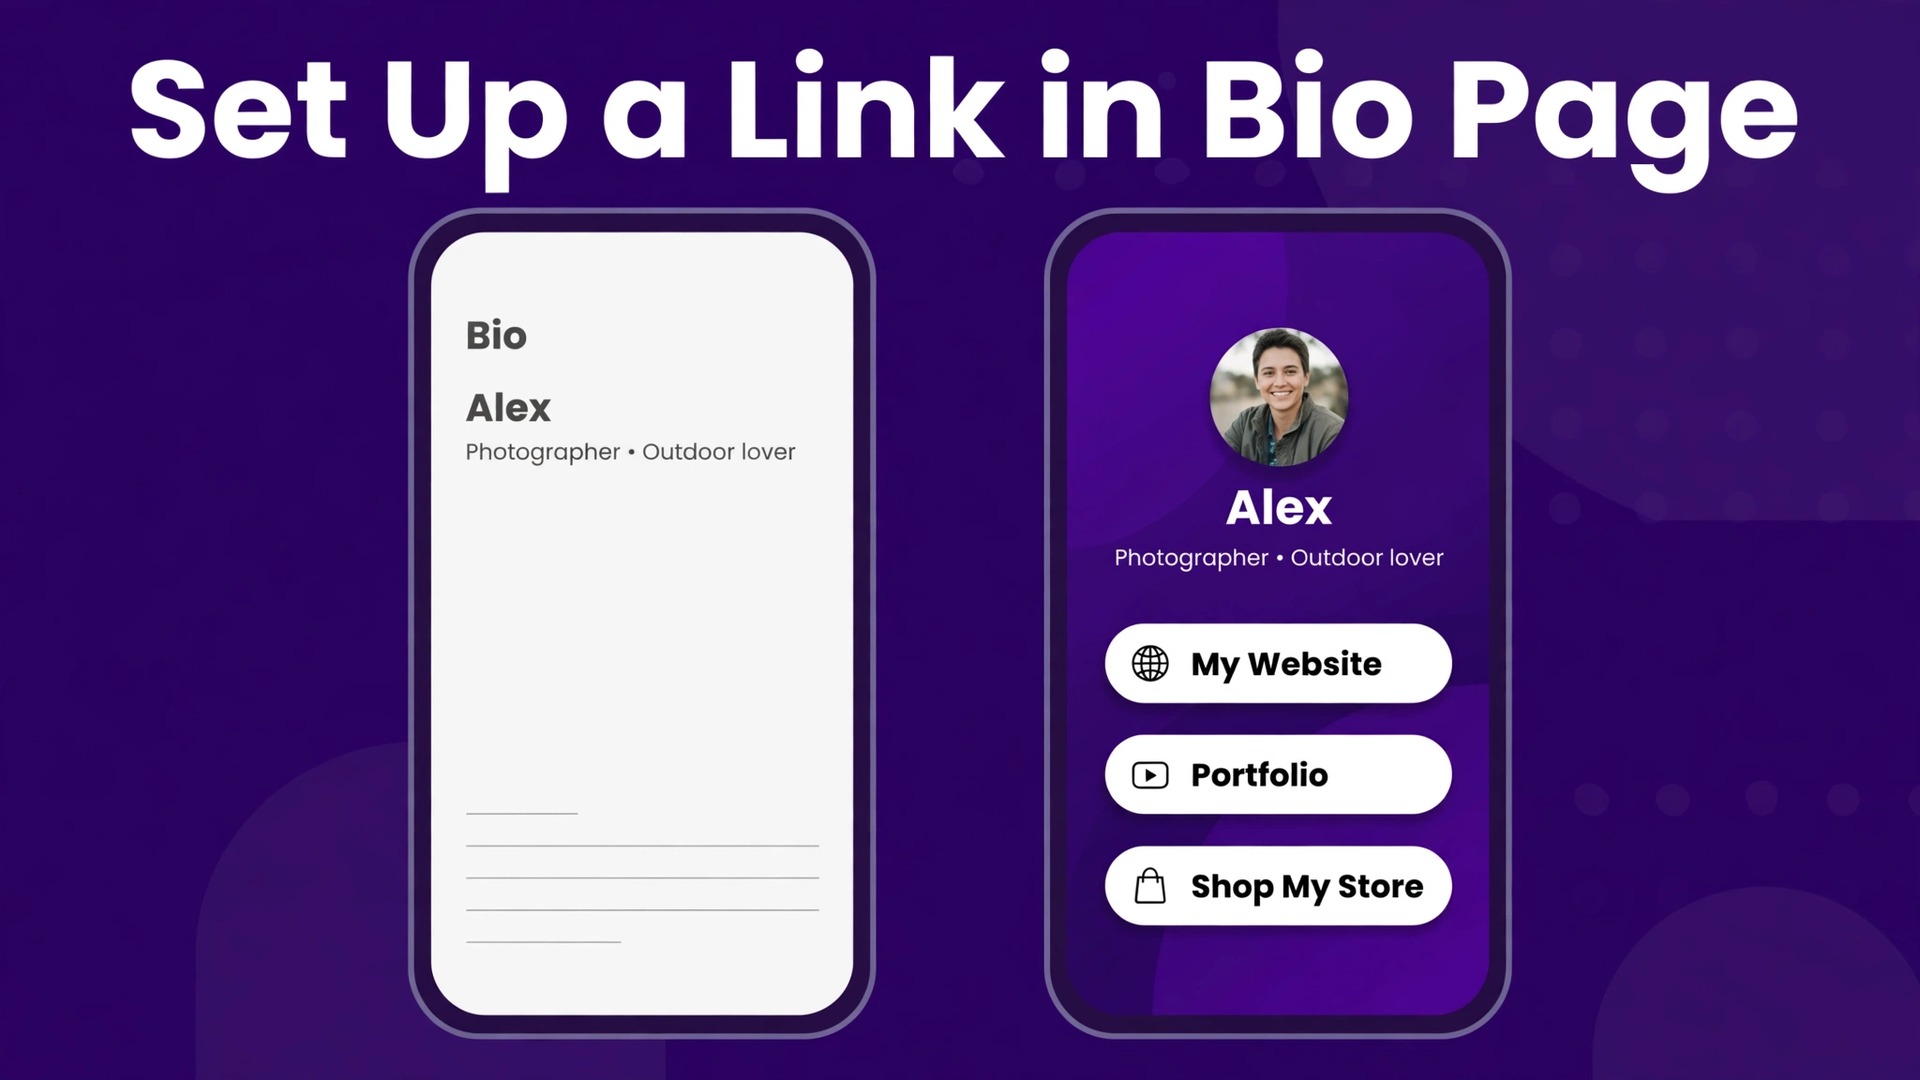
The verdict first. Learning how to set up a link in bio page takes under an hour, and the tool choice is simple. If you only share links, use Linktree free and finish today. If you sell digital products, use Beacons free or Stan Store and accept the fee math before you publish. If you want full control and the lowest cost, build the page on Carrd for $9 a year. That is the whole decision in three sentences, and everything below is the proof, the setup steps, and the mistakes that turn a good page into a dead link.
A link in bio page exists because social platforms give you one clickable link in your profile, and one link is never enough. A creator with a new video, a product, a newsletter, and a booking page needs four destinations, not one, and the bio link is the only door. The page that sits behind that door decides whether a tap becomes a view, a sale, or a subscriber, or whether the visitor bounces in three seconds. Getting it right takes under an hour, and getting it wrong costs every click you worked to earn.
Why One Link Is Never Enough
A creator’s audience arrives from different places with different intent. A follower from a tutorial video wants the template you mentioned. A follower from a story wants the product you just showed. A brand manager wants your media kit and your email. One link can serve only one of them, and the other two leave. A link in bio page serves all three, because it lists the destinations in the order that matches what your audience wants most right now.
The page also protects you from the platform. An algorithm change can cut your reach in half overnight, and a shadowban can hide your posts for a week. Your bio page, your email list, and your store are the assets you own, and the bio link is the bridge from rented reach to owned audience. Every creator who has lost an account and started from zero wishes they had built the bridge earlier.
There is a money reason too. A link in bio tool with a store lets you sell a digital product, a preset pack, or a coaching call without sending people to a separate site. The sale happens where the attention already is, and fewer steps between attention and checkout means more completed sales. The fee on that sale is the cost of the convenience, and the fee math is covered later in this guide.
How to Set Up a Link in Bio Page in Seven Steps
Follow these steps in order. The whole setup takes under an hour on any tool in this guide, and the order matters, because the page structure comes before the design, and the design comes before the promotion.
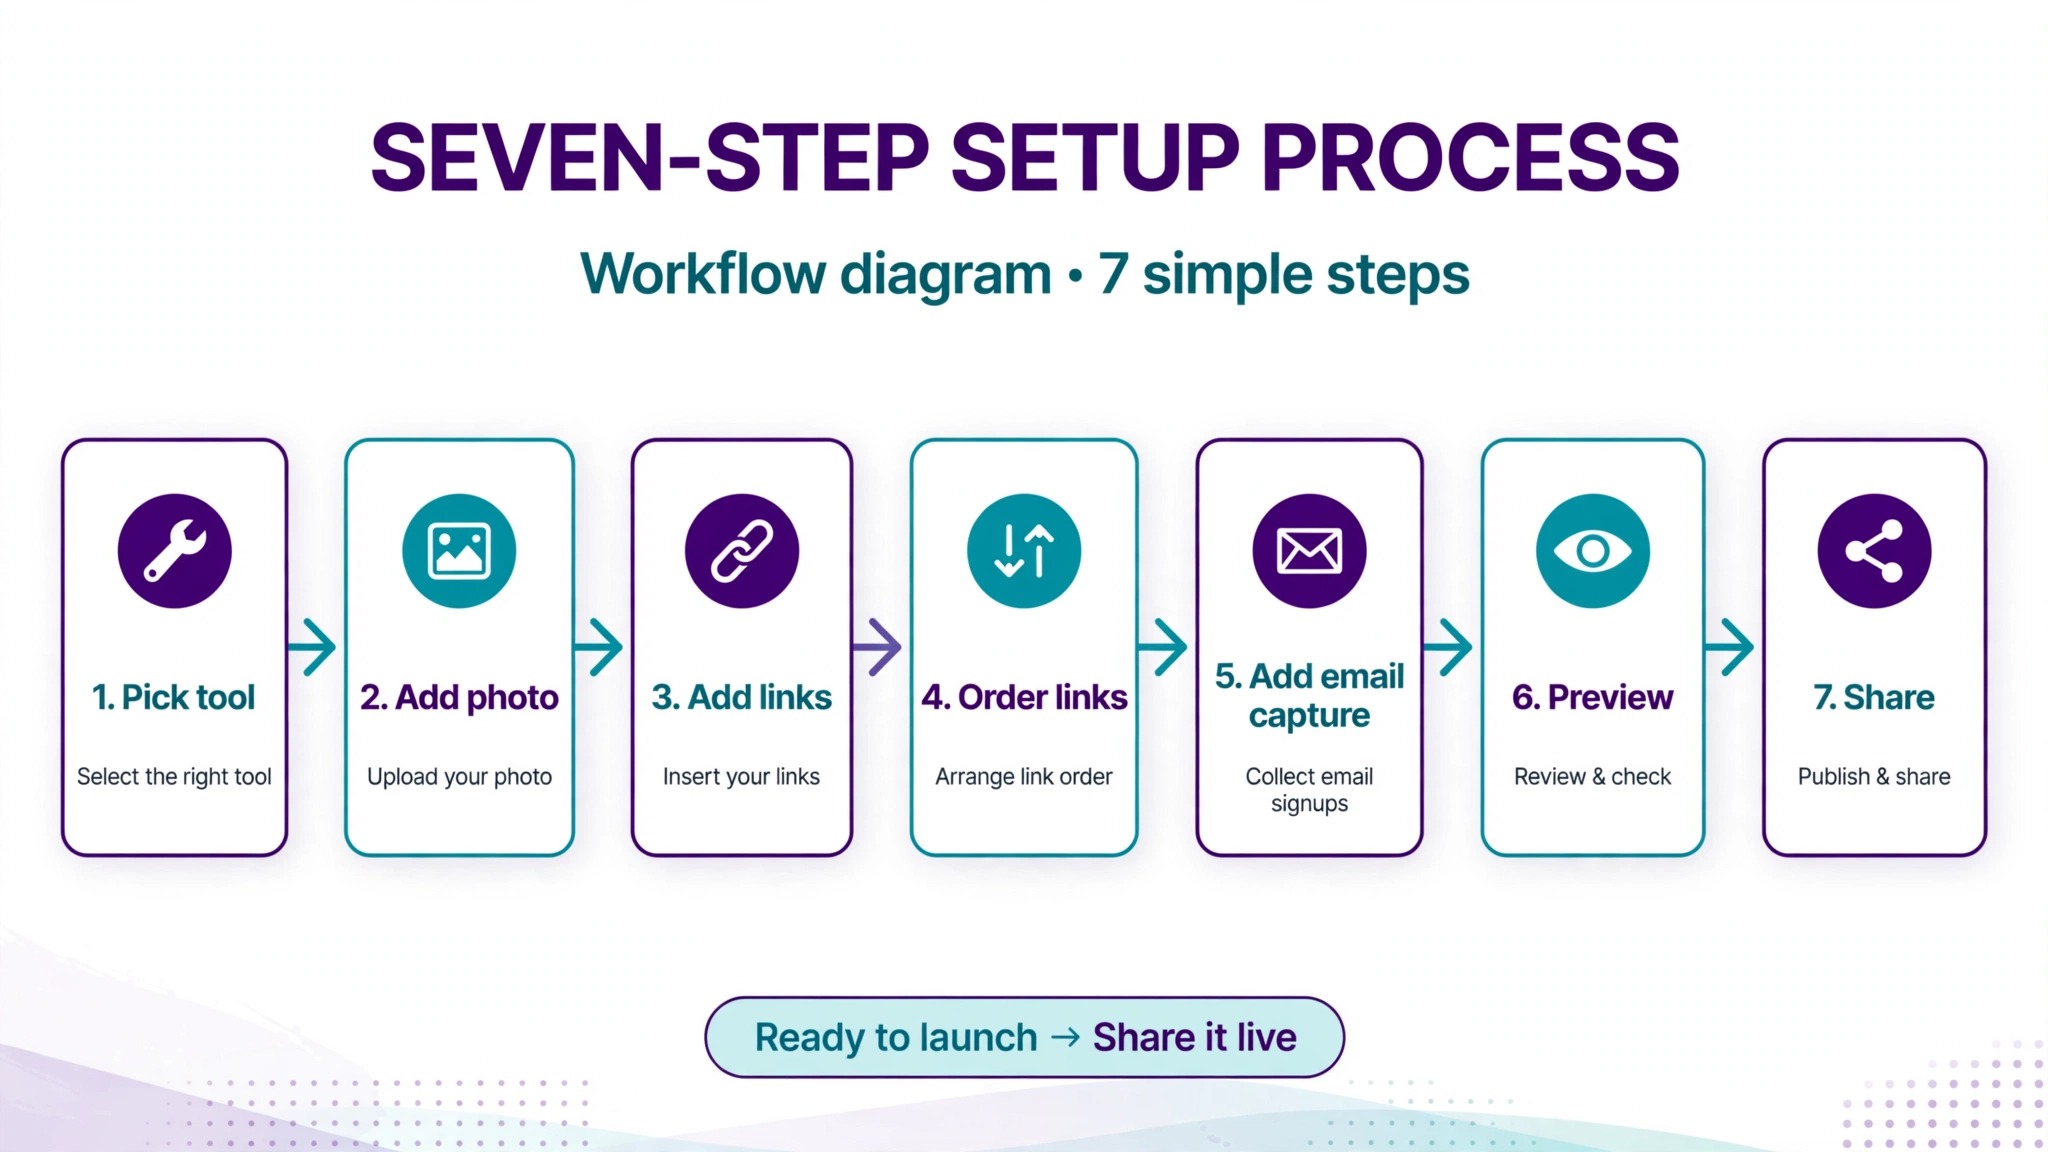
Step 1. List every destination before you open the tool
Write down every link you need, then cut the list to five or six. A page with fifteen links is a menu nobody reads, and a page with three links wastes the space. Rank the links by what earns you money or grows your audience, not by what you posted most recently. The newest video, the product, the newsletter, and the booking page usually top the list, in that order for most creators.
Step 2. Create the account and claim your handle
Sign up with the tool you picked and claim a handle that matches your social username exactly. A handle that matches everywhere is easier to remember and harder to impersonate. If your exact handle is taken, add a short word such as “shop” or “official” rather than numbers, because numbers look like a copycat account. Turn on two factor authentication before you add any links.
Step 3. Add your photo, name, and one line about what you do
Upload a clear headshot or logo, the same image you use on your social profiles, so visitors know they are in the right place. Write your name as it appears on your main platform, then add one line that says what you do and who it is for. A line such as “Short video tutorials for new Etsy sellers” tells a visitor in five seconds whether to stay. A vague line such as “Creator and dreamer” tells them nothing.
Step 4. Add the links in priority order
Add the links in the order you ranked them, with the most important at the top. The first two links get most of the taps, so put the money link and the newest content there. Write link titles as actions, not labels. “Get the free template” beats “Template” because it tells the visitor what happens when they tap. Keep titles short enough to read at a glance on a phone.
Step 5. Add an email capture and a store block if you sell
If your tool offers an email block, add it near the top, below the first two links. An email subscriber is worth more than a follower, because you can reach them without an algorithm. If you sell a product, add the store block and set the price, the delivery, and the thank you message. Test the purchase yourself with a real payment before you promote the link, because a broken checkout is worse than no store at all.
Step 6. Match the colours and fonts to your brand
Set the background, button, and text colours to match your main platform, and use the same fonts where the tool allows it. A page that looks like your Instagram grid feels like a continuation of it, while a page in random colours feels like a wrong turn. Check the contrast on a real phone in sunlight, because a pale button on a pale background is invisible outdoors.
Step 7. Put the link in every bio and test it on a phone
Add the page link to your Instagram, TikTok, YouTube, and X bios, and anywhere else your audience finds you. Then open each bio on a phone, tap the link, and tap every link on the page. Check that each destination loads, that the store checkout works, and that the page looks right on a small screen. A link you have not tapped yourself is a link you cannot trust.
Picking the Right Link in Bio Tool
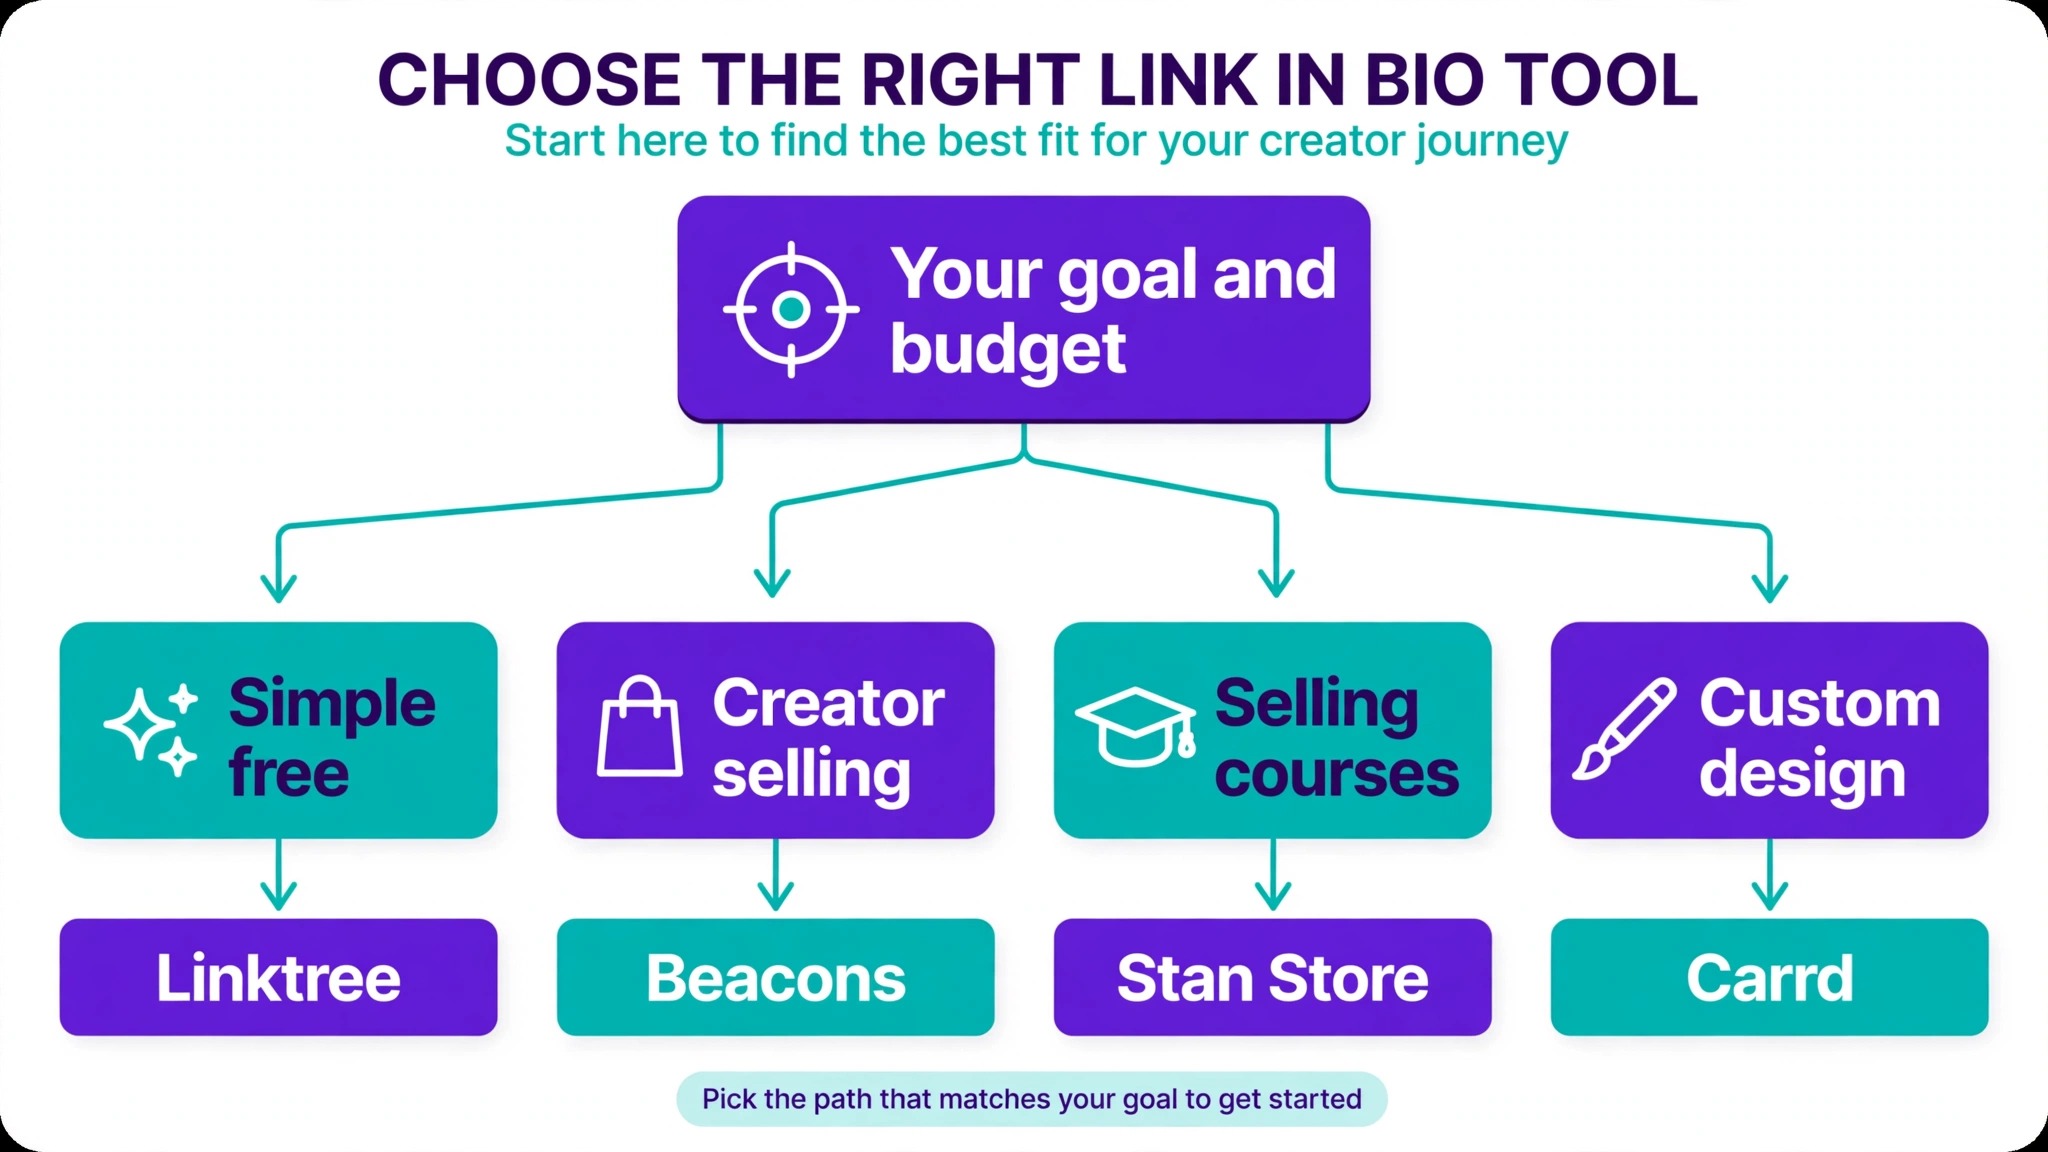
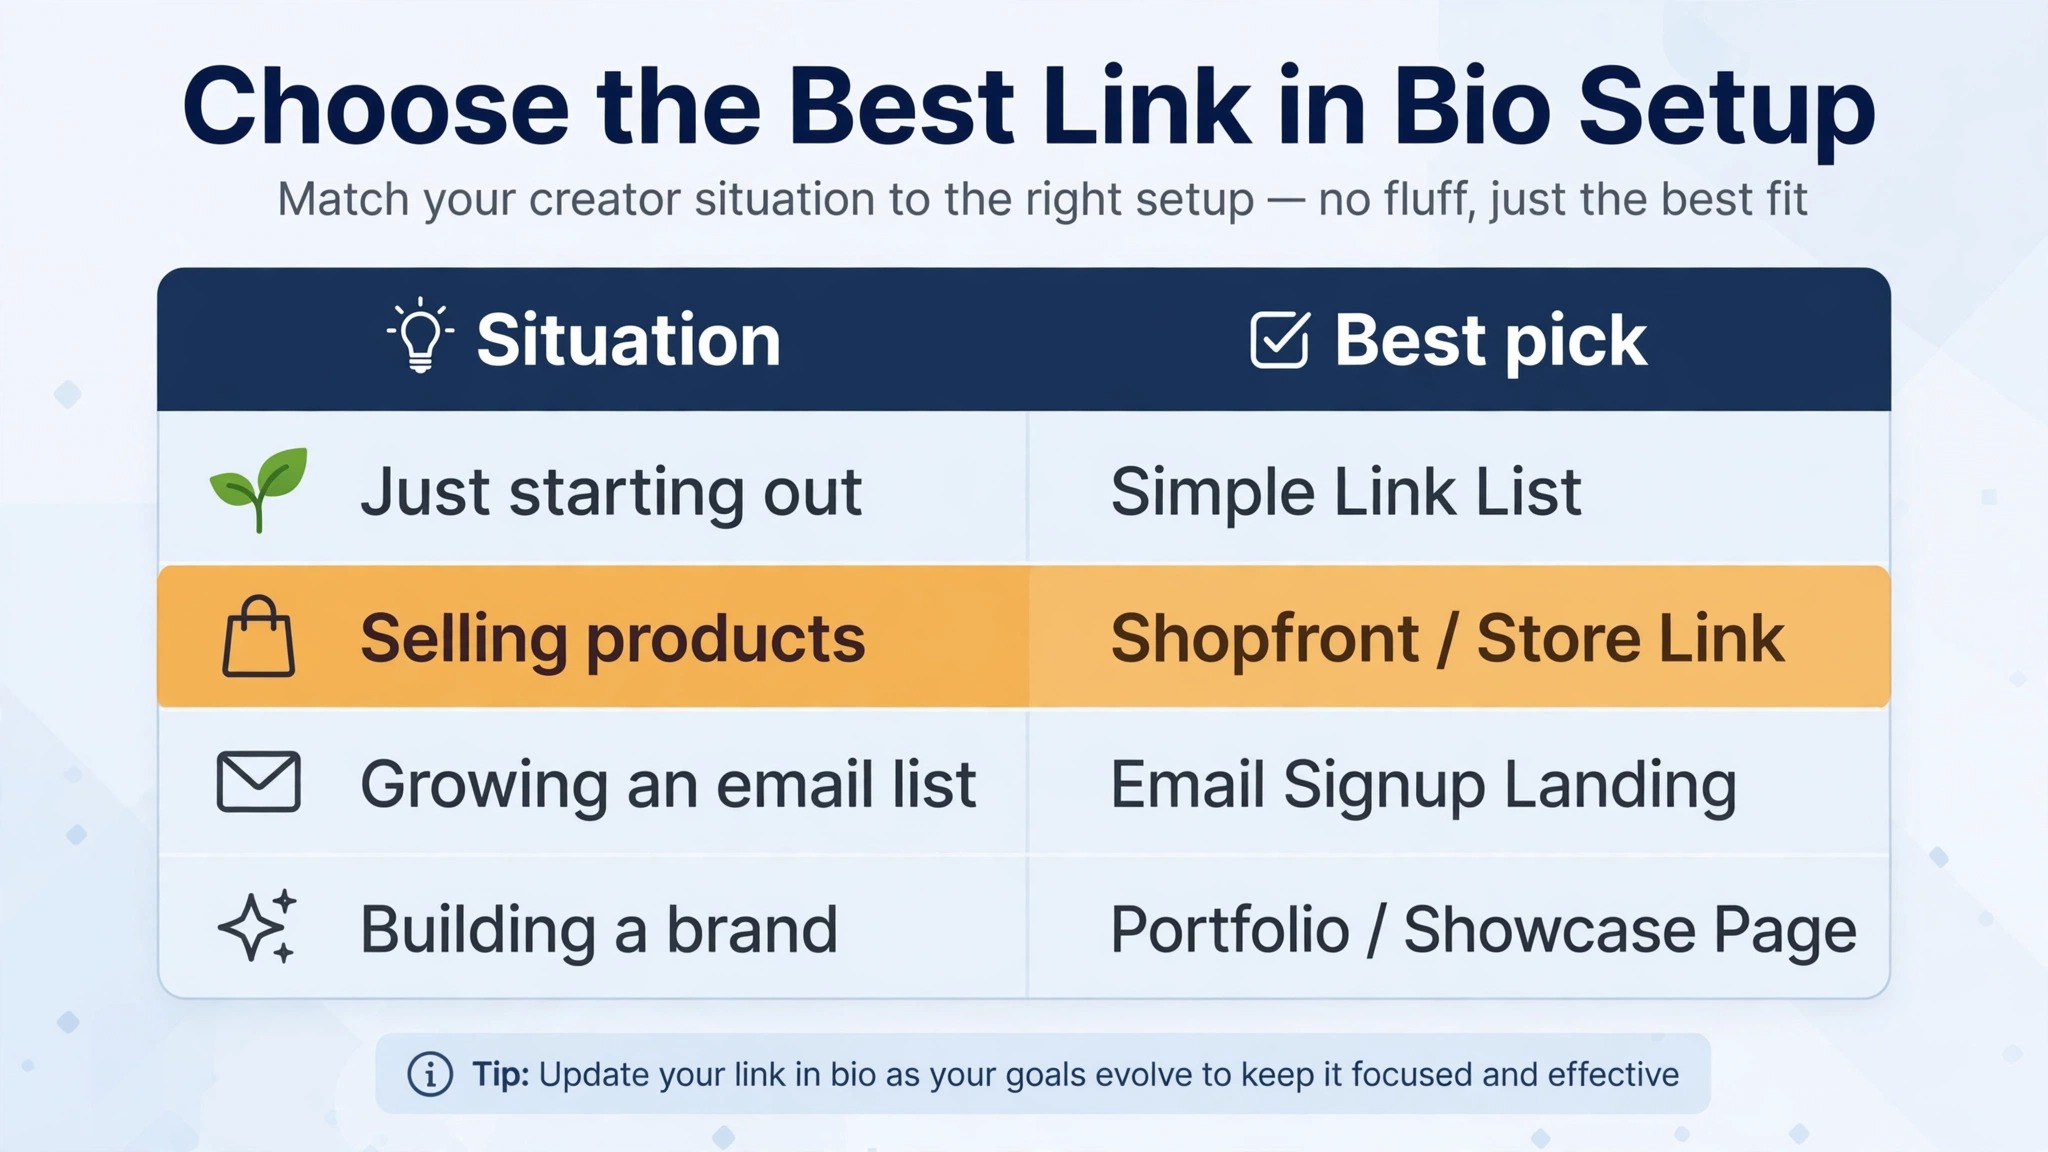
The tools differ in price, fees, and what they bundle, so pick by what you sell, not by what looks nice. The table below uses prices checked on vendor pricing pages in late 2026. Confirm the current price before you pay, because these change often.
| Tool | Free plan | Paid from | Seller fee on free plan |
|---|---|---|---|
| Linktree | Yes | $6 per month, annual billing | 12 percent of sales |
| Beacons | Yes | $10 per month, Creator | 9 percent of sales |
| Stan Store | No, 14 day trial | $29 per month | No platform fee |
| Carrd | Yes | $9 per year, Pro Lite | No store built in |
| Lnk.Bio | Yes | About $1.49 per month | No store built in |
Linktree is the default and the simplest. The free plan covers unlimited basic links, and paid tiers add themes, scheduling, analytics, and a custom domain. Starter costs $6 per month on annual billing or $8 monthly, Pro costs $12 or $15, and Premium costs $30 or $35. The catch is the selling fee, which runs 12 percent on the free plan and 9 percent on Starter and Pro, dropping to zero only on Premium. If you sell nothing, the fee never touches you. If you sell a lot, it adds up fast.
Beacons is the strongest free plan for creators who sell. It bundles the link page with a store, email capture, a media kit for brand deals, and invoicing. The free plan takes 9 percent of sales, Creator costs $10 a month or $100 a year and adds a custom domain and more email sends, and Creator Plus at $30 a month drops the seller fee to zero. For a creator who sells a little, Beacons free beats Linktree free on fees alone.
Stan Store is built for selling, not linking. There is no free plan, Creator costs $29 a month and Creator Pro costs $99, and the platform takes no fee on sales. That makes Stan the cheapest option once monthly sales pass a few hundred dollars, because a flat subscription beats a percentage fee at volume. It suits creators who sell courses, coaching, and digital products as their main income.
Carrd is the cheapest route to a page you fully control. The free plan builds a simple page, and Pro plans cost $9, $19, or $49 per year. Carrd is a tiny website builder rather than a link tool, so you design the page yourself and link out to your store or checkout elsewhere. It suits creators who want no platform fee, no branding, and a custom domain for the price of a coffee.
Later Linkin.bio suits creators who already schedule social posts with Later, because the bio page connects to the scheduling workflow and the visual planner. Plans start at $18.75 per month on annual billing for one social set. Milkshake is a free app for building a simple card style page from your phone, and it suits creators who want a quick, visual page with no subscription. Campsite.bio offers a clean link page from $7 a month for Pro, and Lnk.Bio does the same job for about $1.49 a month, the lowest paid price in this list.
One tool is gone and worth noting. Bento shut down on February 13, 2026, after Linktree bought it. If you still have a Bento link in an old bio, it no longer works, and you should replace it with your current page. The shutdown is a reminder to keep your own backup of the page content, because a tool can disappear and take your links with it.
What to Put on the Page
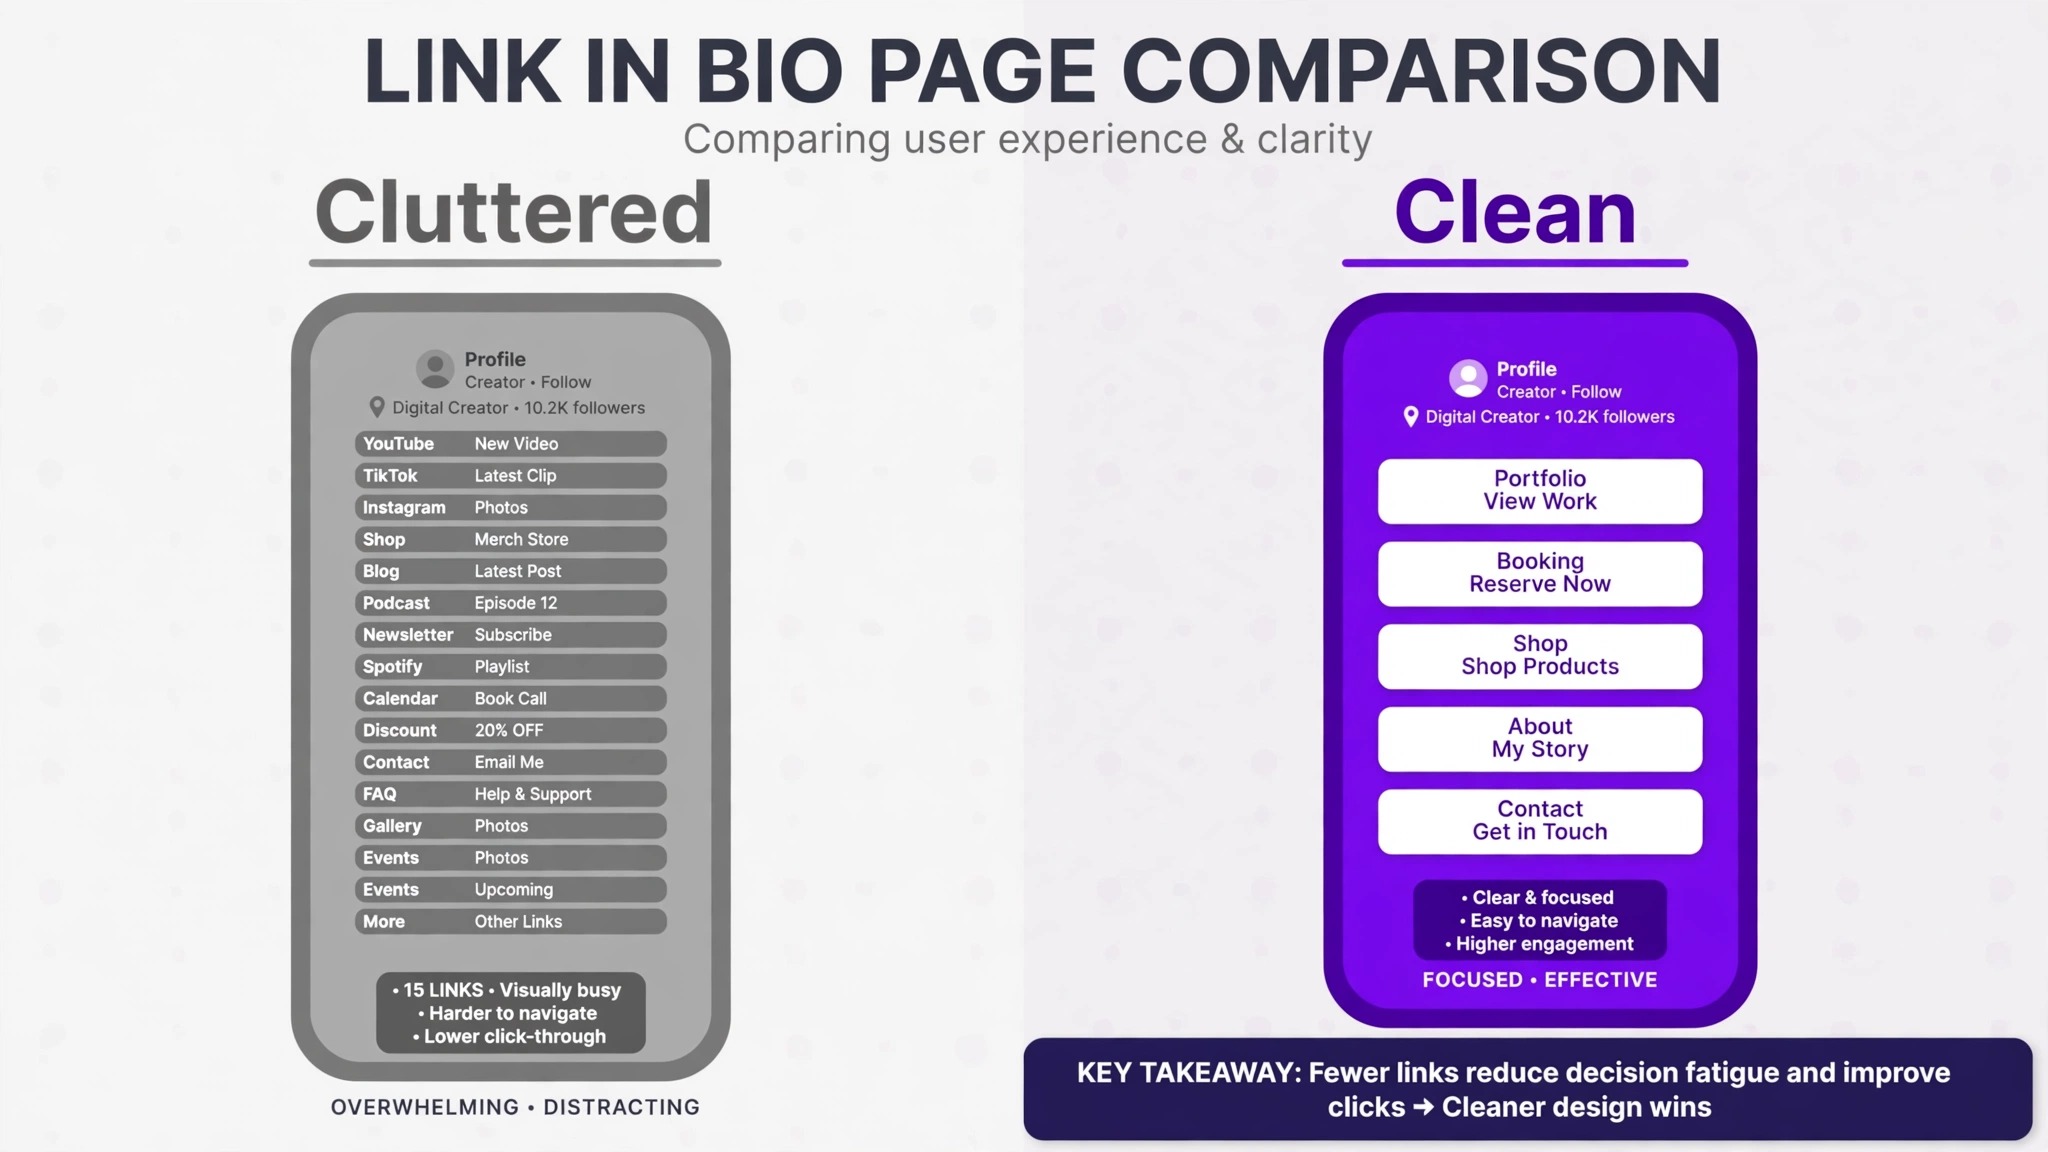
Five or six links is the right count for most creators, and the order matters more than the count. The top link should be the thing you want most from the visitor right now, which is usually the newest content or the product you are promoting this week. The second link should be the thing that earns money or grows the list, such as the store or the newsletter. The rest can be your other platforms, your media kit, and your booking page.
An email capture belongs on the page even if you do not sell anything yet. Offer one clear reason to subscribe, such as a free template, a weekly tip, or early access to videos. A list of a thousand subscribers you can email is more valuable than ten thousand followers you cannot reach, and the bio page is the cheapest place to grow it.
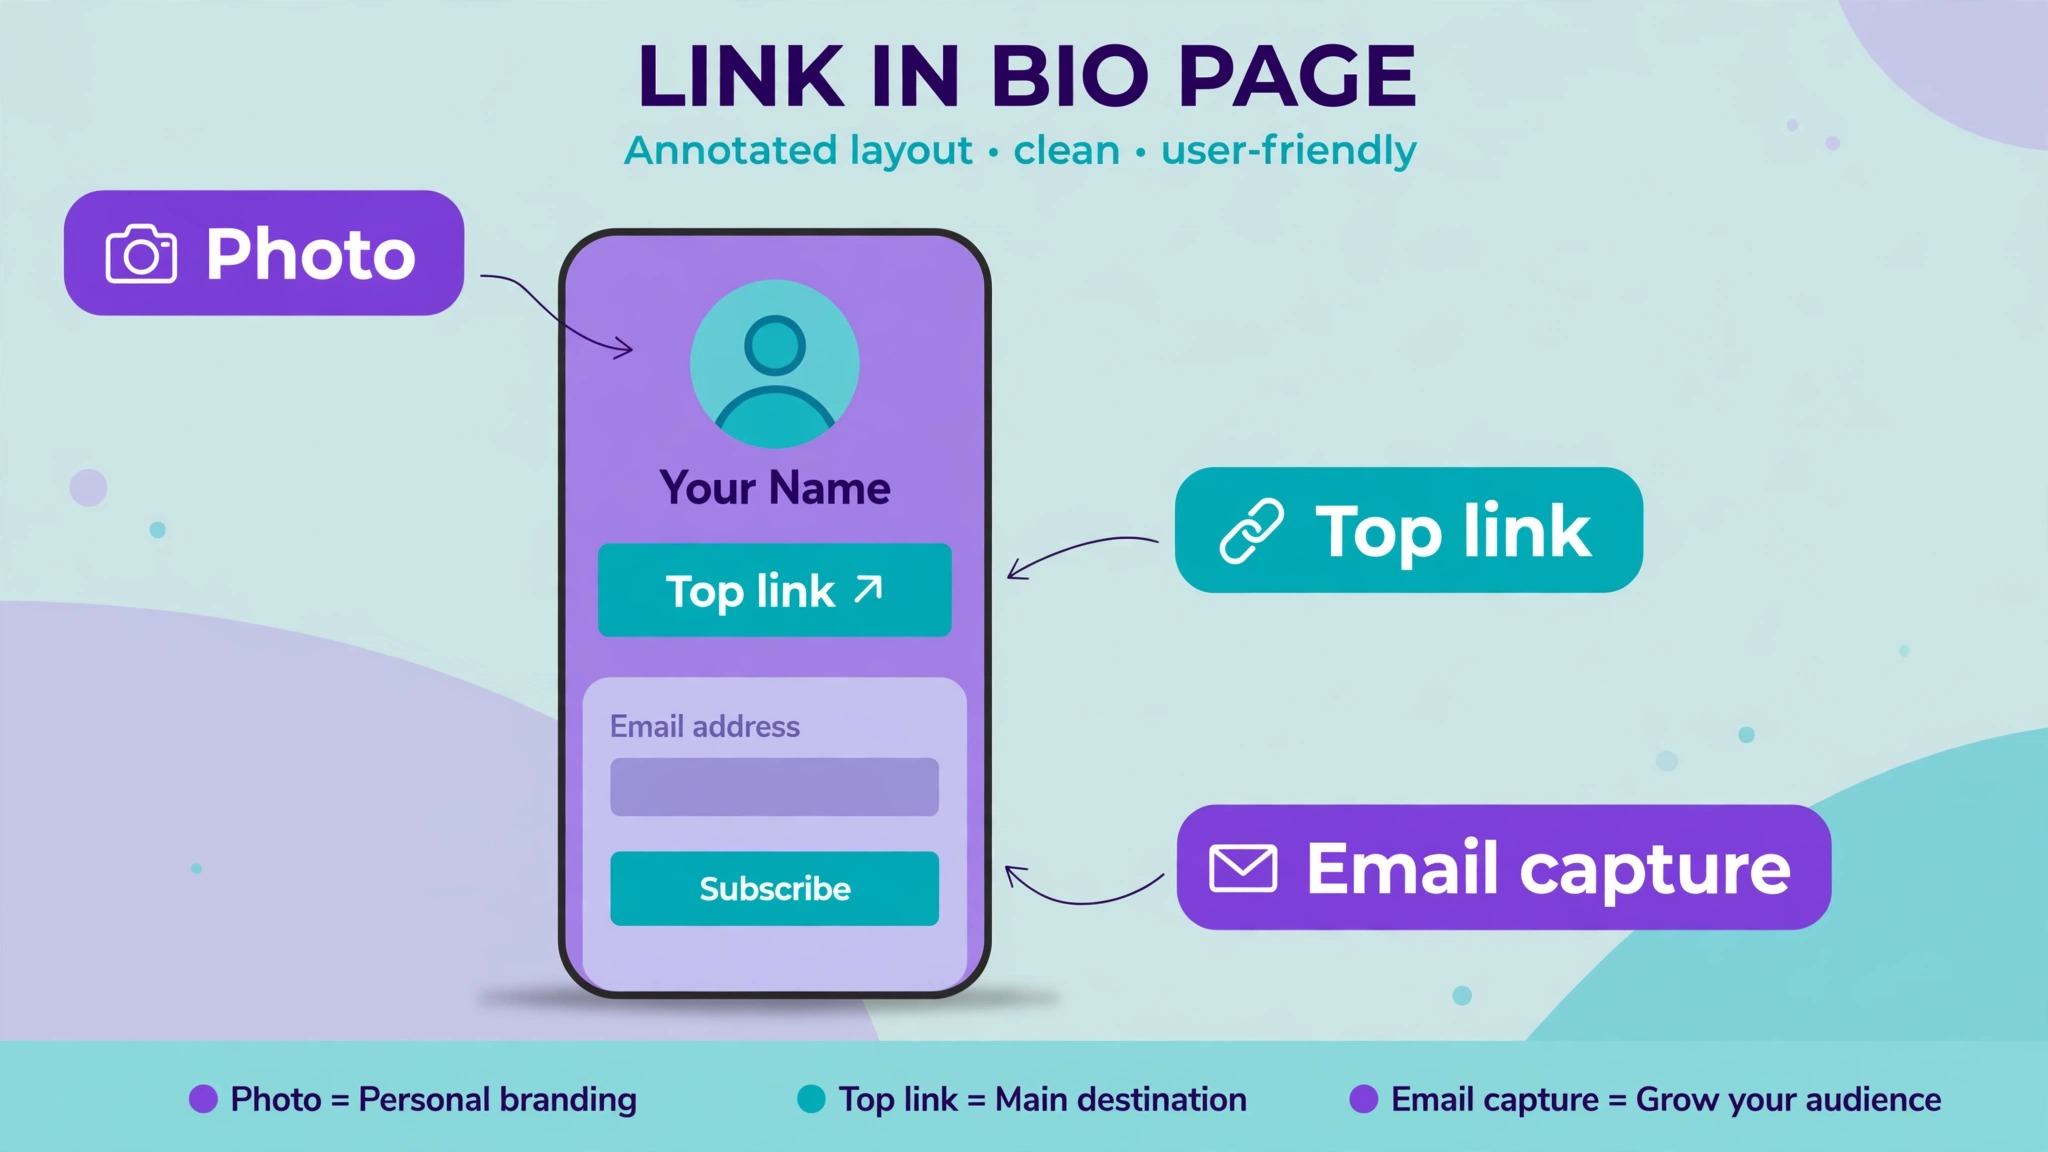
Social icons belong at the bottom, not the top. A visitor who taps your TikTok icon leaves your page for TikTok, and you have lost the chance to sell or capture an email. Put the money links and the email capture first, and the social icons last, so the visitor sees the valuable actions before the exit doors.
Design Rules for a Page People Actually Tap
The page is read on a phone, held in one hand, often outdoors, so design for that moment. Buttons should be large, with text big enough to read at arm’s length, and spaced far enough apart that a thumb does not tap two at once. A button that is hard to tap is a button that never gets tapped, no matter how good the offer behind it is.
Contrast decides whether the page is readable at all. Dark text on a light background, or light text on a dark background, works in sunlight. Pale grey text on a white background does not. Test the page outside, not only in your office, and raise the contrast until every button is readable in bright light.
Keep the page short. A visitor should see the first three links without scrolling, and the whole page should fit in two or three screen lengths. A page that scrolls forever feels like work, and visitors leave work for later, which means never. Cut the weakest link before you add a new one, and keep the total at five or six.
Selling From the Page and the Fee Math
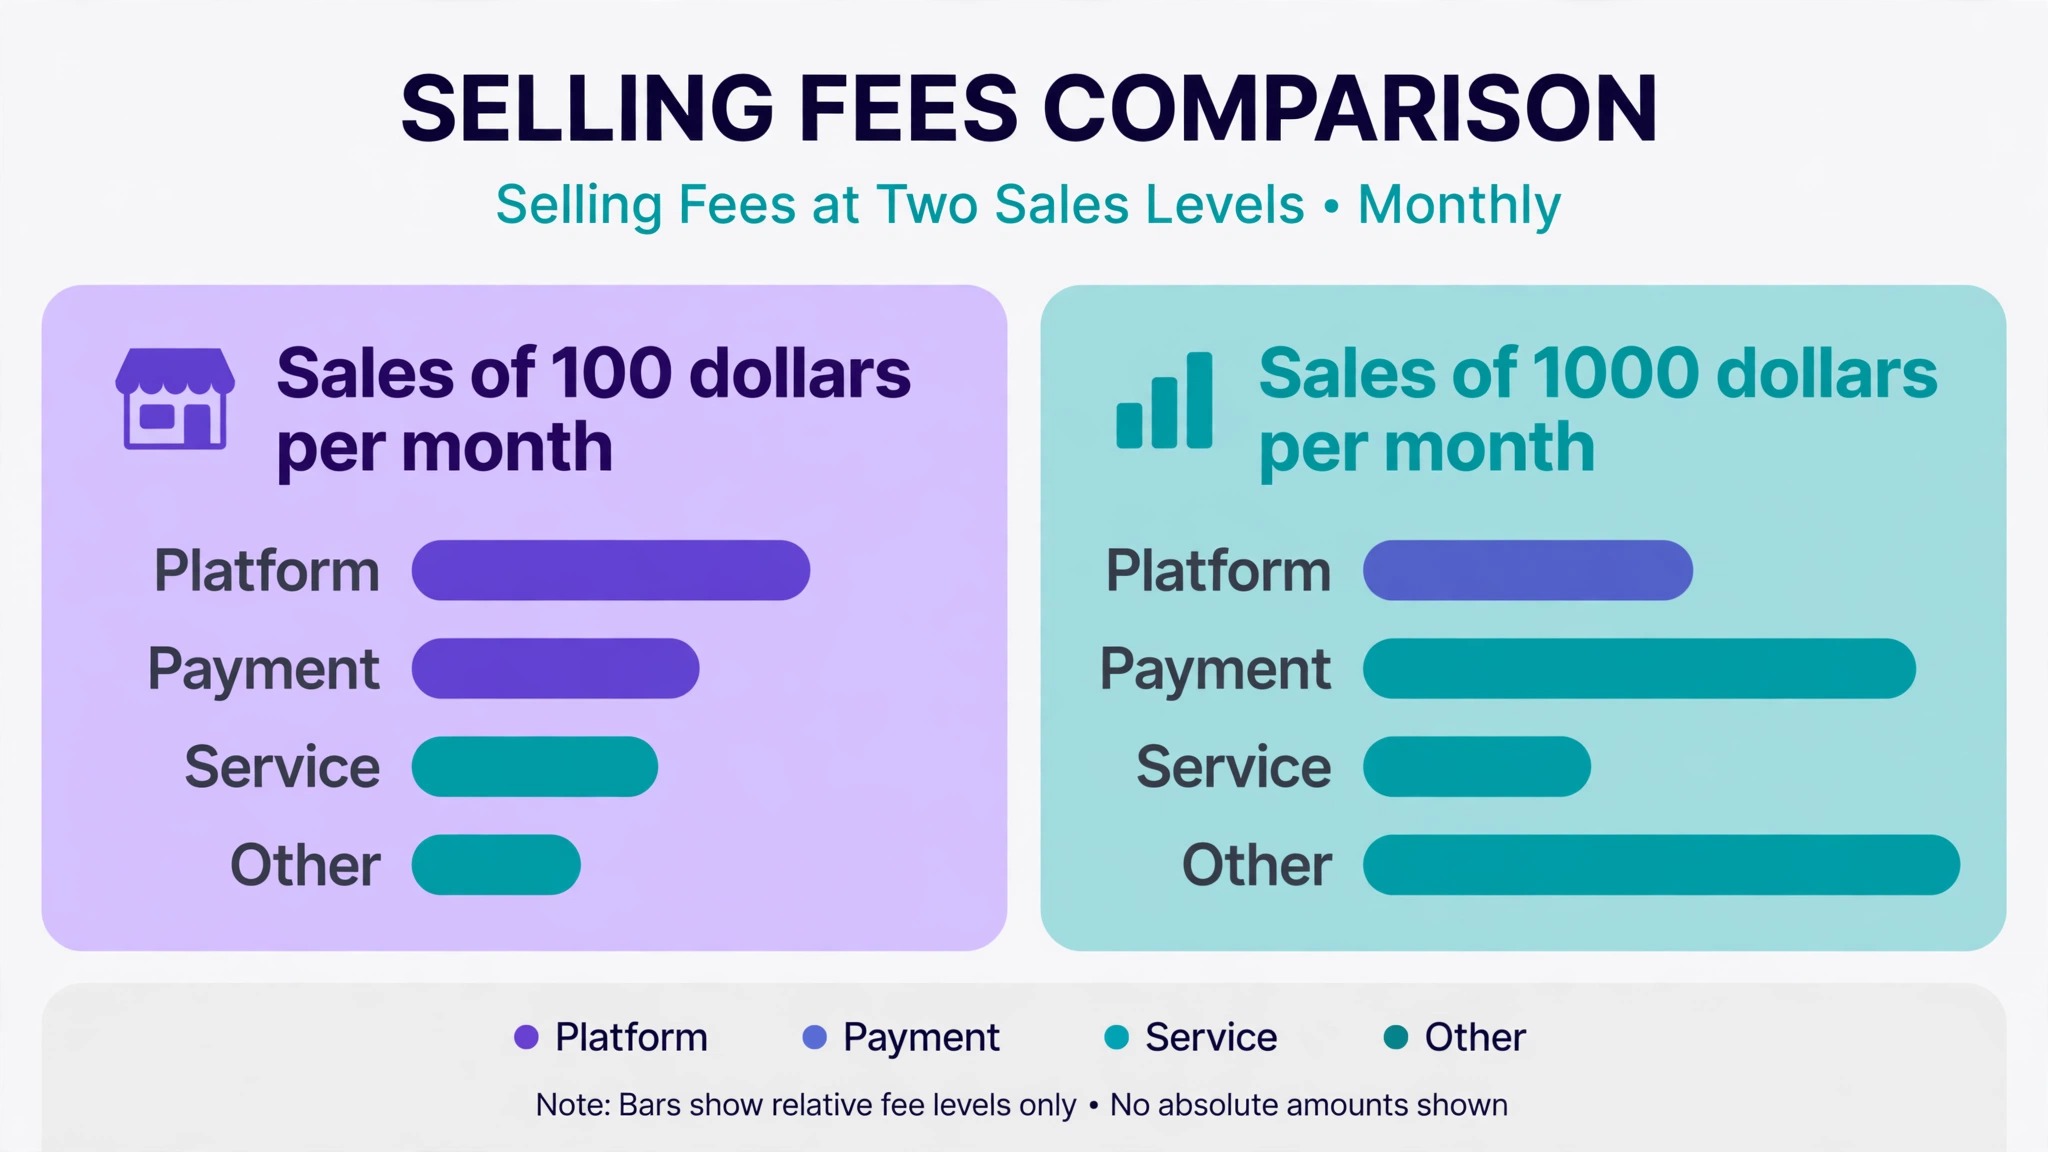
The fee math decides which tool is cheapest, and it depends on how much you sell. A creator who sells $100 a month of digital products pays $12 on Linktree free, $9 on Beacons free, $30 on Beacons Creator Plus, and $29 on Stan Store. At that volume, Beacons free is the cheapest, and Stan Store is the most expensive. A creator who sells $1,000 a month pays $120 on Linktree free, $90 on Beacons free, $30 on Beacons Creator Plus, and $29 on Stan Store. At that volume, the flat plans win by a wide margin.
The break even point is easy to work out. Beacons Creator Plus at $30 a month beats Beacons free once monthly sales pass about $333, because $30 divided by 9 percent is $333. Stan Store at $29 a month beats Beacons free at about the same point. If your sales are below $300 a month, stay on a free plan and pay the percentage. If your sales are above $400 a month, move to a flat plan and keep the difference. Card processing of about 2.9 percent plus 30 cents per sale applies on top of every plan, on every platform, so include it in the price of your product rather than absorbing it.
A custom domain is worth adding once the page earns money. A link that reads yourname.com looks more trustworthy than a link with a tool name in it, and it survives a tool change, because you can point the domain at a new page if you ever switch tools. Linktree offers custom domains on Pro, Beacons on Creator, and Carrd on every Pro plan. Set it up before you print the link on anything physical, such as a business card or a book cover.
Mistakes That Waste Your Bio Link
The most common mistake is a page full of links nobody needs. A link to a video from two years ago, a link to a platform you no longer post on, and a link to a product that is out of stock all waste taps that could have gone to the current offer. Audit the page monthly, remove dead links, and update the top link every time you publish something new.
The second mistake is a dead link. Platforms change URLs, products sell out, and videos get taken down, and a link that leads to an error page tells the visitor you do not check your own work. Tap every link on the page once a month, and fix or remove anything that fails. A link checker habit takes five minutes and saves the most valuable asset a creator has, which is trust.
The third mistake is sending traffic away too early. A page that opens with social icons pushes visitors back to the platforms, where the algorithm shows them someone else’s content next. Put your own offer first, your email capture second, and the social icons last, so the visitor meets your work before they meet the exit.
The fourth mistake is no analytics. Every tool in this guide reports clicks, and the report tells you which link earns its place. A link with no clicks for a month should be replaced, and a link with the most clicks should move to the top. Check the report weekly for the first month, then monthly, and let the numbers set the order, not your guess.
Best Pick by Job
| Your situation | Best pick | Why it fits |
|---|---|---|
| Just need a simple list of links | Linktree free | Easiest setup, no cost |
| Sell a little and want low fees | Beacons free | 9 percent fee, store and email included |
| Sell a lot every month | Stan Store | Flat $29 a month, no platform fee |
| Full control, lowest cost | Carrd Pro | $9 a year, custom domain |
| Already schedule with Later | Later Linkin.bio | Bio page inside the scheduling workflow |
| Cheapest paid plan anywhere | Lnk.Bio | About $1.49 a month |
| Quick visual page from a phone | Milkshake | Free, card style, built on mobile |
| Clean page, no selling | Campsite.bio | Pro from $7 a month |
How to Set Up a Link in Bio Page for Instagram
Instagram is where the link in bio page earns its keep, because Instagram gives you one clickable link in the profile and no clickable links in post captions. Learning how to set up a link in bio page for Instagram starts with the same seven steps, then adds a few Instagram specific habits. The top link should match your newest post or reel, because that is where the tap comes from. When you publish a new reel that mentions a template, a product, or a free download, move that link to the top of the page the same day, and move it down again when the next post goes live.
Stories need a different habit. A story link sticker can point straight at a product page, so it does not need the bio page at all. Use the sticker for the single offer in the story, and keep the bio page for everything else. Story highlights can hold a permanent link sticker too, which gives a popular offer a home that does not expire after twenty four hours. The bio page and the story sticker work together, and the bio page is the backup for every offer that is not in a story today.
Instagram also limits how often you can change the bio link without looking unstable, but changing the top link on the page itself has no limit and no penalty. That is the real advantage of the page. The bio link stays the same for months, while the page behind it changes every week. A follower who tapped the link in January and taps it again in March lands on the same door and finds a new offer behind it, which is exactly how a bio link should behave.
How to Set Up a Link in Bio Page for TikTok and YouTube
TikTok and YouTube send a different kind of visitor, and the page should match. A TikTok visitor arrives fast, from a short video, and decides in two seconds whether to stay. The top link on a TikTok facing page should be the thing from the video, named the same way the video named it. If the video says “the free preset is in my bio”, the top link should read “Free preset” and lead straight to the download, with no extra page in between. Every extra tap loses half the visitors, so the shortest path wins on TikTok.
A YouTube visitor arrives slower and with more intent. They watched a ten minute video, they trust the creator, and they are willing to read a longer page. A YouTube facing page can carry a second row of links, such as the gear list, the course, and the newsletter, because the visitor has already decided to act. The top link still goes to the offer from the video, but the rest of the page can work harder. How to set up a link in bio page for YouTube therefore means keeping the same page and letting the lower links do more, rather than building a second page.
The bio link itself differs by platform. YouTube lets you put links in the channel description and in video descriptions, so the bio page is one door among several. TikTok allows one bio link, and only for accounts that meet the follower requirement, so the page carries the whole load. Check the follower requirement on TikTok before you promise a link in a video, because an account below the threshold cannot add a clickable bio link at all, and the audience will tap a link that is not there.
Monthly Maintenance in Five Minutes
A link in bio page is not a set and forget asset. Once a month, open the page on your phone, tap every link, and remove anything dead or out of date. Then open the analytics and move the most clicked link to the top. That five minute habit is the whole maintenance plan, and it is what separates a page that earns clicks from a page that quietly goes stale. Part of knowing how to set up a link in bio page is knowing how to keep it working after launch day.
Frequently Asked Questions
How long does it take to set up a link in bio page?
Under an hour for a basic page with five links, a photo, and a short bio. The setup itself takes minutes. Most of the hour goes to writing the link titles and choosing the order, which is the part that decides whether people tap. A store block and a custom domain add another half hour the first time.
Is a link in bio page free?
Yes, on the free plans of Linktree, Beacons, Carrd, Milkshake, and Lnk.Bio. The free plans cover unlimited basic links. You pay only when you want a custom domain, advanced analytics, or a lower selling fee, or when you choose a tool such as Stan Store that has no free plan.
Which link in bio tool is best for selling digital products?
Beacons is the best free option, because the store, email capture, and media kit come with the free plan at a 9 percent fee. Stan Store is the best paid option once sales pass about $300 a month, because the flat $29 monthly price beats a percentage fee at volume. Linktree works too, but its free plan fee of 12 percent is the highest in this list.
Can I use my own domain for a link in bio page?
Yes. Linktree offers custom domains on Pro, Beacons on Creator, and Carrd on every Pro plan. A custom domain looks more professional and survives a tool change, because you can point it at a new page later. Set it up before you print the link anywhere permanent.
How many links should a link in bio page have?
Five or six links is the right count for most creators. Fewer than three wastes the page, and more than eight turns it into a menu nobody reads. Put the most important link at the top, because the first two links get most of the taps, and remove the weakest link before you add a new one.
Do I need a different link in bio page for each platform?
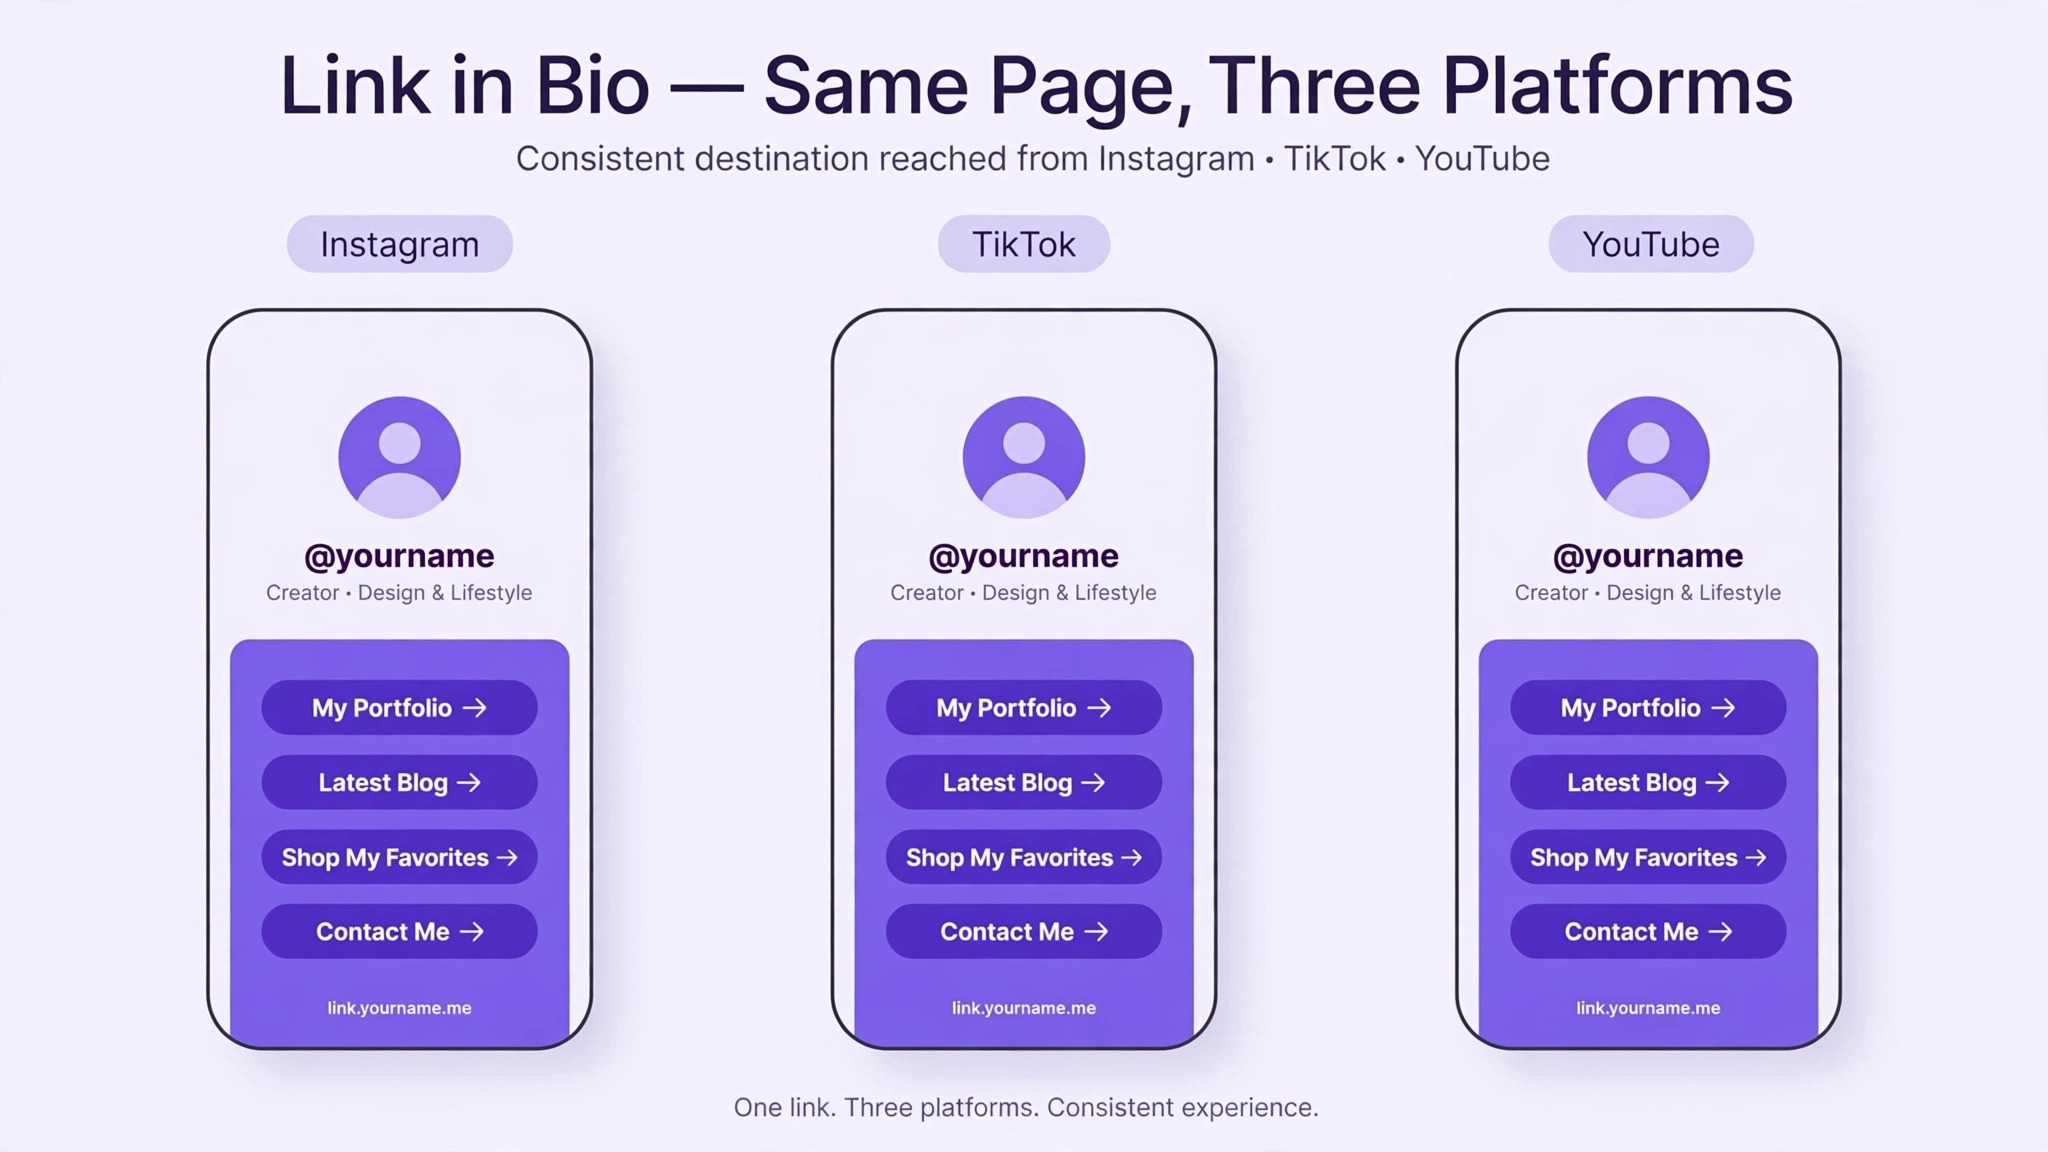
No. One page works for every platform, and it should, because the page is where your audience lands from all of them. The only exception is a creator with very different audiences, such as a business audience on LinkedIn and a fan audience on TikTok, who may want two pages with different top links.
What happened to Bento?
Bento shut down on February 13, 2026, after Linktree bought it. Old Bento links no longer work. If you have a Bento link in any bio, replace it with your current page, and keep a backup of your page content so a tool shutdown never takes your links with it again.
Verdict
A link in bio page is a small page with an outsized job, and the setup is simple once the decision is made. Pick the tool by what you sell, not by what looks nice. Keep five or six links, put the money link first, add an email capture, and tap every link yourself before you promote it. Then check the clicks each week and let the numbers set the order. The creators who earn from their bio link are not the ones with the prettiest page. They are the ones who treat it as a shop front, keep it current, and measure what works.