A creator opens the camera app, records for an hour, and then stares at the footage wondering what the video is actually about. The edit takes three evenings. The thumbnail is made in five minutes on upload day. The video gets 40 views and the creator concludes that YouTube does not work. The problem was never the camera or the algorithm. The problem was that the video was never planned. This guide shows how to plan a youtube video so that every stage, from the first idea to the upload click, has a decision made before the work starts.
Why Most Videos Fail Before Recording Starts
Most weak videos are decided in the first hour of planning, not in the edit. A topic that is not yet a video gets recorded anyway. A title that promises nothing gets filmed around. A script that has no hook loses the viewer in the first thirty seconds. By the time the creator reaches the edit, the damage is done. No amount of cutting can save a video whose promise was unclear from the start. Planning is the cheapest place to fix a video, because a sentence changed in an outline costs nothing and a scene reshot costs an evening.
The second failure is a missing handoff between stages. The script is finished but nobody wrote a shot list, so the filming day wastes time guessing what to record. The edit is finished but the thumbnail and the chapters were never planned, so upload day becomes a rush. A repeatable workflow fixes both failures. When every video passes through the same stages with the same checks, nothing is left for upload day except the upload itself. The workflow in this guide has six stages, and each stage ends with a clear test that tells the creator whether to move on or fix the work first.
Planning also protects the creator schedule. Research on creator workflows puts a typical 10 to 15 minute video at 8 to 18 hours of total production time for a solo creator, with scripting as the biggest variable. A creator who plans well spends most of those hours on work that shows on screen. A creator who plans poorly spends them on rework. The difference between a channel that publishes weekly and one that publishes monthly is rarely talent. It is usually a plan that turns an idea into a finished video without wasted motion.
How to Plan a YouTube Video in 6 Stages
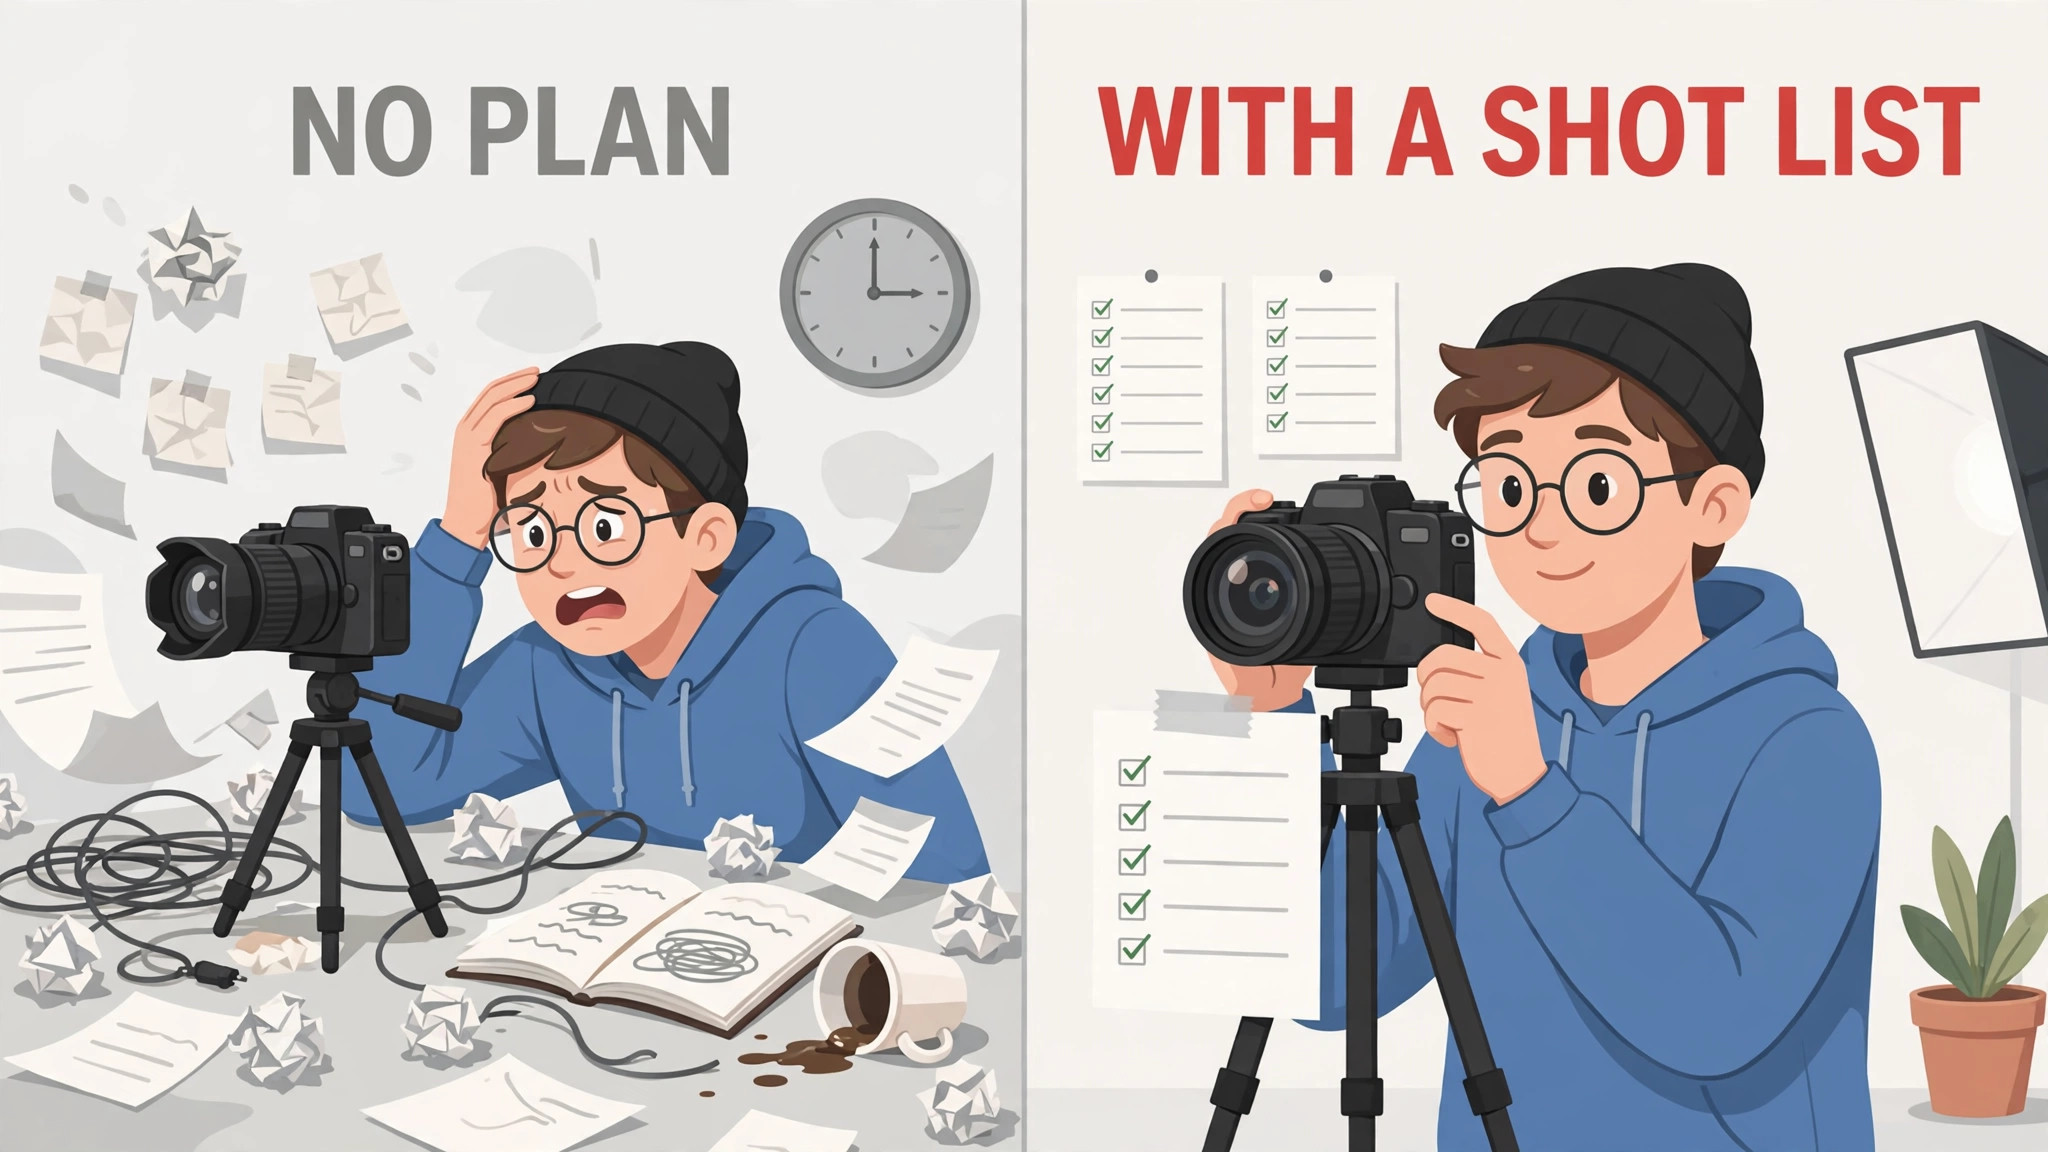
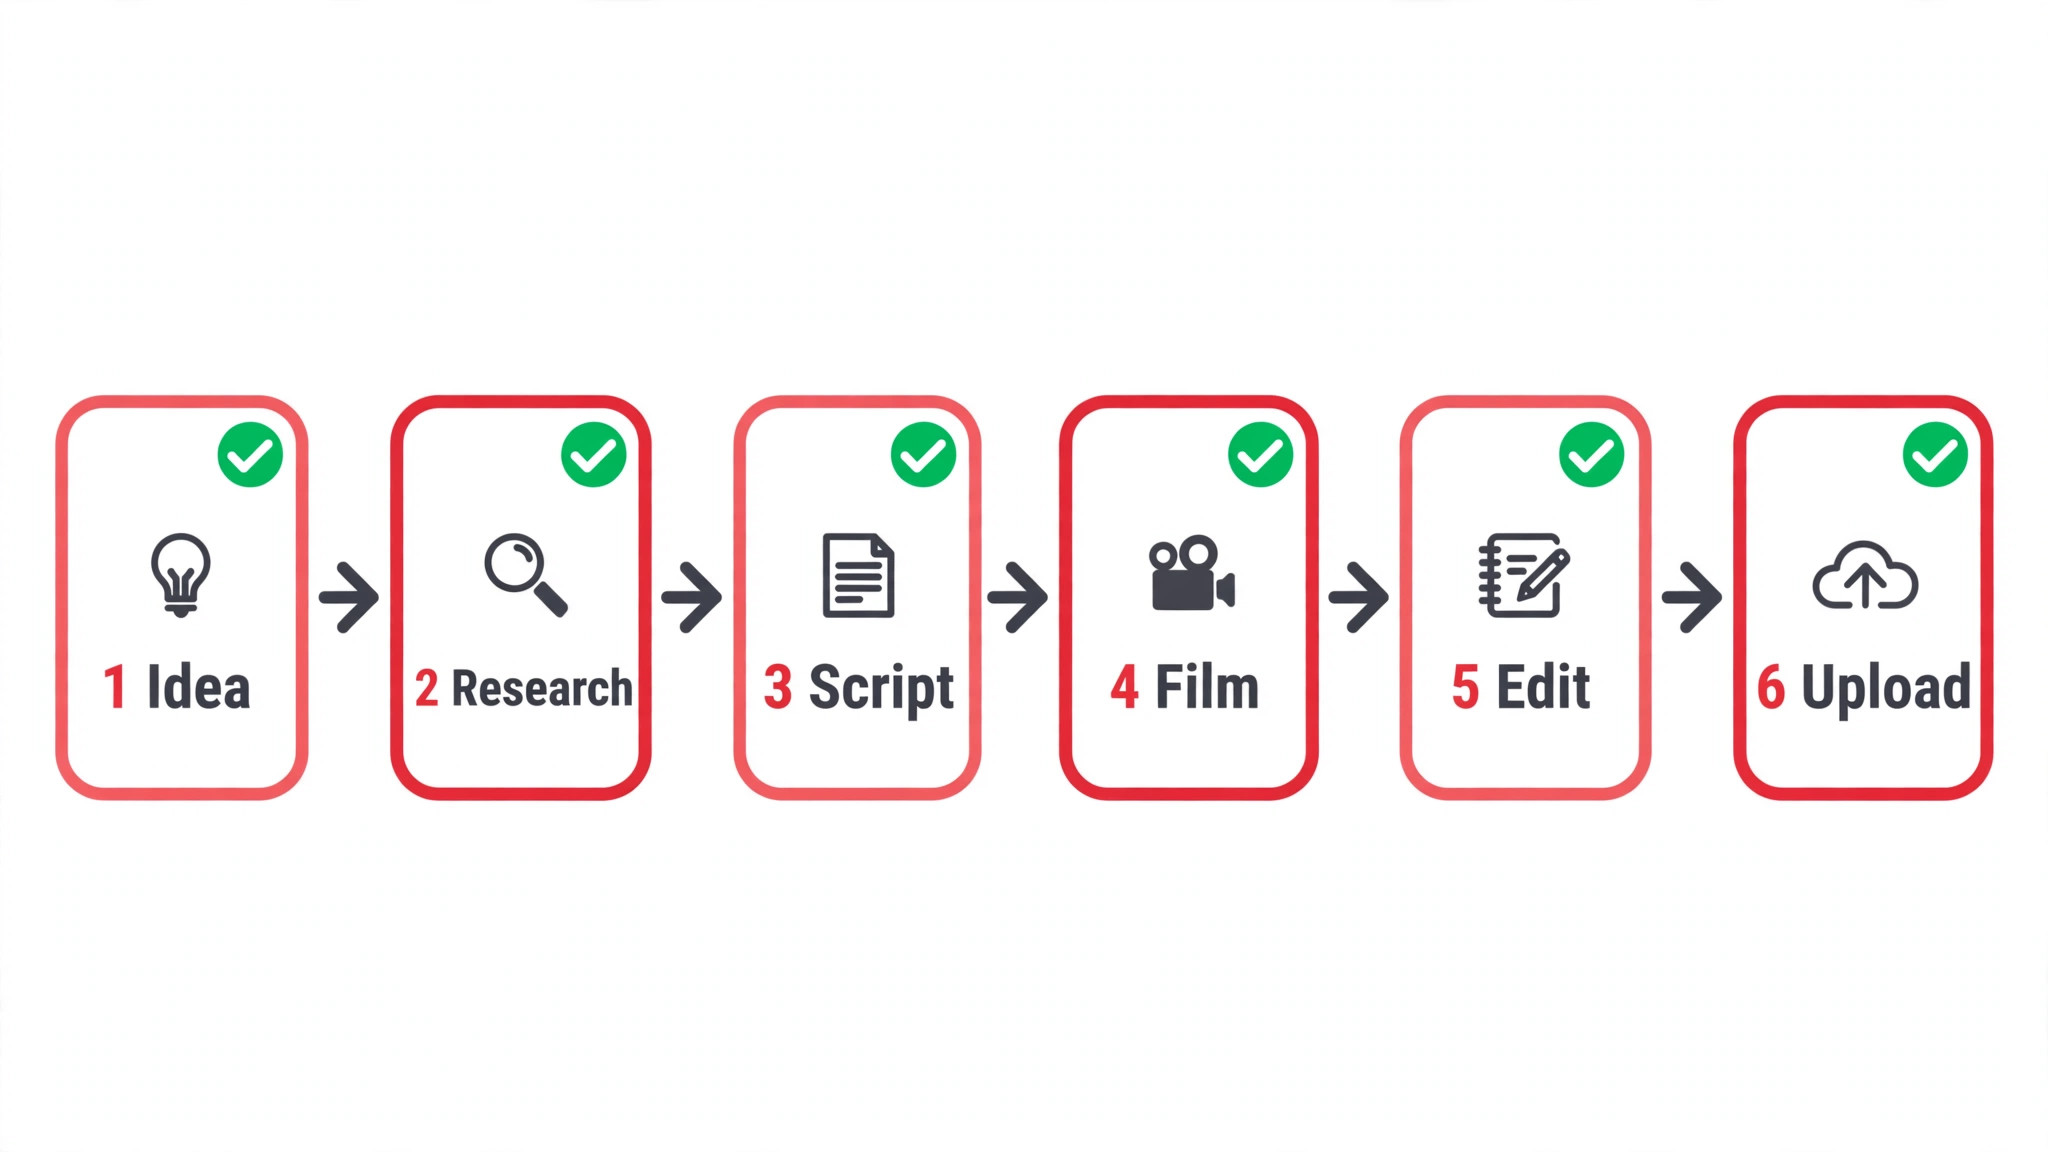
The full answer to how to plan a youtube video fits in six stages. Idea, research and scripting, pre-production, filming, editing, and publishing. Each stage has one job and one test for completion. A video moves forward only when the test is passed. The table below gives the whole workflow on one page, and the sections after it explain each stage in detail.
| Stage | What to decide | Done when |
|---|---|---|
| 1. Idea | Working title, target viewer, one question answered | The promise fits in one sentence |
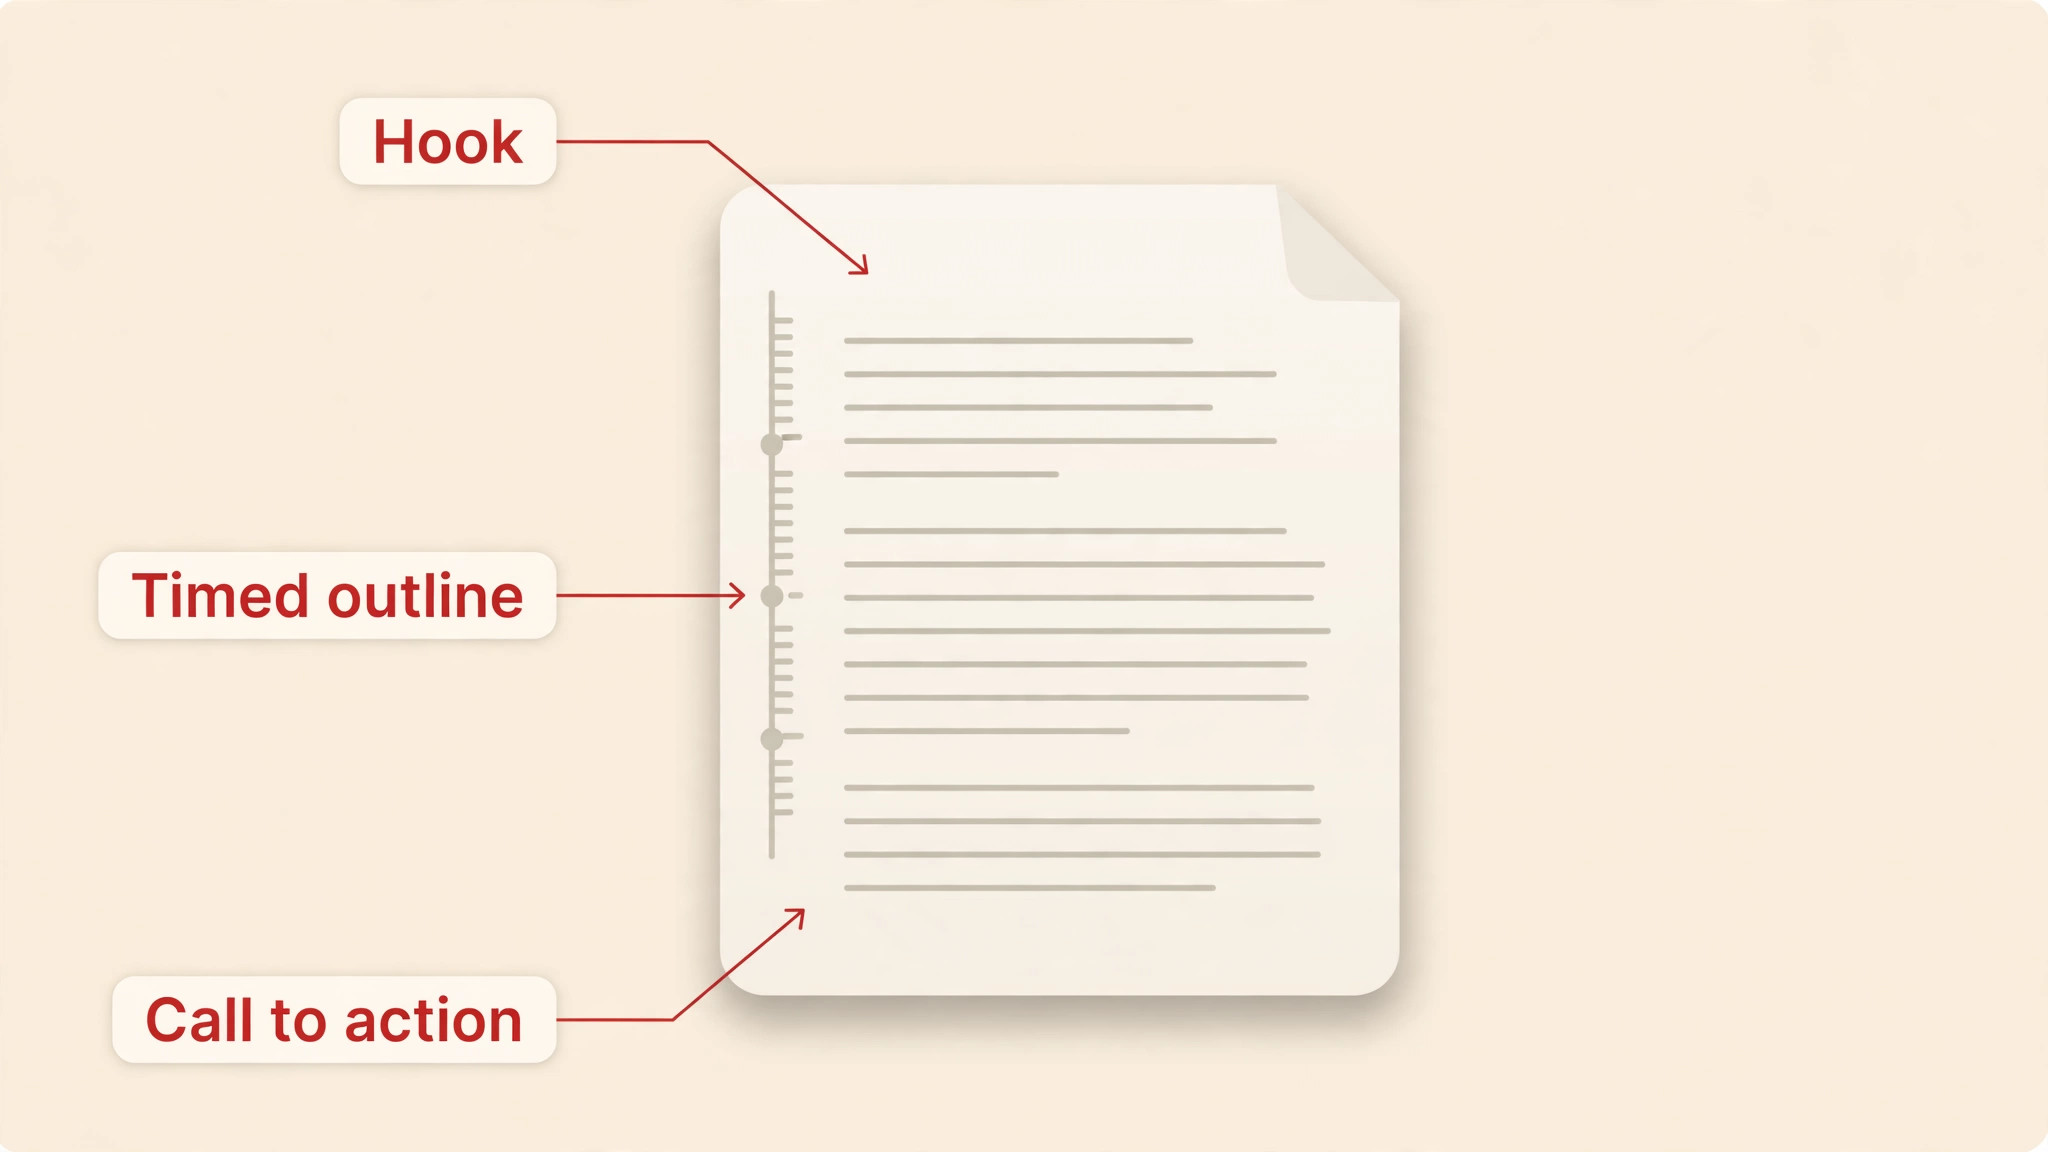
| 2. Script | Hook, timed outline, call to action | Every section has a time range |
| 3. Pre-production | Shots, gear, location, props, B-roll | Every section has at least one shot |
| 4. Filming | Talking head, demo, screen, B-roll | All scripted sections are covered |
| 5. Editing | Rough cut, captions, music, graphics | The export has been watched end to end |
| 6. Publishing | Title, thumbnail, description, chapters | The video is scheduled, not just uploaded |
Keep the stages visible while working. A simple planner page, a spreadsheet, or a Notion template can hold all six stages for one video. The tool matters less than the habit.
Stage 1. Turn an Idea Into One Clear Promise
A topic is not yet a video. A topic is a subject area, and a video is a promise kept for one viewer. The first planning job is to turn the topic into a sentence that a viewer can recognise as useful. Finish this sentence before doing anything else. After this video, the viewer can do or understand one thing. If the sentence needs an and or a second clause, the idea is really two videos. Split it and plan the stronger half first.
Write a one line brief for every video. It needs four lines. Topic, audience, outcome, and target length. The audience line names who needs this explanation now, not who might enjoy it someday. The outcome line names what the viewer can do or decide after watching. The length line names how much time the idea reasonably needs. A tutorial that teaches one skill may need eight minutes. A comparison that settles a buying decision may need fifteen. A video that needs thirty minutes to keep a thin promise should be cut back to the promise it can keep in twelve.
Validate the idea before scripting. Search the exact topic on YouTube and read the top results. Note what they cover, what they miss, and what their comments ask for. A video that covers the same ground as five existing videos needs a sharper angle, a clearer demonstration, or a more specific audience. Keep a running list of ideas fed by search data, audience comments, and questions from real viewers. The list means a creator never starts a week with a blank page. Pick the idea whose promise is clearest, not the idea that feels most exciting in the moment.
Stage 2. Research and Script for Retention
Research comes before writing, because a script built on thin research will sound thin on camera. Gather the facts, the examples, the numbers, and the counter arguments first. For a tutorial, test every step before writing it down. For a comparison, check the current prices and features on the vendor sites, because a wrong price in a video will fill the comments with corrections. For a review, use the product long enough to find its real limits, not just its launch features. Viewers forgive a plain video. They do not forgive a wrong one.
A useful script does not try to make the video long. It makes each section earn its place. Three structures work well for new creators. Problem, solution, payoff opens with the frustration, demonstrates the fix, and shows what changes when the viewer applies it. Comparison, verdict, evidence walks through the options and ends with a clear recommendation. Step by step, mistake, fix teaches a process and warns about the errors that waste time. Pick one structure per video and let it shape the outline. A video that mixes all three structures will feel like three videos stitched together.
The hook deserves the most planning time in the whole script. The first thirty seconds decide whether a viewer stays. A strong hook shows the outcome, names the viewer, and promises the payoff in plain words. A weak hook apologises, introduces the creator at length, or asks the viewer to subscribe before showing any value. Write the hook as a full script, word for word, and rehearse it. The rest of the video can be a timed outline with bullet points per section. The hook and the ending are the two places where word for word scripting pays off, because they carry the first impression and the last one.
Time the outline against a speaking rate of about 150 words per minute. A twelve minute video needs roughly 1,800 words of script. A section that runs long in the outline will run long on camera, so cut it in the plan rather than in the edit. Add a pattern interrupt every 60 to 90 seconds, such as a new visual, a demonstration, a graphic, or a change of location. Viewers do not leave because a video is long. They leave because a section stops earning their attention.
Stage 3. Pre-Production and the Shot List
Pre-production is the stage most solo creators skip, and it is the stage that saves the most filming time. A shot list translates the script into footage. For each scripted section, list the shots it needs. Talking head for explanation, demonstration for a process, screen recording for software, and B-roll for texture and proof. A section with no planned shot will be filmed as talking head by default, and a video of only talking head is hard to watch for twelve minutes. Plan at least one visual change per section.
Gear decisions belong in this stage, not on filming day. A phone camera is enough for most new creators, provided the sound is clean. Viewers forgive average video quality. They abandon videos with bad audio. A simple lavalier microphone or a USB microphone costs less than a new camera and improves the result more. Check the recording space for echo, background noise, and light. Face a window for soft daylight, or use one affordable key light. Charge batteries, clear memory cards, and test record thirty seconds before the real session starts. A test clip catches a muted microphone before it ruins an hour of filming.
Location and props also belong on the shot list. List every prop, every screen to be recorded, and every location change. If the video needs a product, a tool, or a document on screen, gather it before filming. If a section needs a screen recording, close notifications, hide personal files, and set the display to a clean resolution. Write the filming order on the shot list as well. Film in an order that suits the location and the light, not necessarily the script order. The editor will assemble the script order later.
Stage 4. Filming Without Wasting the Day
Filming works best in passes. Record the main talking head or demonstration first, following the script section by section. Do not stop for small mistakes. Pause, repeat the sentence, and keep going, because the editor will cut the mistake out. Stopping the camera for every slip breaks the rhythm and doubles the filming time. Record each section twice if the schedule allows, and keep the better take. A second take costs minutes on the day and saves hours of trying to fix a weak take in the edit.
Film B-roll after the main footage, using the shot list as a checklist. B-roll is the close up of hands doing the work, the product on a desk, the screen detail, or the location that sets the scene. It gives the editor material to cover cuts and to illustrate points the talking head cannot show. Film more B-roll than seems necessary. A creator who films ten minutes of B-roll for a twelve minute video will use most of it. A creator who films two minutes will run out in the first edit pass and have to refilm.
Record in landscape for a standard video. YouTube files a square or vertical video of up to three minutes as a Short, so a creator who wants a standard video must film horizontally. Keep the frame rate that was shot at, because YouTube recommends uploading at the recorded frame rate and there is no reason to convert 30 frames per second to 60. Check focus and exposure on the test clip, and check the audio level with headphones. A filming day that ends with clean audio, full coverage, and a complete shot list is a successful day, even if the footage looks rough before the edit.
Stage 5. Editing in Passes
Editing should be done in passes, not in one long session. The first pass is the rough cut. Remove dead air, mistakes, and sections that do not serve the promise. Do not add music or graphics yet. The goal is a video that works with picture and sound alone. Watch the rough cut once and note where attention drops. Those notes are the edit list for the second pass. A rough cut that is watched and fixed will beat a polished cut of a weak structure every time.
The second pass adds the visuals. Insert B-roll over the talking head where the script changes topic or demonstrates a step. A creator who follows how to plan a youtube video in passes will finish the edit faster than one who polishes as they go. Add on screen text for key numbers, steps, and warnings. Add simple graphics where a list or a comparison needs to be seen, not just heard. Keep the visual style consistent across the channel, with the same font and colour for on screen text in every video. A viewer who returns to the channel should recognise the style in the first seconds.
The third pass adds sound. Clean the audio, balance the levels, and add quiet music underneath the voice. Music should support the voice, never compete with it.
Captions are part of the edit, not an afterthought. Many viewers watch without sound, and captions keep them watching. Burned in captions in a consistent style help on every platform where the video is shared, while YouTube automatic captions handle the rest. Export at the highest quality the workflow supports, as an MP4 with H.264 video. A 1080p export is enough for most creators, while 1440p gives extra sharpness for screen recordings and detailed demonstrations. Watch the final export end to end before uploading. The export that has been watched is the export that does not contain a black frame, a missing graphic, or a muted section.
Stage 6. Publishing, Thumbnail, and the Upload Checklist
Publishing starts before the upload. The title should be written during scripting, because the title is the promise and the script must keep it. YouTube allows up to 100 characters for a title, but shorter titles are easier to take in. A good title names the outcome and the audience in plain words. A title that promises a result the video does not deliver will earn clicks and lose viewers, and the channel will pay for it in watch time. Write three title options during planning and pick the one that matches the finished video most honestly.
The thumbnail is planned in the same stage. YouTube recommends a 16 by 9 image at 3840 by 2160 pixels as a JPG or PNG, with a minimum width of 640 pixels, and a file size under 2 MB. A custom thumbnail will outperform an automatic frame in almost every case, because an automatic frame is a random moment from the video. A strong thumbnail shows one clear idea, large readable text, and a face or a product that matches the title. Make the thumbnail before upload day, and check it at small size on a phone. Text that is unreadable in the feed will not earn the click.
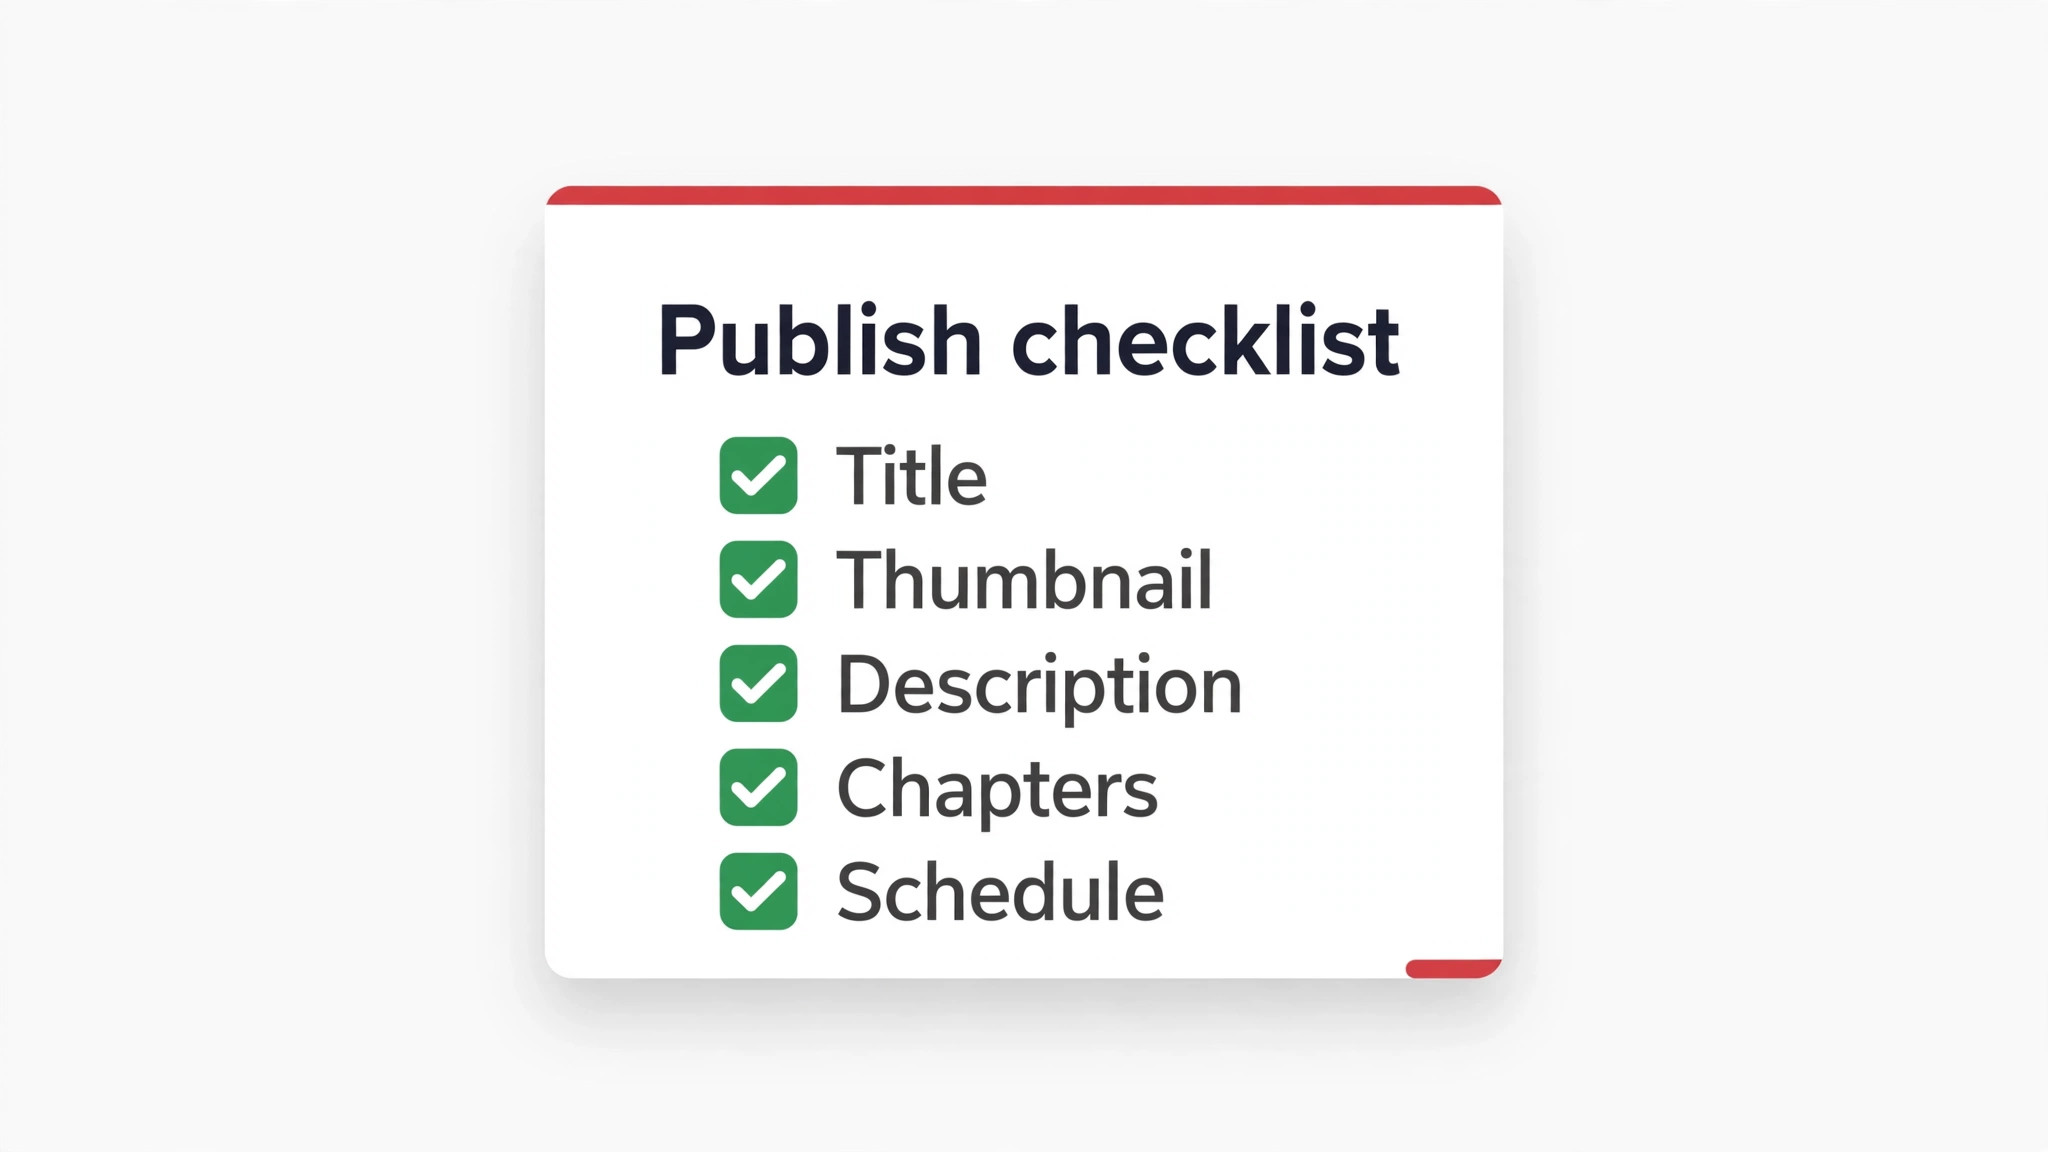
The description, chapters, and end screen complete the publish step. Use the description for a natural summary, useful chapters with timestamps, relevant links, and any required attribution. Chapters help viewers navigate a long video and help search understand its structure. Add an end screen that points to the next video a viewer should watch, and add cards where a related video genuinely helps. Choose a category that matches the topic, add tags that reflect the topic and close variations, and schedule the video rather than publishing it in a rush. A scheduled video gives the creator time to share it, pin a comment, and prepare the Short that promotes it.
How Long Each Stage Takes
A solo creator should budget real hours per stage, not hope the video finishes itself. The table below gives typical times for a 10 to 15 minute video, drawn from published creator workflow guides. The biggest variable is scripting, which is why improving the script stage has the highest impact on output. A creator who writes faster will publish more, and a creator who films faster will not, because filming is rarely the bottleneck.
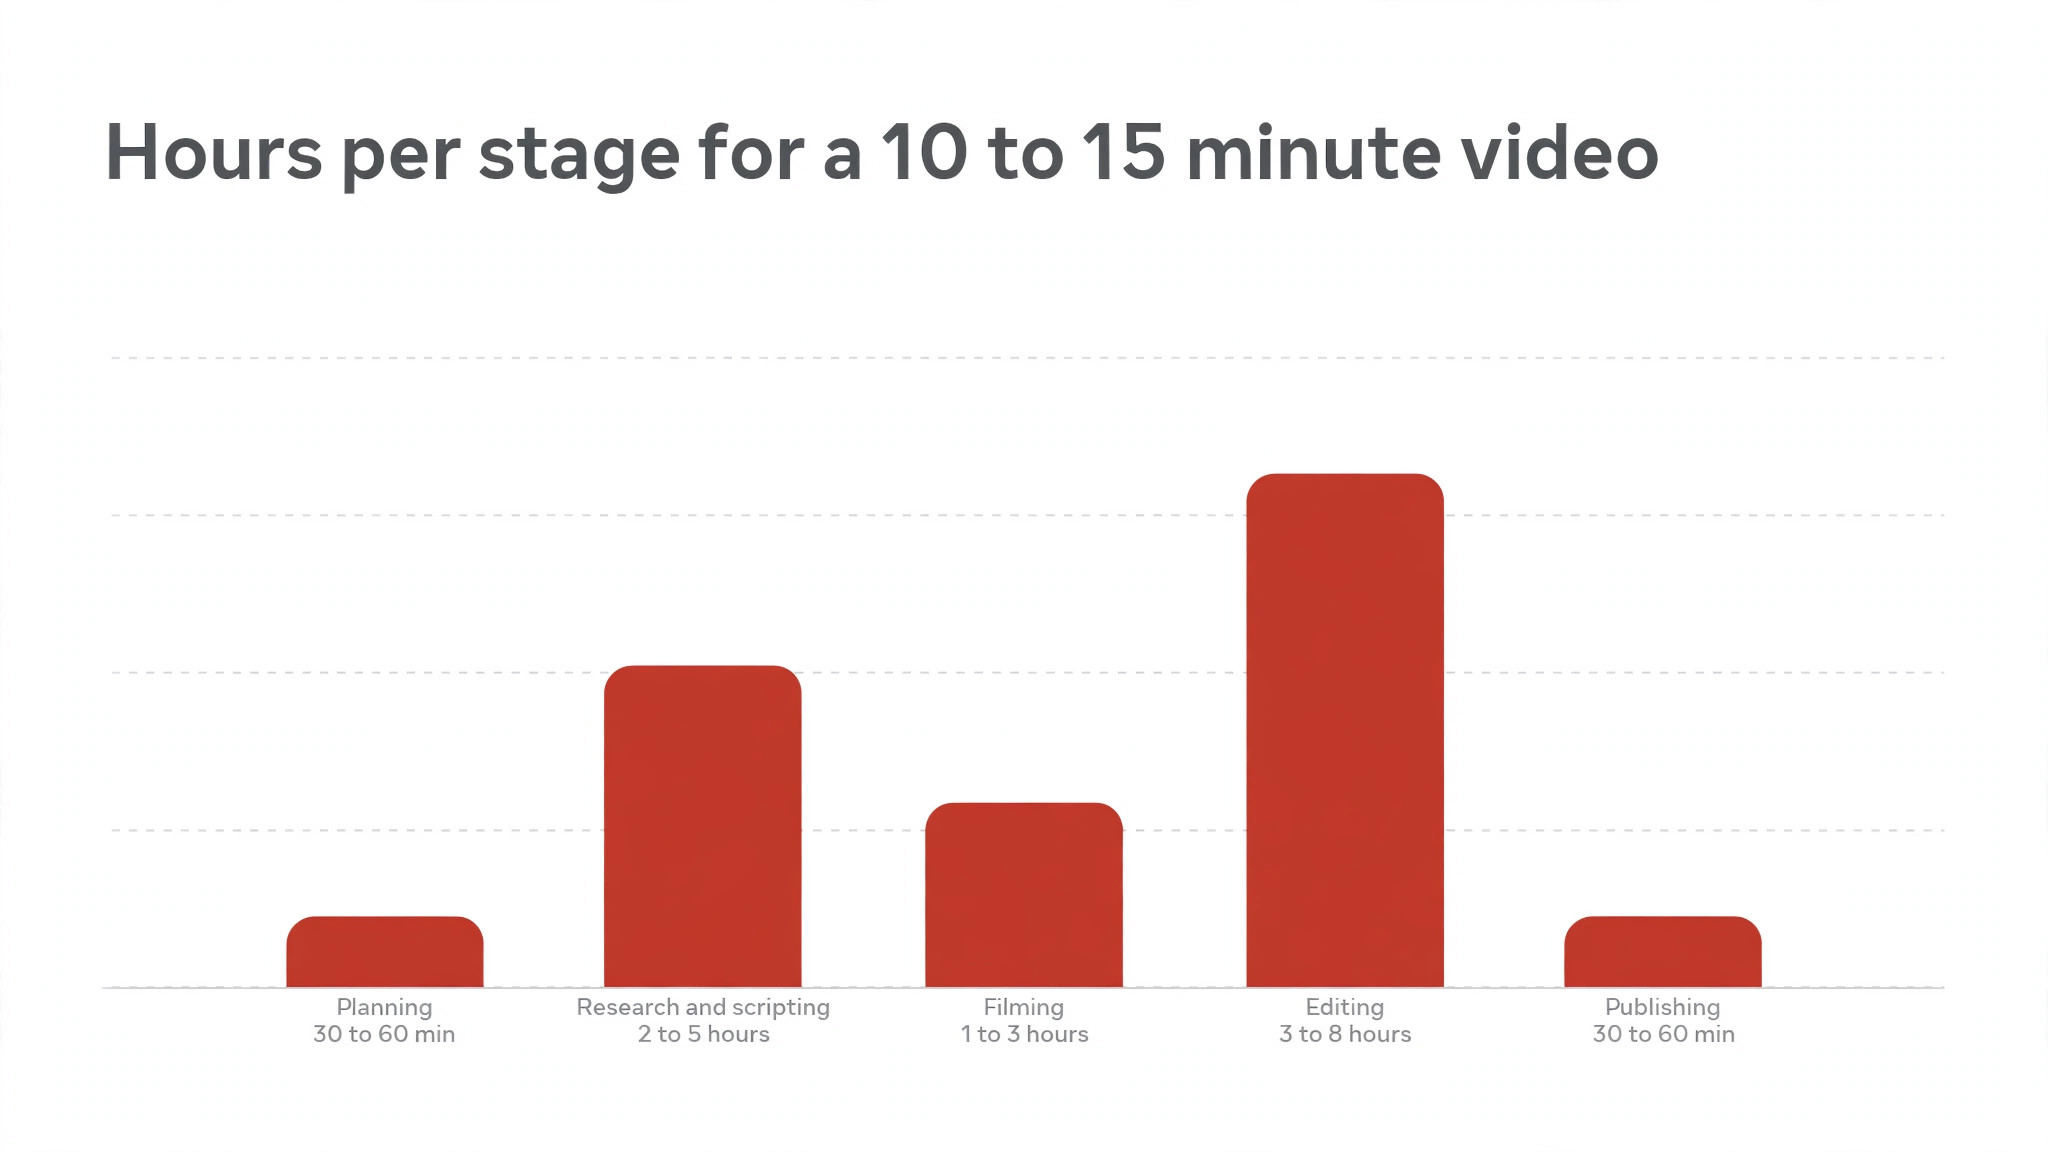
| Stage | Typical time for a solo creator | Where time is lost |
|---|---|---|
| Idea and validation | 30 to 60 minutes | Chasing trends instead of picking a promise |
| Research and scripting | 2 to 5 hours | Writing without research, rewriting in the edit |
| Pre-production | 30 to 60 minutes | Skipping the shot list and guessing on the day |
| Filming | 1 to 3 hours | Refilming sections that were never planned |
| Editing | 3 to 8 hours | Polishing a rough cut whose structure is weak |
| Publishing and packaging | 30 to 60 minutes | Making the thumbnail on upload day |
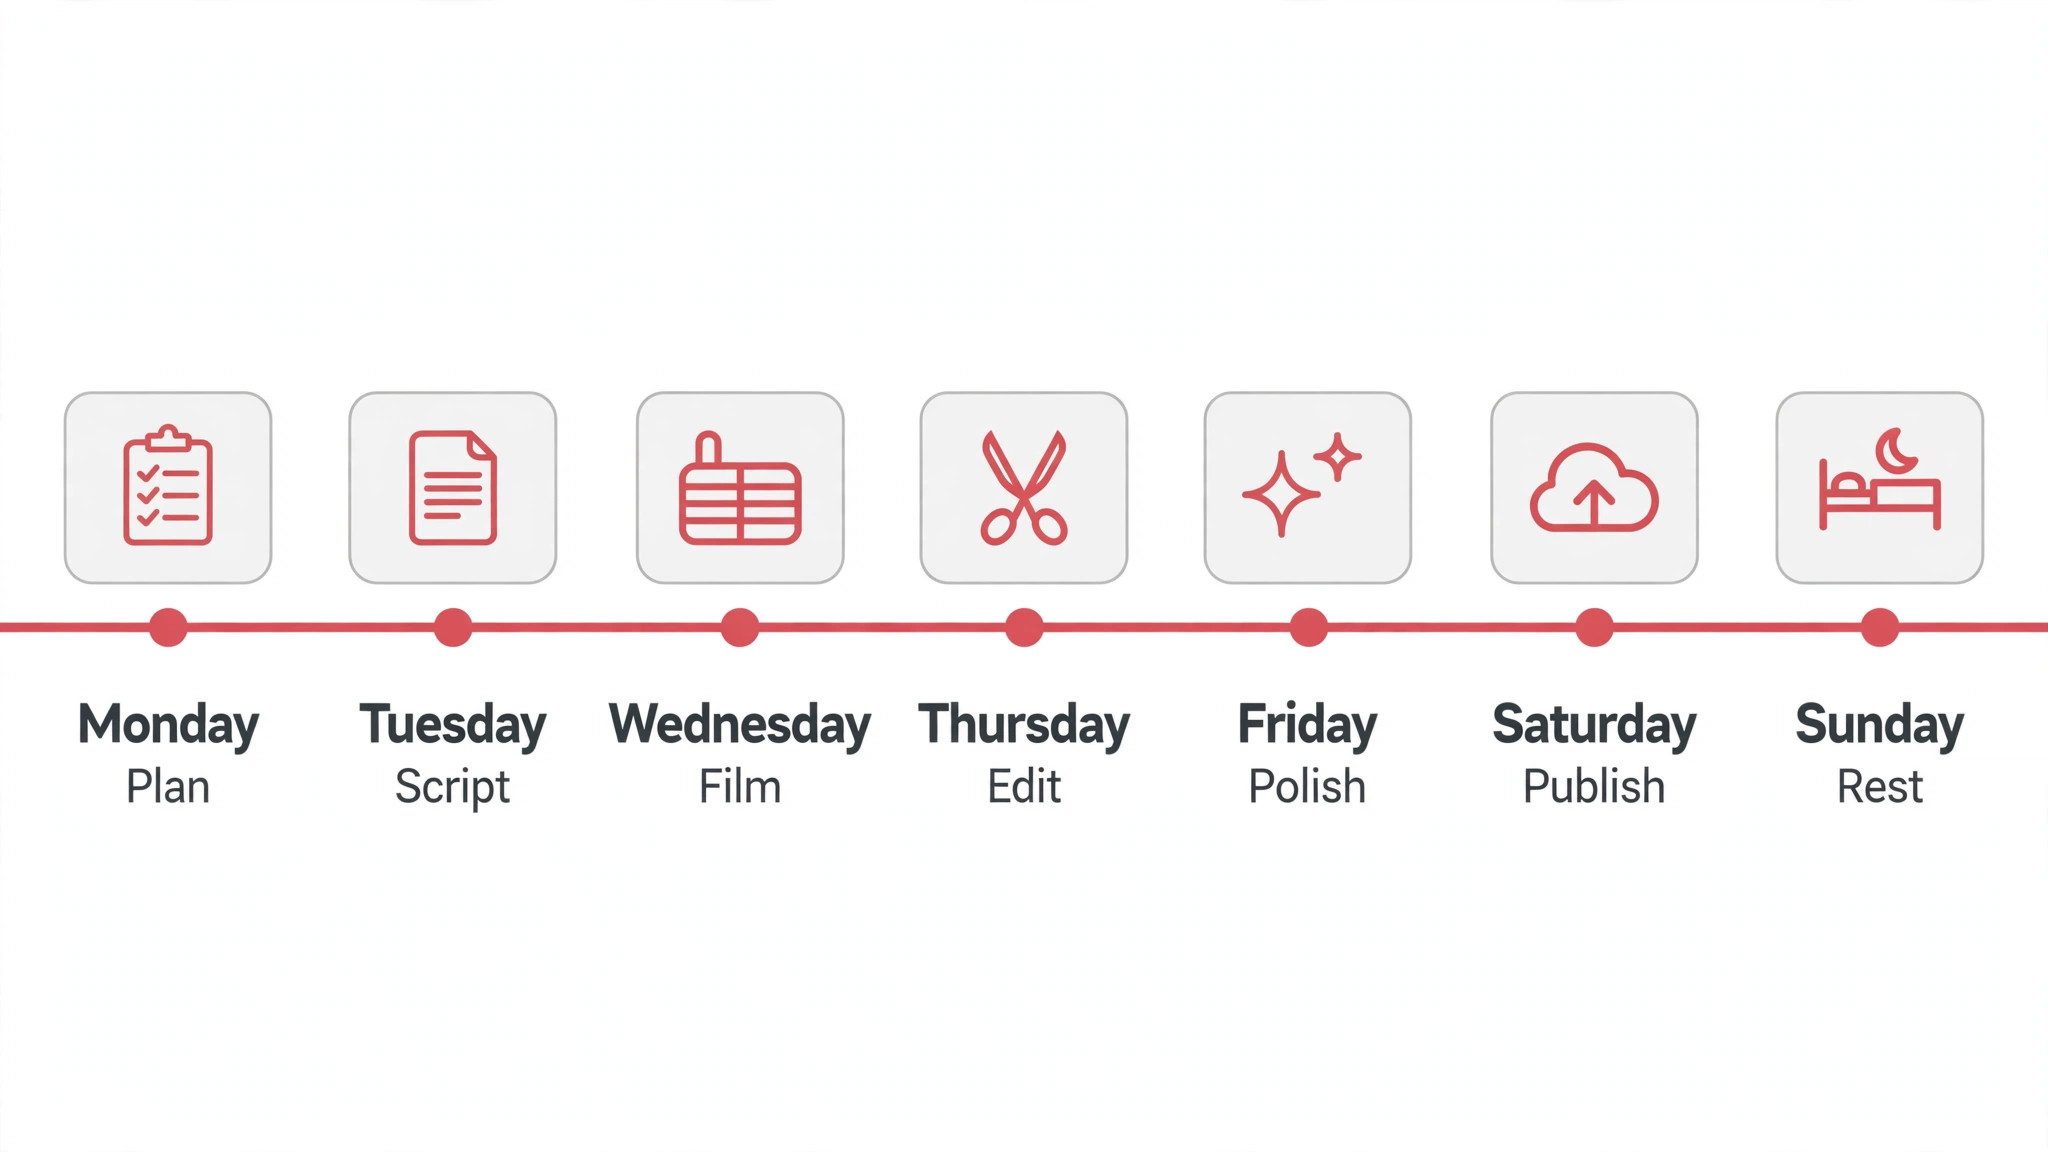
A creator publishing weekly needs to spread those hours across the week, not compress them into one weekend.
Tools for Planning a YouTube Video
Planning tools should hold the whole workflow on one page. A planner that only holds the script will not prevent the upload day rush. A planner that holds the idea, the script, the shot list, and the publish details will. The table below lists tools that creators actually use for each stage, all currently available. Free plans cover most solo creators, and paid plans are worth it only when the free limits block real work.
| Tool | Best job | Free plan | Notes |
|---|---|---|---|
| Notion | One page planner with stages and checklists | Yes | Templates for video planning are widely shared |
| Trello | Kanban board moving videos stage by stage | Yes | Best for teams tracking many videos |
| Google Docs | Script writing and shared comments | Yes | Simple, reliable, works everywhere |
| CapCut | Fast editing with captions and templates | Yes | Strong on desktop and mobile |
| DaVinci Resolve | Professional editing and colour | Yes | Free version covers most creator needs |
| Descript | Edit video by editing the transcript | Limited | Cuts filler words and dead air fast |
| TubeBuddy | Title, tag, and thumbnail testing | Limited | Browser extension for YouTube Studio |
| vidIQ | Topic research and channel analytics | Limited | Useful for validating ideas before scripting |
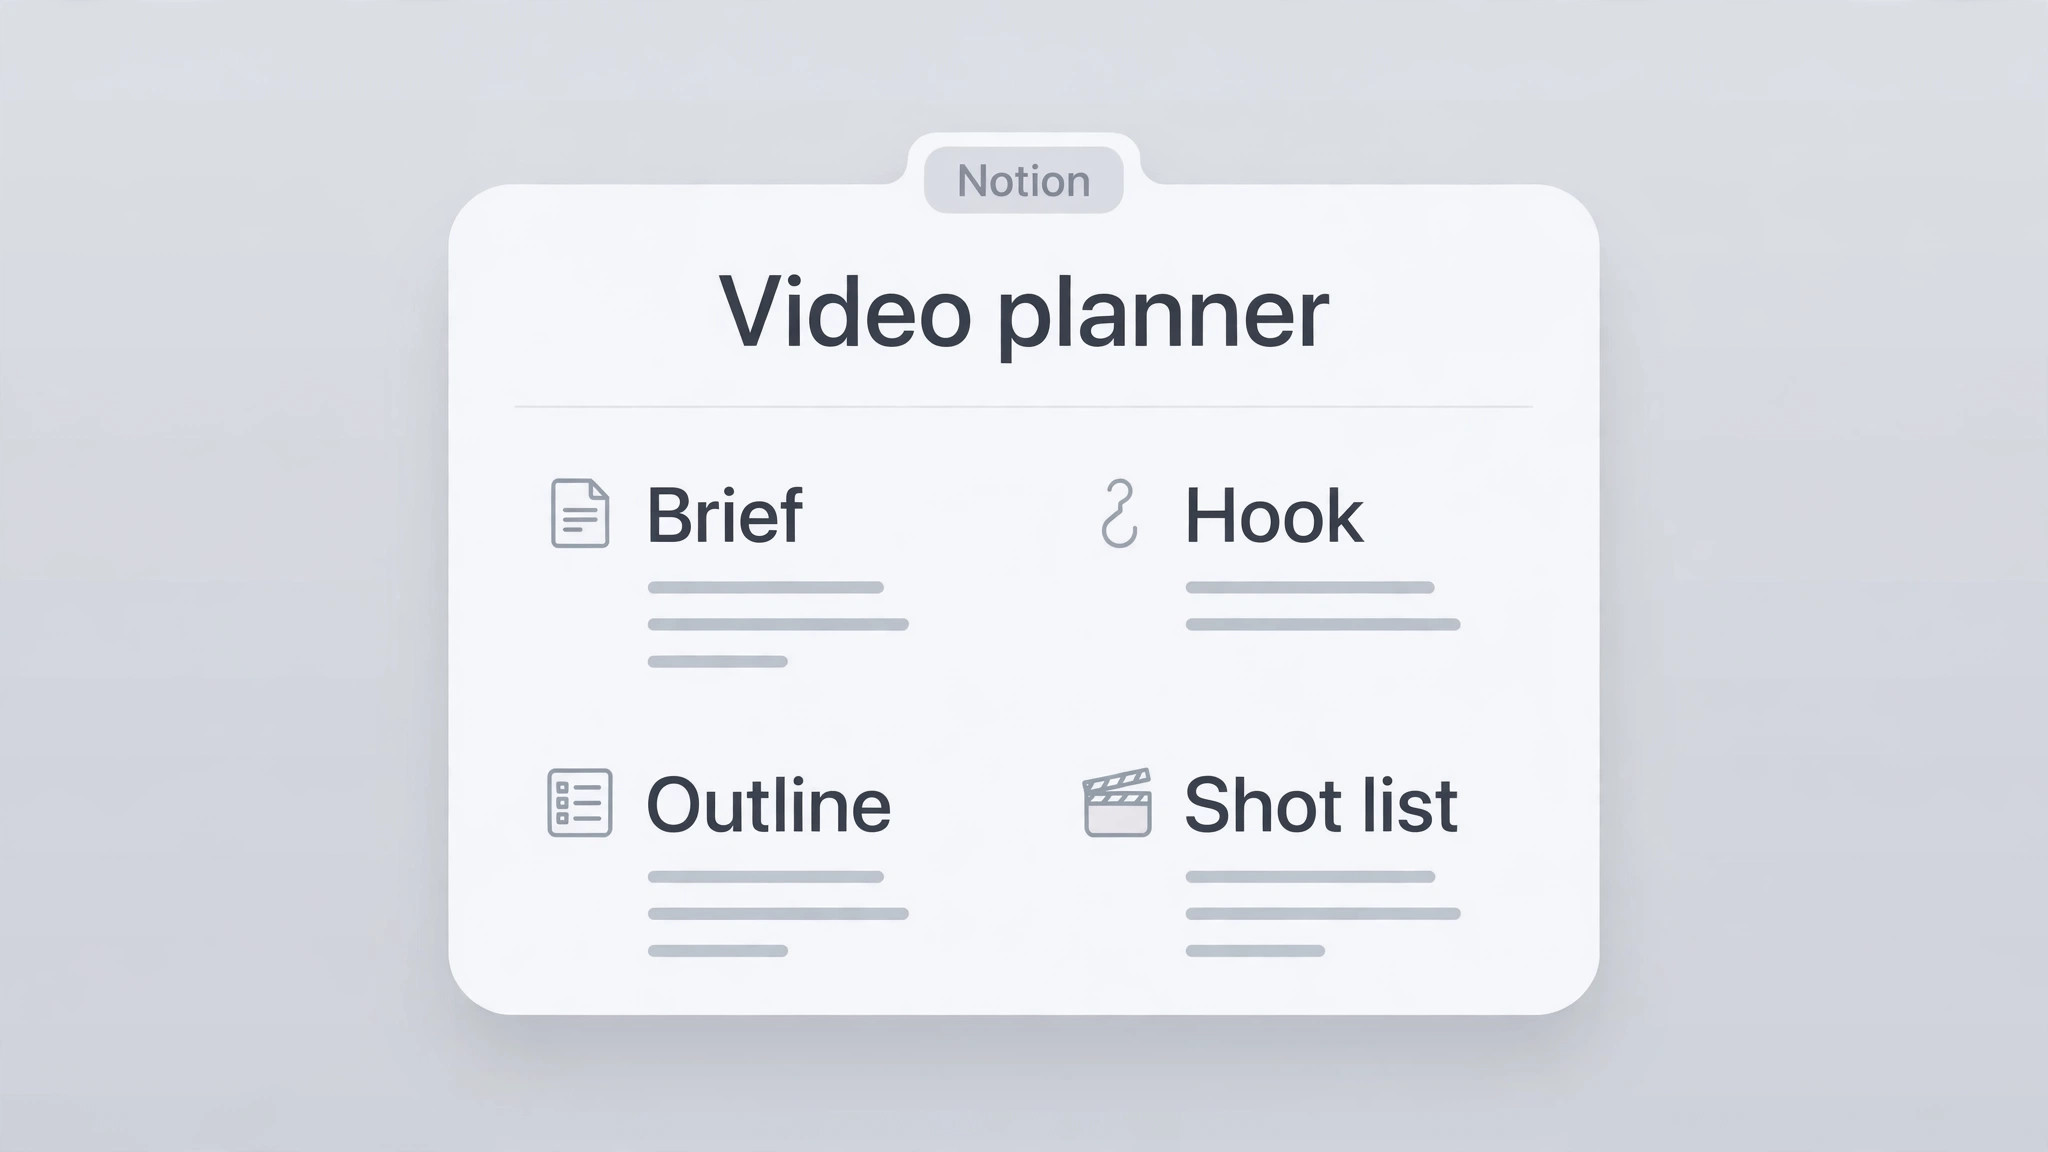
Notion is the most popular planner because one template can hold the brief, the hook, the timed outline, the shot list, and the publish checklist for each video. Trello suits creators who manage a pipeline of videos and want to see which stage each video is in. Google Docs remains the simplest script tool, and its comment feature makes feedback easy. For editing, CapCut is the fastest start and DaVinci Resolve is the professional free option. Descript changes the editing workflow by letting a creator cut filler words from a transcript, which suits talking head videos well.
Research tools earn their place in stage one. TubeBuddy and vidIQ show search volume, competition, and related topics inside YouTube Studio, which helps a creator pick ideas with real demand. That feedback loop is what makes how to plan a youtube video a repeatable skill rather than a one off effort. YouTube Studio itself provides the most important data after publishing, with click through rate in the Reach tab and retention graphs per video. A creator who checks retention after each upload will learn which hooks work and which sections lose viewers. That feedback should feed the next plan, not just the next thumbnail.
Best Pick by Job
The right planning setup depends on the creator, the format, and the publishing rhythm. The workflow for how to plan a youtube video stays the same in every row, only the tools change.
| Job | Best pick | Why it wins |
|---|---|---|
| Solo creator, weekly tutorials | Notion planner, Google Docs script, CapCut | Fast, free, one page per video |
| New creator, first ten videos | Paper planner, phone camera, CapCut | No tool learning, focus on the promise |
| Talking head channel | Descript, teleprompter app, DaVinci Resolve | Transcript editing cuts hours |
| Team channel, several videos a week | Trello board, shared Notion, review step | Visible pipeline, no lost handoffs |
| Screen tutorial channel | Shot list, screen recorder, chapter plan | Clean recordings, easy navigation |
| High production documentary | Full six stage planner, shot list, B-roll day | Planning pays off at this scale |
A new creator should start with the second row, even if the ambition is a large channel. A paper planner, a phone, and a free editor remove every excuse except the work itself. The workflow matters more than the software. A creator who plans every video in six stages with a notebook will outperform a creator with expensive software and no plan. Add tools only when a stage is clearly the bottleneck. If scripting is slow, add a research tool. If editing is slow, add Descript. If upload day is chaotic, add a publish checklist.
Mistakes That Waste Planning Time
The most common mistake is scripting without a promise. A creator writes 2,000 words and then discovers the video has no clear outcome. The fix is the one line brief from stage one, written before any scripting starts. The second mistake is skipping the shot list. A creator films for three hours and returns with talking head only, then tries to fix the boredom in the edit. The fix is thirty minutes of pre-production. The third mistake is making the thumbnail on upload day. A rushed thumbnail costs clicks that a planned thumbnail would have earned, and it cannot be fixed after the video is live without losing the first hours of traffic.
The fourth mistake is editing before the rough cut is watched. A creator adds music, graphics, and colour to a cut whose structure is weak, then has to redo the polish after fixing the structure. The fix is the pass system. Rough cut first, watch it, then polish.
The fifth mistake is ignoring retention data. A creator who never opens the retention graph will keep making the same hook mistake in every video. The fix is a five minute review after each upload, noting the drop off points and the sections that held viewers. The sixth mistake is planning in the head. A plan that is not written down is not a plan. It is a wish. Write the brief, the hook, and the publish details on one page, and the video will follow.
Your One Page Video Planner
A planner that fits on one page is a planner that gets used. Copy the structure below into a document and fill it in for the next video. Each numbered line is one field, and a field left blank is a decision not yet made. Do not start filming until every field has an answer.
- Working title and the one sentence promise the video keeps for the viewer.
- Target viewer, the outcome they get, and the target length in minutes.
- Hook for the first 30 seconds, written word for word, plus the call to action at the end.
- Timed outline with each section, its time range, and its main point in one line.
- Shot list with talking head, demonstration, screen, and B-roll shots per section.
- Gear, location, props, and the filming order for the day.
- Edit notes, caption style, music choice, and the export settings to use.
- Publish details, final title options, thumbnail idea, description summary, and chapters.
Keep finished planners in one folder. After ten videos, the folder shows which promises earned views, which hooks held viewers, and which formats are worth repeating. That record is the channel strategy, written by real results instead of guesses. A creator who reviews the folder monthly will improve faster than one who starts each video from a blank page.
Frequently Asked Questions
How long does it take to plan a YouTube video
Planning takes 30 to 60 minutes for the idea and validation, plus 2 to 5 hours for research and scripting. Pre-production adds another 30 to 60 minutes. Total production for a 10 to 15 minute video runs 8 to 18 hours for a solo creator, with scripting as the biggest variable. Planning well does not add time. It moves time from rework into work that shows on screen.
What is the best way to learn how to plan a youtube video
The best way is to plan one real video through all six stages with a one page planner. Write the promise, the hook, the timed outline, the shot list, and the publish details before filming. After publishing, check the retention graph in YouTube Studio and note what held viewers. Repeating that loop teaches planning faster than any course.
Do I need a script for every YouTube video
A full word for word script is not needed for every video, but a timed outline is. Script the hook and the ending word for word, and outline the middle sections with a time range and a main point each. That balance keeps the video natural on camera while stopping it from wandering. Unscripted videos without an outline are the ones that run long and lose viewers.
What should a YouTube video planner include
A planner should include the working title, the one sentence promise, the target viewer and outcome, the hook, the timed outline, the shot list, the gear and filming order, the edit notes, and the publish details. A planner that holds only the script will not prevent the upload day rush. A planner that holds all six stages will.
How do I plan a YouTube video when I have no ideas
Keep a running idea list fed by YouTube search, audience comments, and questions from real viewers. Search the topic and read what top videos miss and what their comments ask for. Pick the idea whose promise is clearest, not the one that feels most exciting. An idea list means a creator never starts a week with a blank page.
What size should a YouTube thumbnail be
YouTube recommends a 16 by 9 thumbnail at 3840 by 2160 pixels as a JPG or PNG, with a minimum width of 640 pixels and a file size under 2 MB. Make a custom thumbnail for every video instead of accepting an automatic frame. Check the thumbnail at small size on a phone, because text that is unreadable in the feed will not earn the click.
How do I know if my video plan worked
Check two numbers in YouTube Studio after publishing. Click through rate in the Reach tab shows whether the title and thumbnail earned the click. The retention graph shows where viewers stayed and where they left. A plan worked when the hook holds viewers past thirty seconds and the sections keep them to the end. Use those drop off points to fix the next plan.