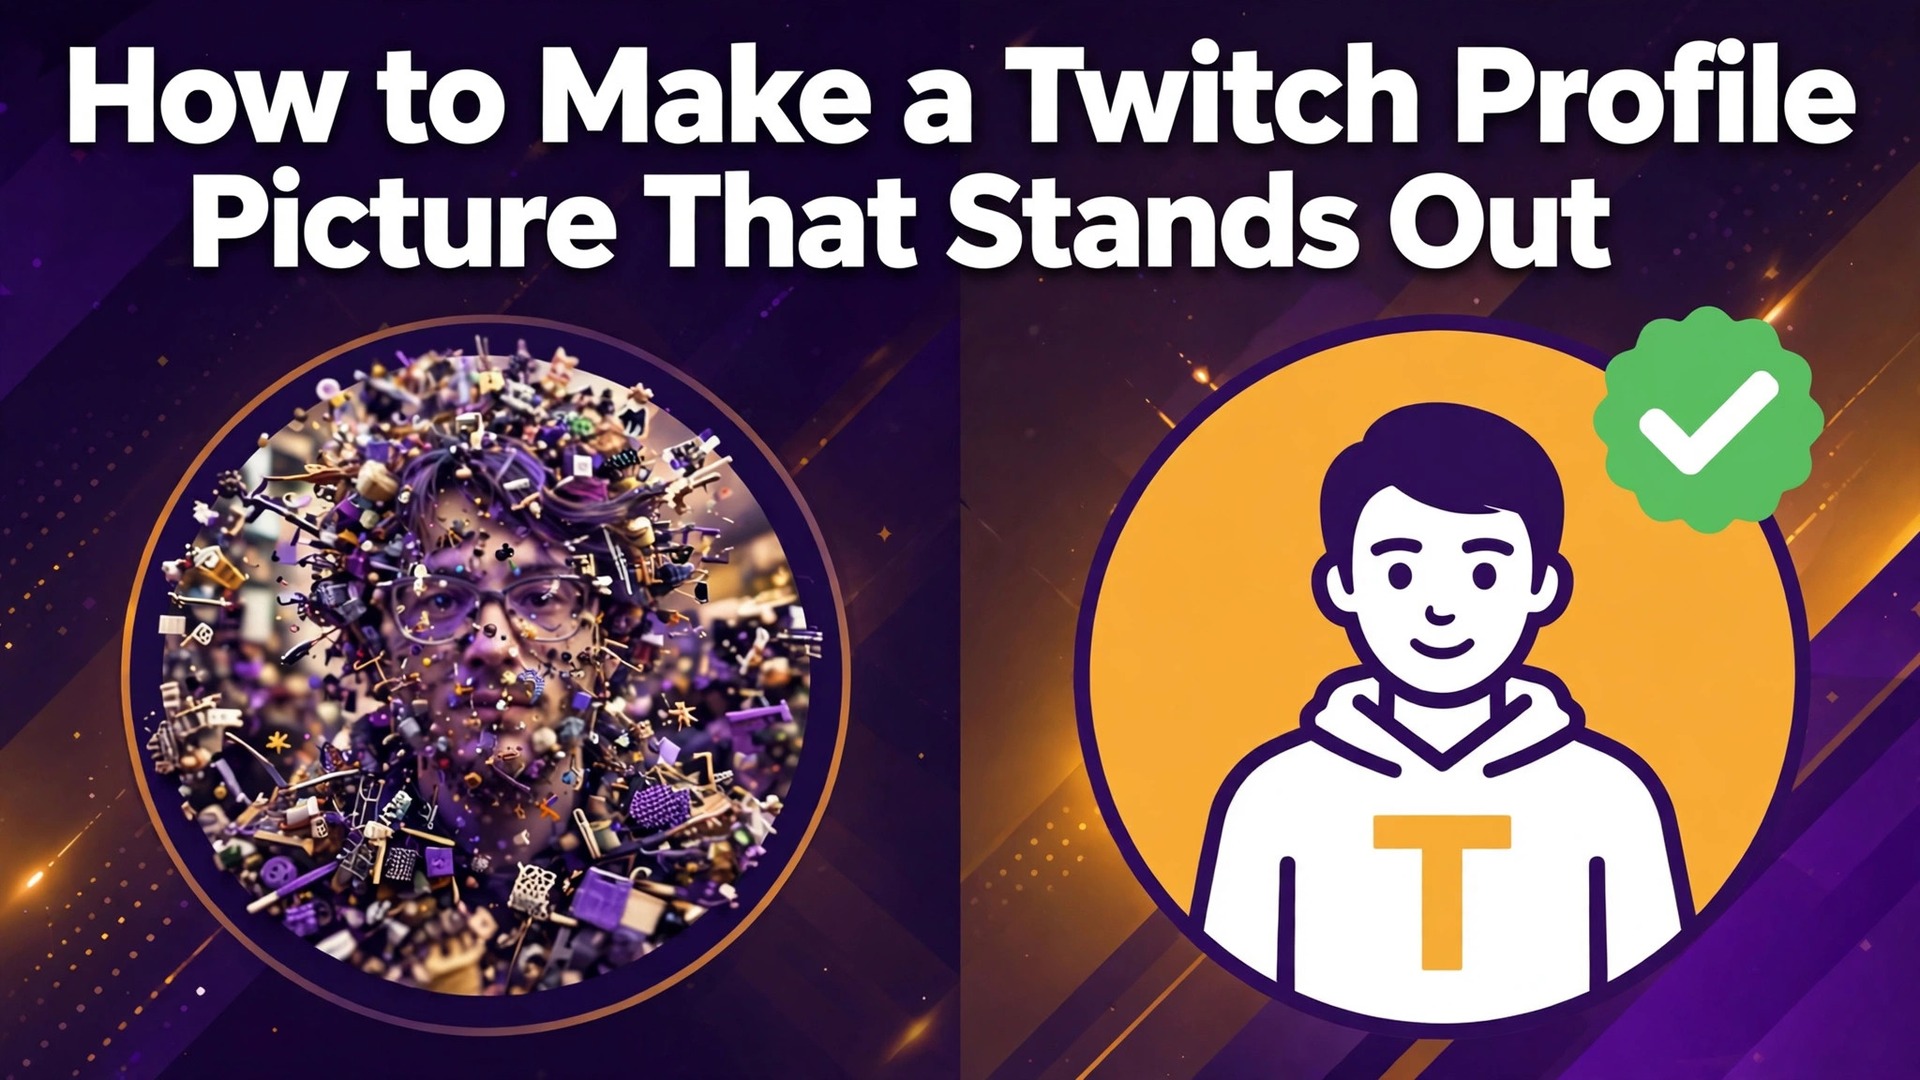
256 pixels square is all the space Twitch gives your profile picture, and on a busy stream that picture appears next to every message you send, shrunk to about the size of a fingernail on a phone screen. That tiny square is the first thing a viewer notices about you, and it is the image they look for when they scroll through a list of live channels. Learning how to make a Twitch profile picture that survives that shrink, stays readable in chat, and still looks like you is a design job with very specific rules, and this guide covers the size, the tools, the design choices and the upload steps in order.
A good Twitch avatar does three jobs at once. It identifies you in a crowded chat, it signals what kind of stream you run, and it matches the rest of your channel so a viewer who finds you in one place recognises you everywhere else. A photo of your face, a simple mascot or a bold initial can all do that job, while a detailed illustration or a photo with a busy background cannot, because the detail disappears the moment the picture shrinks.
Twitch Profile Picture Specs
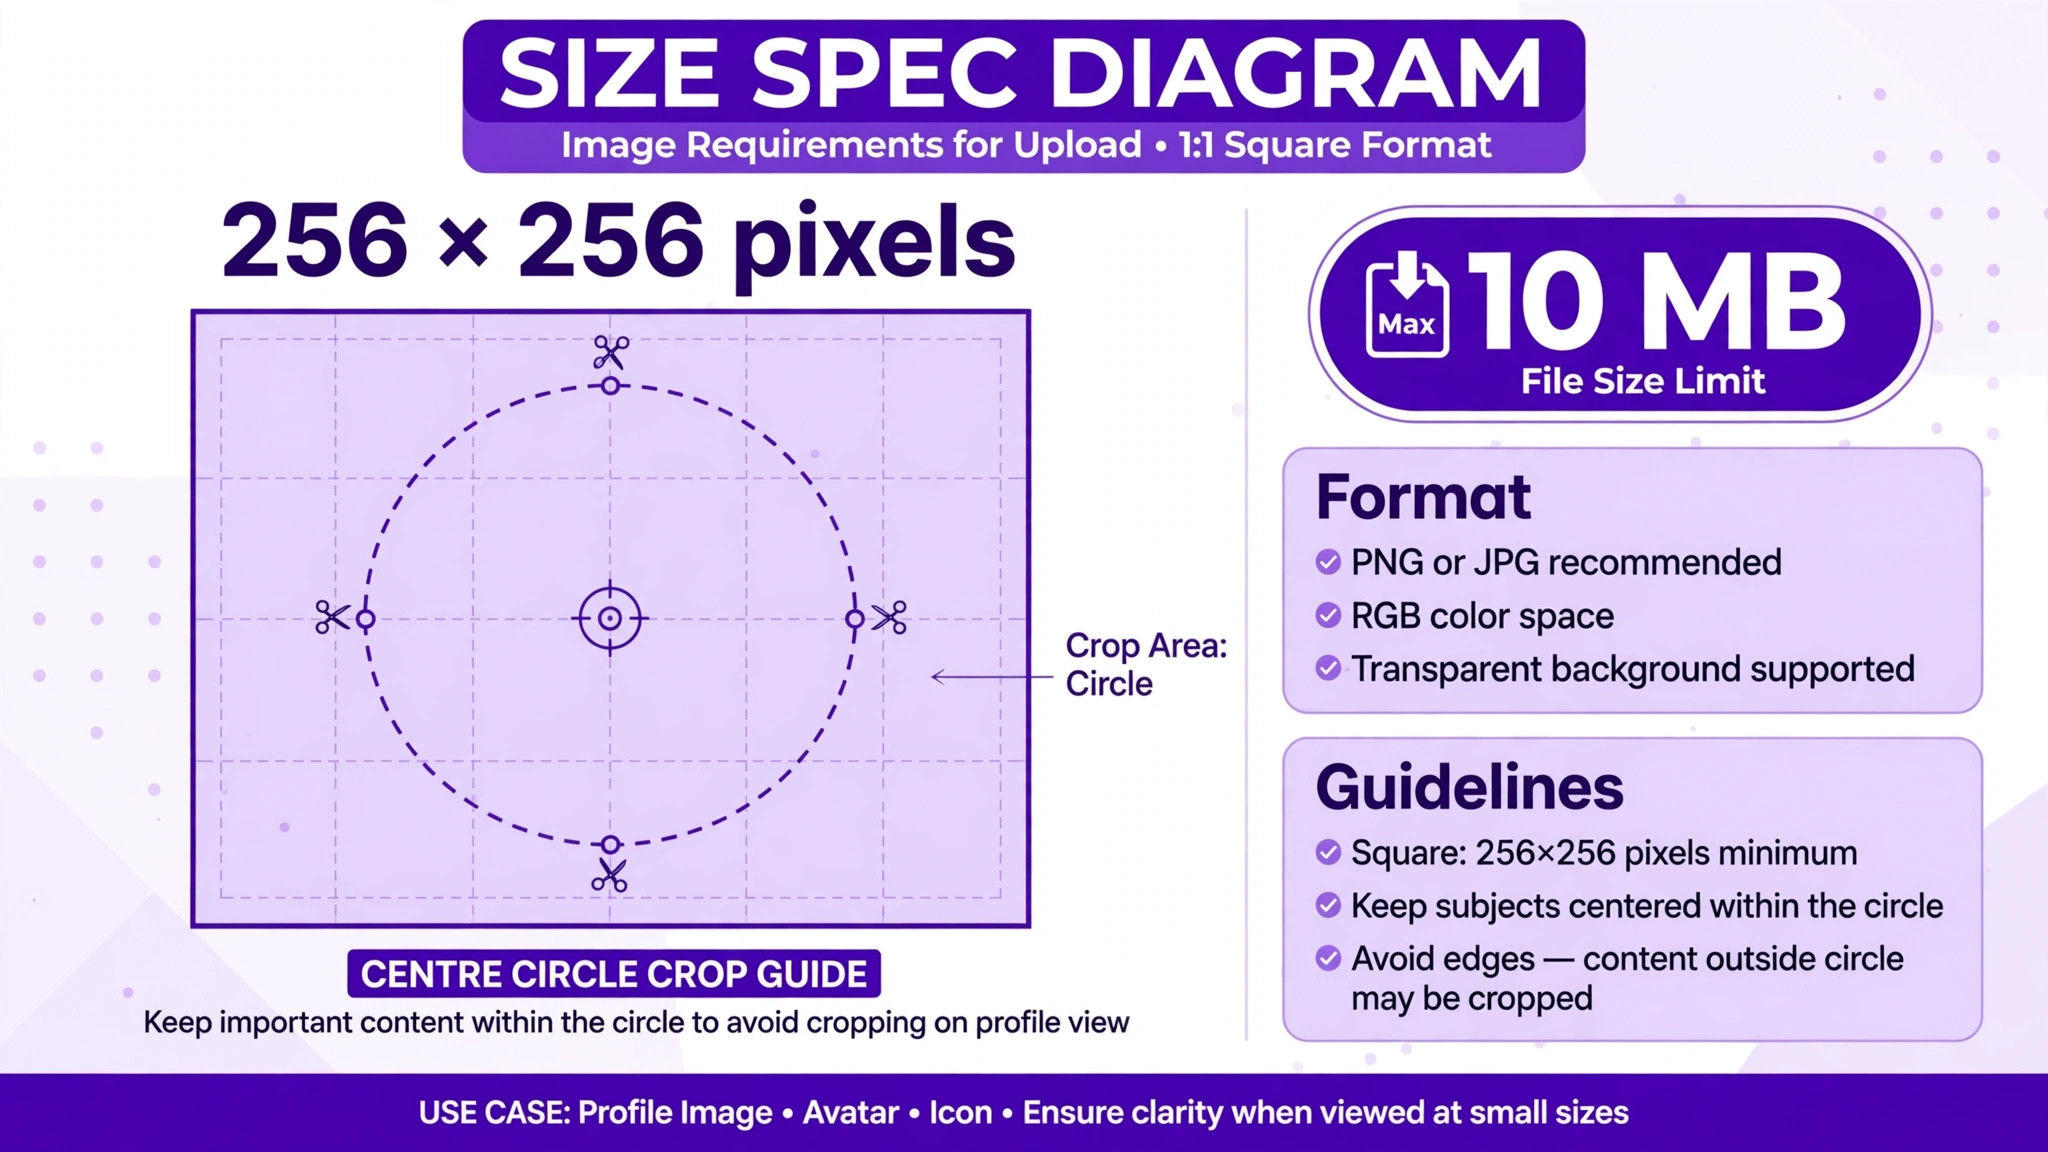
| Spec | Requirement |
|---|---|
| Recommended size | 256 by 256 pixels |
| Aspect ratio | 1 to 1 square |
| Minimum size | 200 by 200 pixels |
| File formats | JPG, PNG or GIF |
| Maximum file size | 10 MB |
| Design size for sharpness | 512 by 512 or 800 by 800 pixels |
Twitch accepts a minimum of 200 by 200 pixels and automatically scales down anything larger than 256 by 256, so uploading a bigger file does not break anything, it just gets resized. The smart move is to design at 512 by 512 or 800 by 800 pixels and export at 256 by 256, because starting from a larger original keeps edges sharp and text readable after the downscale.
A file built at exactly 256 by 256 from the start will look slightly softer, because every edit and export at that size loses a little detail. PNG is the best format for a picture with text or a logo, because it keeps edges clean, while JPG is fine for a photo, and GIF works if you want a simple animation.
Twitch shows your picture as a circle in chat and on channel pages in most views, so the corners of your square design are cut off wherever the circle applies. That means the important parts of your picture, your face, your mascot eyes or your channel initial, must sit inside the centre circle, with nothing important touching the corners. A design that fills the whole square looks fine in the editor and broken in chat, because the corners vanish and the picture feels cropped. Test your picture by placing a circle over it before you upload, and move anything important toward the middle until the circle test passes.
How to Make a Twitch Profile Picture Step by Step
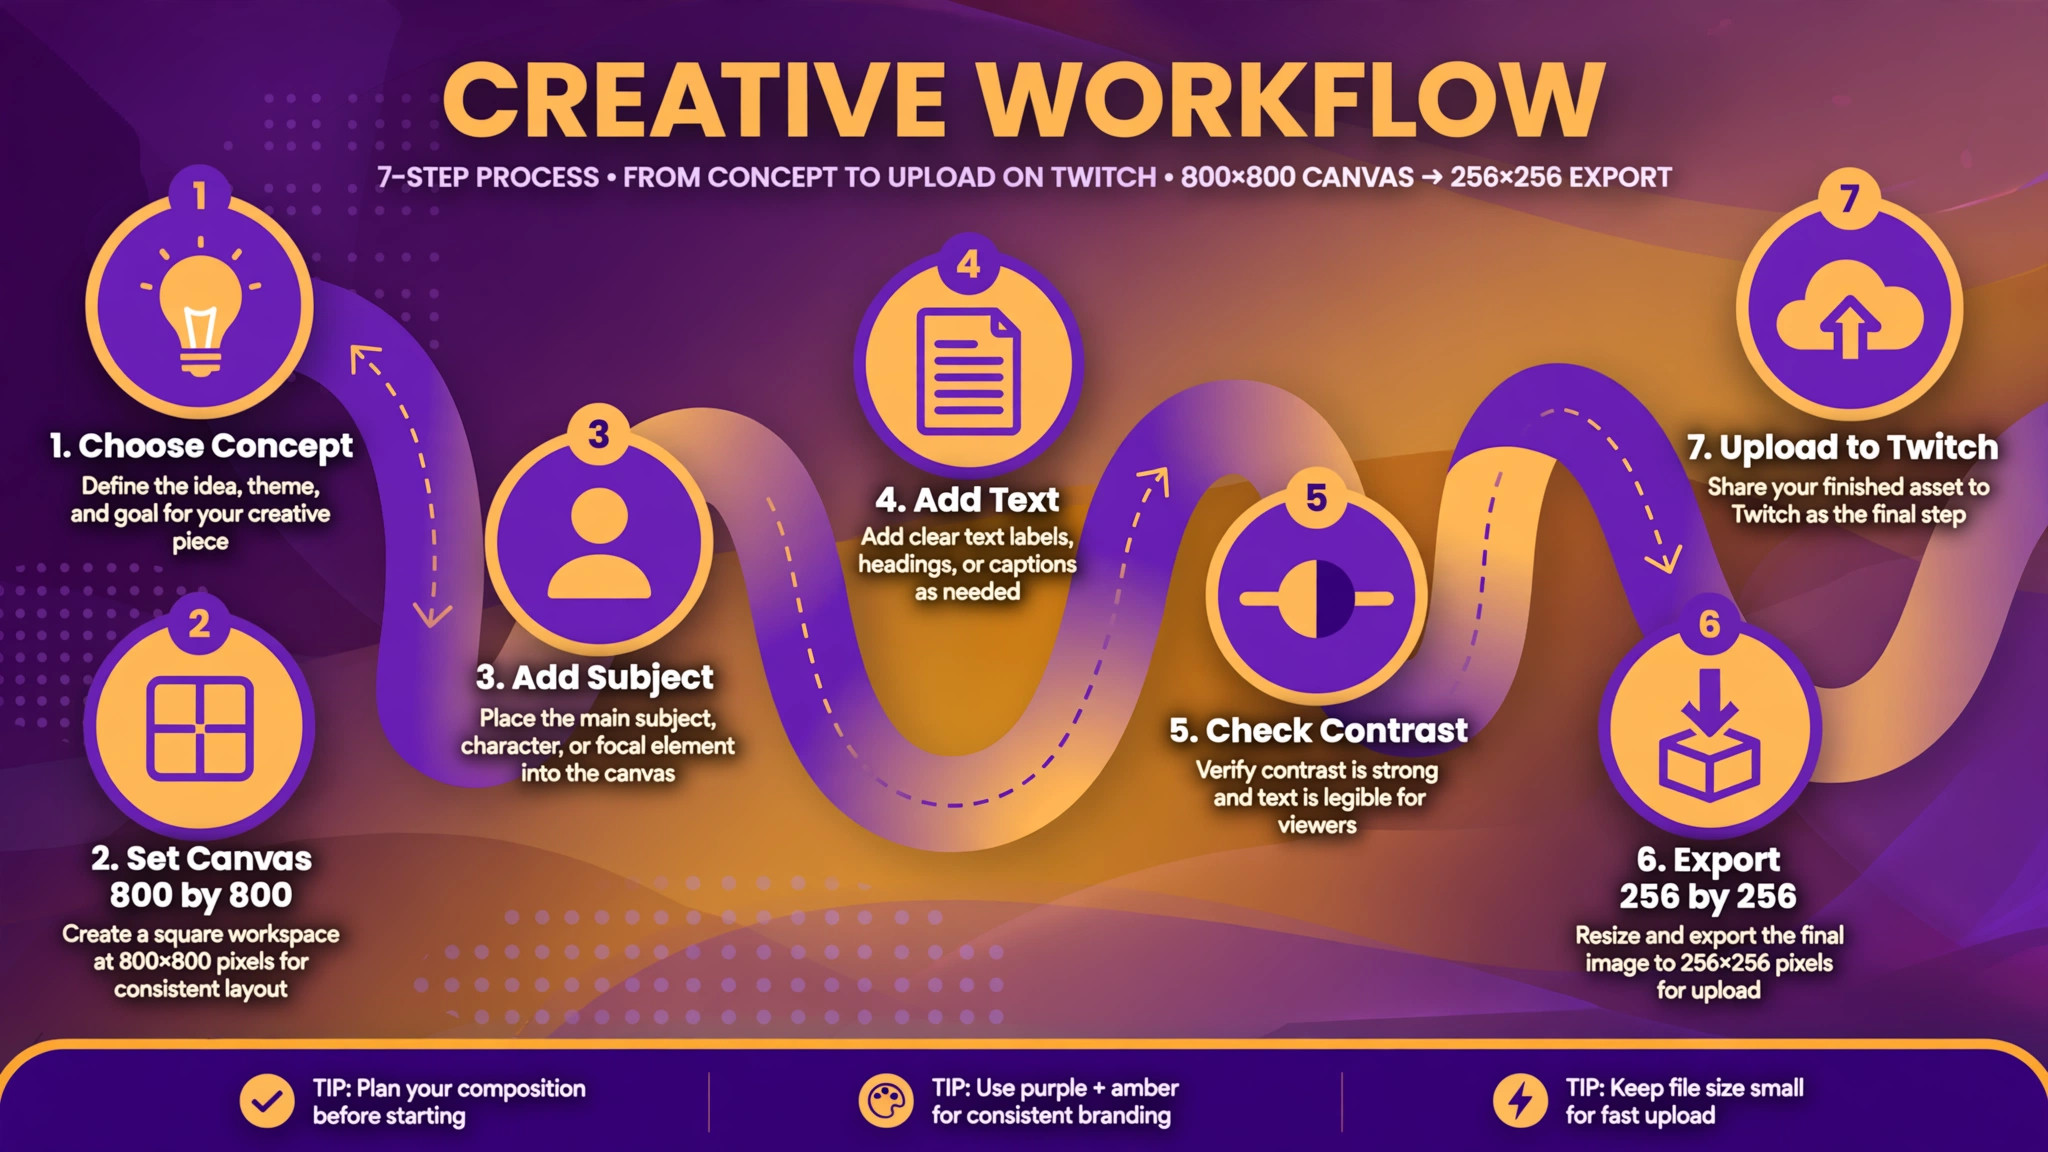
- Decide what the picture should show before you open any tool, because the concept matters more than the software. A face photo suits a streamer whose personality is the content, a mascot suits a gaming channel that wants a character, and a bold initial or symbol suits a channel with a strong name. Pick one idea and commit to it, because a picture that tries to show your face, your logo, your game and your channel name at once will be unreadable at chat size. Write the idea down in one sentence, such as a smiling face on a purple background, and judge every later choice against that sentence.
- Set up a square canvas at 800 by 800 pixels in the tool you chose, even though the final file will be 256 by 256. The larger canvas gives you room to work precisely, and the export step will shrink it cleanly. Choose a background colour that contrasts with the Twitch interface, which is dark in most views, so a bright or warm background will make your picture pop while a dark background will blend into the page. A single solid colour or a simple two colour gradient works better than a detailed scene, because the background is there to make the subject stand out, not to compete with it.
- Add the subject in the centre of the canvas, large enough to fill most of the circle that Twitch will show. If you use a photo, crop it tight on your face, with your eyes near the top third and your shoulders just visible at the bottom, because a full body photo at this size becomes a dot. If you use a mascot or a character, make the face fill at least half the canvas, because the eyes and the expression are what viewers recognise. If you use an initial, pick a heavy bold font and make the letter fill most of the frame, with no other text competing for attention.
- Add at most one short piece of text, and only if the picture needs it to be understood. A channel name of more than a few letters will be unreadable at chat size, so a short name or a single initial is the limit, and a slogan or a URL has no place on a profile picture at all. Use a heavy weight font in a colour that contrasts sharply with the background, and keep the text inside the centre circle so it survives the circular crop. If the text is hard to read when you zoom out to thumbnail size, remove it, because a picture that needs explaining has already failed.
- Check the contrast, the colours and the edges, because a picture that looks good at full size can fail at chat size. Lower the zoom until the picture is about the size of a thumbnail, and ask whether you can still tell what it shows in under a second. If the answer is no, raise the contrast, simplify the background or enlarge the subject, and test again. Check the picture against both a dark background and a light background, because viewers use both themes, and a design that only works on one of them will look broken to half your audience.
- Export the picture as a PNG at 256 by 256 pixels, and check the file size stays well under the 10 MB limit, which it will for any normal design. Save the larger original file as well, because you will need it when you want the same design for your banner, your social profiles or a printed item. Name the files clearly, such as twitch avatar 256 and twitch avatar original, so you can find them again in six months. A PNG keeps text and logo edges clean, while a JPG is acceptable for a photo, and a GIF is only needed if your picture is animated.
- Upload the picture to Twitch and check it in chat, on your channel page and in the channel list. Open your Creator Dashboard, go to Settings, then Profile, click the pencil icon or Edit Profile under the Profile Picture section, and choose Upload Photo to select your file. The change appears immediately, so open a stream chat and look at your picture beside your messages, then check your channel page on both a computer and a phone. If the picture looks soft, crowded or cropped, fix the one problem you can see and upload again.
Best Pick by Job
| Job | Best pick | Why it wins |
|---|---|---|
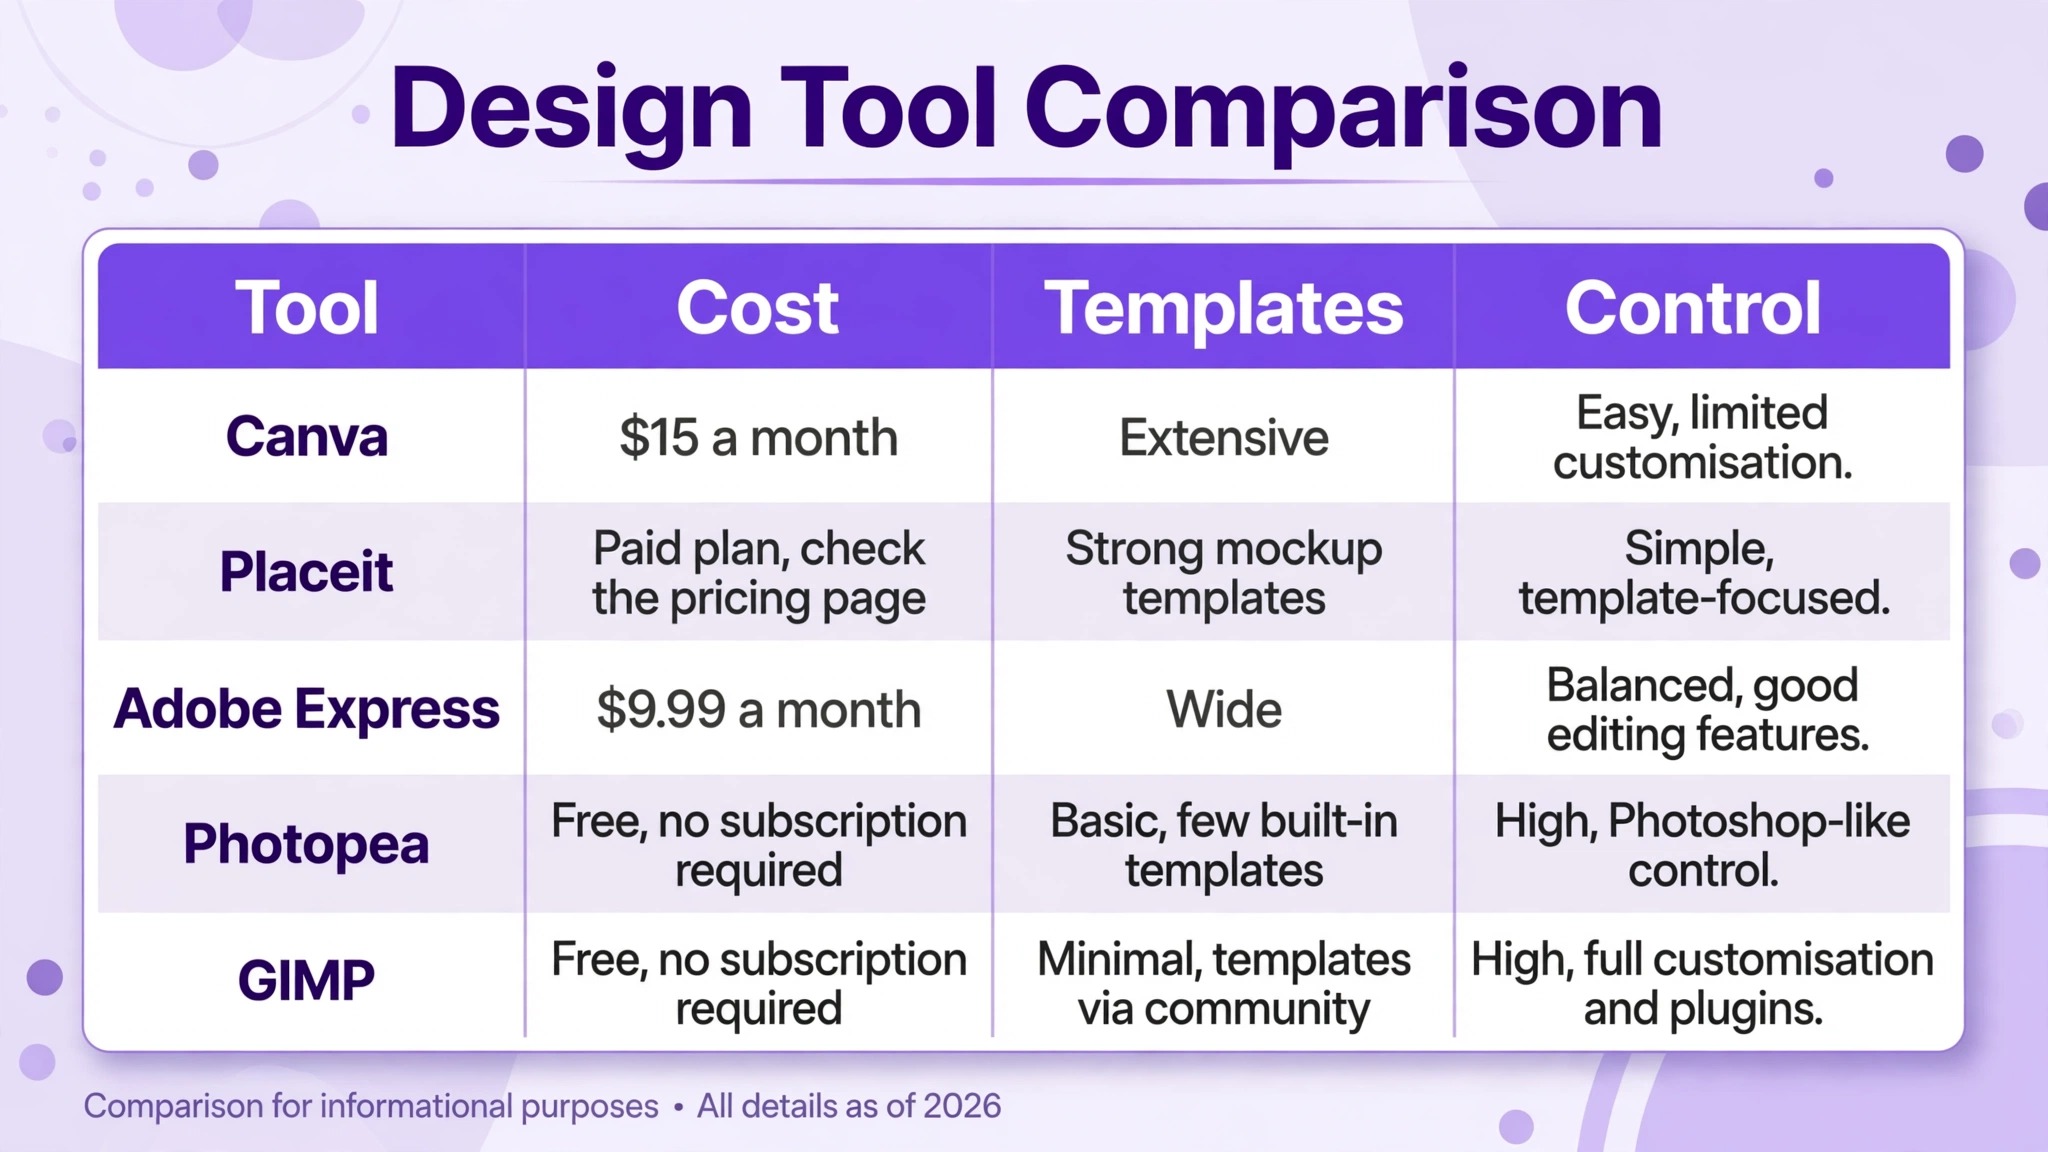
| Fastest finished avatar | Canva | Gaming templates, one click resize, free plan |
| Esports mascot look | Placeit | Mascot maker, gaming templates, high resolution export |
| Most polished result | Adobe Express | Stock photos, clean templates, Firefly AI |
| Free without an account | Photopea | Full editor in the browser, no install, no cost |
| Full control for free | GIMP | Professional tools, open source, no subscription |
Tool Walkthroughs for Your Twitch Avatar
The five tools below cover every budget and skill level, from a free template in Canva to a full manual edit in GIMP. They all export the square PNG that Twitch needs, and they all work on a normal computer with no special hardware. Pick the tool that matches how much control you want, because a template tool is faster and a manual editor is more flexible, and there is no prize for using the harder tool when the easy one gives you the result you need.
Canva
Canva is the fastest route to a finished Twitch profile picture, and it is the tool most streamers should try first. The template library holds thousands of gaming layouts, including avatar designs, mascot styles and initial based logos, and the drag and drop editor lets you change the text, the colours and the images without any design training. Search for Twitch profile picture or gaming logo, pick a template that matches your channel, and customise it with your name, your colours and your photo or character.
The free plan covers the whole job for most streamers, because the avatar templates, the fonts and the PNG export are free. Canva Pro costs 120 dollars a year or 15 dollars a month, and it adds the full template library, background removal, Magic Resize for turning the avatar into a banner or a social profile picture, and a larger stock library. The one click resize is the feature that matters most here, because a single design can become your Twitch avatar, your YouTube picture and your Twitter picture without rebuilding it three times.
Canva has one weakness, which is that the most popular templates are widely used. An avatar built from the top gaming template can look familiar, so customise it with your own photo, your own colours and your own wording rather than changing only the name.
Placeit
Placeit is built entirely for the gaming and streaming market, and it is the tool to pick when you want an esports look without hiring a designer. Its mascot maker lets you build a character by swapping facial features, gear, expressions and colours, so the result feels original even though it starts from a template, and its gaming logo templates cover the aggressive, bold style that suits competitive channels. The exports are high resolution, which matters because a mascot with soft edges will look blurry when it shrinks to chat size.
Placeit works on a subscription, and the full download access needs a paid plan, so check the vendor page for the current price before you commit. The free preview lets you design and see the result, but the high resolution download is paid, so finish the design before you pay. The strength is focus, because every template is made for streamers.
The trade off is flexibility, because Placeit is a template tool rather than a full editor. A streamer who wants a mascot or an esports logo today will be happy, while a streamer who wants a photo based avatar should use Canva or Photopea instead.
Adobe Express
Adobe Express is the pick when the avatar has to look polished, and it is the strongest of the template tools on visual quality. The template library leans more refined than Canva, with cleaner typography and better stock photography, and the editor handles text, colours, shapes and photos with a simple drag and drop interface. The Firefly AI features can generate a background or a character image from a text prompt, which is useful when you want an original visual without drawing it yourself.
Adobe Express is free to start, and the Premium plan costs 9.99 dollars a month, with a thirty day trial. The free tier covers templates and basic editing, while Premium adds the full stock library, premium templates and fonts, and the AI features. If you already pay for Adobe Creative Cloud, Express is included. The price undercuts Canva Pro by about five dollars a month, so the choice comes down to which editor you prefer.
The weakness is the same as Canva, because the most popular templates are widely used. Customise the design with your own colours, your own photo or your own character, and test it at chat size before you upload.
Photopea
Photopea is a full image editor that runs in your browser, and it is the best free option for a streamer who wants real editing power without installing software or paying a subscription. It opens PSD, XD and Sketch files as well as JPG and PNG, it supports layers, masks, filters and text tools, and it exports a square PNG at exactly the size Twitch needs. There is no account required, no install, and no cost, which makes it the lowest friction way to edit a photo based avatar.
The workflow for a Twitch avatar is simple, and it takes about twenty minutes once you know the steps. Open your photo, crop it to a square, enlarge the canvas to 800 by 800 pixels, adjust the brightness and contrast, add a solid colour background behind your head if the original background is busy, and export as a PNG at 256 by 256. The interface looks like Photoshop, which means a beginner will need a few minutes to find the tools, but the core actions are the same in every editor, and a single tutorial video covers the whole process.
Photopea has no templates, so a streamer who wants a ready made mascot will be faster in Canva or Placeit. What it offers instead is control, because every pixel can be adjusted, and a photo edited in Photopea will look better than a photo dropped into a template without adjustment.
GIMP
GIMP is a free, open source image editor, and it is the pick for a streamer who wants professional tools and full control without a subscription. It runs on Windows, Mac and Linux, it supports layers, masks, brushes, filters and text, and it exports PNG, JPG and GIF at any size. There is no cost, no account and no watermark, and the software has been developed for decades, so the toolset is deep and the community support is extensive.
The workflow for an avatar is the same as in Photopea, with one difference, which is that GIMP must be installed first, and the install takes a few minutes and about 200 MB of disk space. Once installed, open your photo, crop to a square, scale the image to 800 by 800 pixels, clean up the background, adjust the colours, and export as a PNG at 256 by 256. The interface is less polished than a paid editor, and a beginner will need a tutorial for the first edit, but the result is a file of professional quality with no subscription attached.
GIMP suits a streamer who edits images regularly and wants one tool for avatars, banners, thumbnails and social posts. It is overkill for a streamer who only needs one avatar, because Canva will finish that job in a fraction of the time.
Design Rules That Make a Picture Stand Out
Contrast is the first rule, because a picture with strong contrast survives the shrink and a picture with soft tones disappears into the page. Put a light subject on a dark background or a dark subject on a light background, and avoid a subject and a background in similar shades, because the edge between them is what the eye finds first.
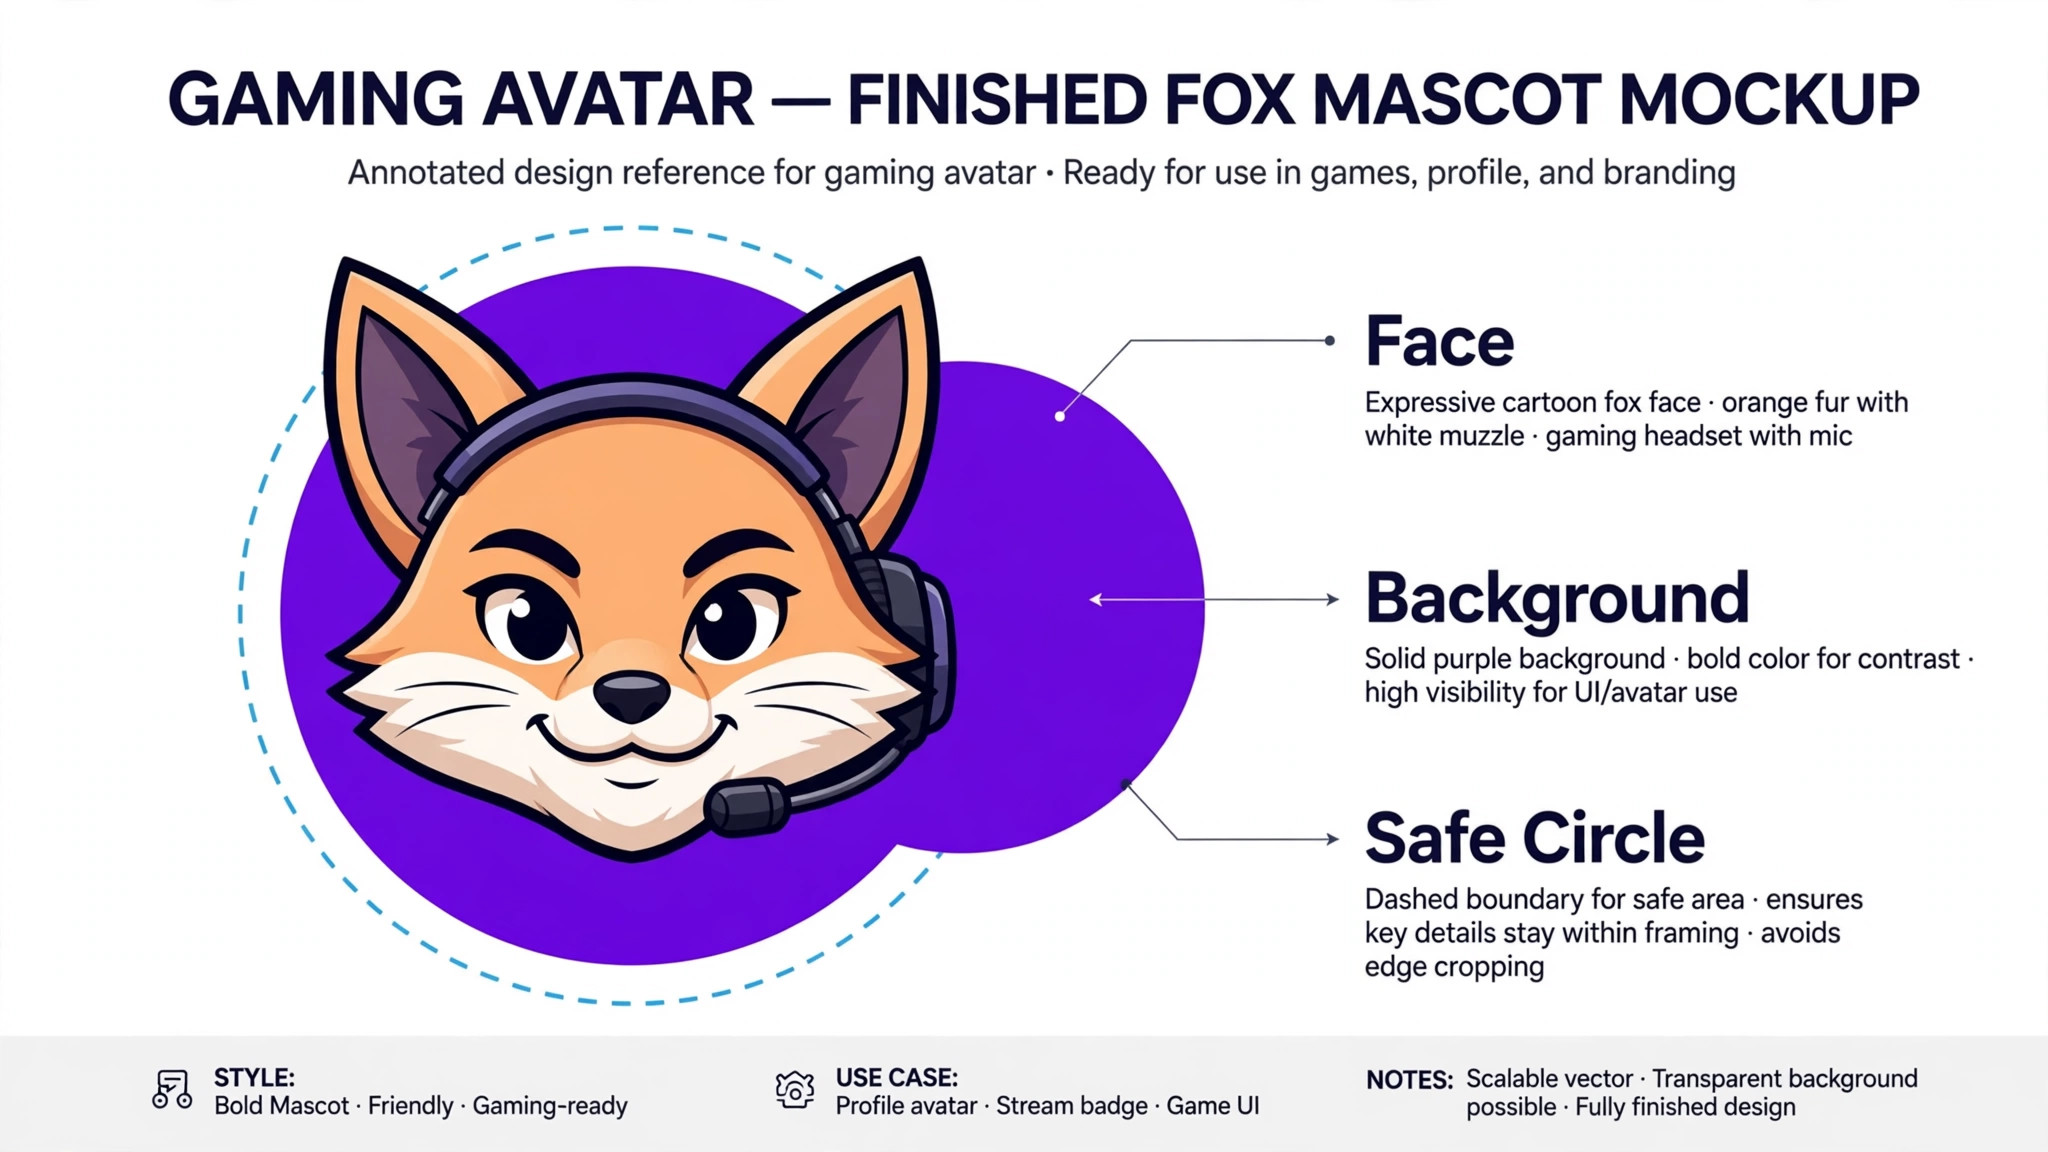
A face photo works best with a plain background in a colour that contrasts with skin tone and hair, while a mascot works best with a background in the channel brand colour and a character in a lighter shade. Test the contrast by shrinking the picture to thumbnail size, and if the subject still stands out, the contrast is right.
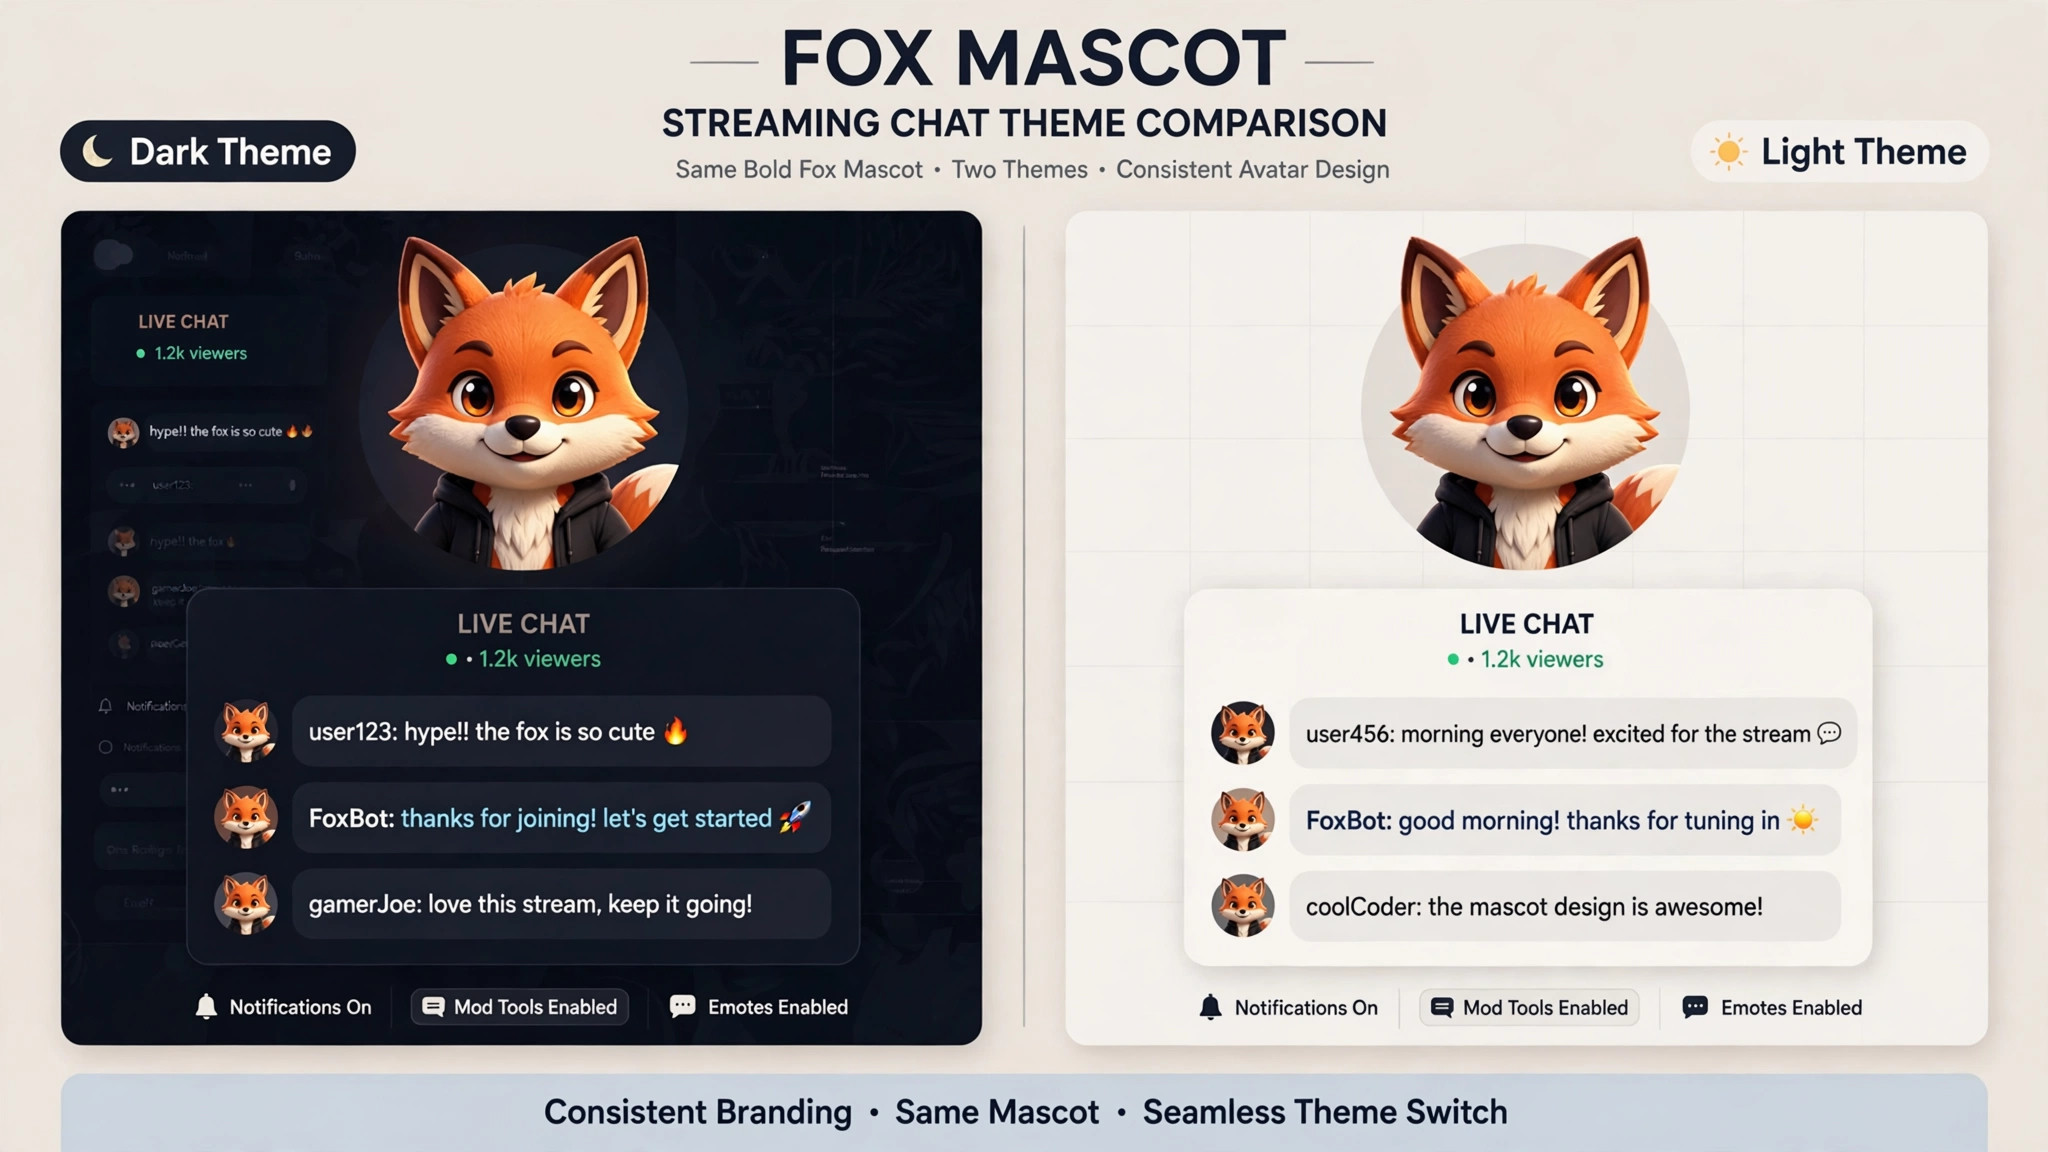
Simplicity is the second rule, and it is the one most streamers break. A profile picture is not a poster, and it cannot carry a name, a slogan, a game logo and a character all at once. Pick one subject, give it most of the frame, and remove everything else. A single bold initial on a bright background will be recognised faster than a detailed illustration, and a single face will be remembered longer than a group photo.
Colour is the third rule, because colour is what a viewer notices before they notice the subject. Pick one or two colours from your channel brand and use them consistently across your avatar, your banner and your offline screen, so a viewer who finds you in one place recognises you everywhere else. Bright, warm colours stand out against the dark Twitch interface, while pale colours fade into it, so a dark blue avatar on a dark page will be missed no matter how good the design is. Avoid neon gradients that look dated, and avoid a rainbow of colours that fight each other, because a restrained palette looks more professional and lasts longer.
The circle crop is the fourth rule, and it is the one that catches the most first time designs. Keep your face, your mascot eyes or your letter inside the centre circle, with a clear margin to the edge of the square, and keep text away from the corners entirely.
A design that looks balanced in the square editor can look off centre in the circle, so place a circle guide over your design before you export and move the subject until it sits well inside the guide. How to make a Twitch profile picture that survives the crop is mostly a matter of leaving space at the edges, and the space costs nothing while the crop costs you the picture.
Uploading Your Picture to Twitch
Uploading takes under a minute on a computer, and the steps are the same whether you use a photo, a mascot or an initial. Log in to Twitch, click your profile icon in the top right, select Creator Dashboard, then go to Settings and Profile. Under the Profile Picture section, click the pencil icon or Edit Profile, select Upload Photo, and choose the file you exported at 256 by 256 pixels. The change appears immediately, so you can check it in chat and on your channel page within seconds, and you can replace it as often as you like, because there is no limit on uploads and no waiting period.
After uploading, check the picture in three places, because each one shows it at a different size. Look at your messages in a busy chat, where the picture is smallest and the test is hardest, then look at your channel page, where the picture sits beside your name and your banner, and then look at the channel list, where the picture competes with dozens of others. If the picture looks soft, crowded or cropped in any of those places, go back to the design and fix the one problem you can see, then upload again. A second upload takes a minute, and it is always worth doing, because the picture is the first thing a new viewer judges.
Matching Your Banner and Offline Screen
Your profile picture should match your banner, because the two sit side by side on your channel page and a mismatch makes the channel look unfinished. Use the same colours, the same font and the same character or photo style in both, so the page feels like one design rather than two separate images.
The banner is 1200 by 480 pixels, which is a wide rectangle, so it can carry your channel name, your schedule and your social links, while the avatar carries only the subject. Design the banner after the avatar, using the avatar colours as the starting point, so the two images share a palette from the beginning. That consistency is the finishing touch in how to make a Twitch profile picture that looks professional.
Your offline screen deserves the same treatment, because it is what a visitor sees when you are not live. Use the avatar subject at a larger size, repeat the brand colours, and add your schedule and social links, so a visitor who arrives while you are offline knows when to come back.
Mistakes That Ruin a Twitch Profile Picture
Using a detailed illustration is the most common mistake, because the detail that looks impressive at full size vanishes at chat size. A character with a detailed costume, a busy background and small accessories becomes a blur when it shrinks, while a simple character with a bold face and a plain background stays readable.
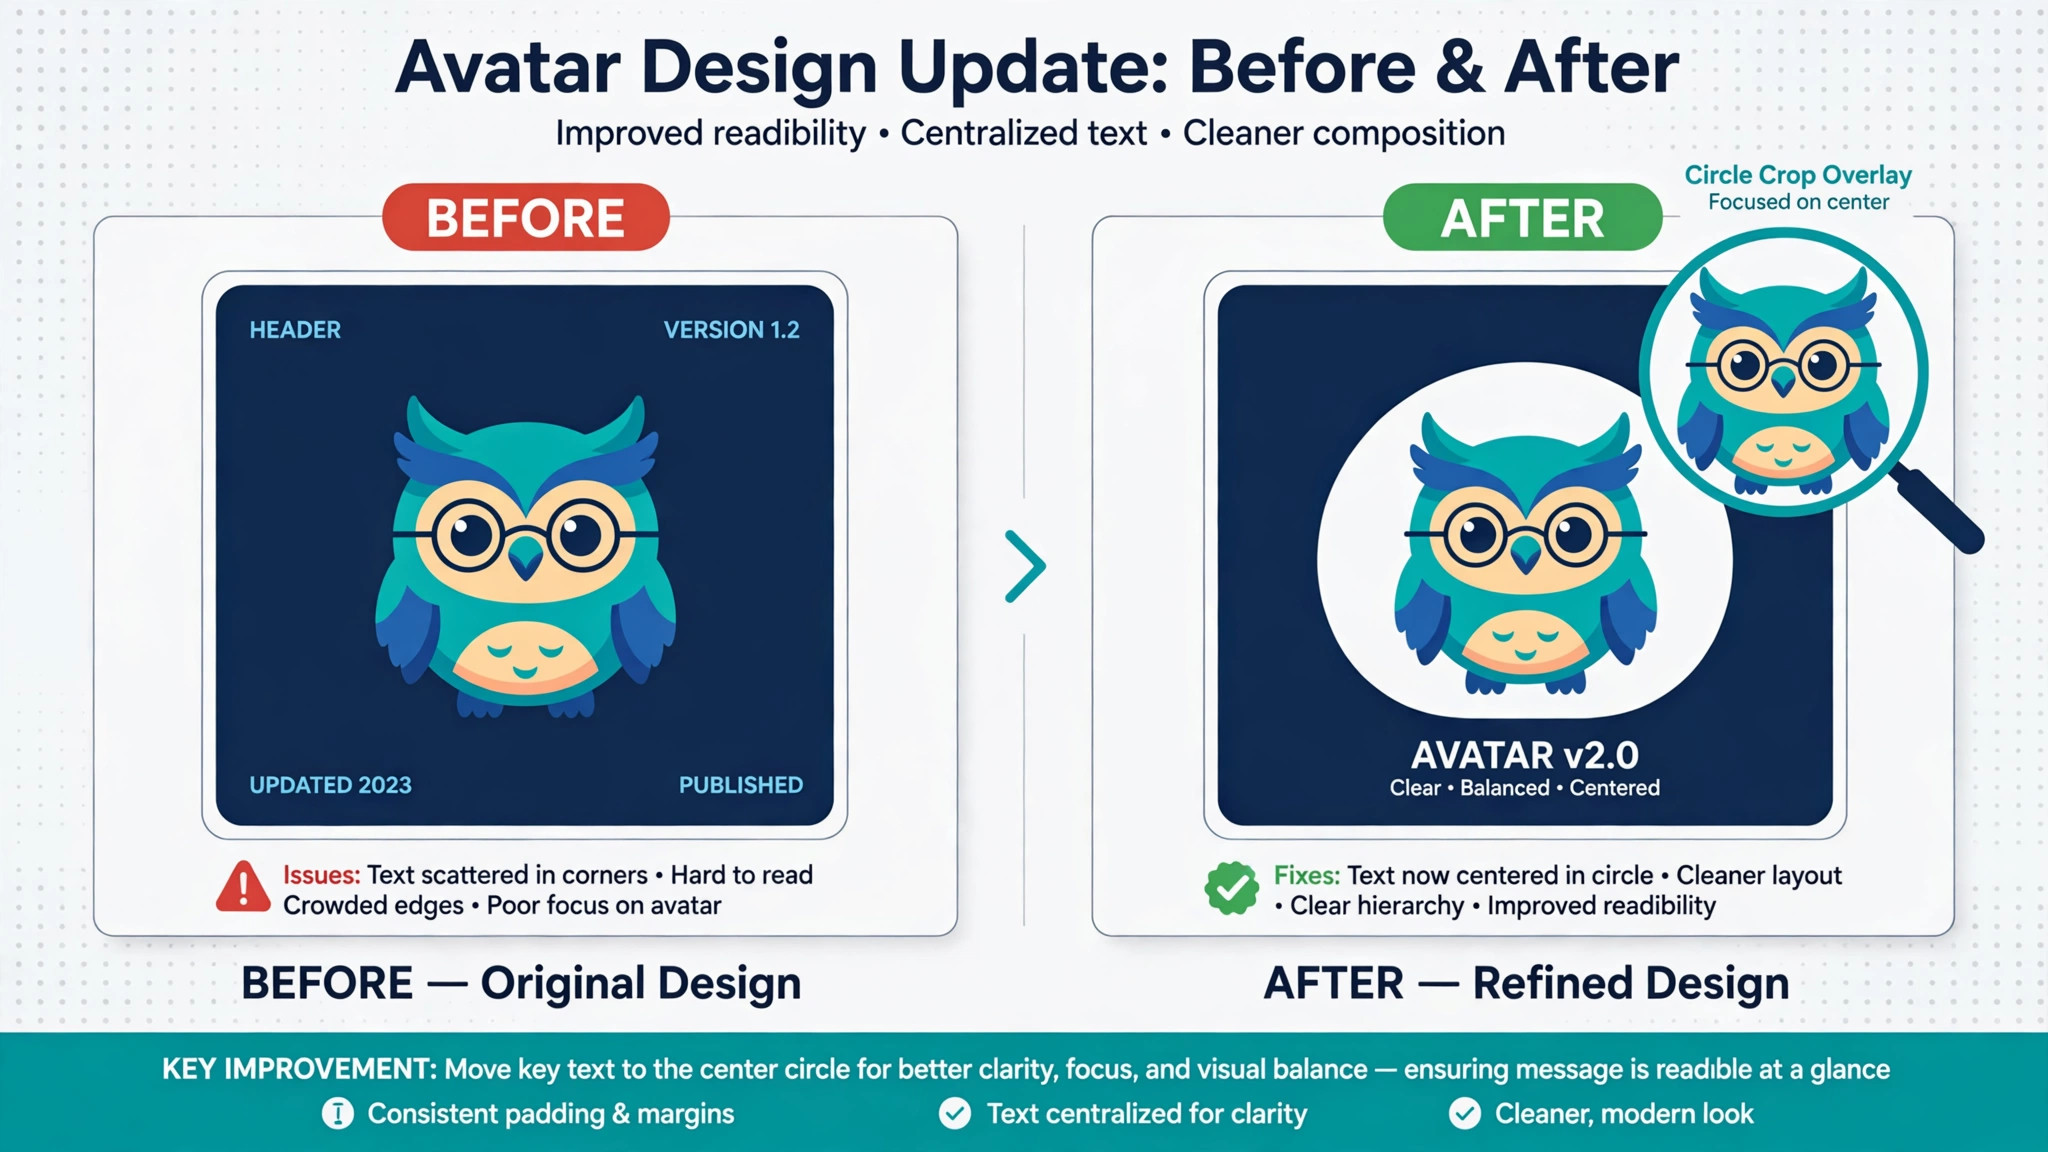
If your design has more than three visual ideas in it, remove two of them, because the picture has to work at the size of a fingernail before it has to work at full size. The test is to shrink the picture until it is thumbnail sized, and if you cannot tell what it shows, simplify it until you can. That shrink test is the core skill in how to make a Twitch profile picture that stands out at chat size.
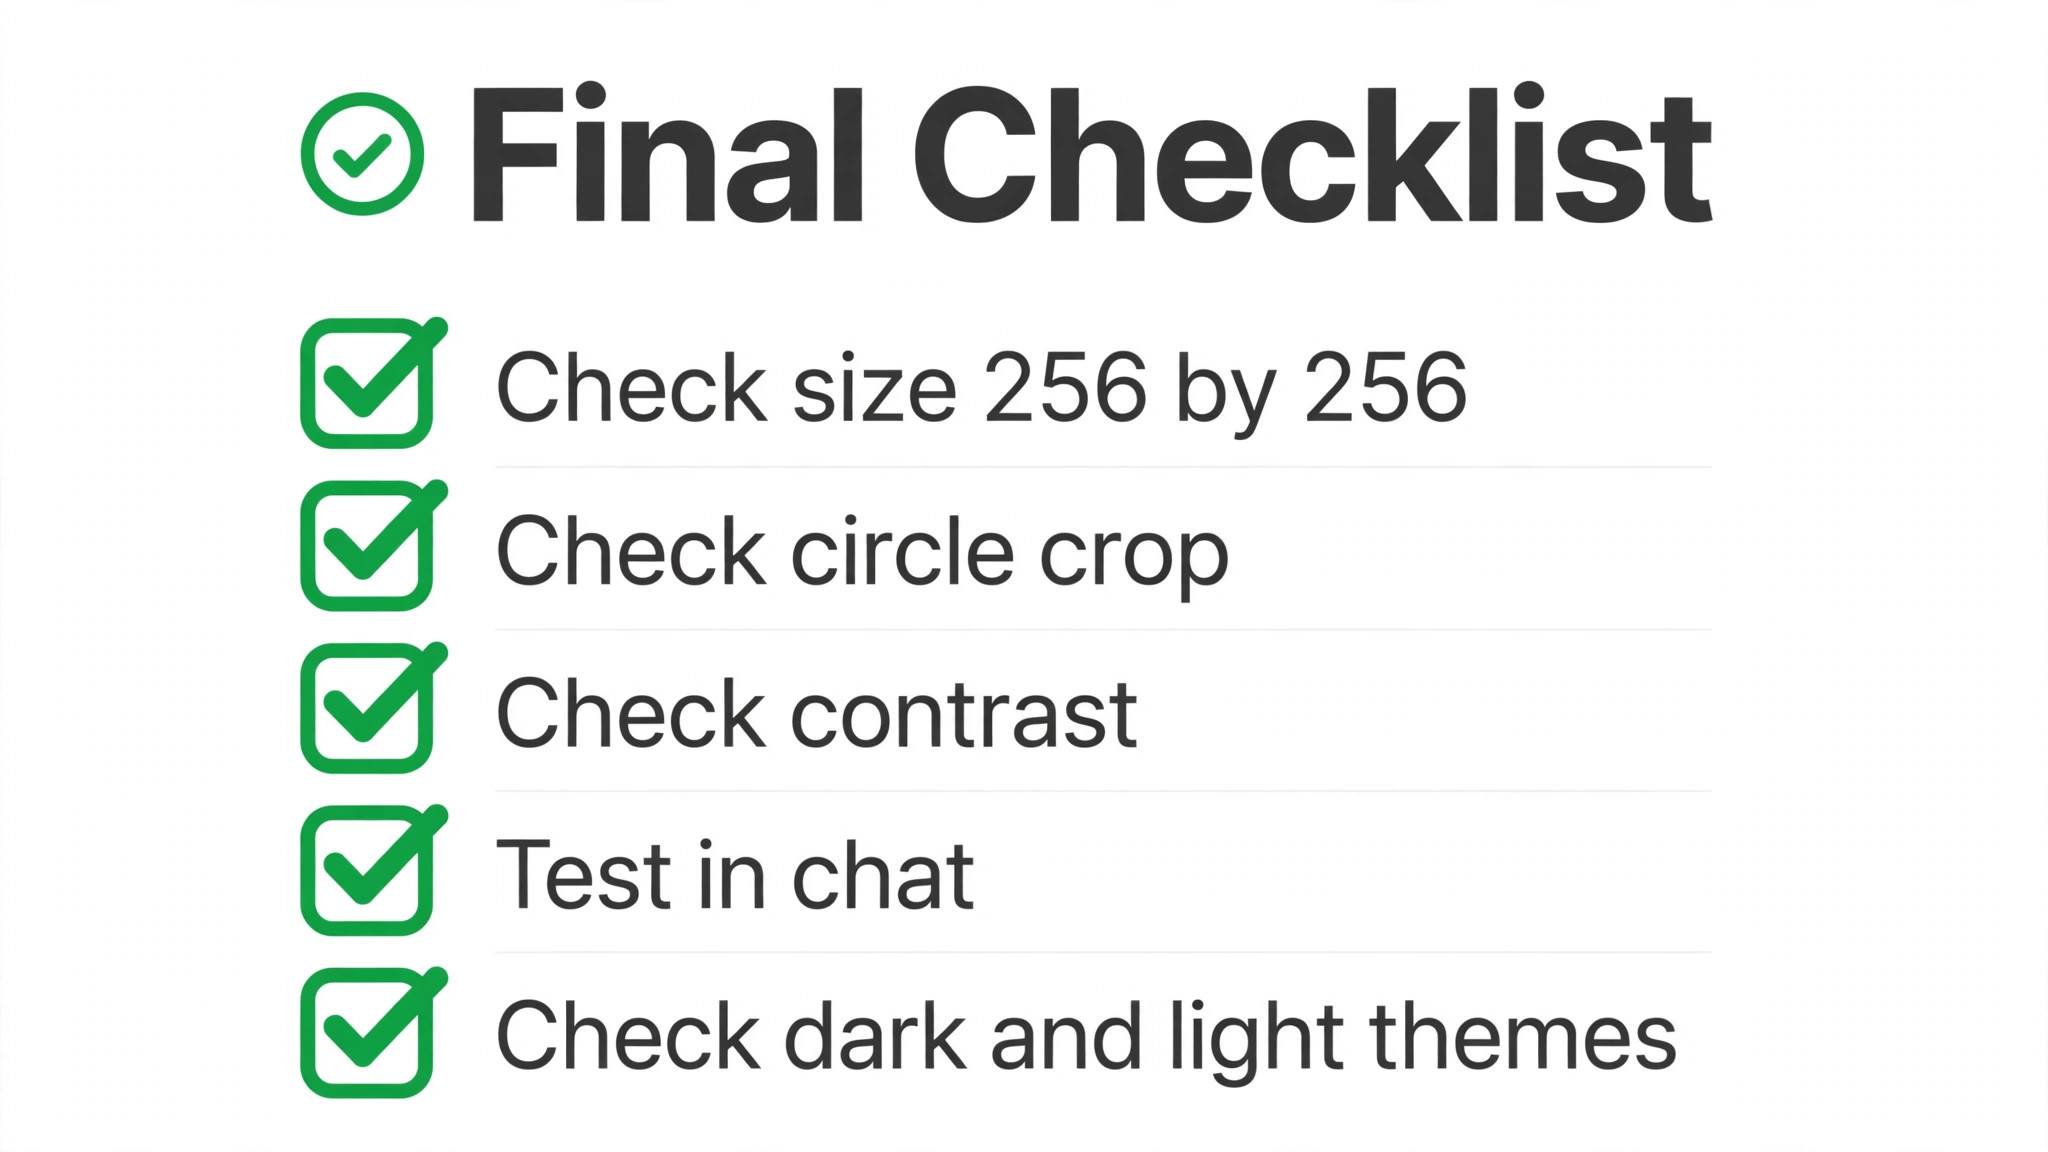
Putting your full channel name on the picture is the second mistake, because text that is readable at full size becomes unreadable at chat size. A name of more than a few letters will be a smear, and a slogan or a URL will be invisible, so the picture carries text that nobody can read and loses space that the subject needed. Use a single initial or a short name of three or four letters at most, in a heavy bold font, and leave the full name to the channel page, where there is room for it. A picture that tries to say your name and show your face at once will do neither well.
Using a dark picture on a dark background is the third mistake, because the Twitch interface is dark in most views and a dark avatar blends into it. A photo taken in a dim room, a mascot in dark colours on a black background, or a logo in navy on a dark grey page will all be missed by viewers scrolling a channel list. Brighten the subject, lighten the background, or add a light border around the picture so the edge is visible against the page. The border trick is simple and effective, because a thin light ring around a dark avatar makes it visible in every view, and it costs nothing to add.
Forgetting to test the picture in chat is the fourth mistake, because the editor view and the chat view are different pictures. A design that looks balanced in the square editor can look off centre in the circle crop. Upload the picture, open a busy chat, and look at your messages beside others, because that is the view that matters most.
Frequently Asked Questions
What size should a Twitch profile picture be?
A Twitch profile picture should be 256 by 256 pixels, in a 1 to 1 square, in JPG, PNG or GIF format, with a file size under 10 MB. Twitch accepts a minimum of 200 by 200 pixels and automatically scales down anything larger, so a bigger file will not be rejected.
For the sharpest result, design at 512 by 512 or 800 by 800 pixels and export at 256 by 256, because starting from a larger original keeps edges sharp and text readable after the downscale. That is the first fact to check in how to make a Twitch profile picture, because the wrong size is the most common beginner error. A PNG is best for a picture with text or a logo, while a JPG is fine for a photo.
Can I use a photo as my Twitch profile picture?
Yes, a photo of your face is one of the best choices, because viewers remember faces and a photo tells them who you are before you say a word. Crop the photo tight on your face, with your eyes near the top third, and use a plain background in a colour that contrasts with your skin tone and hair. Avoid group photos, sunglasses and busy backgrounds, because the detail disappears at chat size. How to make a Twitch profile picture from a photo is mostly a matter of cropping and contrast, and a free editor such as Photopea or GIMP handles the whole job.
How do I upload a profile picture to Twitch?
Log in to Twitch, click your profile icon in the top right, select Creator Dashboard, then go to Settings and Profile. Under the Profile Picture section, click the pencil icon or Edit Profile, select Upload Photo, and choose your file. The change appears immediately. On a phone, open the Twitch app, tap your profile tab, go to Edit Profile, and upload the picture from your camera roll. Check the picture in chat, on your channel page and in the channel list after uploading, because each view shows it at a different size.
What is the best free tool to make a Twitch profile picture?
Canva is the best free tool for most streamers, because its free plan includes gaming templates, fonts and PNG export. Photopea is the best free tool for a photo based avatar, because it is a full editor in the browser at no cost. GIMP is the best free tool for a streamer who wants professional software with no subscription.
Why does my Twitch profile picture look blurry?
A profile picture usually looks blurry for one of three reasons, and all three are easy to fix. The first is that the original file was too small, so design at 512 by 512 or 800 by 800 pixels and export at 256 by 256 instead of building at 256 from the start.
The second is that the file was saved as a low quality JPG, so export as a PNG for a picture with text or a logo. The third is that the design has too much detail for the size, so simplify the background, enlarge the subject and remove small elements. When you learn how to make a Twitch profile picture that stays sharp, the rule is simple, start large, export clean and keep the design simple.
Should my Twitch profile picture match my banner?
Yes, your profile picture and your banner should share the same colours, the same font and the same character or photo style, because the two sit side by side on your channel page. A matching set makes the channel look like a professional operation, while a mismatch makes it look unfinished. Design the avatar first, then build the banner from the same palette, and repeat the same treatment on your offline screen. A viewer who finds you in one place should recognise you everywhere else, and consistent branding is what makes that recognition happen. Consistent branding is the quiet advantage in how to make a Twitch profile picture that people remember.