
Calendly is built for simple scheduling. Acuity Scheduling is built for service businesses that take payments, use intake forms and manage client records. That difference is why coaches, salons, studios and consultants move. How to switch from Calendly to Acuity is a careful handover, not a data dump, because a missed booking costs a client, not just a row in a spreadsheet.
Acuity has no free plan, only a seven day trial, and paid plans start at 20 dollars a month or 16 dollars a month billed annually. Calendly has a free plan and paid plans from 10 dollars per user a month. The switch pays when intake forms, packages and appointment payments matter more than simple links.
This guide walks through the whole switch in eight steps, with a checklist up front, a table showing what transfers and what does not, and a timing plan for a service business. Keep Calendly live until the last booked meeting has happened, and test the full booking journey before you share the new link.
Checklist for the Switch
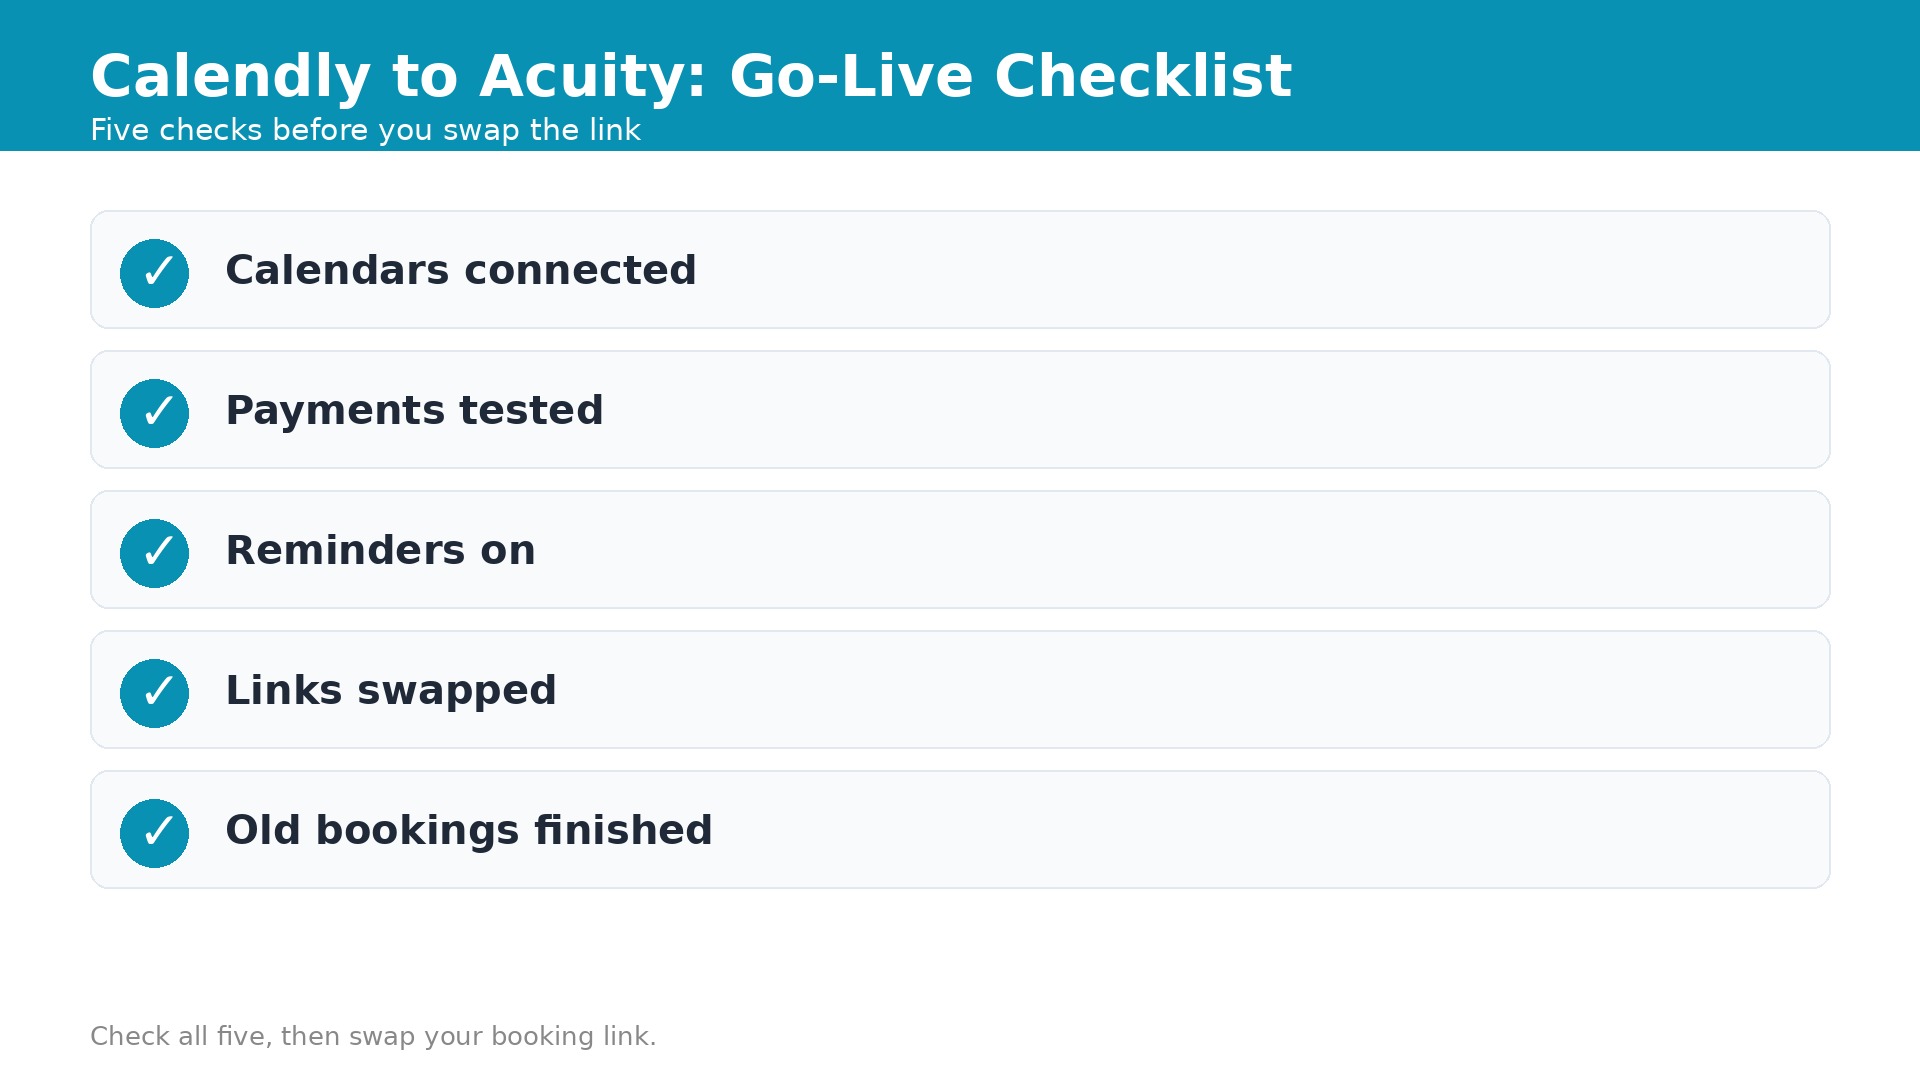
Do every item on this list before you create anything in Acuity. A scheduling switch done in the right order keeps every booking. A switch done in a hurry loses clients at the moment they try to book.
How to switch from Calendly to Acuity safely starts with an inventory. Event types, buffers, questions, reminders, payments and integrations all need a new home, and the inventory is the document that makes sure nothing is forgotten.
- List every Calendly event type, with length, buffers, limits and questions.
- List every booking link and embed, on your website, email signature and social profiles.
- Export your client list and future bookings from Calendly where possible.
- Note your busiest days, since cutover should happen on a quiet day.
- Start an Acuity seven day trial and confirm the plan you need.
- Check which payment methods you need, since Acuity supports Stripe, PayPal, Square and Authorize.net.
- List every calendar connection, including Google, Outlook and Apple calendars.
- List every reminder, confirmation and follow up email, with timing and wording.
- List every integration, such as Zoom, Stripe, Mailchimp or a CRM.
- Write down intake questions and cancellation policies for each appointment type.
- Plan a client message explaining the new booking link and what changes.
- Keep Calendly active until the last booked meeting has happened.
Transfers vs Breaks
Scheduling tools do not export bookings the way email tools export contacts, and that limit shapes how to switch from Calendly to Acuity without losing a booking. Clients and appointments can move through CSV import, but event types, reminders and integrations must be rebuilt by hand. The table below is the honest version, based on Acuity own switching guide.
Two rules shape the move. Build the full Acuity setup before you share the new link, and keep the old account live while appointments booked through old links are still active.
| Item | Transfers | What to do about it |
|---|---|---|
| Client list | Yes, through CSV | Export clients from Calendly, prepare the spreadsheet, then import into Acuity |
| Future appointments | Yes, through import | Prepare appointments in Acuity required format and import them |
| Past booking history | Partly | Import what the format allows, and keep Calendly records saved locally |
| Event types | No, rebuild | Recreate each event type as an Acuity appointment type |
| Booking page URL | No, changes | Your Acuity link is new, so update every place the old link appears |
| Intake questions | No, rebuild | Recreate custom intake forms for each appointment type |
| Buffers and limits | No, rebuild | Set buffers, limits and availability fresh in Acuity |
| Reminders | No, rebuild | Recreate reminder and confirmation workflows in Acuity |
| Payment connections | No, rebuild | Connect Stripe, PayPal, Square or Authorize.net fresh in Acuity |
| Calendar connections | No, rebuild | Connect every required calendar so Acuity sees busy times |
| Integrations | No, rebuild | Reconnect Zoom, email tools and CRM workflows one by one |
| Booking links and embeds | No, replace | Swap links on your site, signature, documents and automated emails |
One point deserves emphasis. Acuity own guide recommends disabling the old scheduling program only after the new scheduler is live. That order prevents new appointments from coming through two sources at once, which is the most common source of double bookings during a switch.
Step 1. Inventory your Calendly setup
Write down every event type you use today. For each one, note the length, the buffers before and after, the booking limits, the intake questions, the reminders and the payment setting. A 30 minute consultation and a 60 minute paid session are different appointment types, and each one needs its own Acuity setup.
List every place a booking link appears. Check your website, email signature, social profiles, automated emails, invoices and shared documents. A link you forget will keep sending clients to Calendly after the switch, so the inventory must be complete before cutover day.
List every integration and calendar connection. Note which calendars must stay connected, which Zoom or video tool each event uses, and which CRM or email workflows trigger on a booking. Each one needs rebuilding in Acuity, and the list is what makes sure none is missed.
Export your client list and your future bookings from Calendly, and save them locally. Even if the import needs formatting work later, having the data saved means no booking is ever truly lost. Note the date of the last booked meeting, since Calendly must stay live until that meeting has happened.
Step 2. Start Acuity and set your hours
Sign up for an Acuity free trial, which lasts seven days. Use the trial to build the full setup before you pay, and upgrade only when the new scheduler is tested and ready. Paid plans start at 20 dollars a month, or 16 dollars a month billed annually, with no ongoing free plan.
Set your hours first. Define your working days, your availability windows, your time zone and your holidays. Acuity blocks off unavailable time based on your connected calendars, so set the hours to match how you actually work, not how you wish you worked.
Connect every required calendar before you create appointment types. Connect Google, Outlook or Apple calendars so Acuity sees your busy times, including meetings booked through Calendly. A calendar connected late is how double bookings happen, so do this step before any client sees the new link.
Set your business details, branding and booking page settings. Add your logo, your colors and a clear description of what clients should expect. The booking page is the first thing a client sees, so make it look like your business rather than a default template.
Step 3. Create appointment types and intake forms
Recreate each Calendly event type as an Acuity appointment type. Set the length, the price, the buffers, the booking limits and the availability for each one. A paid session needs its price and payment setting. A free consultation needs its own intake questions and confirmation message.
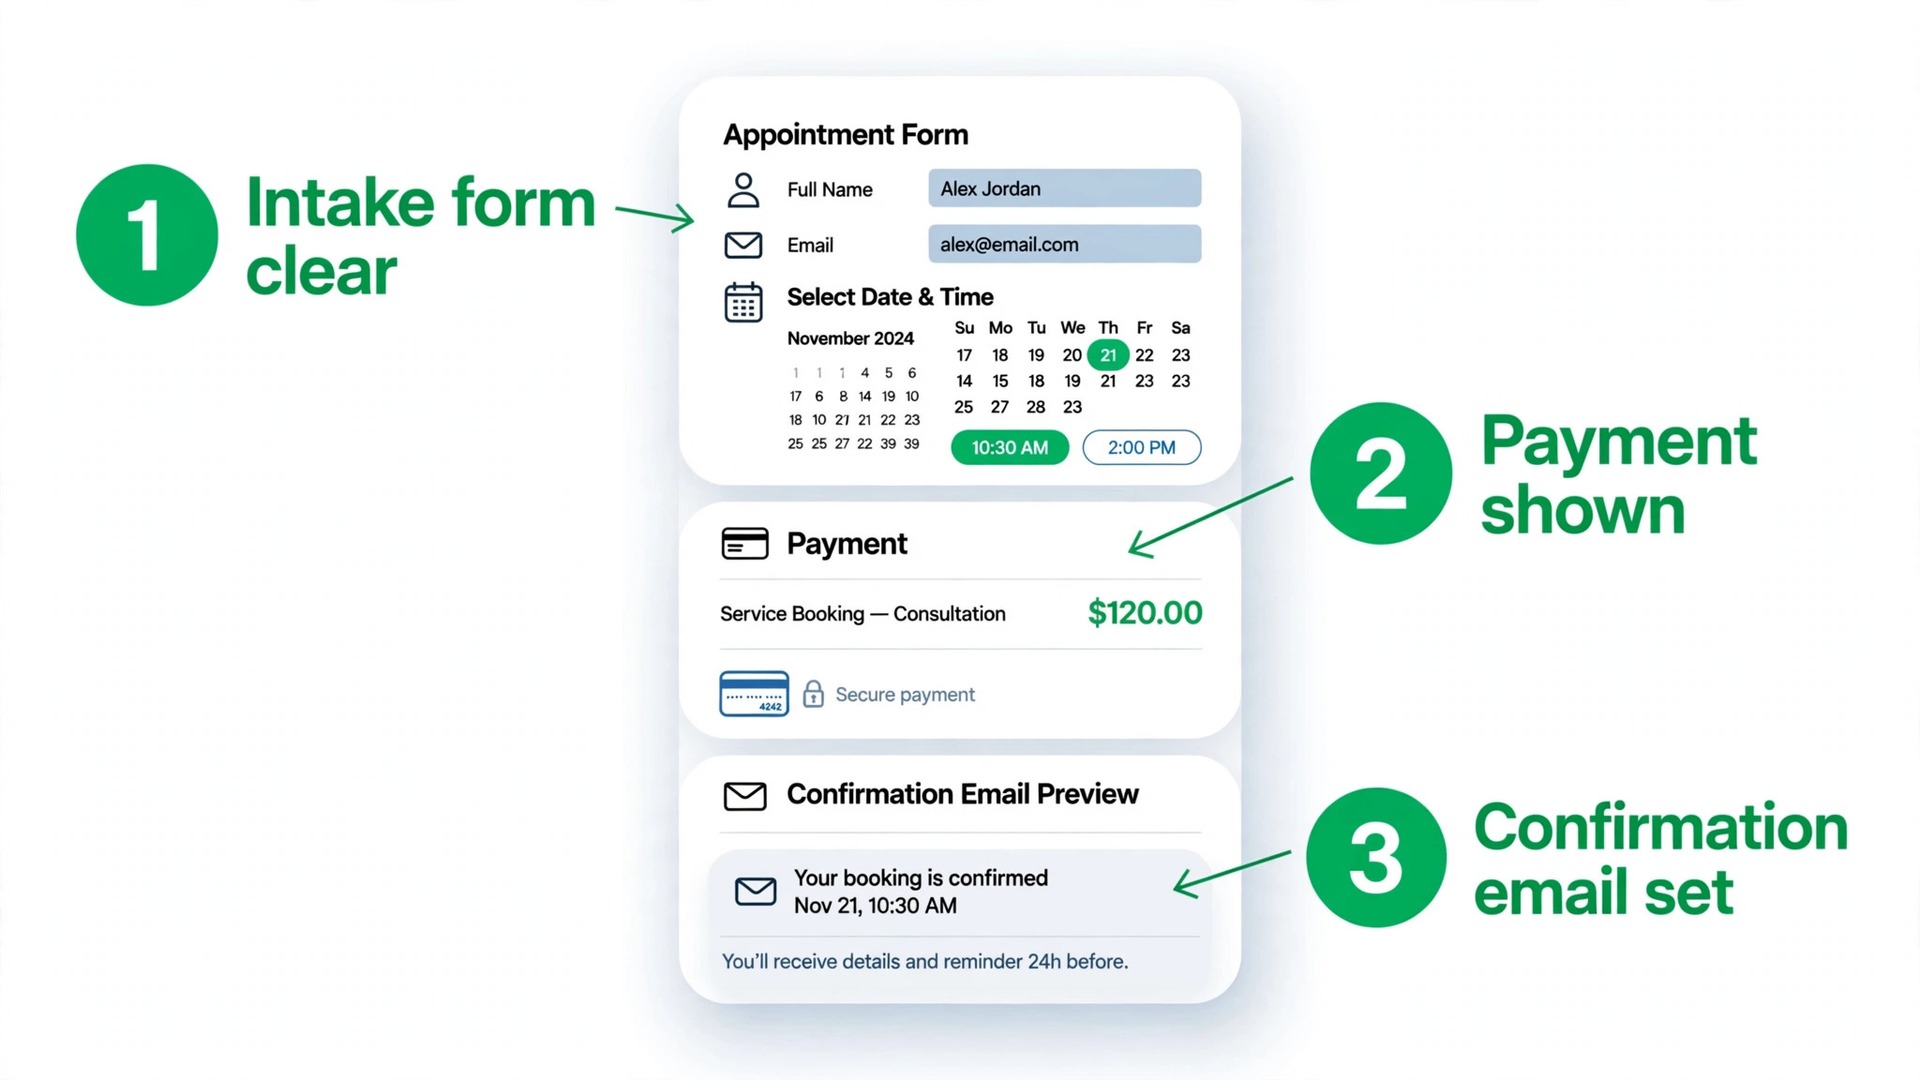
Build custom intake forms for each appointment type. Acuity strength is detailed client records, so use it. Ask for the information you actually need before the meeting, such as goals, history or preferences, and keep the form short enough that clients finish it. A form with twenty questions will lose bookings.
Set up packages and group classes if your business sells them. Acuity supports packages, memberships and classes, which Calendly does not handle the same way. If you sell a block of sessions, create the package now and test the purchase flow before clients see it.
Check each appointment type from the client view. Book a test appointment for every type and confirm the questions, the price and the confirmation all look right. A mistake in an appointment type will repeat on every booking until you catch it, so test now while the cost is zero.
Step 4. Import clients and appointments
Prepare your client spreadsheet in the format Acuity requires, then import your clients. Acuity help center provides the required formatting instructions, so follow them exactly. A column in the wrong place can import a phone number as a name, and that error is tedious to fix across hundreds of clients.
Import future appointments as well, so your calendar stays complete after the switch. Download the list of future appointments from Calendly, format it for Acuity, and import it. Verify the count after import, and check a sample of appointments by eye to confirm dates, times and clients all landed correctly.
Past booking history may import only partly, depending on format and limits. Keep the Calendly records saved locally as the permanent record, and do not rely on the import for history you may need later. A saved export is worth more than a partial import.
Check for duplicates after import. A client who appears twice will get two reminders and two confirmations, which looks unprofessional. Merge duplicates now, before the first reminder goes out, and confirm the final client count matches your export.
Step 5. Connect calendars and payments
Connect every calendar Acuity needs to see, including work, personal and team calendars. Acuity syncs appointments and blocks off unavailable time, so a calendar left unconnected is a double booking waiting to happen. Test the sync by creating a busy block on your main calendar and confirming Acuity hides that time.
Connect your payment processor next. Acuity supports Stripe, PayPal, Square and Authorize.net, which is broader than Calendly paid plans that use Stripe. Connect the processor you already use, and test a paid booking end to end, from the booking page through payment to the confirmation email.
Set your cancellation and no show policies for each appointment type. Decide how far in advance a client can cancel, whether deposits are refundable, and what happens on a no show. Write those policies in plain language on the booking page, so clients agree before they pay rather than arguing after.
Check your time zone settings one more time. A time zone error is the most common scheduling mistake, and it affects every booking. Confirm the business time zone, the client time zone display, and the calendar time zone all agree, then test a booking from a different time zone if your clients are spread out.
Step 6. Set reminders, confirmations and policies
Recreate every reminder and confirmation in Acuity. Set email and text reminders for 24 hours before and one hour before each appointment, and match the wording your clients already know. A reminder that arrives at a different time or with different wording will confuse regular clients.
Set up confirmation emails, follow up emails and review requests for each appointment type. Acuity workflows can send a thank you after the meeting, a reminder to rebook, or a request for feedback, and those messages are part of the client experience. Test each one by booking a test appointment and reading every email it triggers.
Write your cancellation policy into the workflow as well. Confirm how clients cancel or reschedule, what the deadline is, and whether a fee applies. A clear policy stated at booking time prevents most arguments, and Acuity lets clients cancel or reschedule themselves when the policy allows it.
Review the whole notification set once, from booking to follow up, as if you were the client. Read every message, check every link, and confirm the timing feels helpful rather than noisy. Too many reminders annoy clients. Too few lead to no shows. Two reminders is the right count for most service businesses.
Step 7. Test the full booking journey
Make test bookings for every appointment type, and check each step. Book as a client would, complete the intake form, pay if the type is paid, and confirm the confirmation email arrives. Then test rescheduling and cancellation, and confirm the calendar updates and the client gets the right message.
Check time zones, payment steps and intake questions on each test. A test that only checks the happy path will miss the failure that a real client finds. Test a booking from a phone as well as a desktop, since most clients book on mobile, and confirm the page is easy to use on a small screen.
Test your integrations too. Confirm the Zoom link is created, the CRM record is updated, and the email workflow triggers. An integration that worked on Calendly does not automatically work on Acuity, so each one needs its own test before clients rely on it.
Ask one real client or colleague to book a test appointment and tell you what confused them. A fresh pair of eyes catches problems you have stopped seeing, and a five minute test can save a week of confused messages after launch.
Step 8. Swap links, then cancel Calendly
Replace the booking links everywhere they appear. Update your website, email signature, social profiles, shared documents and automated emails with the new Acuity link. Embed the scheduler on your site pages so clients can book directly from your website, or send the direct link by text or email.
Let old bookings finish in Calendly. If a client already booked in Calendly, let that meeting run there rather than asking them to rebook. Keep Calendly live while those appointments are still active, so you can manage them and handle any message that reaches the former page.
Send a short message to regular clients explaining the new booking link and what has changed. Mention the intake form and the payment step if those are new, and reassure them that existing bookings are unaffected. A clear message prevents a flood of where do I book questions.
Downgrade Calendly at the end of your billing cycle, then delete the account only after the last booked meeting in Calendly has happened. If you pay yearly, plan the switch a few weeks before renewal, since the downgrade only takes effect at the end of the cycle. Booked meetings stay on the account when you cancel, so check that nothing is left before you delete it.
How to switch from Calendly to Acuity on a realistic timeline
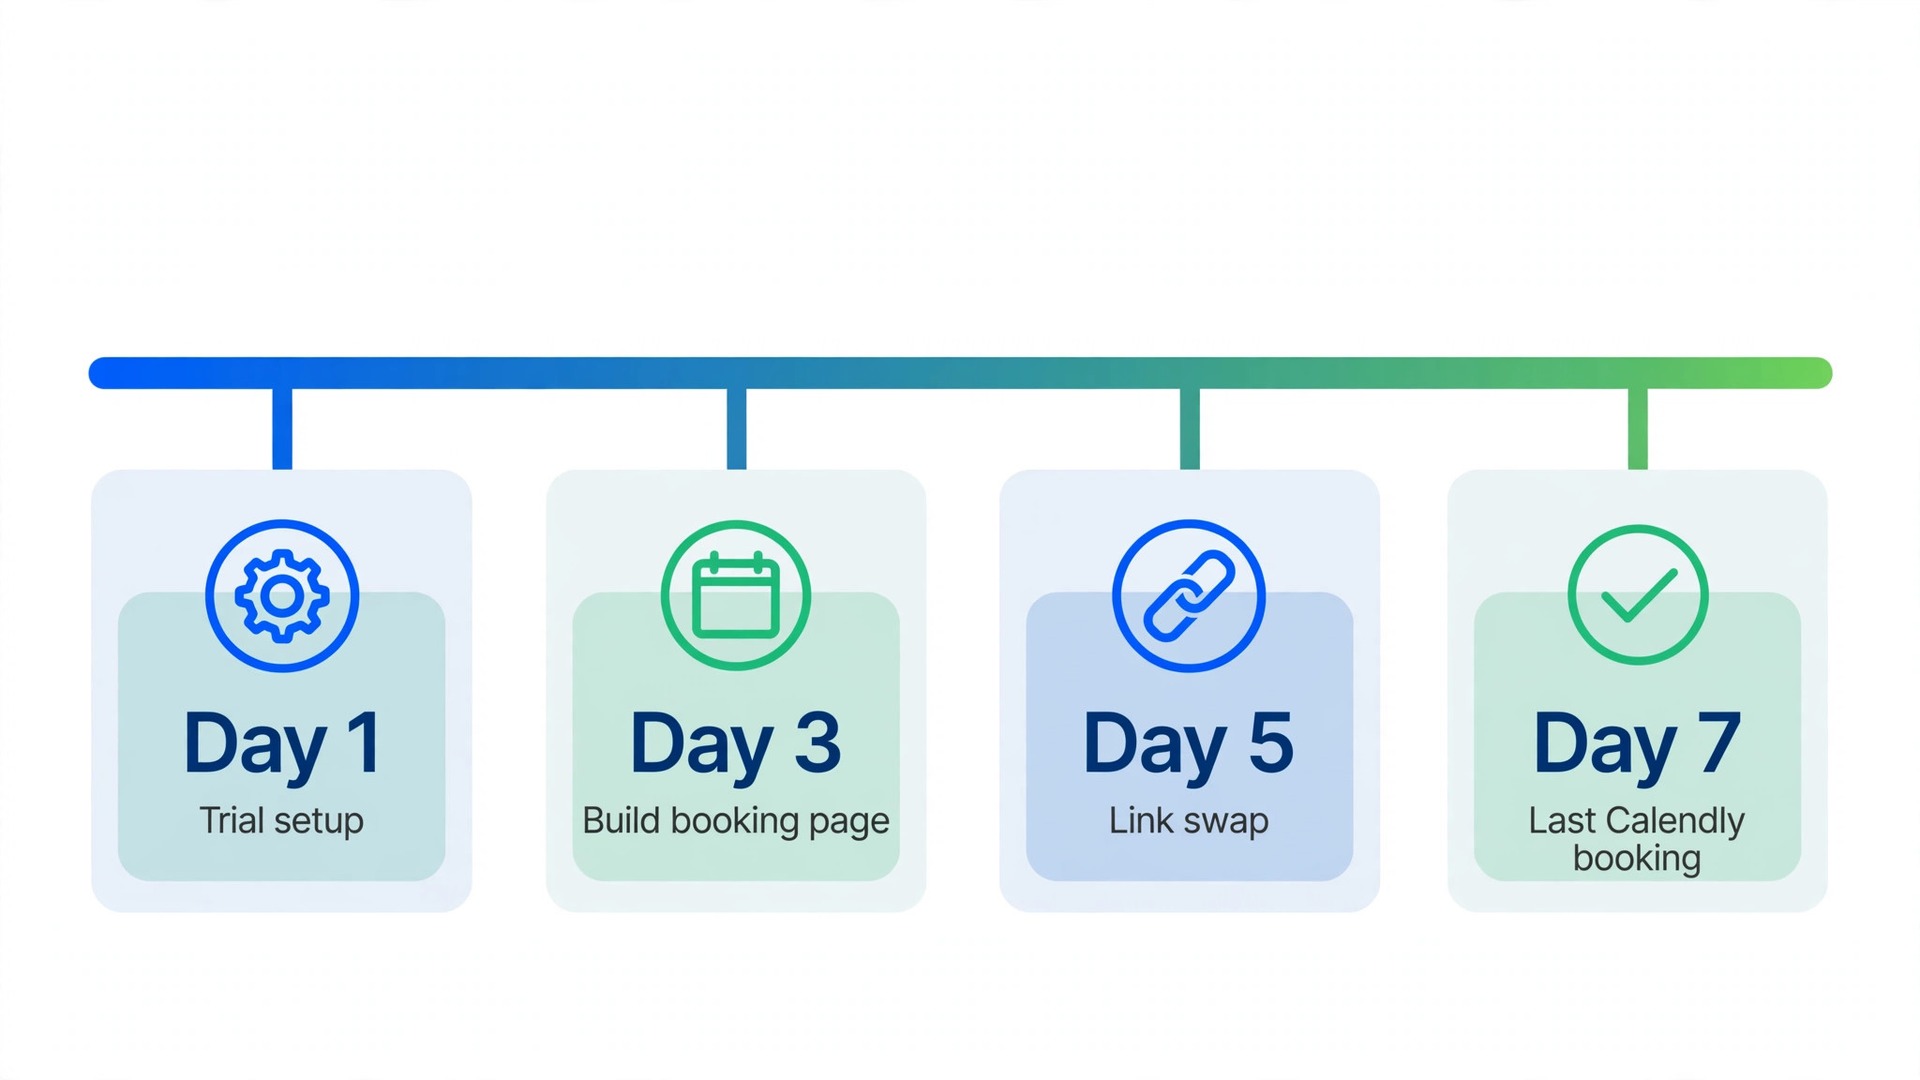
A solo service business fits the switch in a week when you know how to switch from Calendly to Acuity step by step. Use this plan to pace it, and keep Calendly live until the last booked meeting has happened.
| Phase | Time to allow | Who does it |
|---|---|---|
| Inventory | 1 to 2 hours | You, before anything changes |
| Acuity setup and hours | 1 hour | You, on the trial |
| Appointment types and forms | 2 to 3 hours | You |
| Client and appointment import | 1 to 2 hours | You |
| Calendars and payments | 1 hour | You, with test bookings |
| Reminders and policies | 1 hour | You |
| Full journey testing | 1 to 2 hours | You, plus one real tester |
| Link swap and client message | 1 hour | You |
| Calendly wind down | Until last booking | You, at cycle end |
Common mistakes that lose bookings
The first mistake is sharing the new link before the setup is finished. A client who books into a half built scheduler will hit missing forms, wrong prices or no confirmation, and may not try again. Build everything, test it, and only then share the link.
The second mistake is cancelling Calendly too early. Bookings made through old links are still active, and cancelling removes your ability to manage them. Downgrade at the end of the billing cycle, and delete only after the last booked meeting has happened.
The third mistake is forgetting a link. A booking link in an old email, a PDF or a social bio will keep sending clients to Calendly for months. Search every place a link could live, and update them all on cutover day.
The fourth mistake is skipping the payment test. A paid appointment type that fails at checkout loses the booking and the client trust at once. Test a real payment for every paid type before launch, and confirm the confirmation email arrives with the receipt.
What You Pay to Switch
Acuity paid plans start at 20 dollars a month, or 16 dollars a month billed annually, with a seven day free trial and no ongoing free plan. Calendly free plan covers basic scheduling, with paid plans from 10 dollars per user a month. The switch usually costs more per month, and it pays when intake forms, packages and appointment payments matter.
The real cost is time. Budget a week for a solo service business, including inventory, setup, import, testing and link swap. A business with many appointment types or integrations should budget two weeks, and test each type separately before launch.
Keep Calendly paid until the end of its billing cycle, since the downgrade only takes effect then. The overlap of one month on both tools is the cheapest insurance in the whole project.
After the switch, how to keep clients happy
Message your regular clients in the first week and confirm their next booking is safe. A short personal message, naming the date and time they already booked, reassures them more than any announcement. Clients who feel looked after will follow you to the new booking page without a second thought.
Check the first ten Acuity bookings by hand. Open each one, confirm the intake form answers arrived, the payment went through, and the confirmation email looks right. A mistake in the first ten bookings will repeat on the next hundred unless you catch it now.
Watch no shows for the first month. A new reminder schedule can change no show rates in either direction, so compare them with your Calendly numbers. If no shows rise, add a reminder. If reminders annoy clients, remove one. Two reminders is the right count for most service businesses.
Ask new clients how the booking felt. A one question follow up after the first Acuity booking will surface problems you cannot see yourself, such as a confusing form or a slow page on mobile. Fix the top complaint in the first week, and the rest will rarely matter.
Update your website copy to match the new experience. If Acuity intake forms ask for more detail, say so on the booking page, so clients arrive prepared. If packages are now available, mention them where clients choose an appointment, since a package seen at booking time sells better than one mentioned later.
Keep a note of what clients praise and what they question. Those notes become the improvements for month two, whether a shorter form, a clearer cancellation policy or a different reminder time. A scheduler that improves every month keeps clients longer than one that never changes.
Acuity features worth learning first
Learn packages first, since they are the feature Calendly never had. A block of five or ten sessions, paid once and booked as needed, suits coaching, therapy and training businesses. Set the package price, the expiry and the booking rules, then test a purchase yourself before you offer it.
Learn client notes next. Acuity keeps a record per client with past appointments, intake answers and notes from each visit. A note that says what worked last time makes the next session better, and it is the detail that turns a booking tool into a client relationship.
Learn calendar sync deeply. Connect every calendar you use, check that busy blocks hide correctly, and test what happens when a client books over a personal appointment. A sync that works quietly in the background is worth more than any single feature, because it prevents the double booking that loses a client.
Learn the reporting last, once bookings are flowing. Acuity reports show revenue by appointment type, no show rates and busiest times, which tell you where to add hours and where to raise prices. Check the reports monthly, not daily, and act on one insight at a time.
One last check before you cancel Calendly
Book one final test appointment in Acuity for every appointment type, and complete the whole journey as a client would. Fill in the intake form, pay if the type is paid, and confirm the confirmation email arrives with the right time, the right link and the right instructions. A booking flow that passes this test on live is ready for real clients.
Check the calendar sync one last time by blocking an hour on your main calendar and confirming Acuity hides it. Then remove the block and confirm the time opens again. A sync that works in both directions is what prevents double bookings, and it is worth testing twice rather than trusting once.
Confirm that no booking link still points at Calendly. Search your website, email signature, social profiles, invoices and shared documents for the old link, and update every hit. A client who follows an old link after you cancel will reach a dead page, so this check is worth an hour of careful clicking.
Tell your regular clients the switch is complete and thank them for their patience. A short message with the new link and a note that existing bookings are unchanged closes the move cleanly. Clients who feel informed will book again without a second thought, and that is the real test of a scheduling switch.
Keep a copy of the Calendly export and the Acuity import files in a safe place for a year. A client dispute about a past appointment, a tax question or a no show fee can need the old record, and the saved files answer it in minutes. Delete nothing until the next tax year is filed, since the cost of storage is zero and the cost of a missing record is not.
Our Closing Take
Moving from Calendly to Acuity is a handover, not a migration. Anyone who follows how to switch from Calendly to Acuity in the order above will keep every booking and every client. Inventory everything, build the full Acuity setup on the trial, import clients and appointments, connect calendars and payments, and test the whole journey before you share the new link. Keep Calendly live until the last old booking has happened.
The payoff is a scheduler built for service businesses, with intake forms, packages, client records and appointment payments in one place. For a coach, salon or studio that lives by its bookings, that depth is worth a careful week of work.
Frequently Asked Questions
Can I import my Calendly bookings into Acuity?
Yes. The core of how to switch from Calendly to Acuity without losing bookings is exporting clients and future appointments, preparing the spreadsheets in the format Acuity requires, and importing them. Verify the count after import and check a sample by eye. Keep the Calendly records saved locally, since past history may import only partly.
How long does it take to switch from Calendly to Acuity?
A solo service business fits the switch in a week, including inventory, setup, import, testing and link swap, when you know how to switch from Calendly to Acuity and follow the steps in order. A business with many appointment types or integrations should budget two weeks. Keep Calendly live until the last booked meeting has happened.
Does Acuity have a free plan?
No. Acuity Scheduling is a paid platform, with a seven day free trial and paid plans from 20 dollars a month, or 16 dollars a month billed annually. Calendly offers a free plan, so the switch usually costs more per month and pays when intake forms and payments matter.
Will my clients need to rebook after the switch?
No, if you keep Calendly live until existing bookings have happened. Let old bookings run in Calendly, and use Acuity only for new bookings after cutover. Asking clients to rebook creates confusion and no shows, so avoid it.
What payment methods does Acuity accept?
Acuity accepts Stripe, PayPal, Square and Authorize.net for appointment payments. Connect the processor you already use, test a paid booking end to end, and confirm the confirmation email arrives with the receipt before you share the new link.
Should I cancel Calendly right after switching to Acuity?
No. Downgrade Calendly at the end of your billing cycle, and delete the account only after the last booked meeting in Calendly has happened. Booked meetings stay on the account when you cancel, so check that nothing is left before you delete it.