

Mailchimp counts every duplicate across lists, charges more as your list grows, and builds automations around customer journeys for small businesses. Kit, formerly ConvertKit, counts each subscriber once, organizes everyone with tags, and builds automations around creator funnels such as lead magnets, welcome sequences and launches. That difference is why creators move. How to switch from Mailchimp to ConvertKit is mostly a translation job, turning lists into tags, journeys into visual automations, and campaigns into broadcasts.
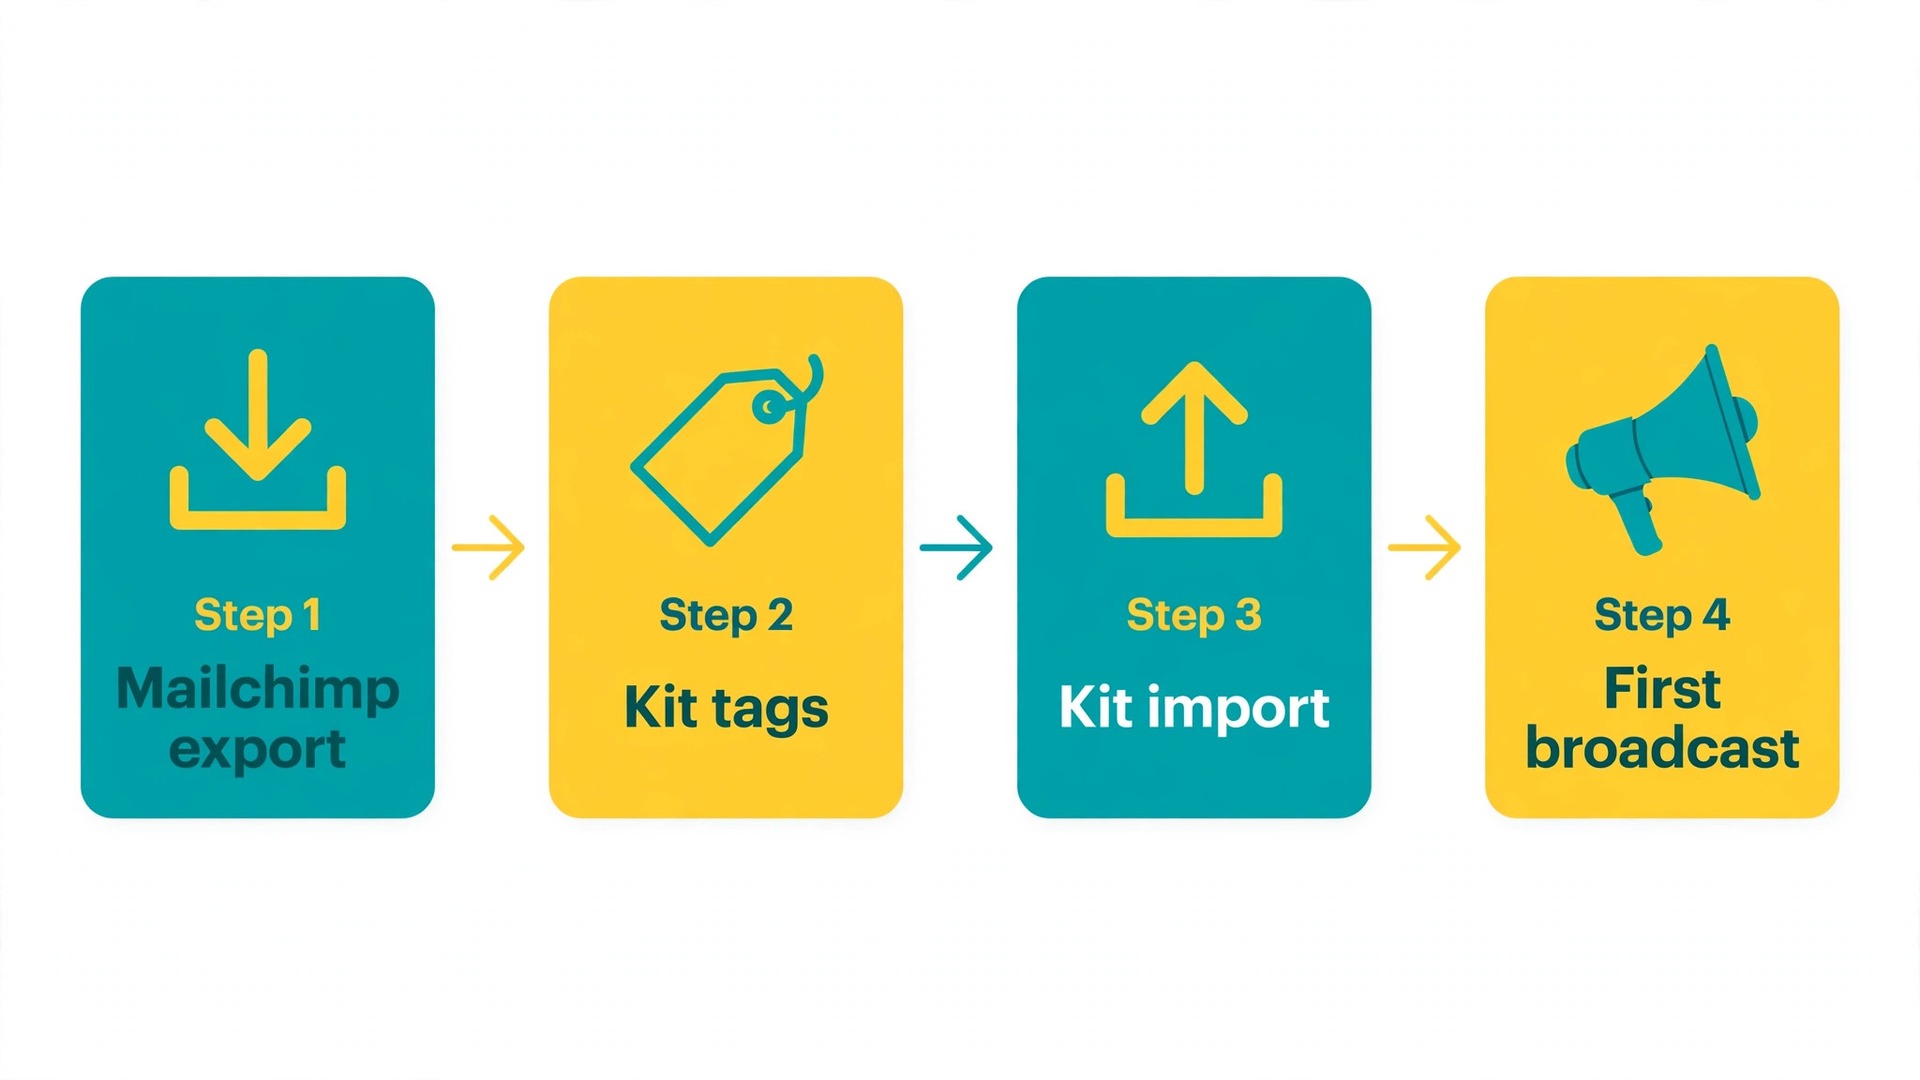
The move itself is gentle. Export subscribed contacts as a CSV, import them into Kit, rebuild your forms and sequences, and switch your sending when everything is tested. Kit offers free migrations on its pricing page and publishes a guide for moving from Mailchimp, so you do not have to do it alone.
This guide walks through the whole switch in eight steps, with a checklist up front, a table showing what transfers and what does not, and a timing plan for a creator list of any size. Keep Mailchimp sending until Kit is tested and verified, and never import unsubscribed or cleaned addresses.
The Moving Checklist
Do every item on this list before you export anything. A list move done in the right order keeps your deliverability. A list move done in a hurry can get your new account suspended.
How to switch from Mailchimp to ConvertKit safely starts with cleaning the list and passing Kit verification. Kit reviews every new account before sending is enabled, so send the verification link early and warn support about large imports.
- Clean your Mailchimp list and export only subscribed contacts, with tags and consent status.
- Note your list size, since Kit bills confirmed subscribers and pricing scales with the count.
- Create your Kit account and send the verification link, with your site and past open rates.
- Warn Kit support in advance about a large import, such as a giveaway list, to avoid a temporary suspension.
- List every Mailchimp audience and map each one to a Kit tag or segment.
- List every automation and sequence, with triggers, emails and timing, so each one gets rebuilt.
- List every form, landing page and embedded signup on your site.
- Save your best performing email templates as HTML, since designs do not transfer directly.
- Check your sending domain and plan SPF, DKIM and DMARC records for Kit.
- Note your current open and click rates as a baseline to compare after the move.
- Pick a quiet week for cutover, away from launches or big campaigns.
- Keep Mailchimp active until Kit sending is tested and verified.
What Survives the Move
Subscribers and their data move cleanly by CSV, and that export is the first step in how to switch from Mailchimp to ConvertKit without losing anyone. Almost everything else needs rebuilding. The table below is the honest version, based on Kit own migration guidance and current comparisons.
Two rules shape the whole move. Export only subscribed contacts, since Kit bills confirmed subscribers and cleaned or unsubscribed addresses should stay behind. And rebuild automations as Kit visual automations, since Mailchimp journeys do not translate directly.
| Item | Transfers | What to do about it |
|---|---|---|
| Subscribed contacts | Yes, through CSV | Export from Mailchimp with tags and consent status, then import into Kit |
| Unsubscribed and cleaned | No, leave behind | Kit bills confirmed subscribers, so do not import them |
| Tags | Yes, as tags | Create the tags in Kit first, then map them during import |
| Audiences | Partly, as tags | Recreate each audience as a tag or segment in one Kit account |
| Segments | Partly | Rebuild as Kit segments using tags and custom fields |
| Email templates | Partly, as HTML | Both tools accept custom HTML, so save templates and rebuild them last |
| Automations | No, rebuild | Rebuild as Kit visual automations or sequences on the Creator plan |
| Sequences | No, rebuild | Recreate each email in the sequence with the same timing |
| Landing pages | No, rebuild | Recreate in Kit, which includes forms and landing pages |
| Forms and embeds | No, rebuild | Replace Mailchimp forms on your site with Kit forms before import |
| Campaign reports | No | Save key stats locally, since history does not move |
| Billing history | No | Keep Mailchimp invoices saved for your records |
| Sending reputation | No, rebuild | Warm up sending gradually and authenticate your domain |
One rule deserves emphasis. Kit reviews every new account before sending is enabled, asking for a link to your site and sometimes for historical open and click rates. Send that verification link before the import, so sending is enabled when the list arrives. A large import from a giveaway may suspend the account temporarily unless you tell support in advance.
Step 1. Clean the list and export subscribed contacts only
Open Mailchimp and clean the list before you export anything. Remove unsubscribed, cleaned and long inactive contacts, since Kit bills confirmed subscribers and you should not pay to import people who never open. Check your open rates by segment and keep the segments that engage.
Export each audience as a CSV with tags and consent status included. In Mailchimp, open the audience, choose Export, and save the subscribed members file. Name each file clearly right away, such as newsletter subscribed or buyers subscribed, so you know which tag it belongs to in Kit.
Check the CSV before you import it. Open it in a spreadsheet and confirm the email column is clean, with no blank rows or malformed addresses. Remove extra columns you do not need, and keep first name, tags and any custom fields you want to carry over.
Do not export unsubscribed or cleaned addresses. They should stay behind in Mailchimp, both because Kit bills confirmed subscribers and because importing them risks complaints and harms your deliverability. A smaller, cleaner list always outperforms a larger, stale one.
Step 2. Create your Kit account and pass verification
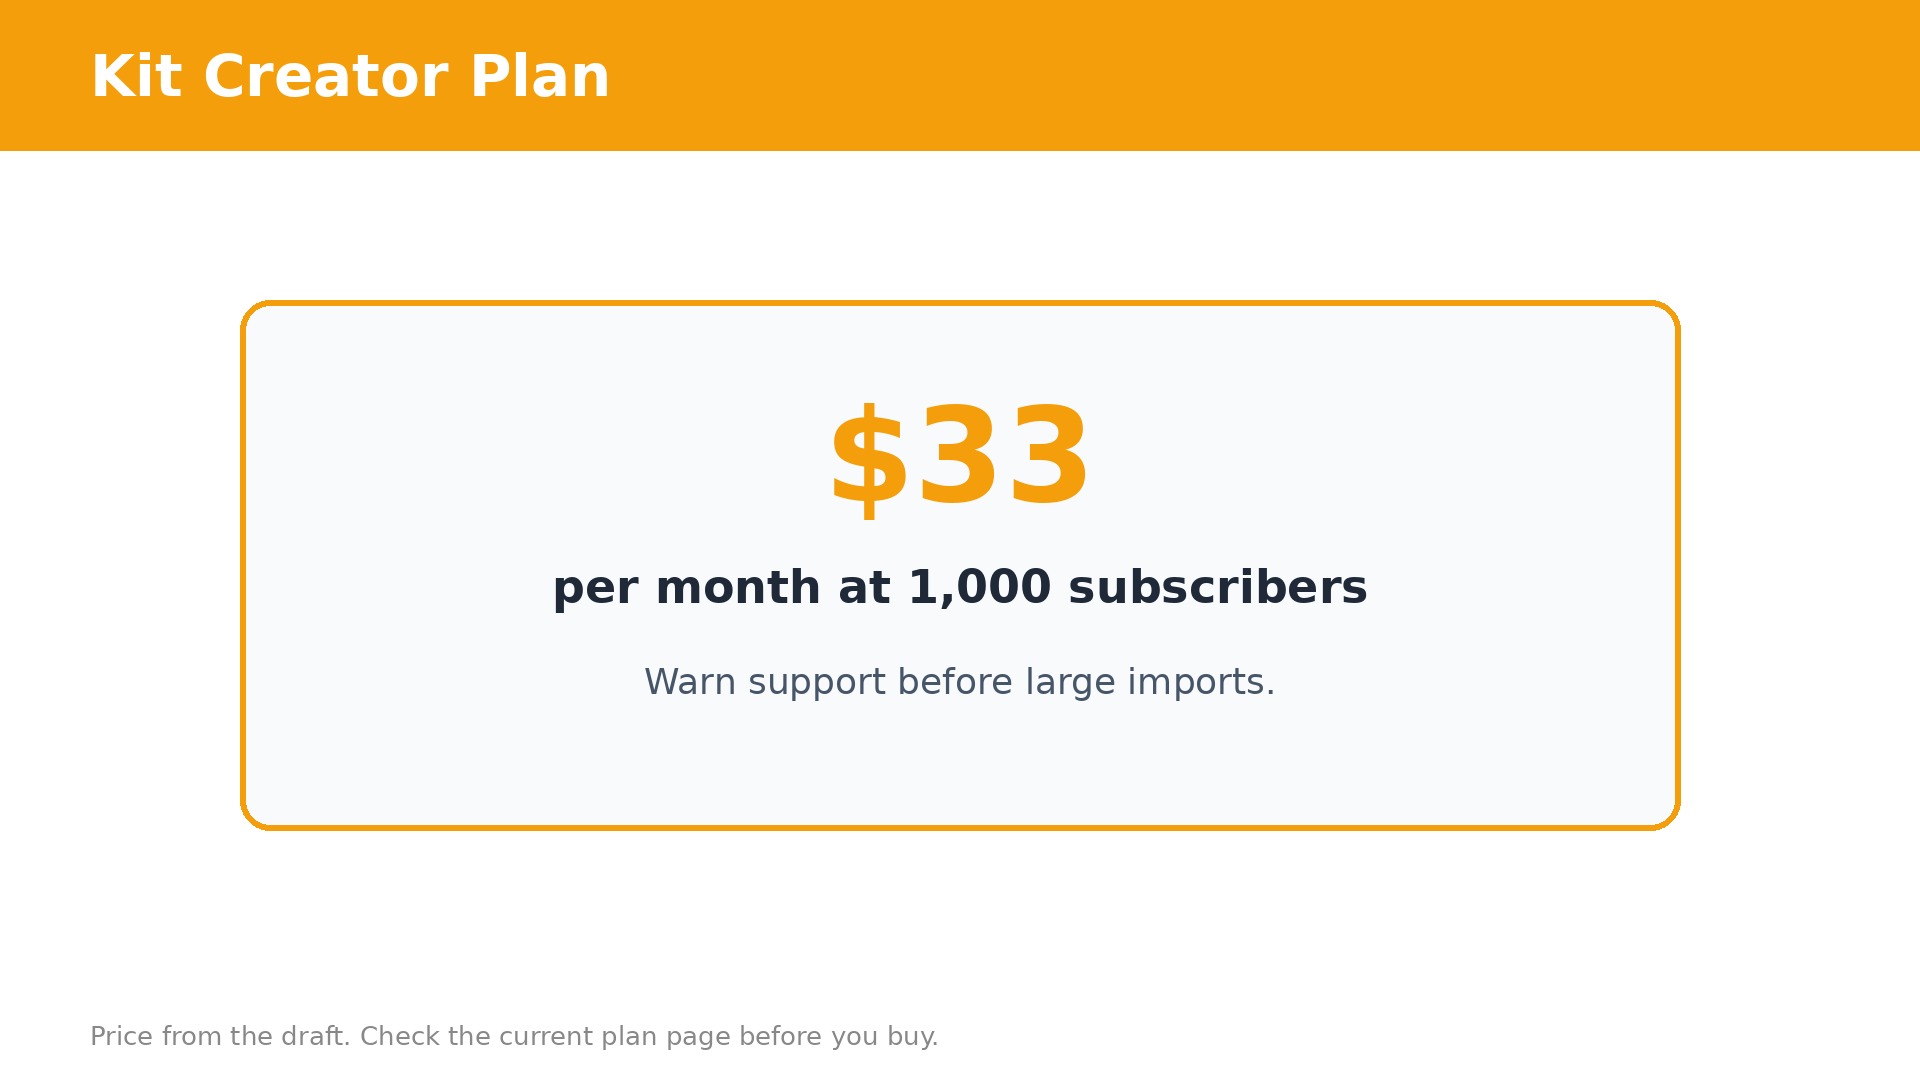
Create your Kit account and choose the right plan. The free Newsletter plan covers up to 10,000 subscribers with unlimited broadcasts, forms and landing pages, but it has no visual automations or sequences. Creator costs 33 dollars a month billed annually, or 39 dollars billed monthly, at 1,000 subscribers, and it unlocks full visual automations, free migration and integrations.
Send Kit the verification link before you import. Kit reviews every new account before sending is enabled, asking for a link to your site and sometimes for historical open and click rates. Send that link early, so sending is enabled when the list arrives and you are not waiting on a review after the import.
Tell support about a large import in advance. A large import, from a giveaway for instance, may suspend the account temporarily unless you tell support first. A short message with the list size and source prevents a stressful surprise on cutover day.
Set up your sending domain while you wait. Add SPF, DKIM and DMARC records for Kit in your domain settings, and confirm they are verified before you send. Authentication is what keeps your emails out of spam, and it is far easier to set up before the first send than to fix after a bad one.
Step 3. Map audiences to tags and segments
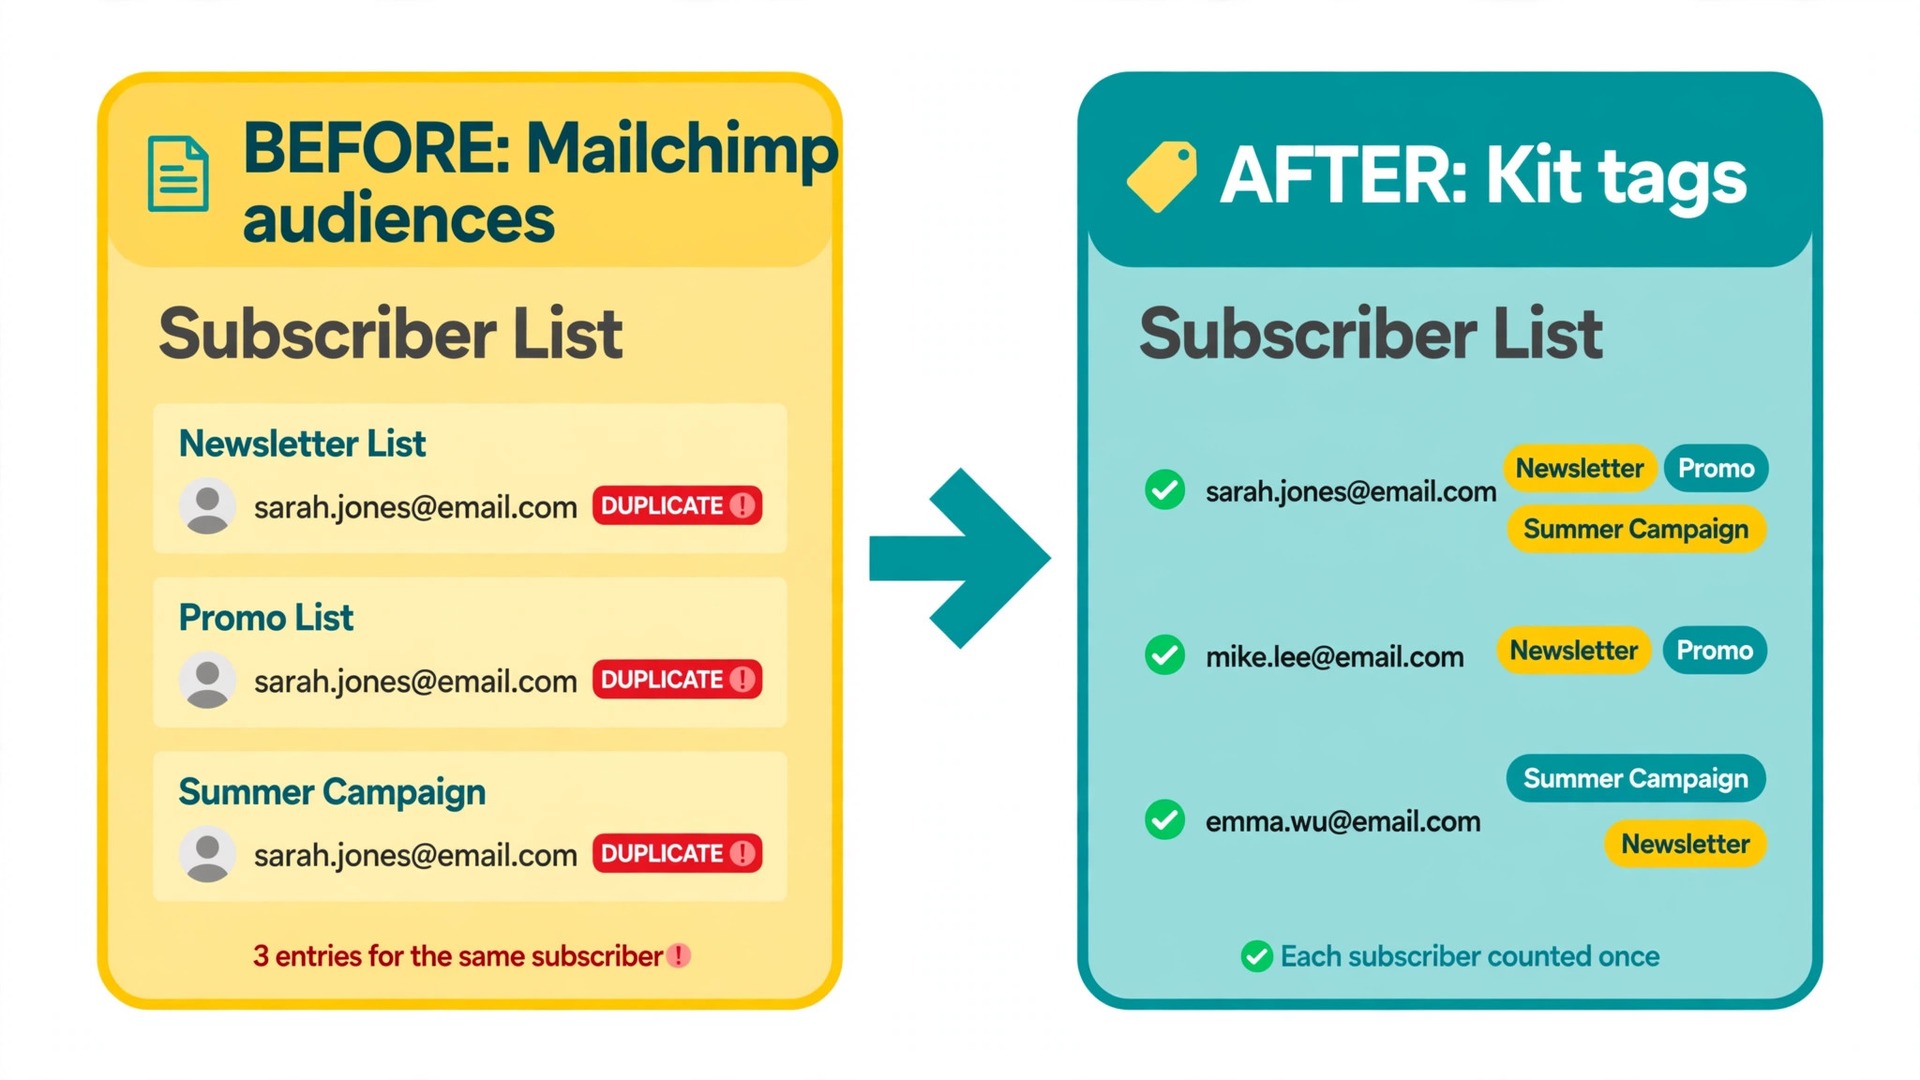
Kit is subscriber centric, not list centric. Every subscriber lives in one master list, and you organize them with tags and segments. A subscriber who joins through two forms is one subscriber with two tags, billed once. That is the biggest mental shift from Mailchimp, where the same person can exist in several audiences and count several times.
Create the tags in Kit first, before you import anything. Make one tag for each Mailchimp audience you exported, such as newsletter, buyers or course students. Then create tags for interests, products and lead magnets, so your segments work from day one. Recreate Mailchimp audiences as tags or segments in one Kit account.
The exception is genuinely separate businesses. Kit own guidance says to run separate businesses as separate accounts, not as tags in one account. If you run two unrelated businesses, set up a second Kit account rather than mixing their subscribers together.
Plan your segments before you build them. A segment is a saved filter, such as tagged buyers who opened in the last 90 days, and it is what makes Kit targeting powerful. Write down the five segments you will use most, such as engaged readers, buyers, cold subscribers and launch waitlist, then build them after the import.
Step 4. Import subscribers into Kit
With tags created and verification passed, import the CSV files. In Kit, go to Subscribers, choose Import subscribers, and select Import from another provider. You can also use the Mailchimp API key to import directly, which pulls the data without a manual CSV step.
Map the columns carefully during import. Match email to email, first name to first name, and tags to the tag you created for that audience. If you want other information carried over, create custom fields in Kit first, then map those columns to them. A wrong mapping is easy to make and tedious to fix, so check the preview before you confirm.
Import one audience at a time and verify the count after each one. Kit will show a confirmation when the import finishes, and you will also get an email telling you it completed. Compare the imported count with the exported count. A small difference usually means duplicates were merged, which is correct, since Kit counts each subscriber once.
Repeat the process for every Mailchimp audience, then check the total. Your Kit subscriber count should be lower than the sum of your Mailchimp audiences if the same people were in several lists. That is a saving, not a loss, since you now pay once per person instead of once per list.
Step 5. Rebuild forms and landing pages
Replace every Mailchimp form on your website with a Kit form before you import, or at least before you send. If the forms on your site are still Mailchimp, new subscribers will keep landing in Mailchimp and you will have to move them again. Do the forms first, then the import, and the problem never happens.
Kit includes forms and landing pages on every plan, including the free plan. Recreate each form with the same fields and the same offer, and test it by signing up yourself. Confirm the welcome email arrives, the tag is applied, and the subscriber appears in Kit with the right details.
Recreate landing pages for lead magnets and launches in Kit as well. Keep the headline and the offer the same, so existing links and ads keep working. Update any links on your site, in your email signature and in your social profiles that point at old Mailchimp pages.
Check embedded forms and popups too. A popup that still feeds Mailchimp is easy to miss, and it will quietly split your list after the move. Search your site for every signup point, test each one, and keep a list of where they all live for future changes.
Step 6. Rebuild sequences and automations
Mailchimp automations do not transfer, so rebuild each one as a Kit visual automation or sequence. Start with the highest value flows, such as the welcome sequence, the lead magnet delivery, and the launch or sales sequence. Those three usually drive most of the revenue and engagement, so they deserve to be rebuilt first.
Kit visual automations use a flowchart interface. Drag in events such as subscribed, clicked a link or purchased, add conditions such as tagged or not tagged, and set actions such as send an email, add a tag or move to a sequence. The builder is intuitive, and it makes branching logic visible in a way Mailchimp journeys rarely are.
Recreate each email in the sequence with the same timing and roughly the same content. This is a good time to improve weak emails, but do not rewrite everything at once. Keep the proven emails, fix the ones with low open rates, and test the whole flow with a test subscriber before you turn it on.
Remember that visual automations and sequences need the Creator plan, which costs 33 dollars a month billed annually at 1,000 subscribers. The free plan has no automations, so budget for Creator if sequences matter to your business. Turn on one automation at a time, and watch the first sends before enabling the next.
Step 7. Recreate templates and test your first sends
Recreate your email templates last, after subscribers, tags and automations are in place. Both Mailchimp and Kit accept custom HTML, so save your best templates from Mailchimp and rebuild them in Kit with the same layout and branding. Keep the design simple. A clean template with one column and a clear call to action outperforms a busy one.
Test every template by sending it to yourself and to a test address on a different email provider. Check it on a phone as well as a desktop, since most subscribers read on mobile. Confirm images load, links work, and the unsubscribe link is visible. A template that looks right in the editor and breaks in Gmail is a common launch day surprise.
Send a small broadcast first, to your most engaged segment only. A short honest email explaining the move, with a useful link or a small gift, is a good first send. Watch open and click rates, check for spam complaints, and compare the results with your Mailchimp baseline from the checklist.
If the first send performs well, send to the full list next. If it does not, check authentication, subject line and segment before you send again. One careful send teaches you more than three rushed ones, and it protects the reputation you are building on the new platform.
Step 8. Warm up, switch sending and cancel Mailchimp
Warm up sending gradually rather than blasting the full list on day one. Start with engaged subscribers, then expand to the full list over a few sends. That pattern builds a good reputation with email providers, and it is especially important if your list is large or has been inactive.
Switch your regular sending to Kit once the test sends look good. Update any scheduled campaigns, RSS to email feeds and integrations that still point at Mailchimp, and confirm that new signups flow into Kit. Keep Mailchimp active during this week as a backup, in case you need to check an old campaign or template.
Monitor open, click and complaint rates for two weeks and compare them with your Mailchimp baseline. A small dip is normal after a move, while a large drop usually means an authentication or list quality problem. Check SPF, DKIM and DMARC first, then check whether the segment you sent to was engaged.
Cancel Mailchimp only after two clean weeks on Kit, with forms, automations and regular sends all working. Export and save your Mailchimp reports and invoices first, since that history does not move. Keep the exported CSV files saved locally as the permanent record of the old list.
How to switch from Mailchimp to ConvertKit on a realistic timeline
A small list fits in a weekend when you know how to switch from Mailchimp to ConvertKit step by step. A large list needs a week. Use this plan to pace the move, and keep Mailchimp sending until Kit is tested and verified.
| Phase | Time to allow | Who does it |
|---|---|---|
| List cleaning and export | 1 to 2 hours | You, before anything changes |
| Kit account and verification | 1 hour, plus review wait | You, and Kit support |
| Tags and segments | 1 hour | You |
| Subscriber import | 1 hour | You, one audience at a time |
| Forms and landing pages | 2 to 3 hours | You |
| Sequences and automations | 3 to 5 hours | You, highest value first |
| Templates and test sends | 2 hours | You |
| Warm up and cutover | 1 week of gradual sends | You |
| Monitoring after the move | 15 minutes a day for 2 weeks | You |
Common mistakes that hurt deliverability
The first mistake is importing everyone, including unsubscribed and cleaned addresses. Kit bills confirmed subscribers, and importing stale addresses harms deliverability and risks complaints. Export only subscribed contacts, and leave the rest behind.
The second mistake is skipping verification. Kit reviews every new account before sending is enabled. Send the verification link early, and warn support about large imports, or your first send will wait on a review you could have passed days earlier.
The third mistake is leaving Mailchimp forms live on your site. New subscribers will keep landing in Mailchimp, splitting your list and forcing a second import. Replace every form before you import, and test each one yourself.
The fourth mistake is blasting the full list on day one. Warm up gradually, starting with engaged subscribers, and compare results with your Mailchimp baseline. A careful warm up protects the reputation you need for every send after the move.
Switch Costs, Tallied
Kit free plan covers up to 10,000 subscribers with unlimited broadcasts, forms and landing pages, but no automations. Creator costs 33 dollars a month billed annually, or 39 dollars billed monthly, at 1,000 subscribers, and it unlocks visual automations, sequences and free migration. Pro costs 66 dollars a month billed annually at 1,000 subscribers.
Compare that with Mailchimp, where the free plan covers 250 contacts and Essentials starts at 13 dollars a month for 500 contacts. Kit is cheaper for a creator with a growing list, because one subscriber counts once no matter how many tags they carry, while Mailchimp can charge for the same person in several audiences.
Keep Mailchimp active during the move, since cancelling early removes your backup and your template source. The overlap of one month on both platforms is the cheapest insurance in the whole project.
After the move, how to rebuild trust with your list
Send a short honest email as your first broadcast from Kit. Tell subscribers you moved to a new email tool, explain that nothing else changes, and give them something useful in the same email, such as a link, a tip or a small gift. Honesty in the first send sets the tone for everything after it.
Keep your sending cadence exactly the same for the first month. If you emailed weekly on Tuesdays, keep emailing weekly on Tuesdays. A new tool plus a new schedule at the same time confuses subscribers, and confused subscribers unsubscribe. Change one thing at a time, and let the move settle first.
Segment from day one and send to engaged readers first. A broadcast to your most engaged segment will earn strong open rates, which builds your sender reputation on the new platform. A broadcast to the whole list including cold subscribers will earn complaints, which harms it. Warm up in stages and let the reputation grow.
Ask for a reply in the second or third email. A simple question, such as what are you working on this month, invites replies, and replies tell email providers that your messages are wanted. Read every reply yourself for the first month, since subscribers will tell you what they need if you ask.
Clean the list again after a month. Remove subscribers who never opened a single Kit email, and move the rest into a re engagement sequence with a clear choice to stay or go. A smaller list that opens is worth more than a larger list that ignores you, and it costs less every month.
Compare your numbers with the Mailchimp baseline you saved. Open rates, click rates and unsubscribes should be close to the old numbers within a month. A small dip is normal after a move. A large drop usually means an authentication problem or a segment that was too broad, so check SPF, DKIM and DMARC first.
Keep improving one email at a time. Test a new subject line each week, try a shorter format for one broadcast, and move your best performing Mailchimp emails into Kit templates. The move is done when your Kit numbers match or beat your Mailchimp numbers, and that usually takes four to six weeks of steady sending.
One last check before you cancel Mailchimp
Send one final broadcast from Kit to your full list and compare it with your Mailchimp baseline. Opens, clicks and unsubscribes should be close to the old numbers. If they are far off, check authentication and segment size before you send again, since a problem found now is cheap and a problem found after cancelling is not.
Open every form and landing page on your site and confirm each one feeds Kit. Submit a test signup to every form yourself, and check that the tag is applied and the welcome email arrives. A form that still feeds Mailchimp will quietly split your list, and you will only discover it when a subscriber asks why they never heard from you.
Save your Mailchimp reports, invoices and best templates in one folder before you cancel. That history does not transfer, and it holds the record of what worked. A year from now, when you wonder which subject line earned the most opens, that folder will have the answer.
Do one final review of your Kit account settings before you cancel Mailchimp. Confirm the sender name, the reply address and the default footer are all correct, and check that the unsubscribe link works on a test email. A wrong reply address on the first month of sends will cost you replies from subscribers who wanted to talk, and that is a loss no template can fix.
The Straight Answer
Moving from Mailchimp to Kit is a translation, not a rebuild. Anyone who follows how to switch from Mailchimp to ConvertKit in the order above will keep their subscribers and their deliverability. Clean the list, pass verification early, map audiences to tags, import one audience at a time, and rebuild forms before you import so new subscribers never land in the old tool. Rebuild the highest value sequences first, test with a small send, and warm up gradually.
The payoff is a simpler model. One subscriber, one bill, tags instead of duplicate lists, and automations built around how creators actually sell. For a creator whose list is the business, that simplicity is worth a careful weekend of work.
Frequently Asked Questions
Is ConvertKit now called Kit?
Yes. ConvertKit rebranded to Kit in October 2024. The product is the same creator focused email platform, with the same tag based system and visual automation builder. This guide uses Kit throughout, since that is the current name.
Will I lose subscribers moving from Mailchimp to Kit?
No. The core of how to switch from Mailchimp to ConvertKit without losing subscribers is exporting only subscribed contacts and importing them carefully. Your Kit count may be lower than the sum of Mailchimp audiences, because Kit counts each subscriber once even if they were in several lists. That is a saving, not a loss.
How long does it take to switch from Mailchimp to ConvertKit?
A small list fits in a weekend, with a week of gradual warm up sends after, when you know how to switch from Mailchimp to ConvertKit and follow the steps in order. A large list with many automations needs a week of rebuilding plus two weeks of monitoring. Keep Mailchimp active until Kit sending is tested and verified.
Do Mailchimp automations transfer to Kit?
No. Mailchimp journeys do not transfer directly. Rebuild each one as a Kit visual automation or sequence on the Creator plan, starting with the welcome sequence and the highest value flows. Test each automation with a test subscriber before you turn it on.
How much does Kit cost compared with Mailchimp?
Kit free plan covers up to 10,000 subscribers without automations. Creator costs 33 dollars a month billed annually at 1,000 subscribers. Mailchimp free covers 250 contacts, with Essentials from 13 dollars a month. Kit is usually cheaper for creators, since one subscriber counts once.
Should I cancel Mailchimp right after moving to Kit?
No. Keep Mailchimp active for at least two weeks after the move, with regular sends working on Kit first. Save your reports and invoices, since that history does not transfer. Cancel only when forms, automations and sends all work cleanly on Kit.