Here is the honest answer first. The old way to make a Snapchat geofilter is gone. You cannot open a simple web page, draw a fence around your venue, pay a small flat fee and have a filter live by Saturday, because Snapchat retired that self serve on demand flow and ended free community geofilters in 2023. This guide explains how to make a snapchat geofilter in the way that actually works in 2026.
If you are planning a wedding, a party or a local event and you found an old tutorial that tells you to visit the geofilter portal, that tutorial is out of date, and following it will waste your week. This guide covers what the new route costs, and what to do instead when it does not fit your event.
The current route runs through Snapchat advertising tools. You design the overlay, build it as a Sponsored AR Filter in Lens Web Builder, and launch it as a campaign in Ads Manager with location targeting and an auction budget. That is more work than the old portal, and it costs more than the old flat fee for most small events. It is also the only route Snapchat still offers for a branded location overlay, so this guide walks through it step by step, and then covers the cheaper alternatives for a private party that does not need an ad campaign.
What Changed, and Why Old Tutorials Mislead You
Snapchat geofilters used to come in two kinds. Community geofilters were free, user designed overlays for cities, universities, parks and landmarks, reviewed by Snapchat over a few weeks. On demand geofilters were paid overlays for a specific place and time, bought through a dedicated portal, and priced by the size of the area and the length of the run. Both kinds are gone in their old form. Snapchat discontinued community geofilters in 2023, and the old on demand portal is no longer the way to buy a filter.
What replaced them is the advertising system. Snapchat now treats a custom overlay as a Sponsored AR Filter, which is an ad format bought through Ads Manager. The creative is built in Lens Web Builder, a free web tool, and the distribution is an auction campaign with targeting, budget and review, like any other Snapchat ad. The filter still appears to people in a place at a time you choose, but you buy that placement as advertising, not as a simple event add on.
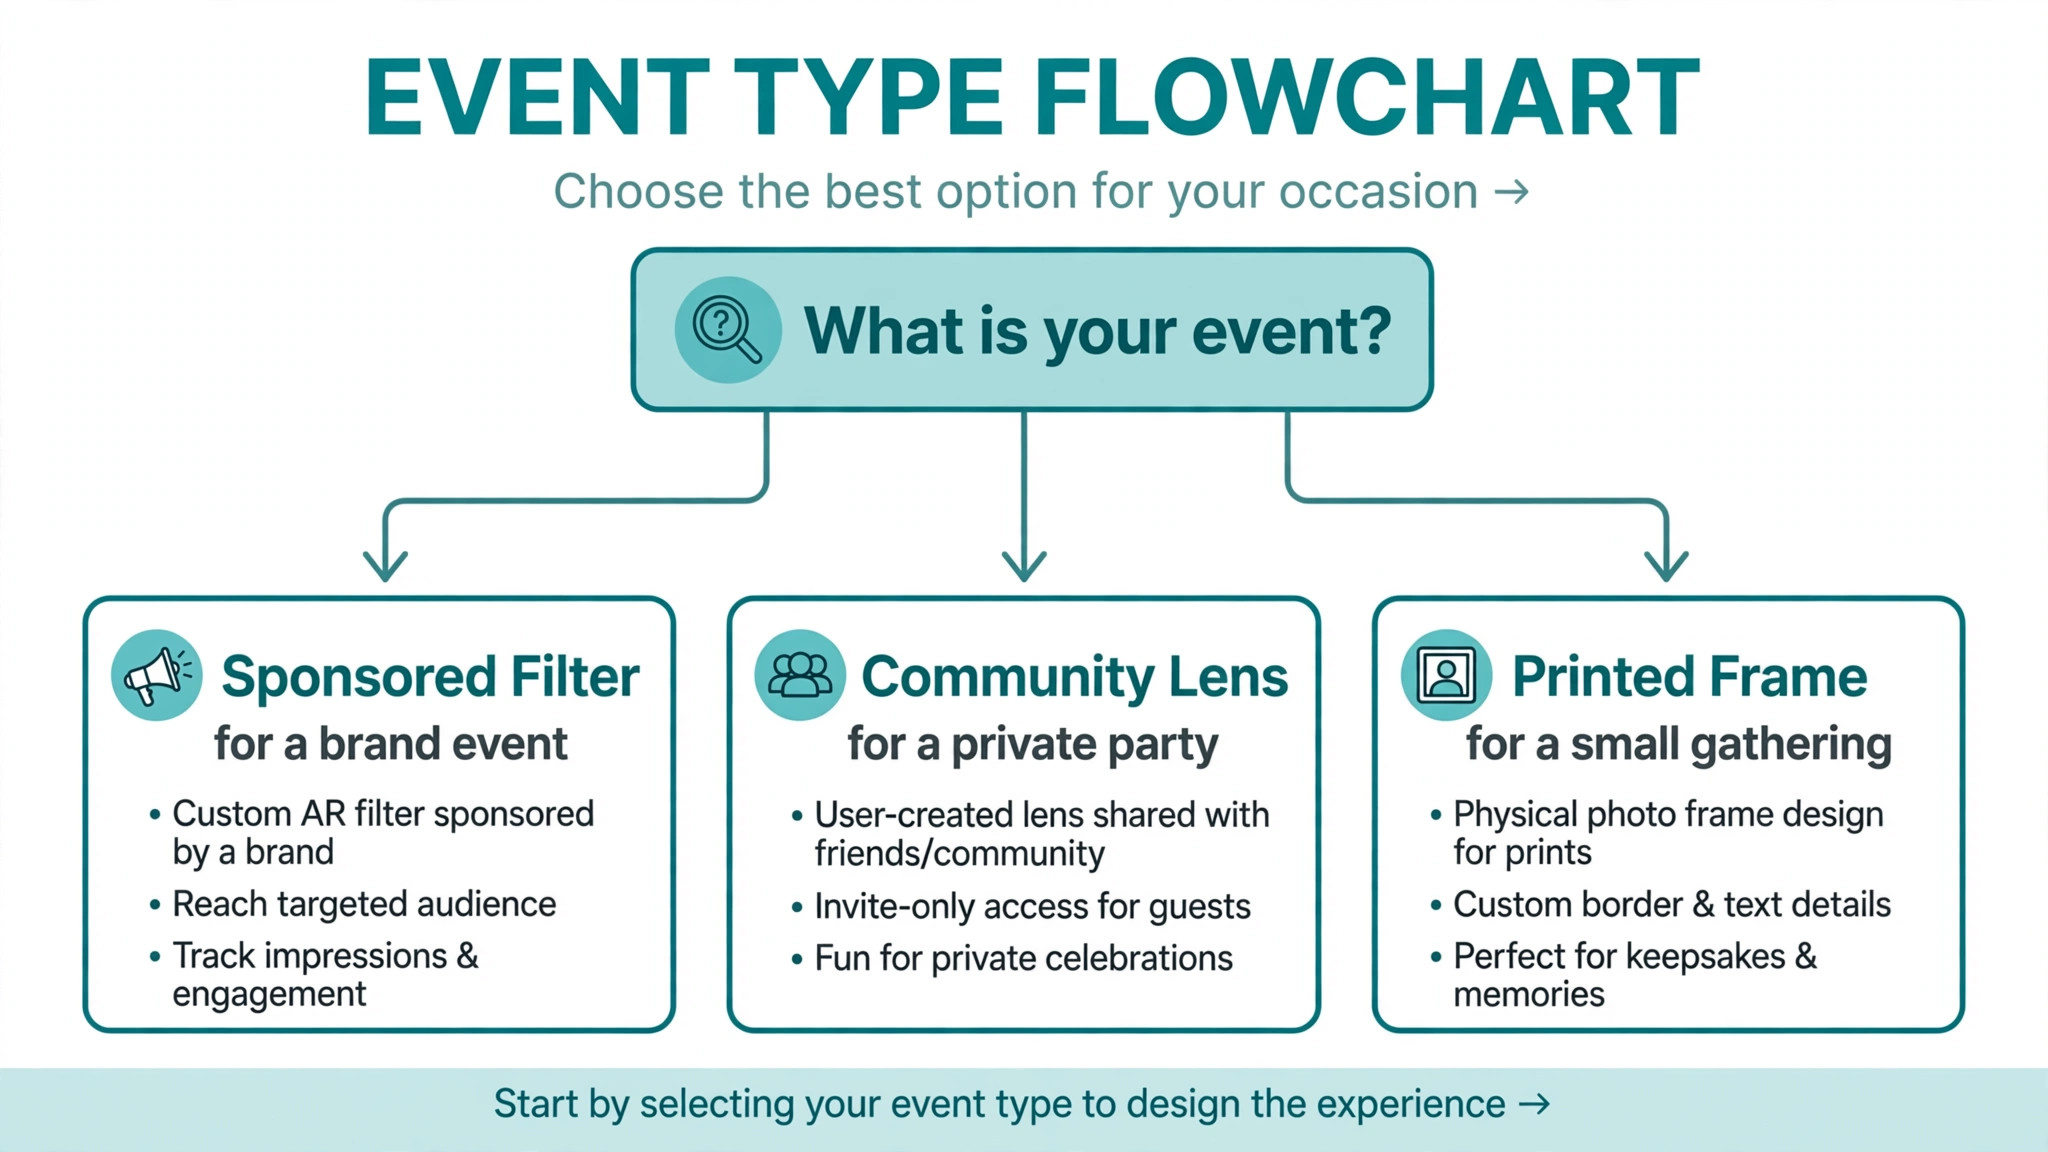
This change matters for planning. An ad campaign needs a business account, a payment method, a review step and a budget, and it needs lead time. A wedding on Saturday cannot be saved by starting on Friday. If your event is private, small and non commercial, the advertising route may be more than you need, and the alternatives section near the end of this guide will suit you better. If your event is a brand launch, a sponsored party or a ticketed event, the advertising route is the right one, and the steps below will get you there.
Filter or Lens, Know Which One You Are Making
Snapchat now separates two products that old tutorials used as one word. A Filter is an overlay added to a Snap after it is captured, such as a frame with your event name, a date and a small graphic. A Lens is an AR experience applied through the camera before capture, such as a face effect, a 3D object or an interactive effect. A geofilter, in the old sense of a location overlay, is closest to what Snapchat now calls an AR Filter.
That distinction decides which tool you use. A static overlay for your event is built in Lens Web Builder as an AR Filter, and it is the simpler job. An interactive AR effect needs Lens Studio, the desktop software for building Lenses, and it is a bigger job that usually needs a designer or a developer. This guide covers the AR Filter route, because that is what most event organisers actually want, and it notes where a Lens would be the better choice.
A second distinction matters for cost. A community Lens made in Lens Studio can be published for free and found through Lens Explorer, but it is not tied to your venue or your time window in the way a paid filter is. A Sponsored AR Filter is tied to your targeting and your budget, and it appears to the people you pay to reach. Free reach and paid placement are different products, and you should pick based on whether your event needs guaranteed visibility or is happy with whatever happens.
The Exact Specs Before You Design
Snapchat publishes exact specs for AR Filters, and designing to the wrong size is the most common reason a filter gets rejected or looks broken. The specs below come from Snapchat business help pages, and they are different from the 1080 by 1920 size that old tutorials still quote. Do not use the old size. Use the sizes below.
| Spec | What to use |
|---|---|
| Static filter | PNG, 945 by 2048 pixels |
| Moving image filter | GIF, 720 by 1560 pixels, 1 to 3 seconds |
| Branded asset | Transparent PNG under 300 KB |
| Thumbnail icon | 320 by 320 pixels |
| Review time | About 10 to 45 minutes for the creative |
| Build tool | Lens Web Builder, free |
| Launch tool | Ads Manager, Advanced Create |
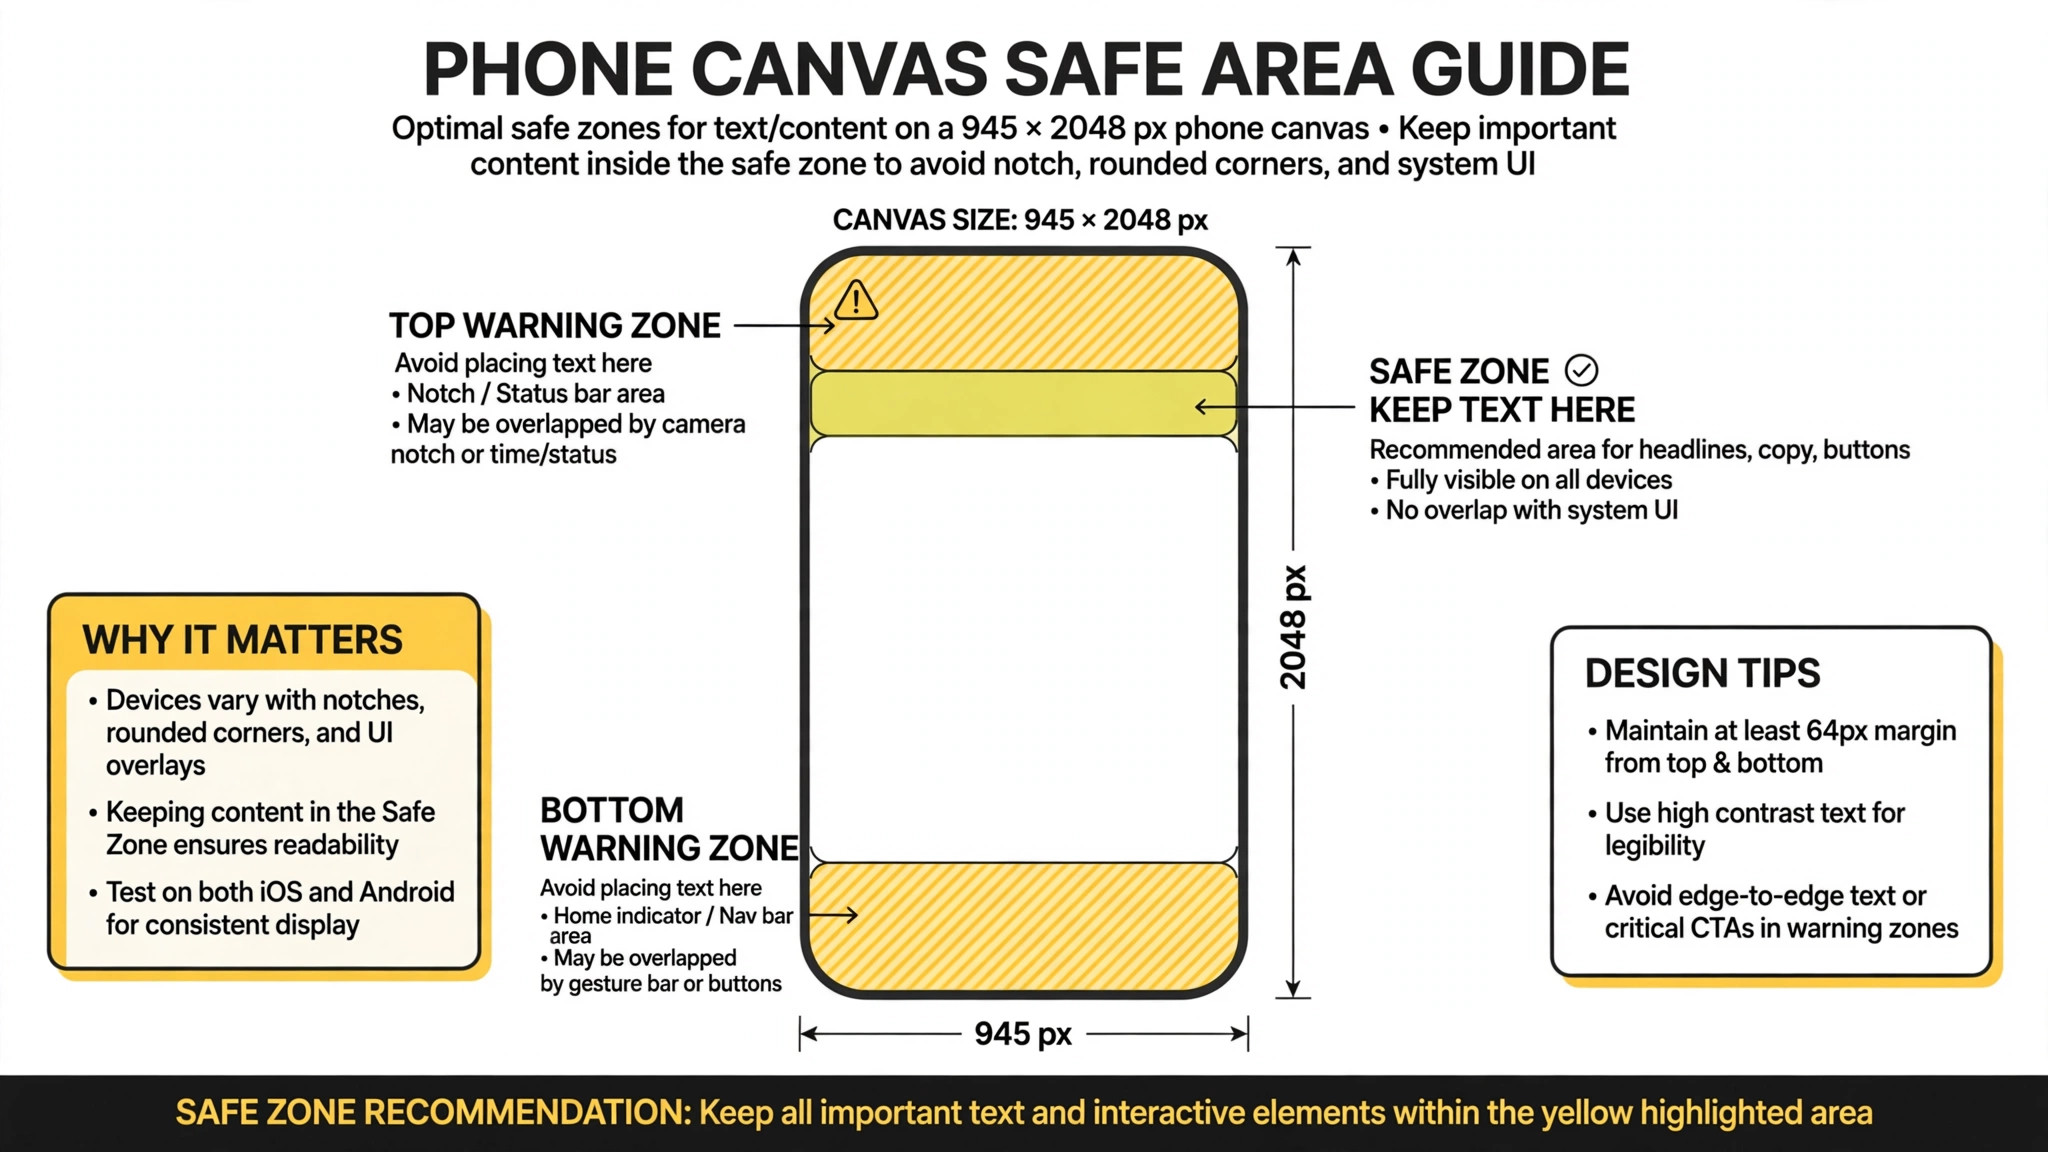
The static filter canvas is tall and narrow, at 945 by 2048 pixels, which is a different ratio from a phone screen. Design your artwork on that exact canvas, with transparency where the photo should show through. Keep text and logos away from the edges, because the camera controls and the carousel interface cover the edges of the screen. A design that puts the event name in the middle and a small graphic at the bottom will survive. A design that fills the whole frame will fight the interface and lose.
The moving image filter is a GIF at 720 by 1560 pixels, lasting 1 to 3 seconds. Keep the animation simple, such as a gentle shimmer or a short loop, because a busy animation will distract from the photo underneath. The branded asset you upload, such as a logo or a frame, must be a transparent PNG under 300 KB. A heavy file will be rejected or will load slowly for your guests, and a slow filter is a filter nobody uses.
The Best Route by Job
| Event type | Best route | Why it fits |
|---|---|---|
| Brand launch or sponsored party | Sponsored AR Filter in Ads Manager | Guaranteed placement with targeting and reporting |
| Ticketed public event | Sponsored AR Filter in Ads Manager | Reaches people near the venue, not just guests |
| Private wedding or party | Lens Studio community Lens, or skip Snapchat | No ad account or budget needed |
| Small local gathering | A shared Lens link or a printed photo frame | Cheaper and faster than an ad campaign |
| Business promotion | Sponsored AR Filter with a clear logo | Branding is allowed and measured |
If your event is commercial, use the advertising route in this guide. If your event is private, read the alternatives section before you spend money on an ad campaign. A wedding does not need auction targeting, and a birthday party does not need a business account. The right route depends on whether you need guaranteed reach or just a fun extra for your guests.
Step 1, Design the Artwork on the Right Canvas
Start in a design tool you already know, such as Canva, Adobe Express or Photopea, and set the canvas to 945 by 2048 pixels for a static filter. Do not design on a 1080 by 1920 canvas and resize later, because the resize will shift your layout and the edges will not match Snapchat specs. Start at the right size and stay there.
Keep the design simple. A filter is an overlay, not a poster, and the photo underneath is the subject. Use the event name, the date and one graphic, and leave most of the canvas transparent so the photo shows through. Text should be large and bold, because it will be read on a phone screen at arm’s length, and it should sit in the middle or lower third of the frame, away from the camera controls at the top and the carousel at the bottom.
Follow the content rules or the review will reject the filter. Do not include phone numbers, URLs, personal information, or logos and trademarks you do not own the rights to use. Do not include hate symbols or anything that breaks Snapchat content rules. A wedding filter with the couple names and the date will pass. A filter with a sponsor logo you do not own will not, unless you have the rights and the campaign is set up as a business ad.
Export the artwork as a transparent PNG, and check the file size before you upload. The branded asset must be under 300 KB, so flatten the design and export at the right size rather than exporting a huge file and hoping Snapchat compresses it. Open the PNG and look at it against a dark and a light photo, because your guests will use it on both, and white text that vanishes on a bright photo is a design flaw you can catch now.
Step 2, How to Make a Snapchat Geofilter in Lens Web Builder
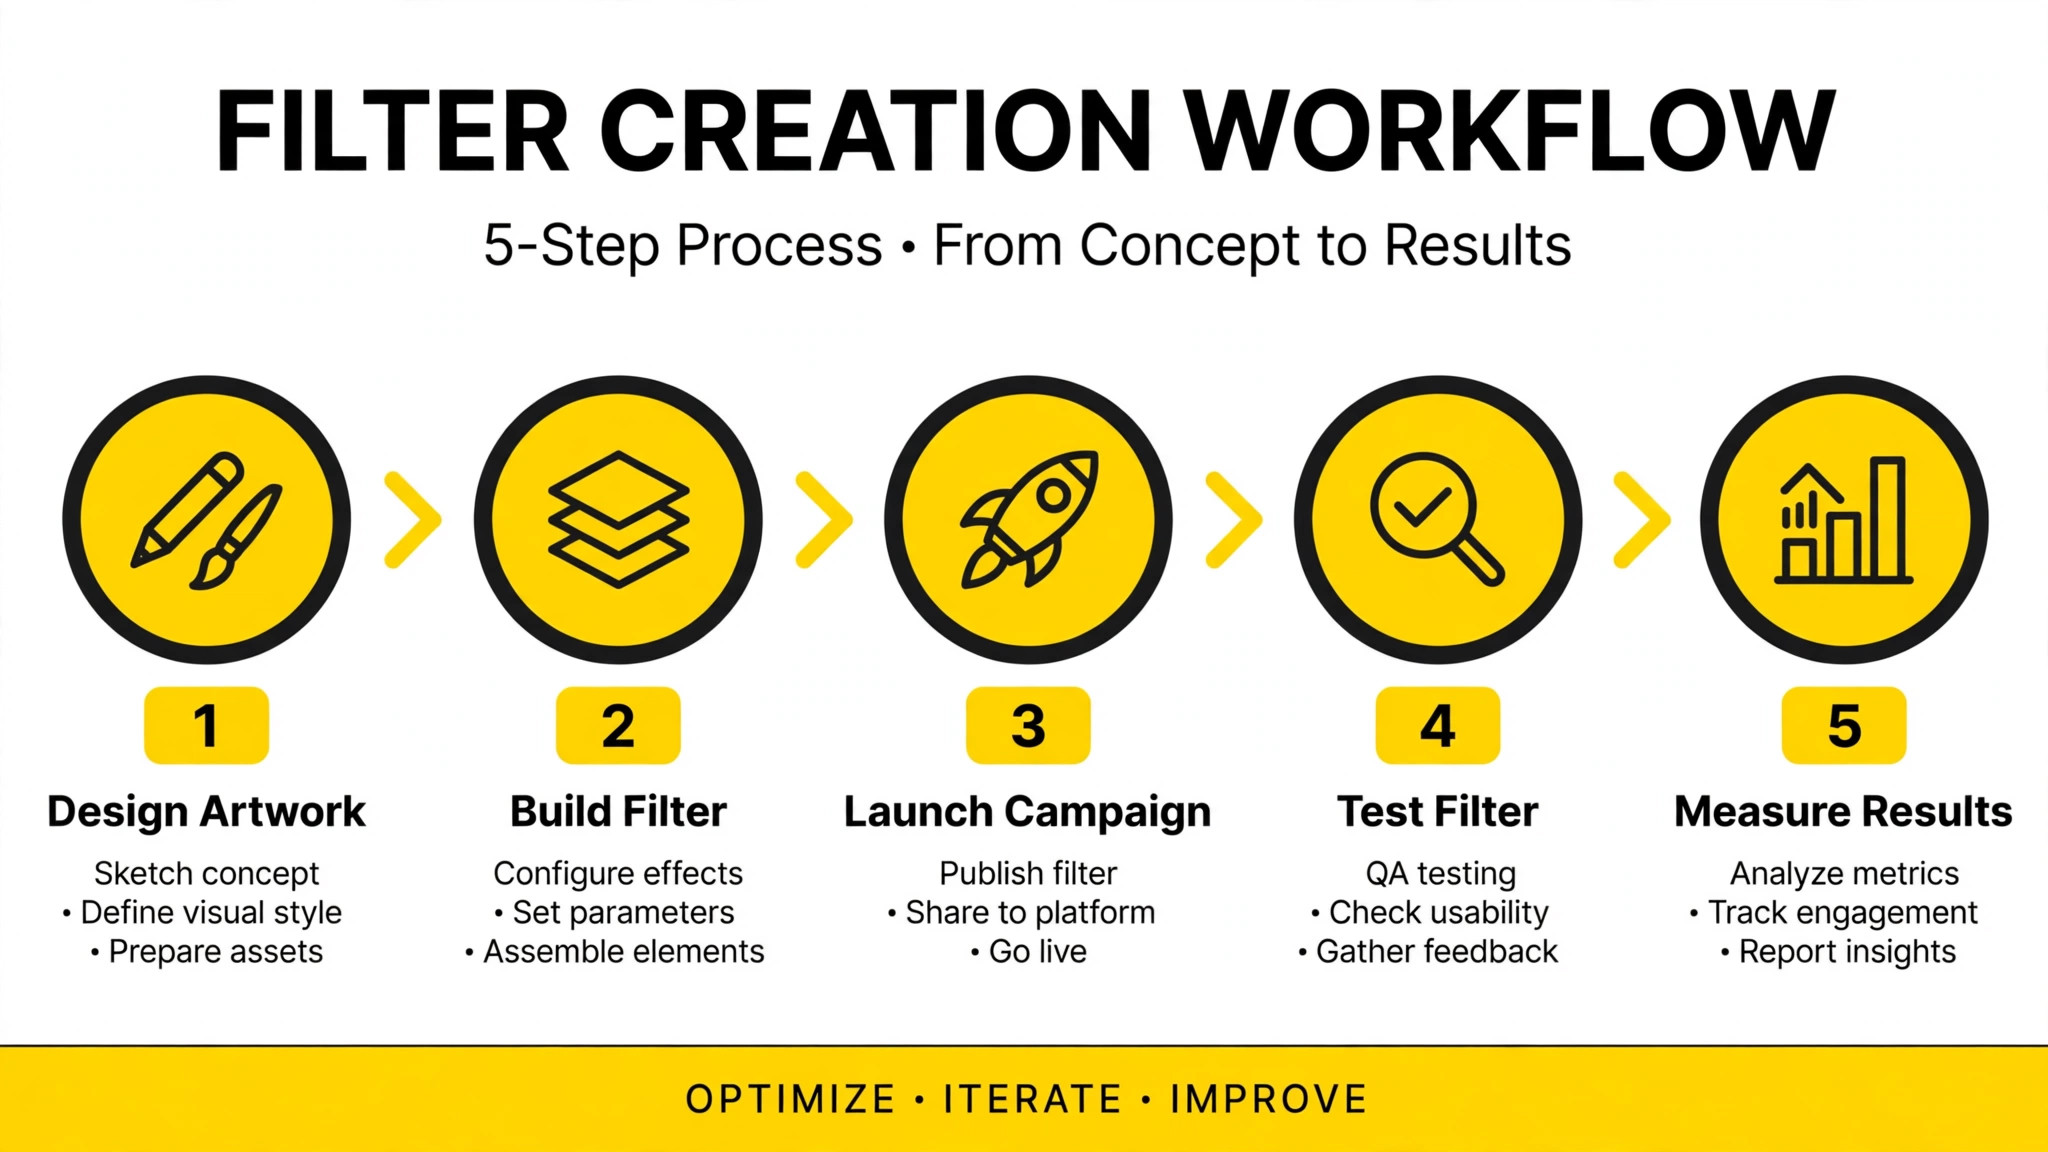
Lens Web Builder is the free web tool where the filter itself is made. You reach it from Ads Manager, and you need an Ads Manager account to use it. Log in to Ads Manager, click the menu in the top left corner, and select Create Lens and Filter. Then click Create a Lens or Filter and select Build AR Filter. Make sure the AR Filter toggle is on, because the same tool can also build Lenses, and the two products have different specs and different campaign settings.
Upload your transparent PNG and add it to the canvas. Lens Web Builder gives you templates, stickers, text tools and animations, and you can use them to dress up the design, but do not overdo it. Every extra element is one more thing that can cover a face in the photo. Place your artwork, check it against the preview on a sample photo, and adjust the position until the event name reads clearly and the photo still shows through. Upload a thumbnail image at 320 by 320 pixels, which is the icon people will see in the carousel.
Save the filter to your Lens Folder when the design is ready. Snapchat will review the creative internally, and the review usually takes about 10 to 45 minutes. Do not plan to build the filter on the morning of the event. Build it at least three days early, so a rejection leaves time to fix the design and resubmit. A rejection is usually about the content rules, such as a logo you do not own or text that breaks the guidelines, and the fix is usually a small edit rather than a new design.
Step 3, Launch the Campaign in Ads Manager
The filter does not go live when you save it in Lens Web Builder. It goes live when you launch a campaign in Ads Manager, and that step decides who sees it, where they see it, and what it costs. In Ads Manager, go to Create Ads, choose Advanced Create, and select Camera, then AR Filter. Pick the filter you saved in your Lens Folder, and set the campaign up like any other Snapchat ad campaign.
Targeting is where the old geofence idea survives in a new form. You no longer draw a fence on a map in a simple portal. You set location targeting in the campaign, choosing the area around your venue, and you set the dates and times when the filter should run. Keep the area wide enough to cover the venue and the streets around it, because targeting that is too narrow will starve the campaign and the filter will rarely appear. A venue plus a small margin around it is the right size. A single building with no margin is too tight.
Set the budget as an auction campaign, not as a flat fee. Snapchat does not publish a fixed price for an AR Filter, because the cost depends on the size of the audience, the length of the run, the targeting and the auction. A small local event over a few hours will cost far less than a city wide campaign over a weekend, and the only way to know the price is to set the budget in Ads Manager and watch the estimate it gives you. Start with a modest daily budget, check the delivery after the first hour, and raise it only if the filter is not showing.
Submit the campaign and wait for approval. Snapchat reviews the campaign as well as the creative, and approval can take longer than the creative review. Check that the campaign status shows Active before the event starts, and do not assume it is live because you clicked submit. An approved creative in a paused campaign will never appear, and that is the most common reason a filter fails on the day.
Step 4, Test the Filter Before Your Guests Arrive
Testing is the step that separates a filter that works from a filter that embarrasses you. Open Snapchat on a phone inside the targeted area during the campaign window, take a photo, and swipe through the filters to find yours. If it does not appear, check three things in order. First, is the campaign Active in Ads Manager. Second, is the phone inside the targeted area with location turned on. Third, is the current time inside the campaign window. Most failures are one of those three, not a broken design.
Take test photos with different backgrounds, including a bright outdoor shot and a dark indoor shot, and check that the text reads on both. Ask a friend to test it on their phone too, because a filter that works on your phone can fail on a different model or a different app version. If the text is hard to read, raise the contrast or add a soft shadow behind it in Lens Web Builder, save a new version, and test again. That loop takes twenty minutes and it is worth doing the day before the event.
Tell your guests the filter exists. A filter that nobody knows about will be used by nobody, however good it looks. Put a small sign at the entrance with the event name and a line saying a Snapchat filter is live here, or mention it in the welcome speech. A physical sign works better than a hope that guests will discover the filter by swiping, because most people do not swipe through every filter on a busy night.
Step 5, Measure It and Learn for Next Time
Ads Manager reports how many people saw the filter, how many used it, and how many shared the result. Check those numbers the day after the event, while the details are fresh. A filter with many views and few uses is a design problem, because people saw it and chose not to tap it. A filter with few views is a targeting problem, because the area or the budget was too small. The fix for each problem is different, so read the numbers before you plan the next event.
Save the design files and the campaign settings in one folder. If the event repeats next year, you will want the same design with a new date, not a rebuild from scratch. Note the budget, the area and the hours that worked, and note anything that failed. A one page note written the day after the event is worth more than a perfect memory a year later.
What It Costs, and How Long It Takes
Snapchat does not publish a flat price for a Sponsored AR Filter, and any article that quotes one is quoting an old on demand price or guessing. The cost is an auction cost, set by your budget, your targeting and the demand for that audience at that time. A small event filter for a few hours in a small area can cost very little. A large event filter for a whole weekend in a busy city will cost much more. Set the budget in Ads Manager and read the estimate before you commit, and treat the first run as a test with a modest budget.
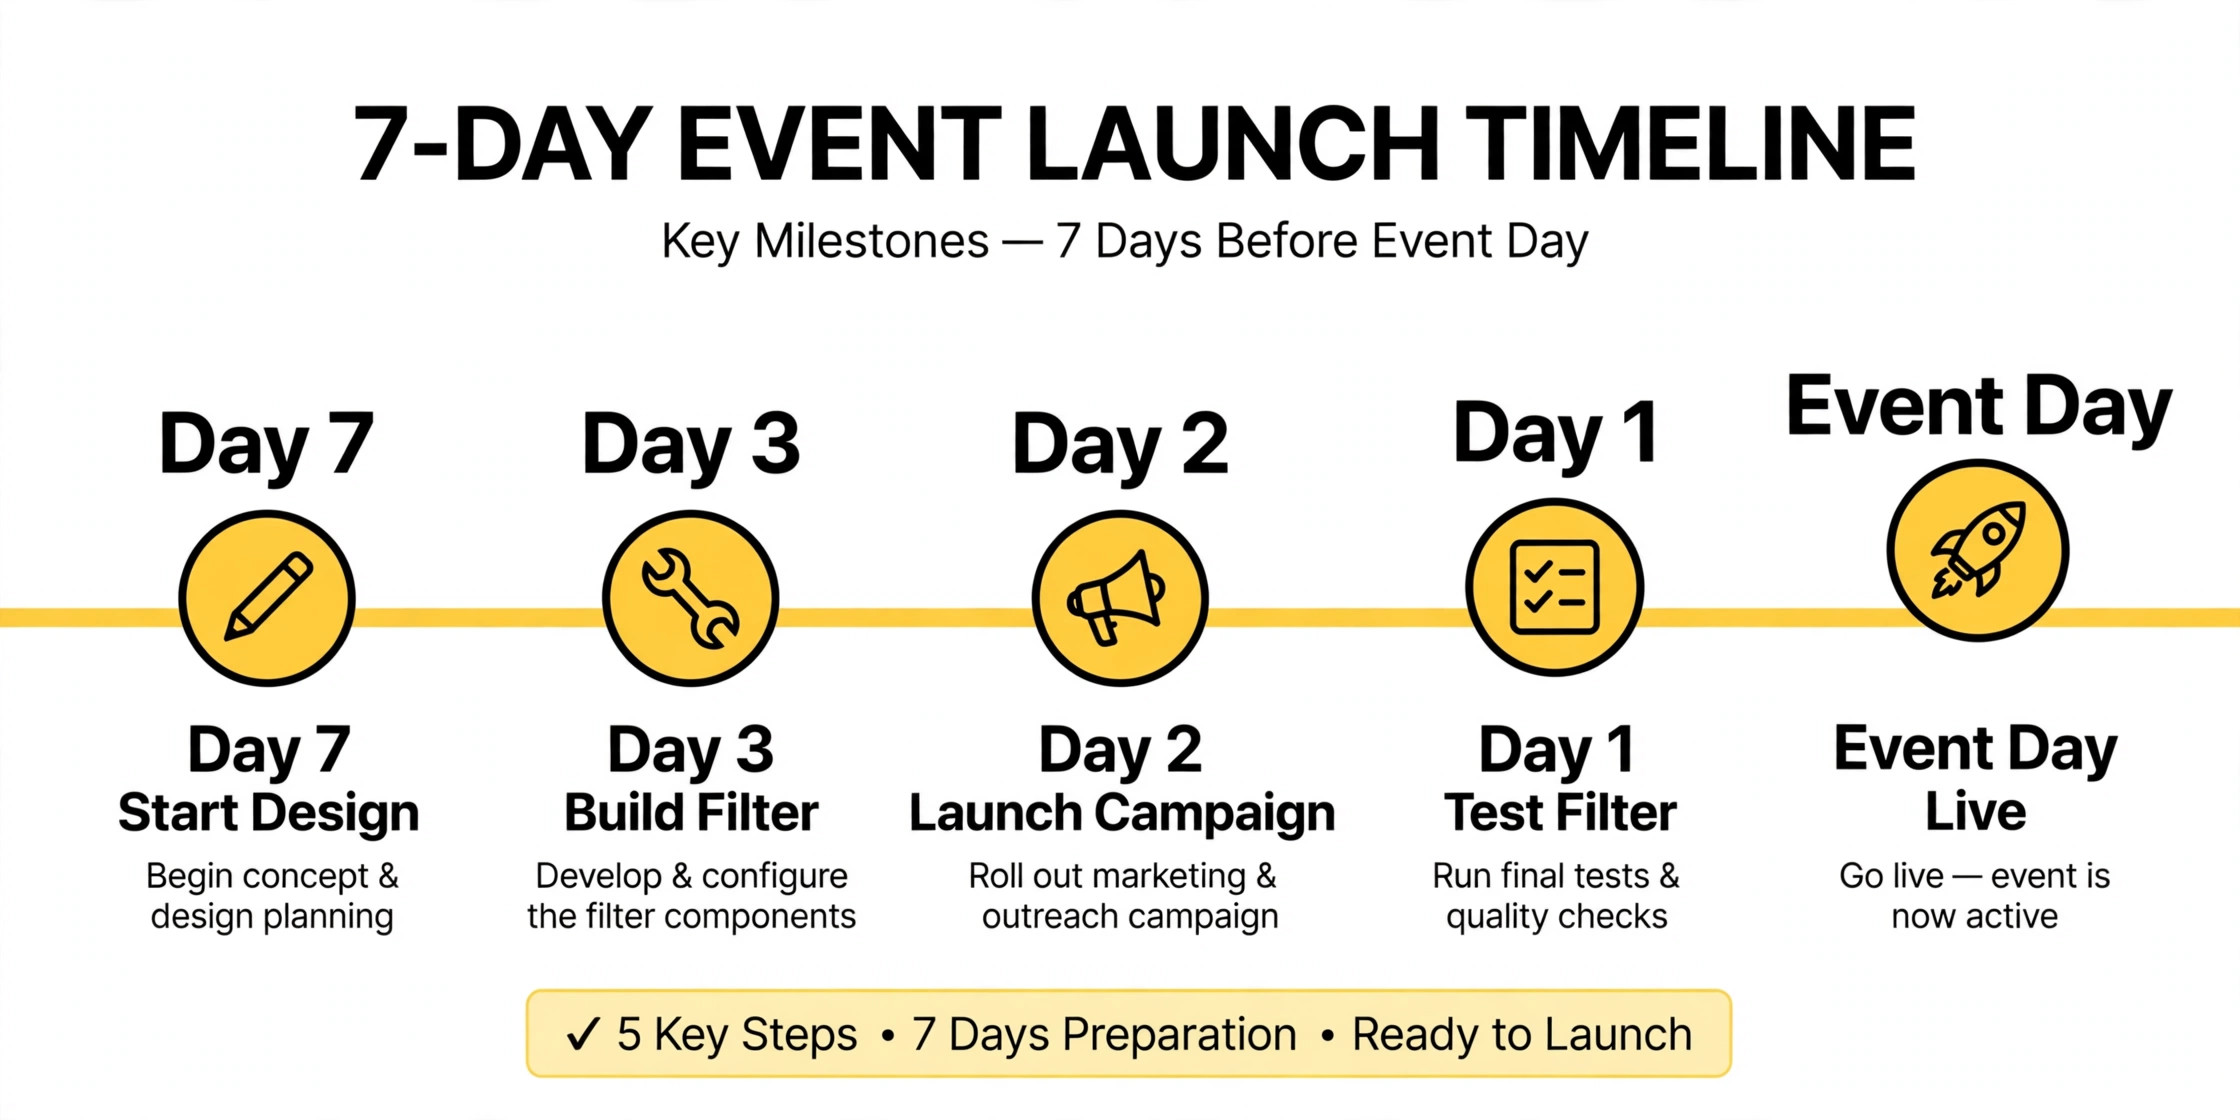
The timeline is easier to state. Design takes a few hours. The creative review takes about 10 to 45 minutes. The campaign review can take longer, and approval is not instant. Start at least a week before the event, build the filter three days before, launch the campaign two days before, and test it the day before. That schedule leaves room for a rejection, a fix and a retest, and it is the difference between a filter that is live when guests arrive and a filter that is still pending review.
Design Tips That Make People Actually Use the Filter
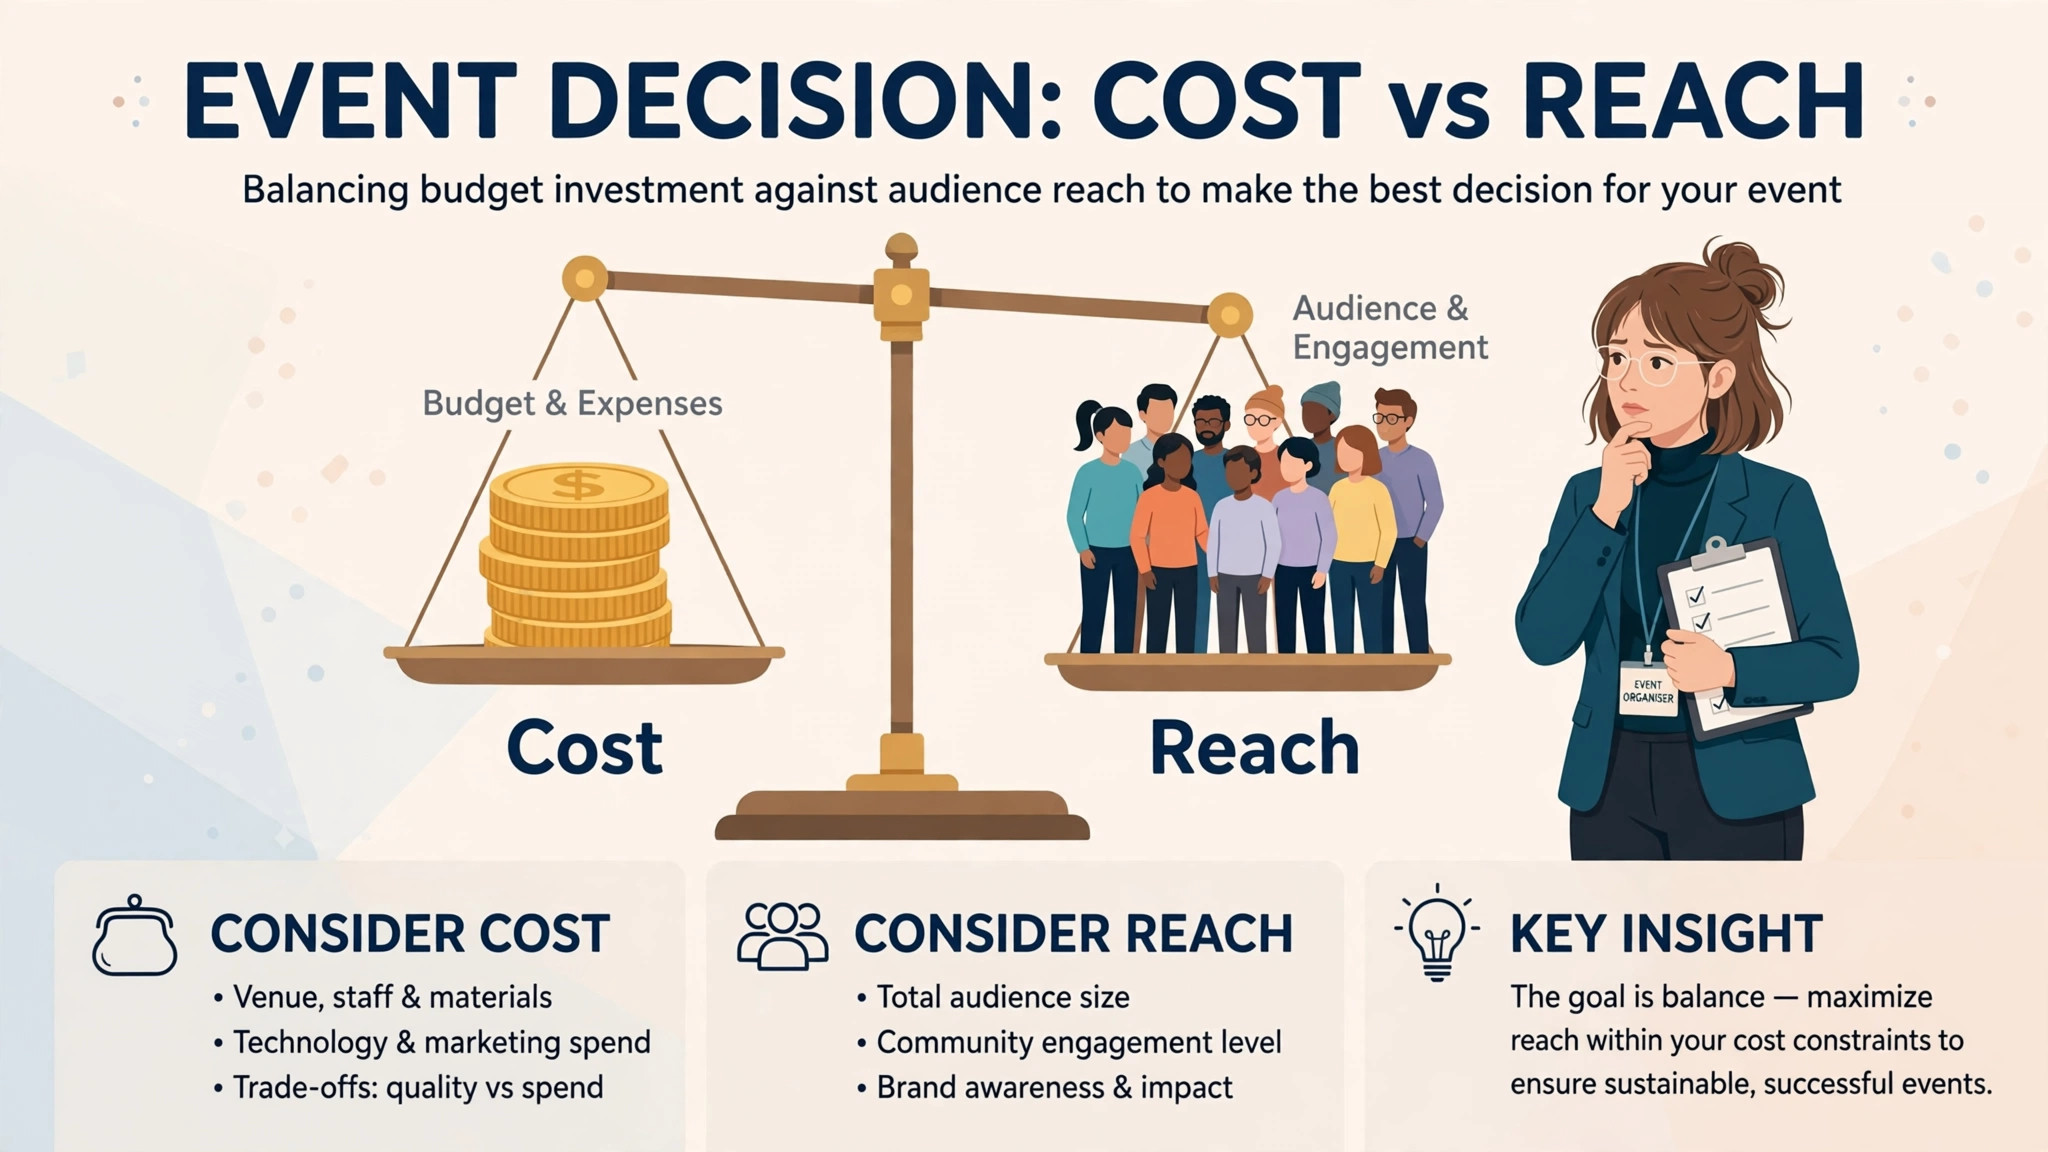
A filter gets used when it makes the photo better, not when it advertises the event harder. The best event filters are frames, not billboards. A thin frame with the event name at the bottom and a small graphic in one corner will be used all night. A frame that covers half the photo with text will be swiped past. Leave the middle of the frame empty, because that is where the faces go, and put your design at the edges where it frames the photo instead of fighting it.
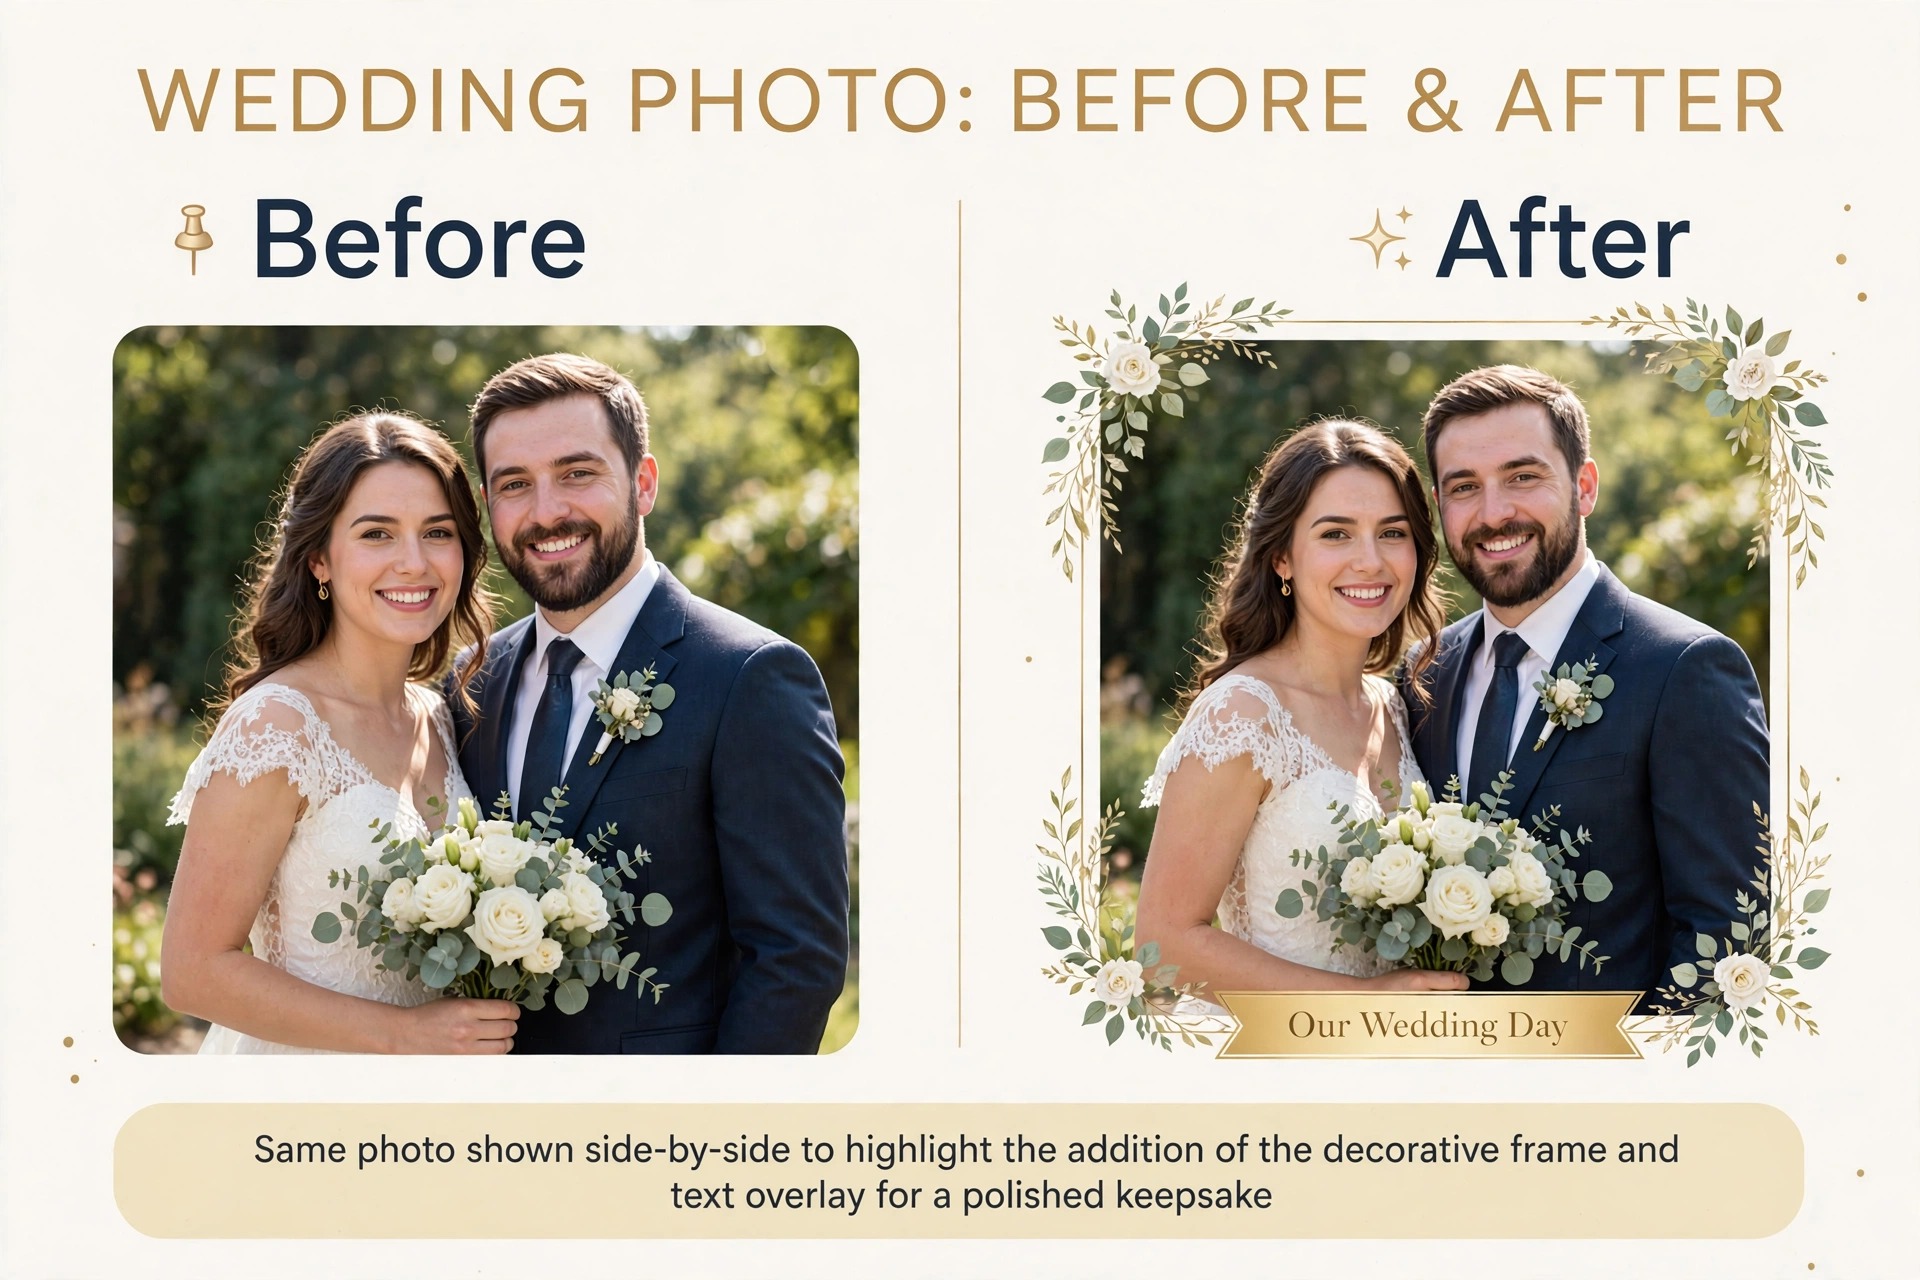
Colour matters more than detail at this size. A filter with two strong colours will read clearly on any photo. A filter with six pastel colours will vanish on a bright photo and clash on a dark one. Pick one colour for the text and one for the graphic, and make both strong enough to read on a white wall and on a dark room. Test the design on a bright photo and a dark photo before you submit it, because your guests will take both kinds.
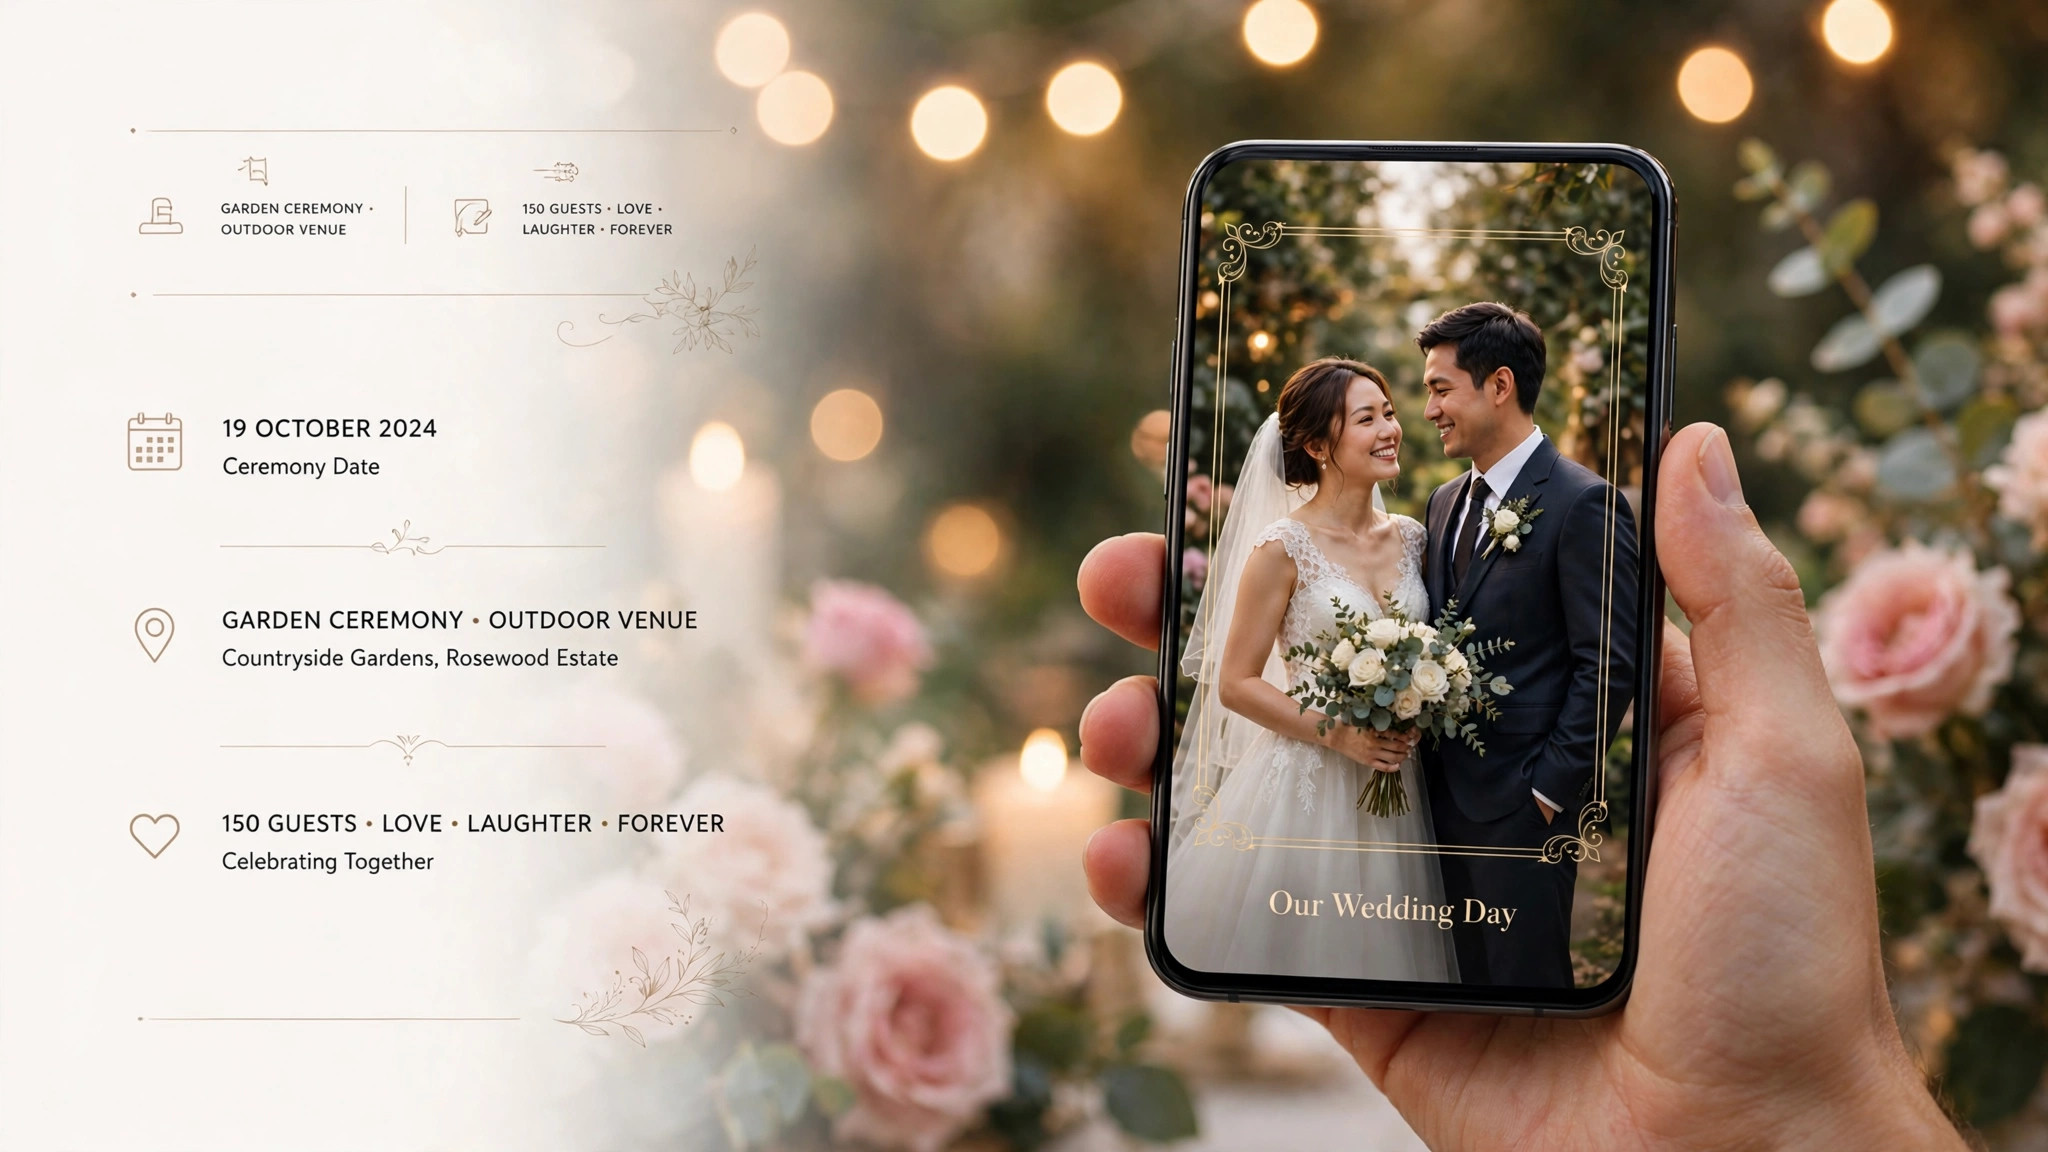
Keep the words short. An event name and a date is enough. A slogan, a hashtag, a website and a date is too much, and nobody will read it on a phone screen at a party. The simplest test of how to make a snapchat geofilter well is whether a guest can read the whole design in two seconds. If the event has a hashtag, put it in the caption of your own posts, not on the filter. The filter should make the photo look good. The caption should do the talking.
Cheaper Alternatives for a Private Event
Not every event needs an ad campaign, and for a private wedding or birthday, the advertising route is often the wrong tool. The simplest alternative is a community Lens built in Lens Studio, the free desktop software for making Snapchat Lenses. A Lens can carry your event theme as an AR effect, and guests can find it through a link or a Snapcode you print on the tables. It is free to publish, and it does not need an ad account, but it is not tied to your venue or your time window, and it needs more design skill than a static overlay.
A second alternative costs nothing at all. Print a physical photo frame with the event name and date, and place it where guests take photos. A physical frame shows up in every photo, works on every phone, needs no app, no targeting and no review, and it will still be in the photos in ten years. It is not a Snapchat filter, and it does not need to be. For a private party, a physical frame often gets used more than a digital filter, because guests can see it and pick it up.
A third alternative is to use the event hashtag and a shared album instead of a filter. Ask guests to post with the hashtag, and collect the photos in one place after the event. That gives you the shared memory without the cost or the setup. If you still want a Snapchat element, use a Lens from Lens Explorer that fits the theme, and share the link in the group chat. The lesson of this guide is that how to make a snapchat geofilter depends on the event, and for a private party the honest answer is often to skip the ad campaign and use a simpler idea instead.
Mistakes That Kill a Filter on the Day
The first mistake is starting too late. A filter built on the morning of the event has no time for review, no time for a fix, and no time for a test. Start a week early, build three days early, and test the day before. A filter that is still pending review when guests arrive is the same as no filter at all.
The second mistake is designing on the wrong canvas. The old 1080 by 1920 size still appears in tutorials, and a design built on it will not match the 945 by 2048 spec that Snapchat publishes now. Anyone learning how to make a snapchat geofilter should check the current spec first, because the result of the old size is a filter that looks stretched or cropped, or a file that gets rejected. Use the specs in this guide, and check them on the Snapchat business help pages before you design, because specs change and old tutorials do not.
The third mistake is targeting too narrowly. A campaign aimed at a single building with no margin will rarely deliver, because location targeting needs room to work. Widen the area to cover the venue and the streets around it, and set hours that cover the whole event plus an hour on each side. A filter that runs only during the speeches will miss the photos taken before and after.
The fourth mistake is forgetting to tell anyone. A filter that nobody knows about will be used by nobody. Put up a sign, mention it in the welcome, and use it in your own photos first, so guests see it and copy you. The best filter in the world is useless if it sits undiscovered in the carousel while your guests take plain photos.
Frequently Asked Questions
Can I still make a free Snapchat geofilter?
No, not in the old sense. Snapchat discontinued free community geofilters in 2023, and the old on demand portal is no longer the way to buy one. That change is the first thing to know about how to make a snapchat geofilter today. A community Lens made in Lens Studio can be published for free, but it is not a location tied filter with a time window. A location overlay for your event now runs as a Sponsored AR Filter through Ads Manager, which needs a budget.
How much does a Snapchat geofilter cost in 2026?
Snapchat does not publish a fixed price, because a Sponsored AR Filter is sold as an auction campaign, not as a flat fee product. That is the hardest part of how to make a snapchat geofilter on a budget. The cost depends on the size of the targeted area, the length of the run, the audience and the auction. A small local event for a few hours costs far less than a city wide weekend campaign. Set the budget in Ads Manager and read the estimate before you commit.
How long does Snapchat take to approve a filter?
The creative review in Lens Web Builder usually takes about 10 to 45 minutes. The campaign review in Ads Manager can take longer, and approval is not instant. Start at least a week before the event, so a rejection leaves time to fix the design and resubmit. A filter submitted on the day of the event may not be approved in time.
What size should a Snapchat filter be?
A static filter uses a PNG canvas of 945 by 2048 pixels. A moving image filter uses a GIF of 720 by 1560 pixels, lasting 1 to 3 seconds. The branded asset, such as a logo or frame, must be a transparent PNG under 300 KB, and the thumbnail icon is 320 by 320 pixels. Do not use the old 1080 by 1920 size from outdated tutorials, because it does not match the current spec.
Do I need a business account to make a Snapchat filter?
Yes, for the Sponsored AR Filter route. You need an Ads Manager account, which is a business account with a payment method, to build in Lens Web Builder and launch the campaign. A personal account cannot buy a Sponsored AR Filter. If you do not want a business account, use a free community Lens from Lens Studio, or a physical photo frame, instead.
What should I do if my filter is rejected?
Read the rejection reason first, because it usually names the problem, such as a logo you do not own, a phone number in the design, or text that breaks the content rules. Fix that one thing, check the file size and the canvas size, and resubmit. Most rejections are fixed with a small edit, not a new design. If the filter is rejected twice for the same reason, simplify the design until only the event name, the date and one graphic remain.
The Verdict
The old geofilter portal is gone, and the honest answer to how to make a snapchat geofilter in 2026 is to build a Sponsored AR Filter in Lens Web Builder and launch it as an Ads Manager campaign, with the right specs, a week of lead time and a test the day before. For a brand or a ticketed event, that route is worth the effort. For a private party, a community Lens or a printed frame will serve you better and cost nothing. Pick the route that fits your event, start early, and test before your guests arrive.