A brand emails you, asks for your media kit, and you have nothing to send. That moment decides whether the deal moves forward or quietly goes to another creator who answered in an hour with a clean two page document. Learning how to make a media kit for creators is not a design exercise, it is the difference between being considered for paid work and being forgotten after the first email. This guide builds your kit step by step, from the numbers brands actually check to the rates, the pitch email and the file format that gets opened.
A media kit is a short sales document for your audience. It tells a brand who you are, who watches you, how engaged that audience is, what you have made before and how much it costs to hire you. The best kits fit on one or two pages and answer a brand first five questions in under a minute. Those questions are what you make, who your audience is, how engaged they are, what you have made before, and how to book you. When your kit answers all five without making the reader hunt, you look professional before the brand reads a single post.
Brands ask for kits because they need proof before they spend. According to a 2025 Influencer Marketing Hub report, 73 percent of brands request a media kit before making a partnership decision, and 68 percent now prioritise engagement rate over follower count when they evaluate a creator. That second number is good news for smaller creators, because engagement is the number where a focused audience beats a large passive one. Your kit should lead with engagement and audience quality, not with a follower count that impresses no one on its own.
What Goes in a Media Kit
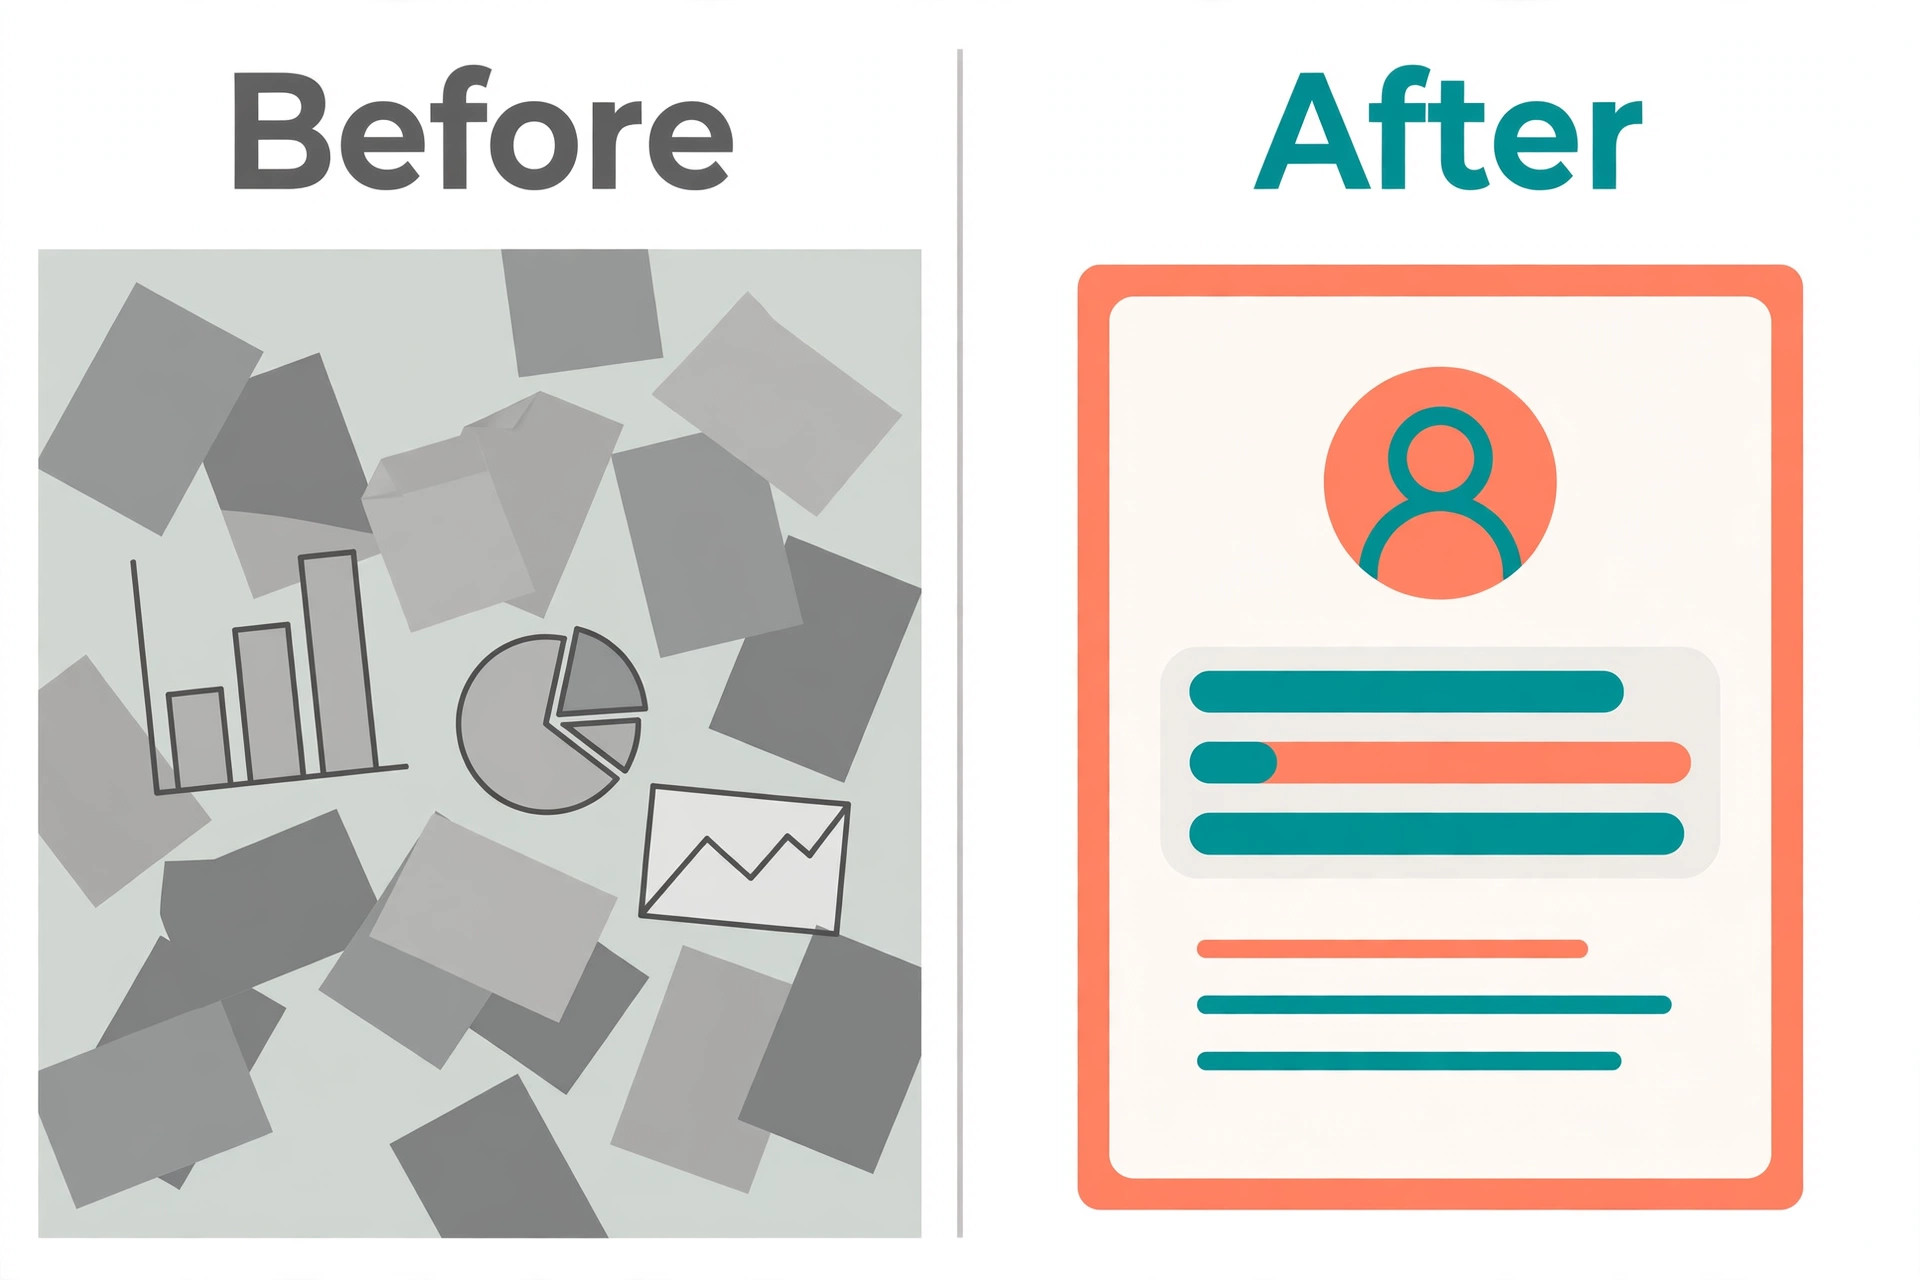
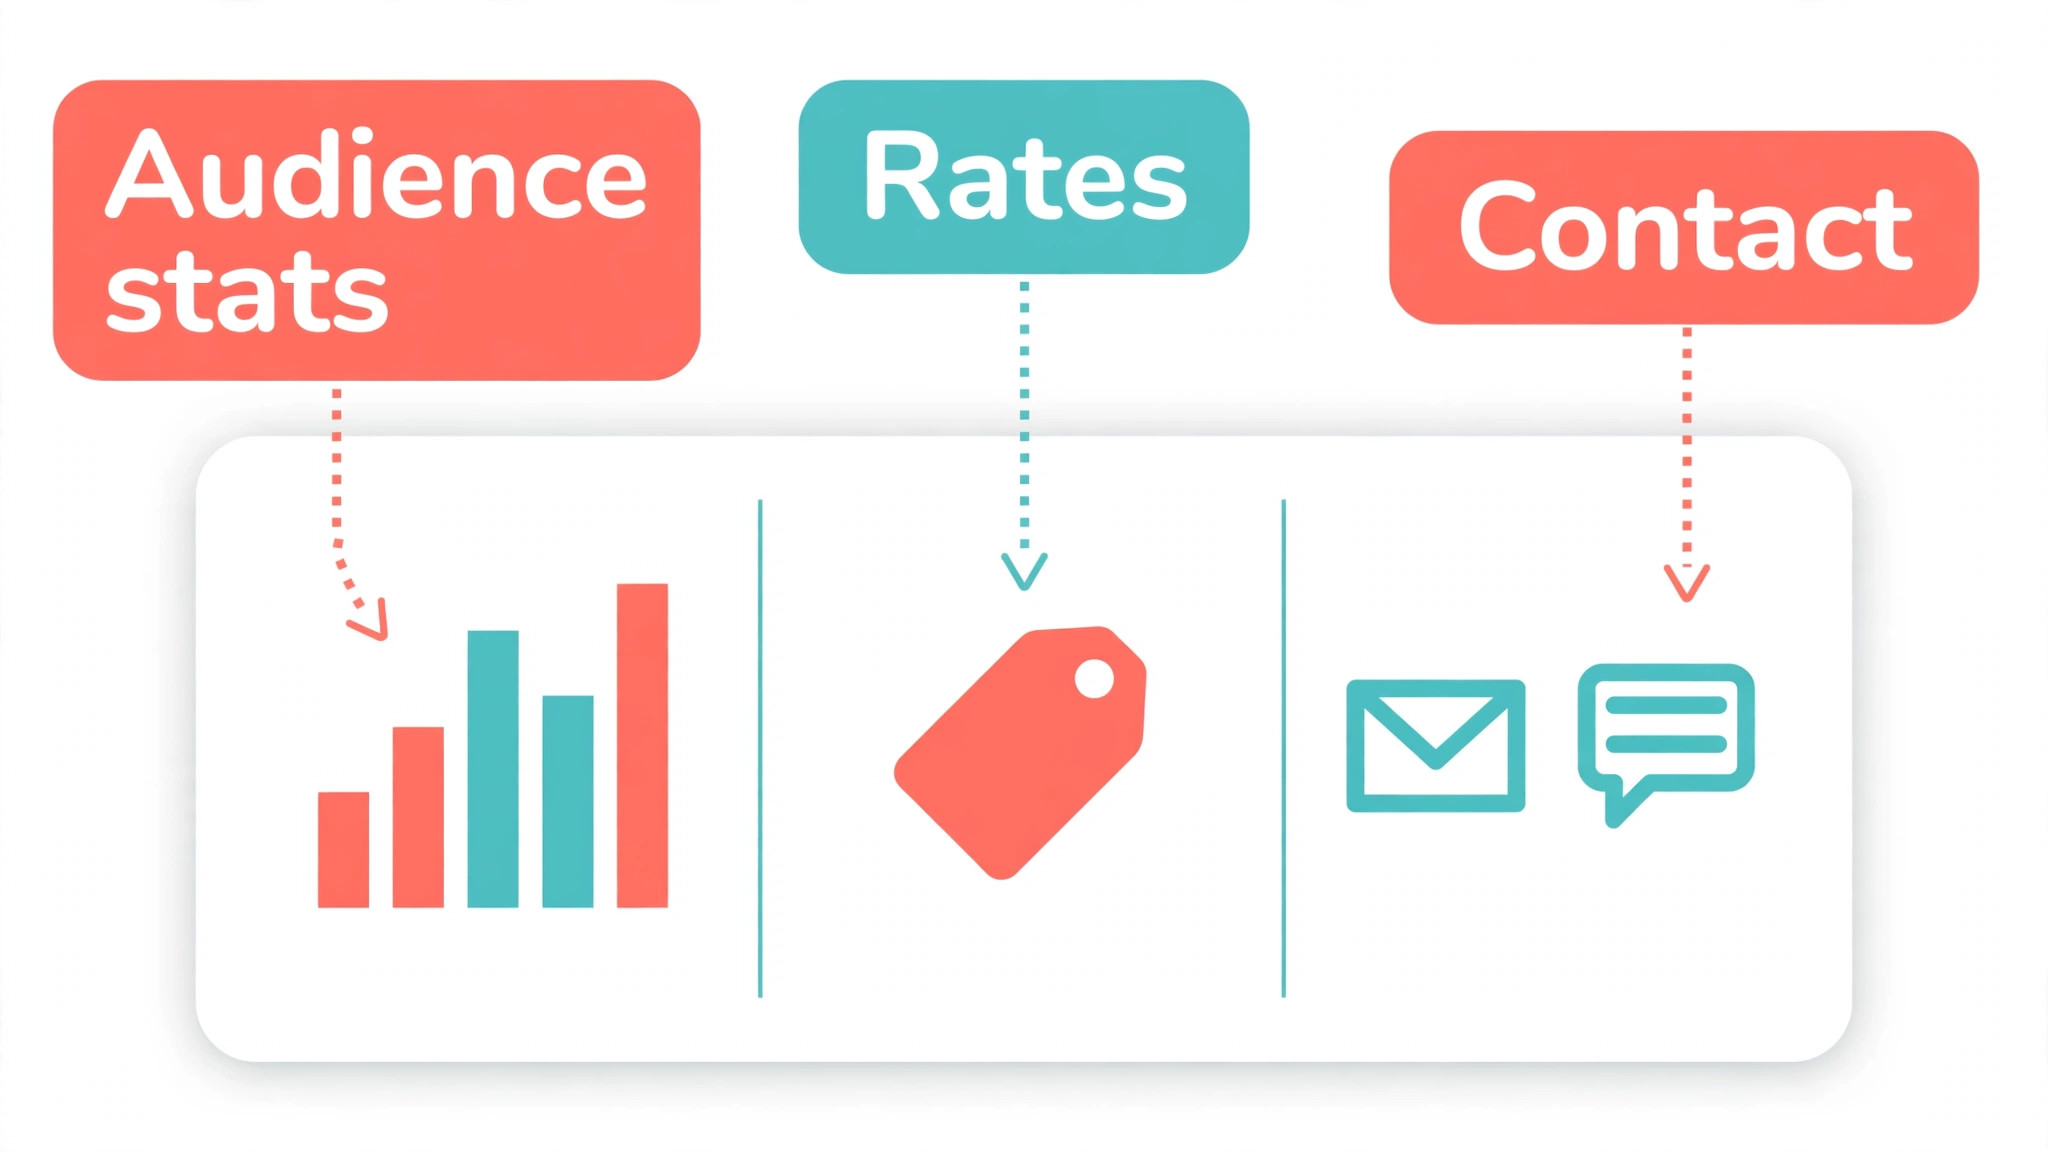
A complete kit has six sections, and knowing how to make a media kit for creators starts with knowing what each section must prove. Each one answers a question a brand will ask anyway. The intro gives your photo, name, handle and one line on what you make and who it is for, in under 40 words. The audience section gives followers per platform, top countries or cities, age range and gender split, taken from native analytics rather than guessed. The performance section gives engagement rate, average views or reach per post, saves and shares, all dated to the last 30 days.
The best work section shows three to six examples, ideally with one line of proof under each, such as views, link clicks, sales or code uses. The services section lists the formats you offer, such as Reels, TikToks, YouTube integrations, Stories, user generated content and usage rights. The contact section gives a business email and a link to your booking page or rate card. Keep the whole kit to one or two pages, because a brand manager skims it in under a minute and a 10 page deck will not be read.
| Section | What to show | Where to get it |
|---|---|---|
| Intro | Photo, name, handle, one line on your niche | Write it yourself, under 40 words |
| Audience | Followers per platform, location, age, gender split | Instagram Insights, TikTok Analytics, YouTube Studio |
| Performance | Engagement rate, average views, reach, saves, shares | Your last 30 days of native analytics |
| Best work | 3 to 6 examples with one line of proof each | Past collaborations and strongest organic posts |
| Services | Formats, deliverables and usage rights | Your rate card |
| Contact | Business email and booking link | Your own inbox and link page |
A media kit is not a rate card and not a sponsorship proposal, though the three documents work together. The media kit gives the overview a brand needs at first contact. The rate card gives specific pricing for each deliverable when the brand asks how much. The proposal is a custom pitch for one brand goals, written after the brand replies. Send the kit first, the rate card when asked, and the proposal when you are negotiating a specific deal.
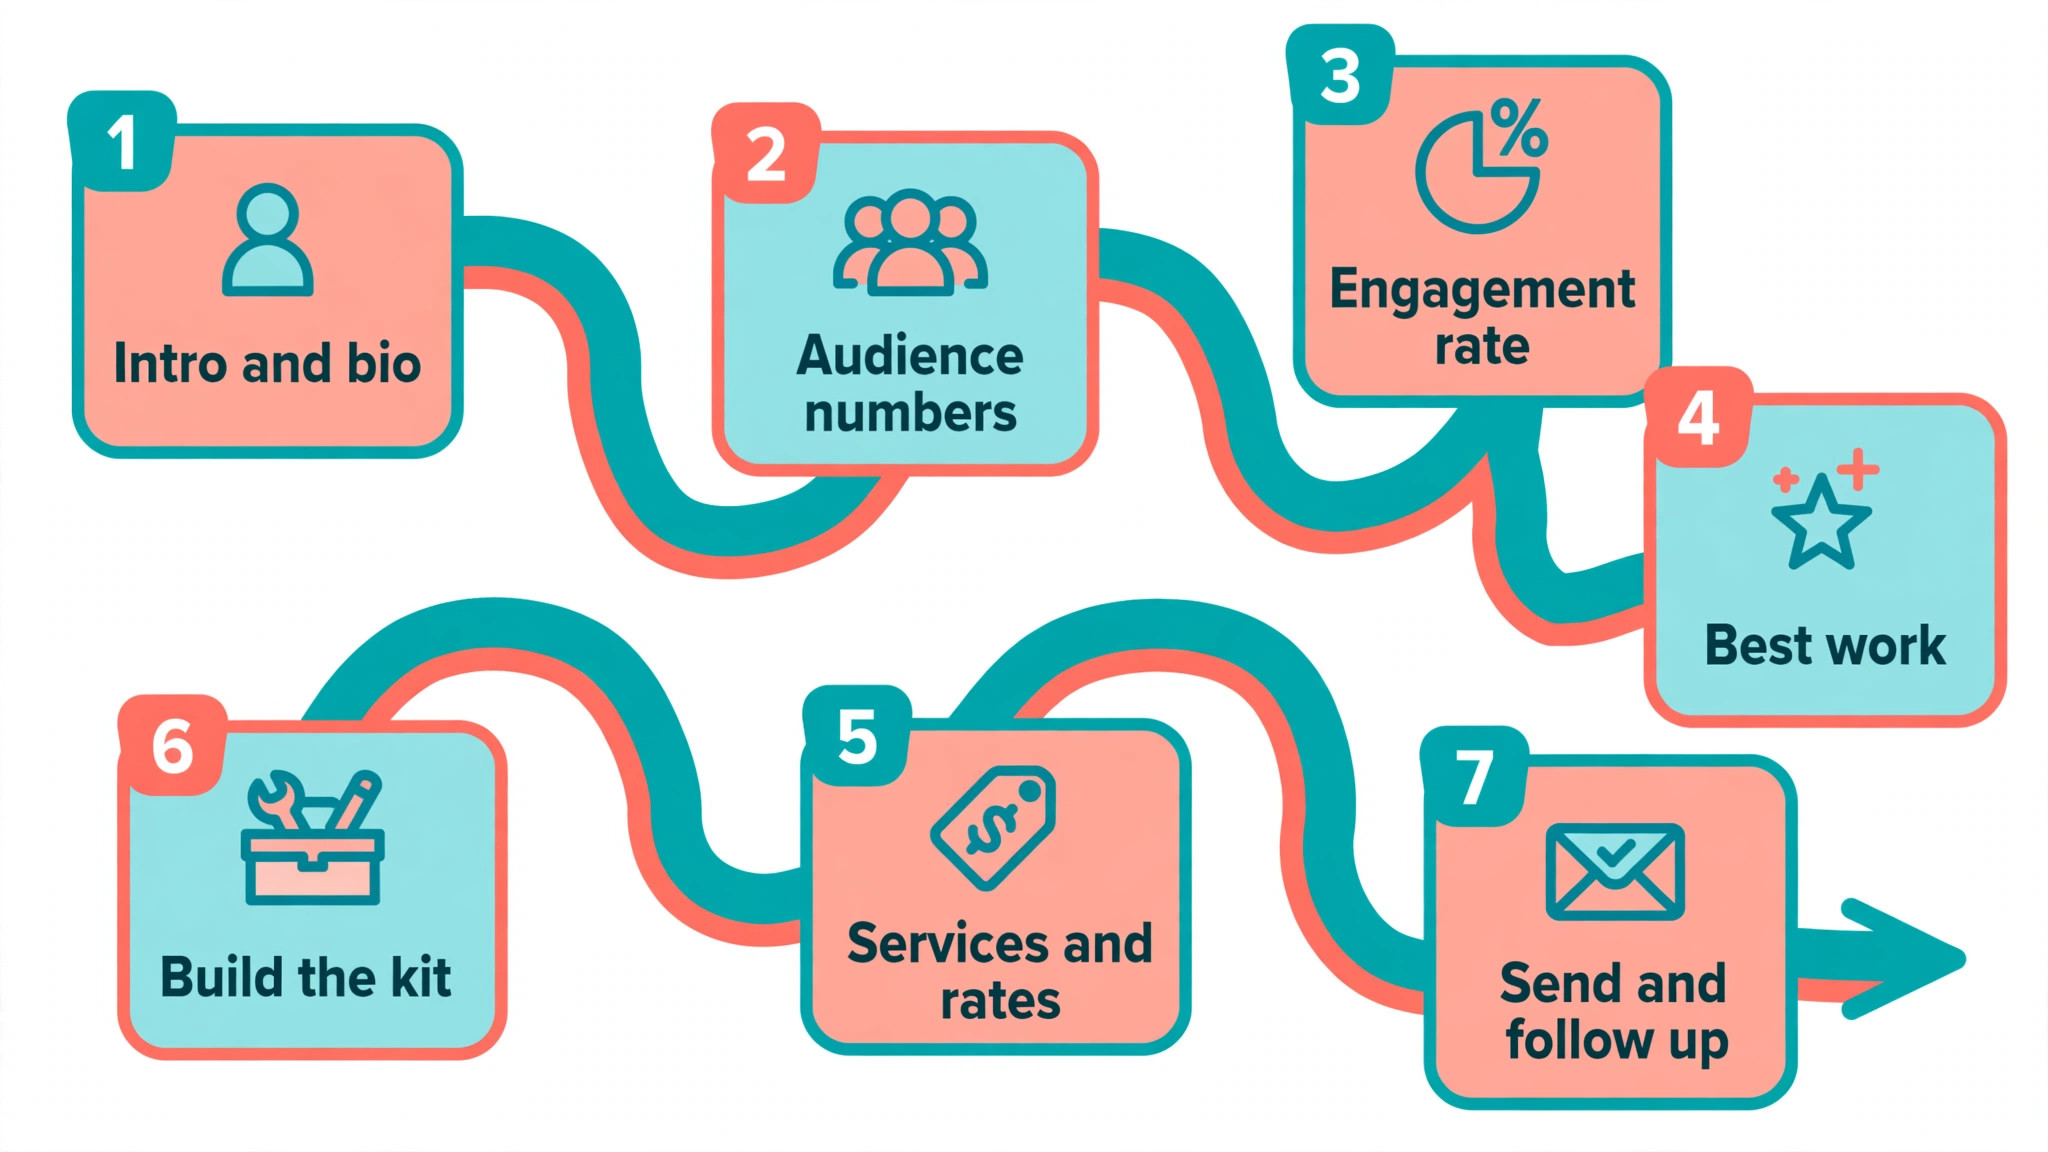
How to Make a Media Kit for Creators in 7 Steps
Follow these seven steps in order, and you will have a finished kit by the end of the day. The work is mostly gathering numbers you already have, then arranging them in a clean layout that a busy brand manager can read in a minute. Do not start with design. Start with the numbers, because a beautiful kit with vague numbers will lose to a plain kit with exact dated proof.
Step 1. Write your one line intro and short bio
Your intro is one line, under 40 words, that says what you make and who it is for. A travel creator might write that they make budget travel guides for solo travellers in their thirties. A food creator might write that they test weeknight dinners for busy families. The line should name the niche and the audience in the same sentence, because a brand skims it to decide whether your audience matches its customer in five seconds.
The bio that follows is 50 to 100 words, and it is not your Instagram bio. It answers three questions in plain language. Who are you, what do you create, and why does it matter. Add one line that states what makes you different from other creators in your niche, such as the only creator combining fitness with mental health content, or the top voice for millennial parenting in your city. End the bio with a single sentence on the result your audience gets, such as saving money, cooking faster or booking a trip with confidence.
Step 2. Pull your audience numbers from native analytics
Open Instagram Insights, TikTok Analytics and YouTube Studio, and pull the numbers for the last 30 days. Record followers per platform separately, and never add followers from different apps into one total audience, because the same person often follows you on two platforms and the sum overstates your reach. Record the top countries or cities, the age range and the gender split for each platform, because a brand that sells to women aged 25 to 34 in the United States needs to see that audience in your numbers.
Add one line on audience quality that numbers alone cannot show. Note the comments your audience leaves, the questions they ask, and the products they already buy on your recommendation. A brand cares whether your audience buys, not only whether it watches, so a short sentence on purchase intent, such as regular questions about the gear you use or the hotel you stayed in, carries more weight than a large follower count. Date every number in the kit, because a brand manager checks the date first and an undated number reads as a guess.
Step 3. Calculate and present your engagement rate
Engagement rate is the number brands check first, and it is usually calculated per post as interactions divided by followers, multiplied by 100. On Instagram that means likes and comments. On TikTok it means likes, comments, shares and saves. Use the last 30 days of posts, not your best post ever, and show the average alongside the range so the brand sees consistency rather than one viral outlier.
Present the rate next to the raw numbers that support it, such as average views or reach per post, saves and shares, and link clicks from your bio. Saves and shares matter more than likes, because they signal that a viewer wants the post again or wants a friend to see it, and both predict purchase intent better than a tap. When your engagement rate beats the benchmark for your niche, say so in one line and name the benchmark source. When it is average, let the audience quality and the best work section carry the pitch instead of hiding the number, because a missing number reads worse than an honest one.
Step 4. Choose your three to six best work examples
Pick three to six examples and add one line of proof under each. The proof can be views, link clicks, saves, the number of people who used your code, or a sales result the brand shared with you. Mix organic posts with past collaborations when you have them, because a brand wants to see both your own voice and your ability to sell a product without losing that voice. Choose examples that match the brands you want next, not the posts with the most likes, because the kit is a sales document aimed at future work.
Write one line under each example that says what the brand got, not only what you posted. A skincare post that drove 400 link clicks in 48 hours tells a brand more than a post with 20,000 views and no clicks. A travel guide that generated 60 code uses tells a hotel brand that your audience books. When you have no paid work yet, use your strongest organic posts and add the result each one produced, such as comments asking where to buy the product or saves from people planning a purchase. Three strong examples beat six weak ones every time.
Step 5. Set your services and your starting rates
List the formats you offer, such as an Instagram Reel, a TikTok video, a YouTube integration, a set of Stories, a user generated content package and a usage rights add on. For each format, state what is included, such as the number of revisions, the posting window and whether you provide the raw files. Brands compare creators on scope as much as on price, so a clear list of what is included prevents a negotiation where the brand expects more than you planned to deliver.
Price the rate card from your own costs first, then check it against published vendor ranges. Add up the hours to plan, shoot, edit and post one piece, put a fair hourly rate on them, then add anything you pay out, such as props or a second shooter.
Influencer Marketing Hub vendor data from October 2026 puts an Instagram post at 10 to 100 dollars or more for nano creators under 10,000 followers and 100 to 500 dollars or more for micro creators from 10,000 to 100,000. For the same two tiers it lists TikTok videos at 50 to 200 dollars and 200 to 800 dollars, and YouTube sponsored videos at 20 to 200 dollars or more and 200 to 1,000 dollars or more. Treat those as planning ranges, not the going rate, and list starting rates in the kit so brands with a smaller budget move on without a week of emails.
Step 6. Build the kit in a tool you will actually update
The best tool is the one you will open every month to refresh the numbers, because a kit with old stats loses deals. Canva is the design tool most creators already know, with thousands of media kit templates, and Pro costs about 15 dollars a month for the brand kit and premium templates. Adobe Express is a direct alternative with media kit templates and Adobe Stock, and Premium costs 9.99 dollars a month. Both require you to type every number by hand and re export the file each time a number changes.
A purpose built tool such as CreatorsJet pulls stats from connected accounts and refreshes them daily, with a free plan for one kit and one account and paid plans from 12 dollars a month billed annually. Notion gives you a published page that works as a living document with a link that never changes, though it looks like a document rather than a designed kit. Google Docs or Slides is the fastest free start, and a live link plus a PDF covers both ways a brand wants to receive the kit. Pair a PDF with a live link that you can update weekly, so brands always see your current numbers and your best recent work.
Step 7. Send it as a PDF and a live link, then follow up
Export a clean PDF for email and keep a live link for your bio, your website and your pitch emails. The PDF is the version a brand manager forwards inside their company, and the live link is the version that stays current when your numbers change. Name the PDF file with your name and the year, so it is easy to find in a crowded inbox, and keep the file under a few megabytes so it opens quickly on a phone.
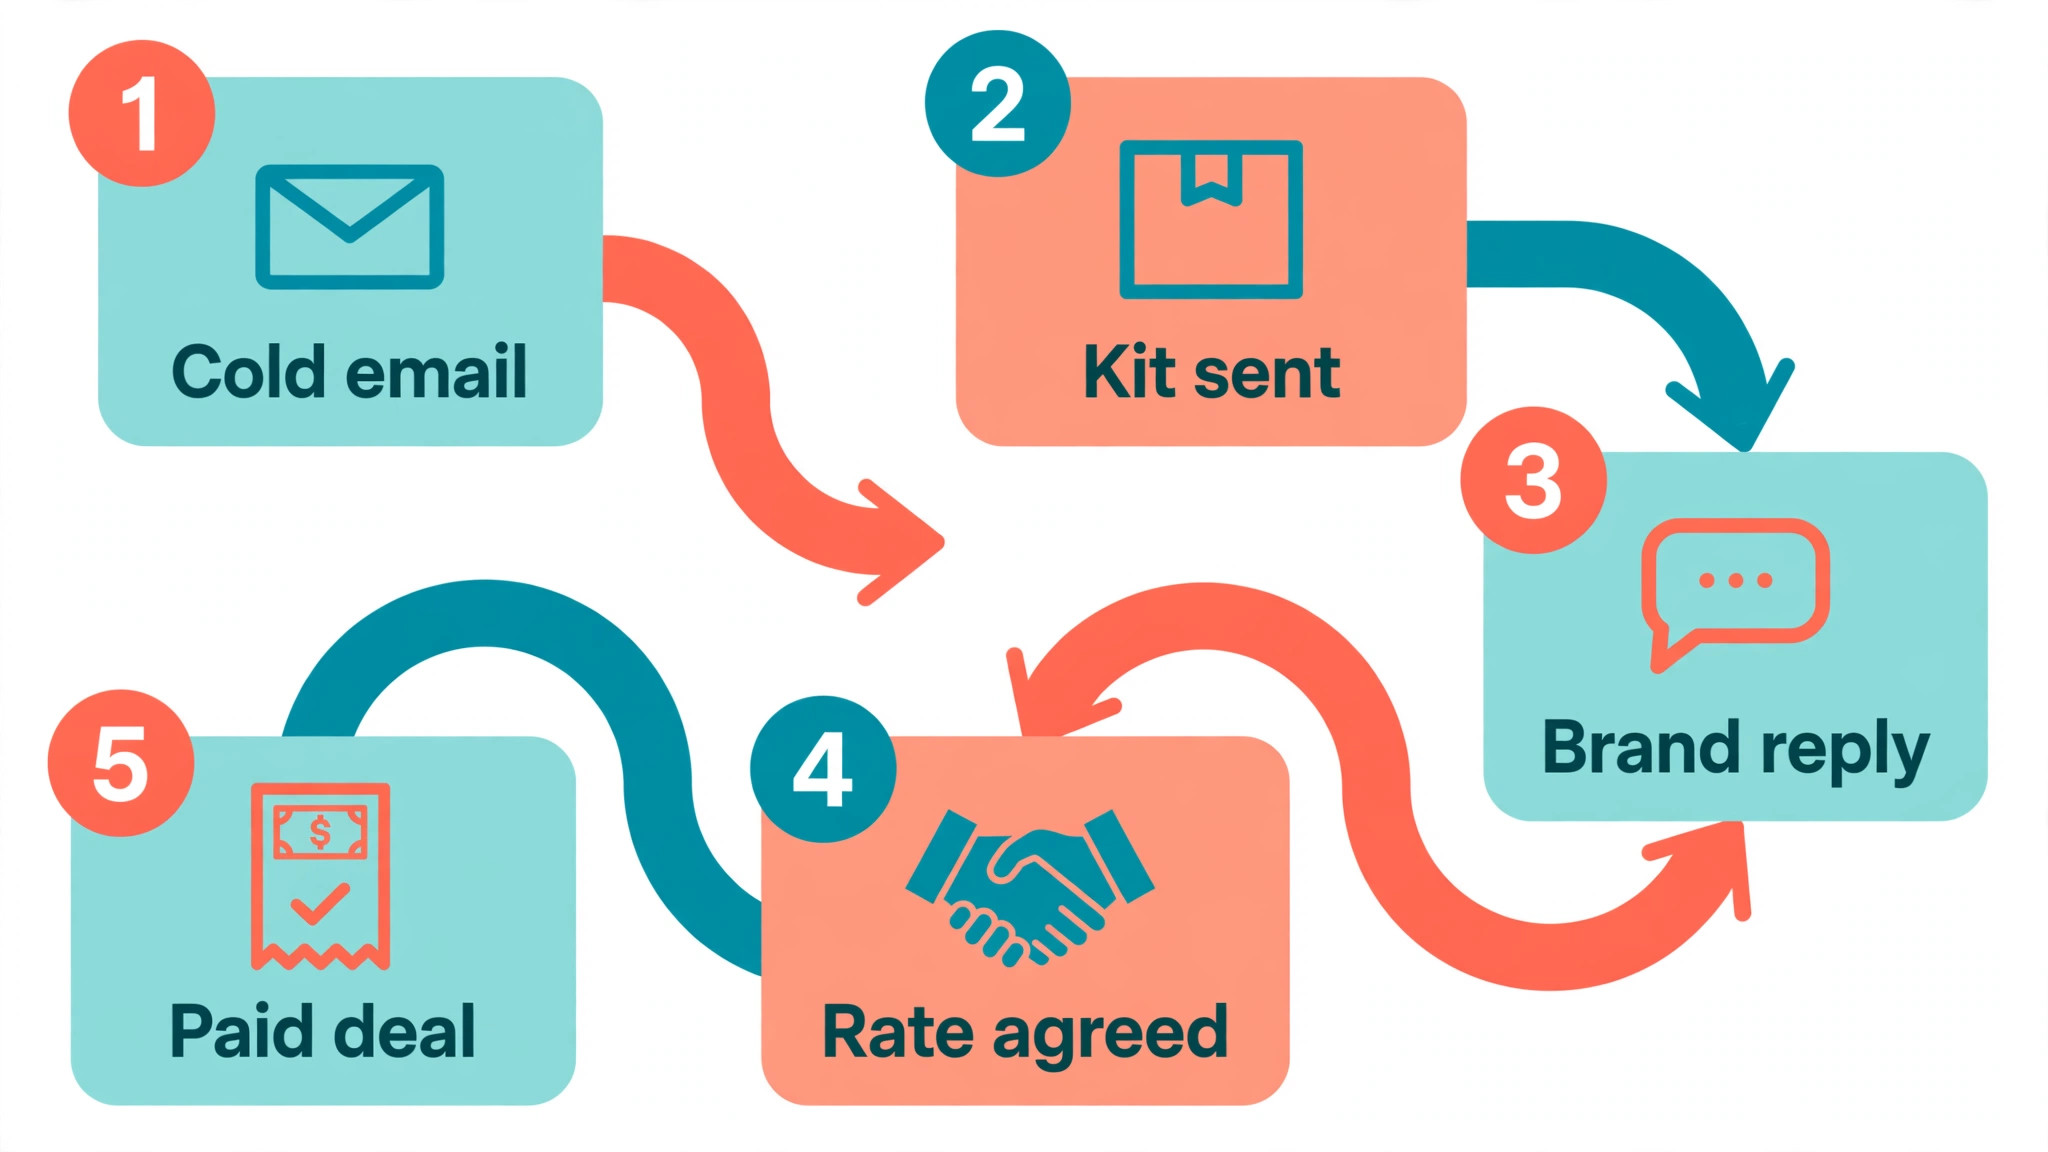
Send the kit with a short pitch email that names the brand, names one product you genuinely use, and names one idea for a video or post. A pitch that could have been sent to any brand will be treated like one, while a pitch that mentions a specific product and a specific audience match gets read. Follow up once after five working days with a single line and a fresh example of your work, then move on when there is no reply. A kit that is sent is worth more than a perfect kit that sits on your computer.
How to Price Your Work in the Kit
Rates are the part creators fear most, and the fear costs them deals in both directions. A rate that is too high for a brand budget scares a potential partner away before you can negotiate. A rate that is too low leaves money on the table and signals that your audience is worth less than it is.
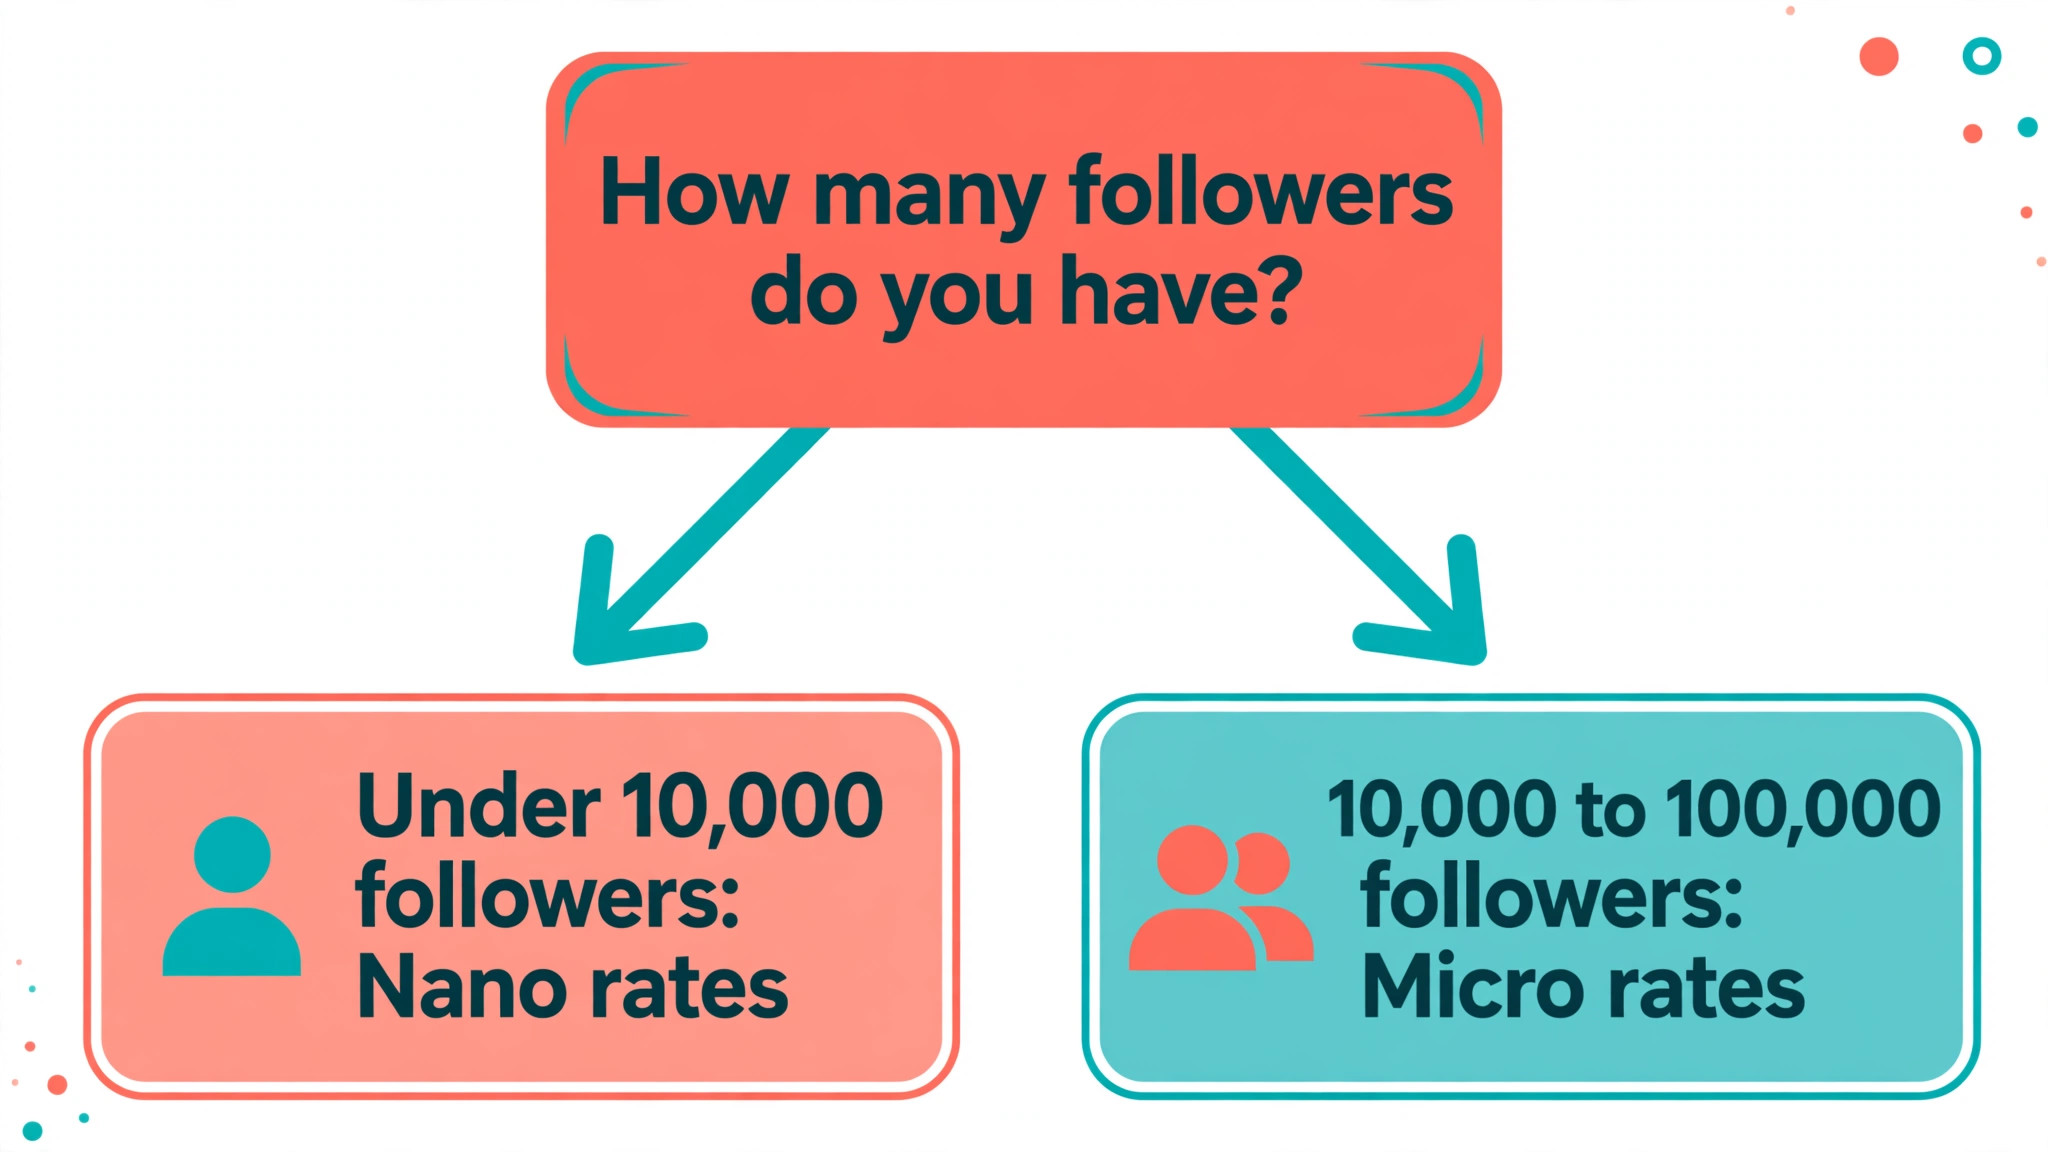
The answer is to list starting rates rather than a fixed price list, so a brand can see the range and you can quote each deal on its scope, timeline and usage rights. Learning how to make a media kit for creators includes learning to price it, because a kit without rates creates a week of back and forth that a kit with starting rates avoids.
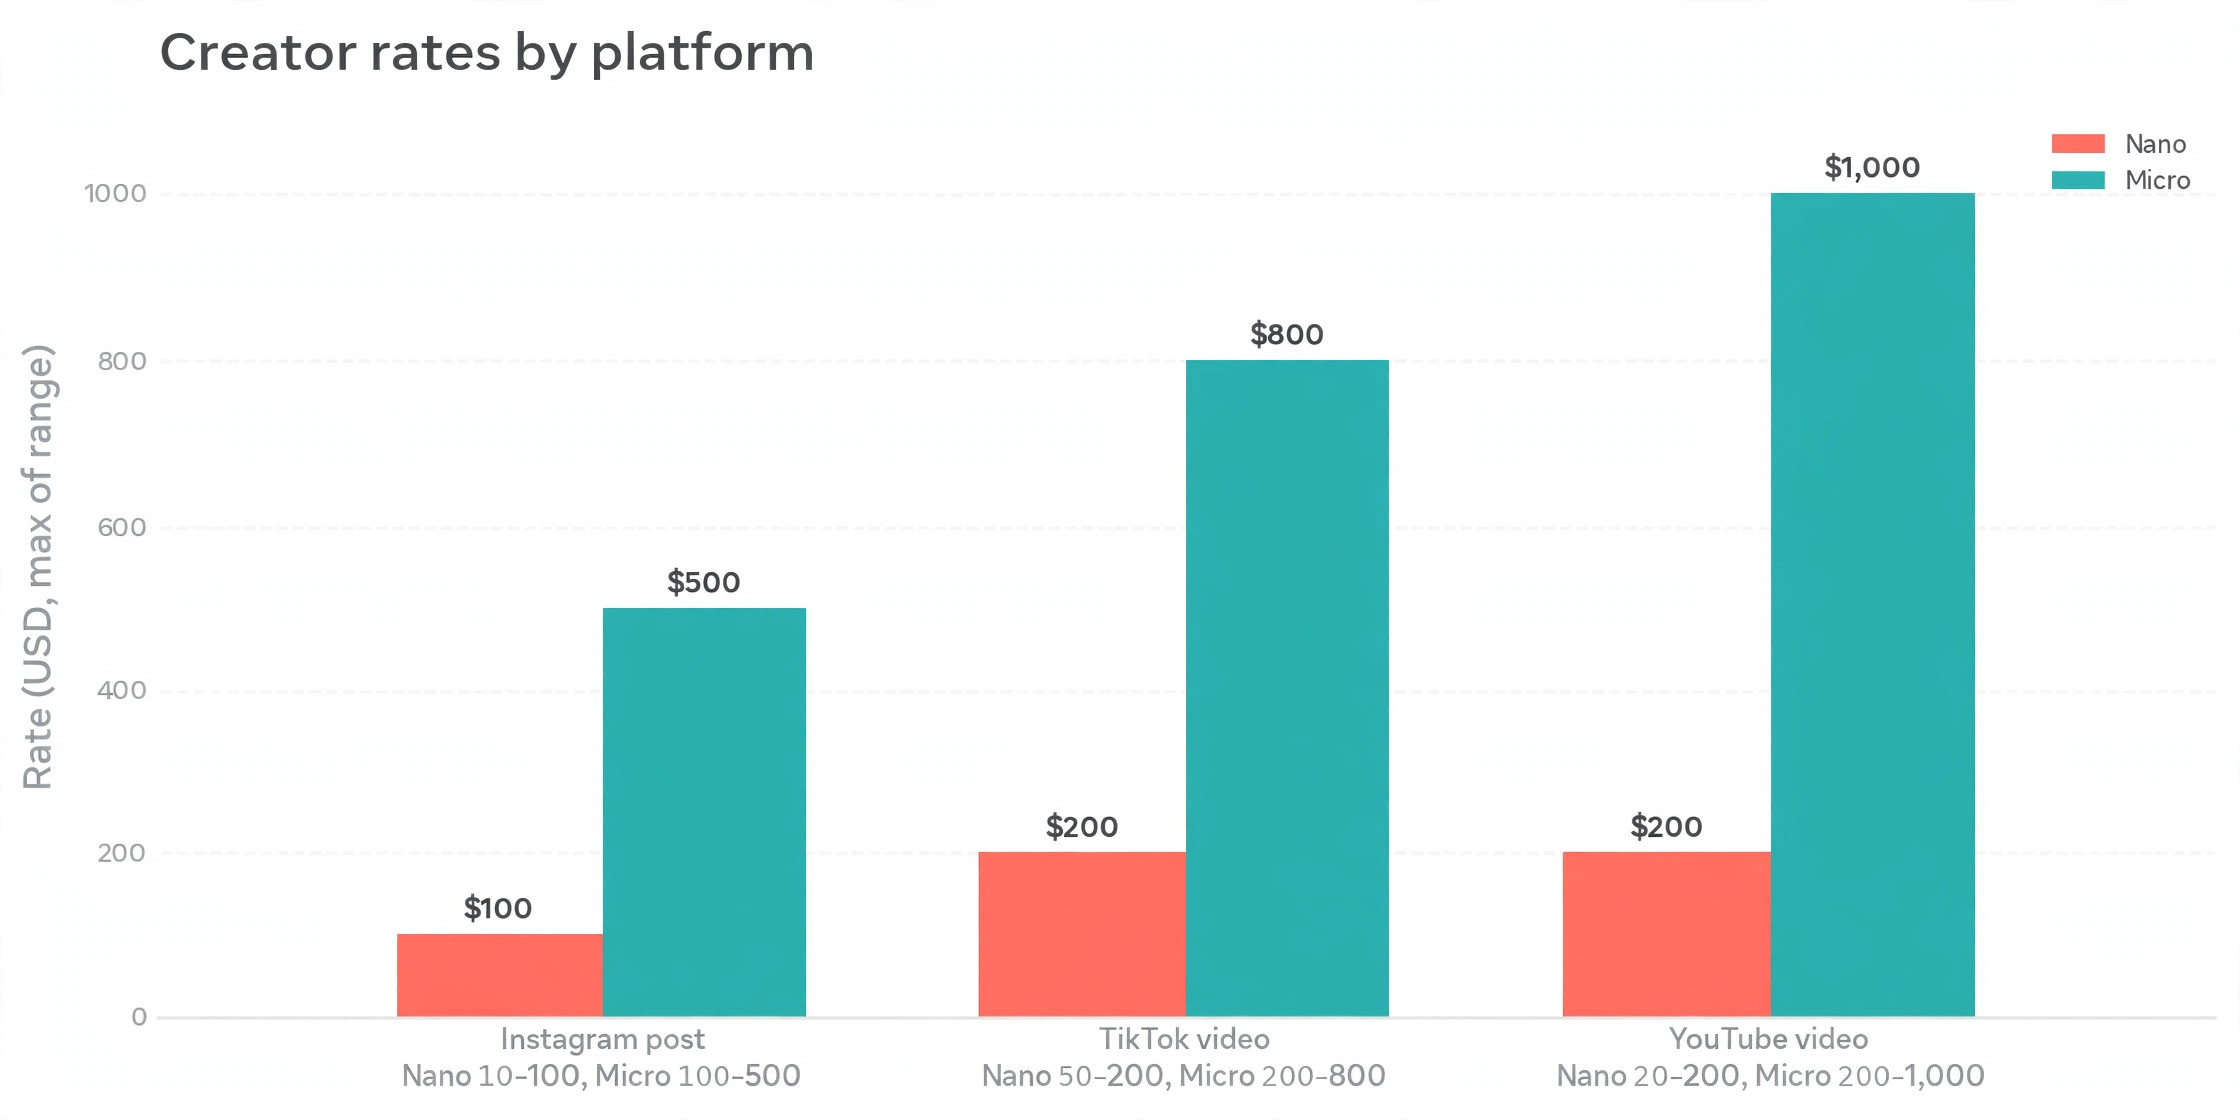
| Deliverable | Nano creator under 10,000 followers | Micro creator 10,000 to 100,000 followers |
|---|---|---|
| Instagram post | 10 to 100 dollars or more | 100 to 500 dollars or more |
| TikTok video | 50 to 200 dollars | 200 to 800 dollars |
| YouTube sponsored video | 20 to 200 dollars or more | 200 to 1,000 dollars or more |
| Instagram Stories set | 25 to 100 dollars | 100 to 400 dollars |
| User generated content package | 50 to 150 dollars | 150 to 500 dollars |
These ranges come from Influencer Marketing Hub vendor data from October 2026, and they are planning ranges rather than a fixed market price. Your own rate should start from your costs and rise with your engagement, your audience quality and the usage rights the brand wants. Charge more when the brand wants the video for paid ads, when it wants the content for a year rather than a month, and when it wants exclusivity that stops you working with a rival. Put those add ons on the rate card as separate lines, so the brand sees the base rate and the cost of each extra right.
Never apologise for your rate in the kit, and never write that your prices are negotiable in the first line. A starting rate with a note that custom pricing is available keeps the door open without inviting a low offer. When a brand you want to work with cannot meet your rate, offer a smaller package, such as one Story set instead of a Reel, or a shorter usage window instead of a year. That keeps the relationship alive and gives the brand a reason to return when its budget grows.
The Pitch Checklist
Use this checklist every time you send the kit, because a good kit with a weak pitch still gets ignored, and the final step in how to make a media kit for creators is sending it well. Each item takes a minute, and together they turn a cold email into a pitch a brand manager can answer in one reply.
- Name the brand and one product you genuinely use, in the first two lines of the email.
- Link the kit as both a PDF attachment and a live link, so the reader can open whichever suits them.
- Quote one audience number that matches the brand customer, such as the share of your audience in the brand home market.
- Quote your engagement rate and the date range it covers, so the brand does not have to ask.
- Attach or link one best work example that matches the product you are pitching.
- State your starting rate for the format you are proposing, and note that custom pricing is available.
- Propose one concrete idea for a video or post, with a title and a one line description.
- Give a clear next step, such as a 15 minute call next week, and your business email for the reply.
Keep the pitch email under 150 words, because the kit carries the detail and the email only needs to earn a click. A brand manager who opens the kit has already decided you are worth a look, and a long email before that click only delays it. Send the pitch on a weekday morning in the brand time zone, and follow up once after five working days with a fresh example of your work.

What to Leave Out of Your Kit
A kit that tries to show everything shows nothing clearly, so leave out the numbers that do not serve you. Leave out a follower count that has stalled, and lead with engagement and audience quality instead. Leave out platforms where you post rarely, because a brand will check the link and find a quiet account. Leave out vanity metrics such as total lifetime views, because a brand cares about the last 30 days, not the last three years. Leave out personal details that have nothing to do with the partnership, such as your home address or your full date of birth.
Leave out fake or inflated numbers entirely, because brands check. Fake or bot followers are the single biggest quality problem brands report in the 2026 benchmark survey, and a kit with numbers that do not match your public profile will end the conversation. Use real screenshots from your platform analytics when a brand asks for proof, and keep the numbers in the kit dated so the brand can see they are current. An honest kit with modest numbers beats a polished kit with numbers that fall apart on the first check.
Leave out fixed prices for every possible format, because a rate card with 20 lines looks like a menu rather than a partnership offer. List starting rates for your five main formats, and note that custom pricing is available for anything else. That keeps the kit short and gives you room to quote each deal on its scope. Leave out long paragraphs of praise for your own work, because the best work examples and their results say more than adjectives ever will.
Mistakes That Cost Creators Deals
The most common mistake is sending a kit with undated numbers. A brand manager who cannot tell whether the engagement rate is from last month or last year will assume the worst and move on. Date every number in the kit, refresh the numbers every month, and keep the live link updated weekly so the version a brand opens is always current. A kit that is a month old is a kit that has already lost its best numbers.
The second mistake is leading with follower count instead of engagement and audience fit. A creator with 100,000 followers and a 1 percent engagement rate reaches fewer real people than a creator with 10,000 followers and a 6 percent engagement rate, and brands know the maths. Lead with the number where you are strongest, and put the follower count in its proper place as context rather than the headline. When your audience is small but buys, say so in one line and let the best work section prove it.
The third mistake is pitching every brand with the same kit and the same email. A skincare brand and a travel brand need different proof, and a kit that shows travel examples to a skincare brand will be ignored. Keep one master kit with all your best work, then make a short version for each pitch that leads with the three examples closest to that brand. That version takes 10 minutes to build from the master, and it doubles the chance of a reply.
Our Verdict
A media kit is a sales document, not a portfolio, and the best one is short, dated and honest. Build it in a day with the seven steps above, lead with engagement and audience quality, list starting rates, and send it as both a PDF and a live link. The creators who land brand deals are rarely the ones with the most followers. They are the ones whose kit answers a brand first five questions in under a minute, with numbers a brand manager can trust and a pitch that names a real product and a real idea.
That is the whole job of learning how to make a media kit for creators, and once the kit exists, every pitch after the first takes minutes rather than days.
Frequently Asked Questions
How long should a media kit be?
One or two pages is the right length for most creators. The kit needs six sections, an intro, audience, performance, best work, services and contact, and each section needs only a few lines. A longer deck is fine when a brand asks for a full proposal, but the first kit a brand sees should be short enough to read in under a minute. When the kit grows past two pages, move the extra examples to your live link and keep the PDF tight.
Should I include my rates in the media kit?
Share starting rates rather than a fixed price list, so brands with a smaller budget can move on without a week of emails and you can still quote each deal on its scope. Seasoned creators are split on this, and the split is the reason starting rates work, because they filter without closing the door. Put the rates on a separate rate card when you prefer to keep the kit itself free of prices, and send the card when the brand asks how much. Either way, have the rates ready before you pitch, because the brand will ask.
How often should I update my media kit?
Refresh the numbers every month, and update the live link weekly with your best recent work. Follower counts, engagement rates and average views change fast, and a kit with numbers from three months ago reads as stale. Set a monthly reminder to pull fresh analytics, replace the oldest best work example with a newer one, and check that every link in the kit still works. A kit that is always current is a kit you can send in an hour when a brand emails.
What if I have no brand deals yet?
Use your strongest organic posts and add one line of proof under each, such as views, saves, link clicks or comments asking where to buy the product. Brands want to see that your audience acts, not only that you have worked with other brands, and an organic post that drove 400 link clicks proves more than a paid post with no result. Be honest that the examples are organic, and lead with the audience and engagement sections until you have paid work to show.
Which tool is best for building a media kit?
Canva is the best choice for most creators learning how to make a media kit for creators, because the template library is large, the editor is easy, and Pro costs about 15 dollars a month for the brand kit. Adobe Express is the best alternative when you already work with Adobe fonts and stock, at 9.99 dollars a month for Premium. CreatorsJet is the best choice when you want stats pulled from your accounts and refreshed daily, from 12 dollars a month billed annually. Notion is the best free option for a live link that never changes, and Google Docs is the fastest free start for a first kit.
Do I need a media kit if I have under 10,000 followers?
Yes, and smaller creators often need one more than large creators do, which is why guides on how to make a media kit for creators spend so much time on small accounts. Brands plan to expand work with nano and micro creators, and engagement rate matters more than follower count in 2026, so a small creator with a focused audience and a strong engagement rate can win deals that a larger passive account cannot. Your kit should lead with engagement, audience quality and best work, and the rates for nano creators in this guide show that paid work starts well before 10,000 followers.