What makes a Tumblr banner good, and why do so many of them look wrong? That question is the starting point for any list of the best tumblr banner makers, since size decides everything else. The answer is size, and it is unforgiving. A Tumblr banner displays at 3,000 by 1,055 pixels on desktop and crops down to 640 by 360 on mobile, which means a banner built at the wrong size gets stretched, cropped or letterboxed the moment it goes live. The tool you pick decides whether that happens, because a good banner maker starts you on the right canvas, keeps your text inside the safe centre, and exports a file Tumblr accepts without a second round of resizing.
This guide tests the four tools that do that job best, at the real size, with real prices, so you can pick one and publish a banner today.
The four tools below are Canva, Adobe Express, Fotor and VistaCreate. Each one is a real, currently available design tool with a free plan, a Tumblr banner template or a custom size option, and an export that works on Tumblr. No tool was included to fill a quota. Other editors exist, including Visme, which also lists a Tumblr banner size, and Photopea, which handles any custom size for free. They are strong tools, but they did not beat the four below on the combination of templates, ease of use and export quality that a Tumblr blogger actually needs.
If your research finds a fifth tool that fits your workflow better, the comparison table in this guide will help you judge it on the same terms.
Prices in this guide come from vendor pricing pages and pricing trackers checked in October 2026, and they change, so check the pricing page before you pay. Free plans are described as they stood at that check, including their limits, since a free plan that blocks downloads is not really free. Where a price differs between sources, this guide gives the figure the vendor own page supports and notes the disagreement rather than picking the friendlier number.
Best Tumblr Banner Makers: How We Tested Them
Every tool below was judged on the same five tests, and the scores in the comparison table come from those tests rather than from brand reputation. The first test is size. The tool must offer a Tumblr banner preset at 3,000 by 1,055 pixels, or a custom size field that accepts those dimensions, with no upper limit that blocks them. The second test is templates. The tool must offer templates built for a wide header, not square social posts stretched to fit.
The third test is text safety. The editor must show where the mobile crop falls, or at least make it easy to keep text in the centre safe zone. The fourth test is export. The tool must export a PNG or JPEG at full size without a watermark on the free plan, or say clearly that it does not.
The fifth test is price. The paid plan must earn its cost for a blogger who makes one banner at a time rather than a team that makes a hundred.
Each tool was scored out of five on each test, and the total out of 25 is shown in the table. A tool that scores well on templates but blocks full size export on the free plan loses points on export, and that loss matters more than the template win, since a banner you cannot download is not a banner.
The individual reviews below explain each score in plain words, including the limits that the marketing pages leave out. Read the table first for the short version, then read the review of the tool you are leaning toward before you commit to it.
One testing note matters for honesty. Tumblr itself does not publish a banner maker ranking, and no tool in this guide paid for its place. The scores reflect the tests above as run in October 2026, and a tool that improves its free export or adds a Tumblr preset after that date would score higher today.
The Size Your Banner Must Be
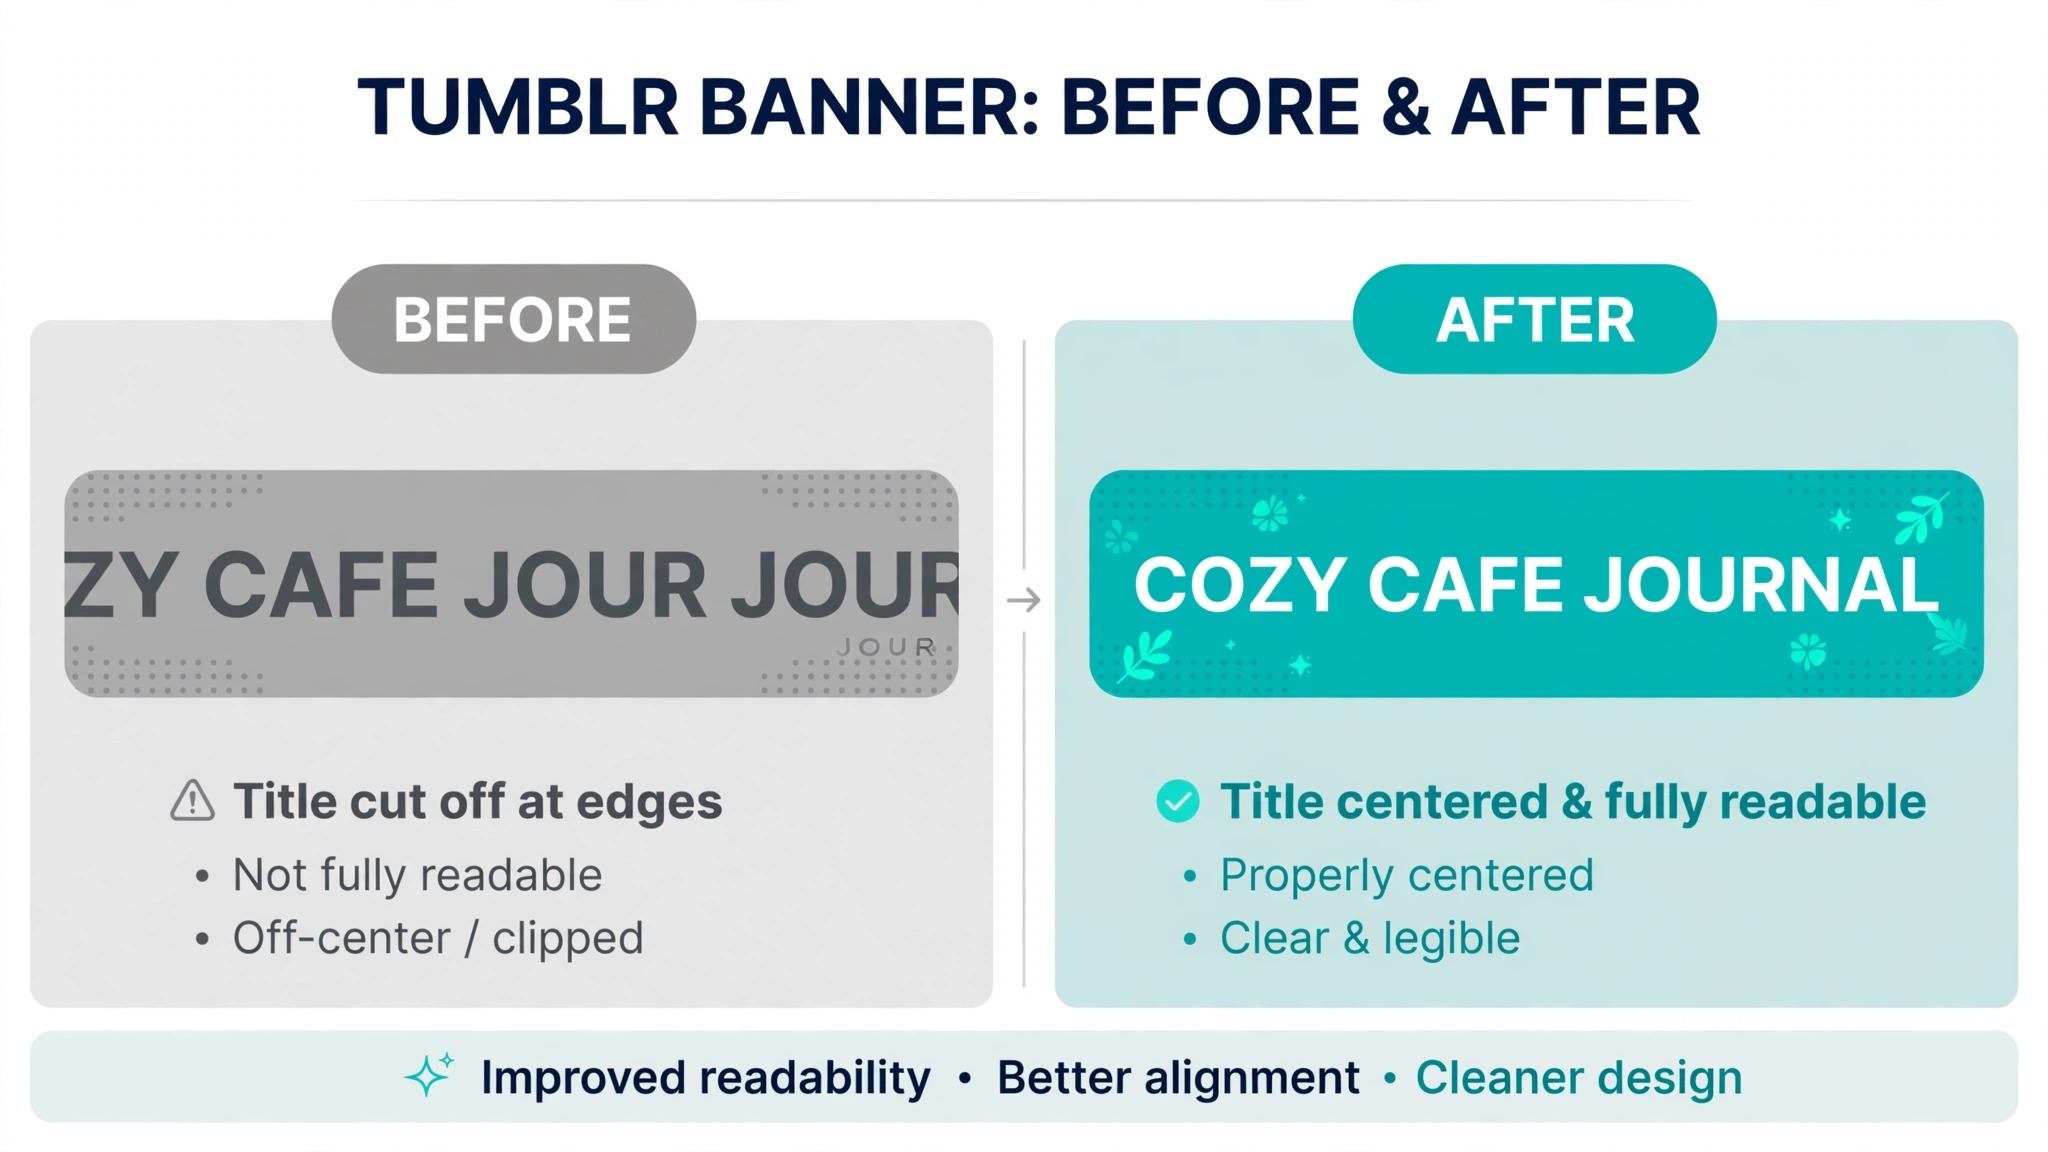
Get the size wrong and nothing else matters, so this section comes before the reviews. Tumblr recommends a banner of 3,000 by 1,055 pixels, which is a wide ratio near 16 by 9. On desktop the full banner shows across the top of your blog. On mobile it crops to 640 by 360 pixels, which is the centre strip of the same image. That crop is the trap. Text, faces and logos placed near the left or right edges will be cut off on phones, and a banner that looks perfect on a laptop can look broken to half your visitors.
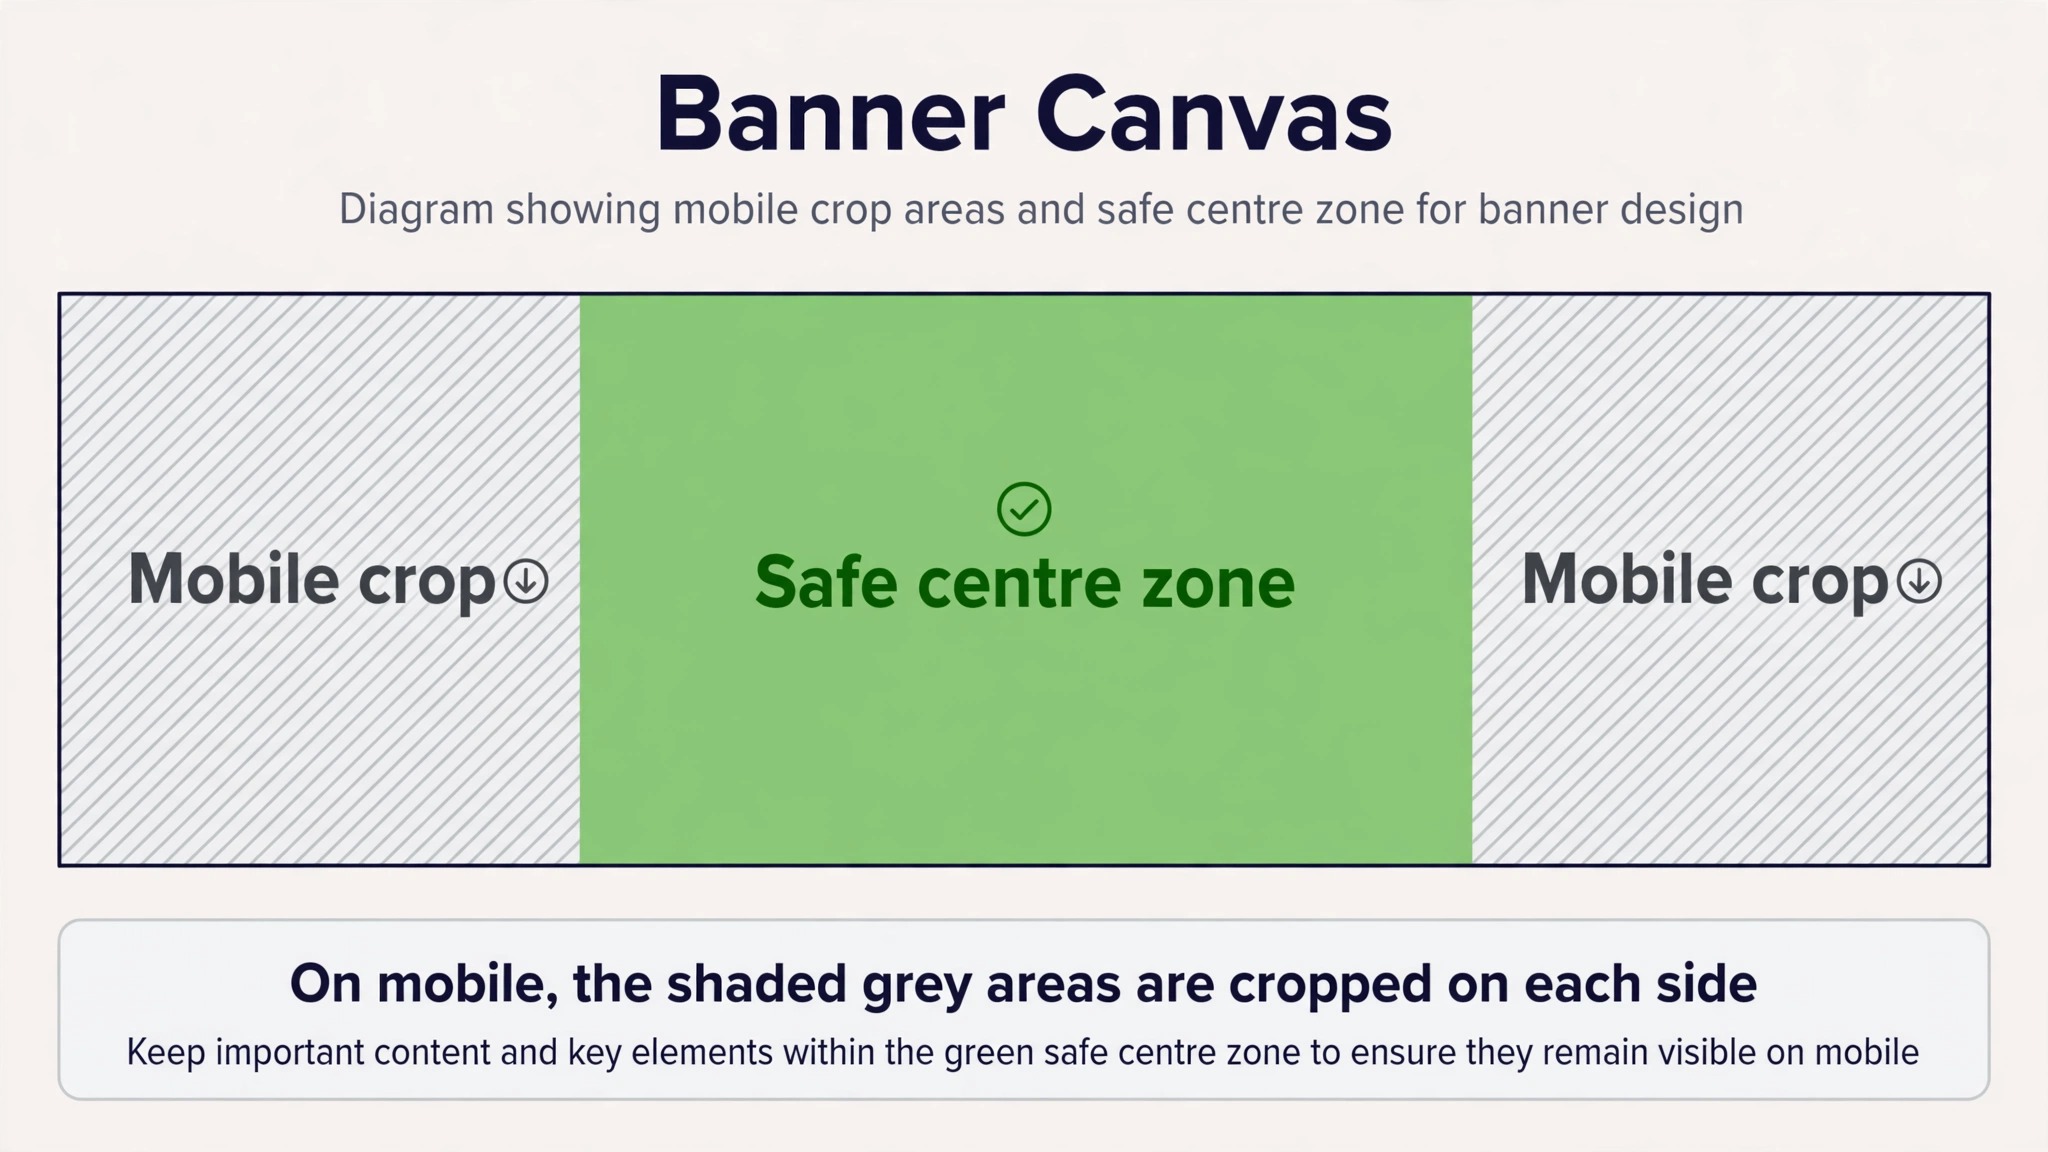
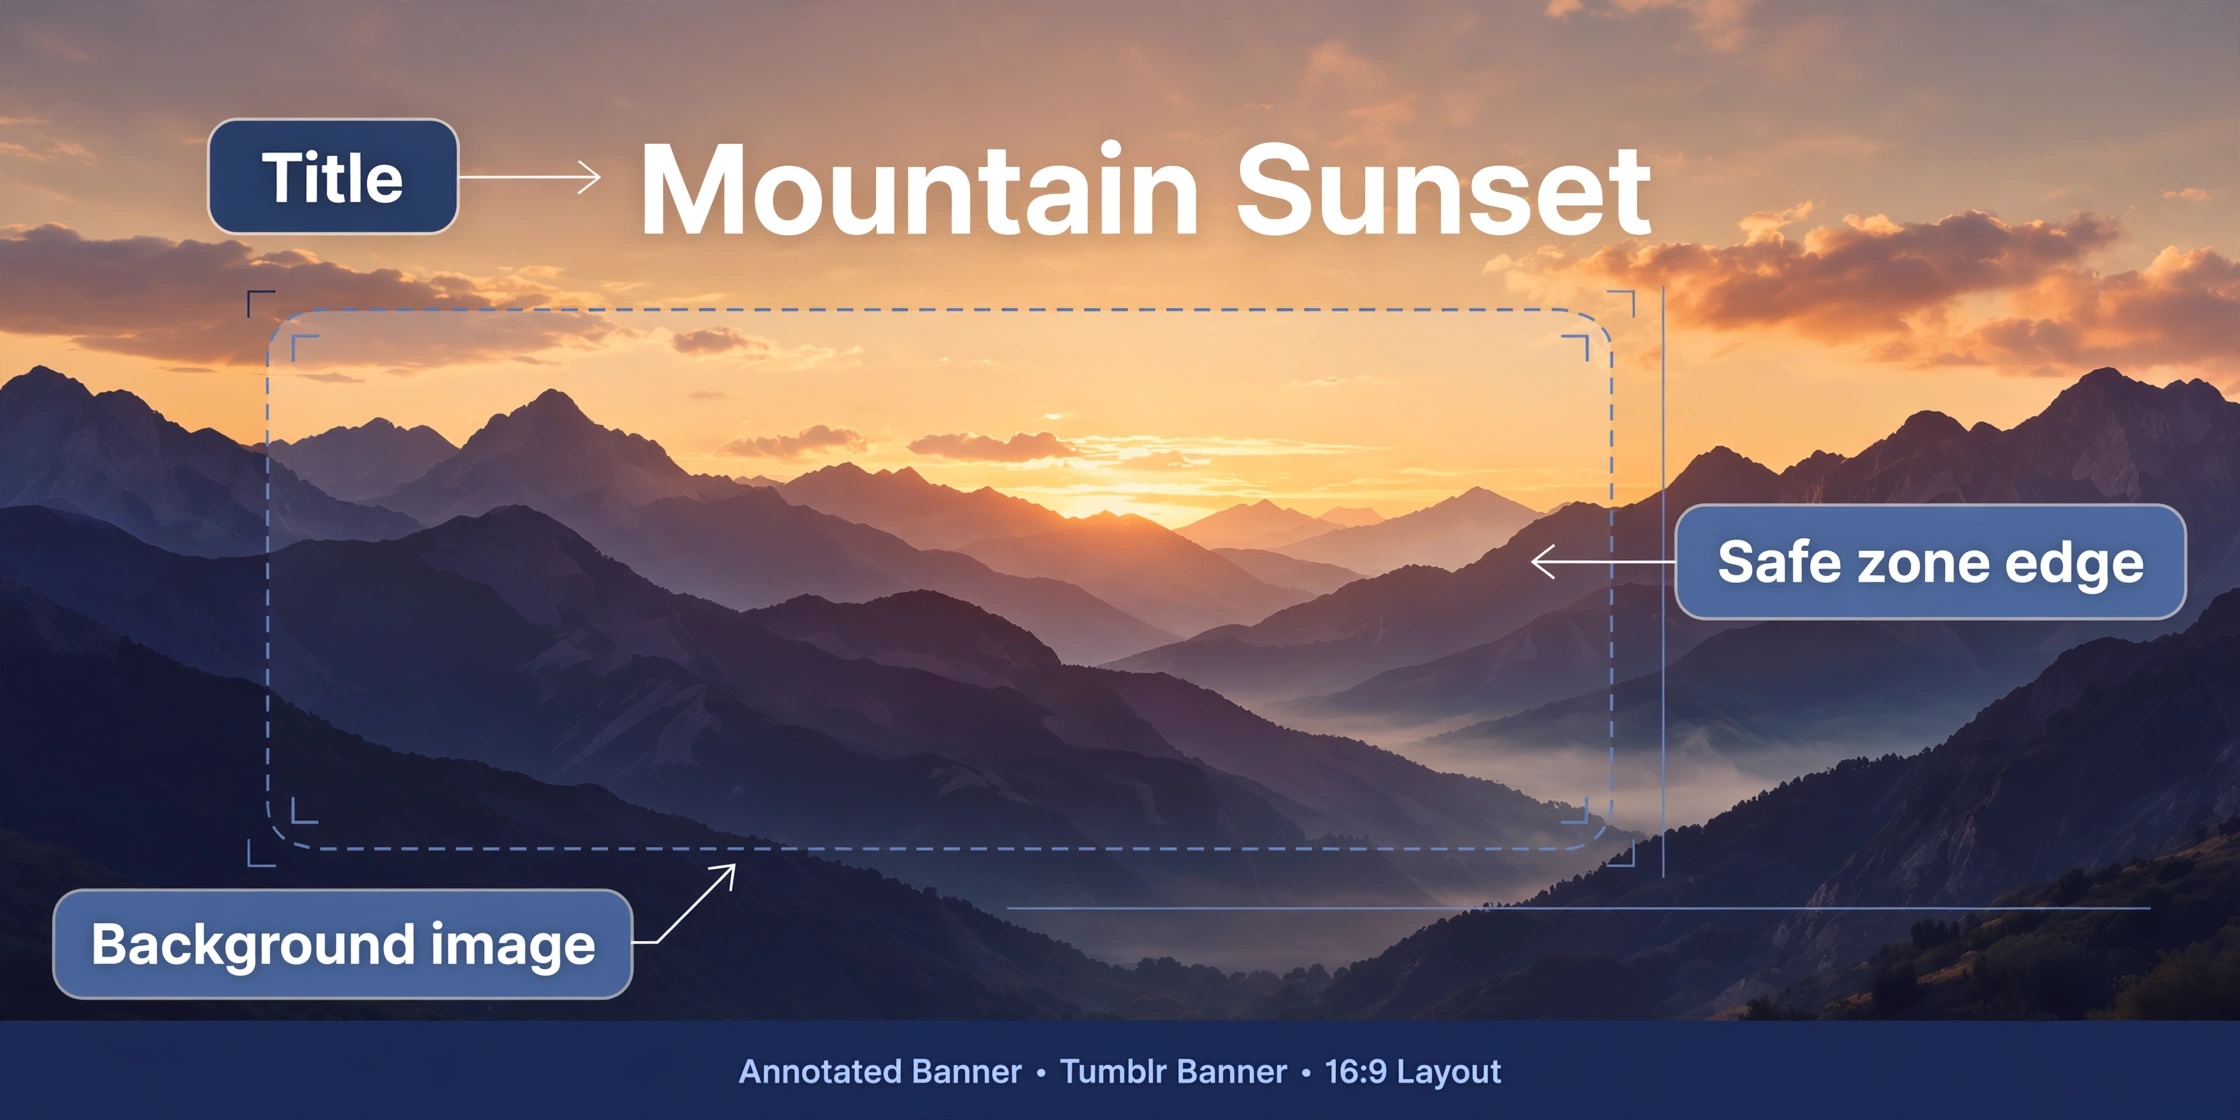
The safe zone is the centre of the canvas. Keep all important text, faces and logos inside the middle 60 percent of the width, and keep them away from the top and bottom edges by at least 10 percent of the height. Put decoration, patterns and background colour in the outer zones, where a crop does no harm. Test the banner by shrinking it to phone width before you upload it. If the message still reads at that size, the banner works. If it does not, move the text inward and try again. Every tool in this guide lets you set a custom size, and the best ones show a safe zone guide while you design.
File format and size matter too. Tumblr accepts JPEG, PNG and GIF banners, and it supports animated GIF banners up to 10 megabytes. Use PNG when the banner is mostly graphics, text or a logo, since PNG keeps edges crisp. Use JPEG when the banner is mostly a photograph, since JPEG keeps the file small at the same visual quality. Keep the file under 10 megabytes in every case, and under 2 megabytes when you can, since a heavy banner slows the first view of your blog. A 3,000 by 1,055 PNG with a simple design usually lands well under that limit. A photographic banner with gradients may need JPEG to stay light.
| Spec | Desktop | Mobile |
|---|---|---|
| Banner size | 3,000 by 1,055 pixels | 640 by 360 pixels, centre crop |
| Safe zone | Middle 60 percent of width | Keep text in the centre strip |
| Formats | JPEG, PNG, GIF | Same file, cropped by Tumblr |
| Animated GIF | Up to 10 megabytes | Same limit |
| Best format | PNG for graphics, JPEG for photos | Same file |
The 4 Best Tumblr Banner Makers Compared
The table below is the short version of the whole guide. Scores are out of five per test, with the total out of 25. Read the rows, find the tool that fits your job, and then read its full review before you start designing.
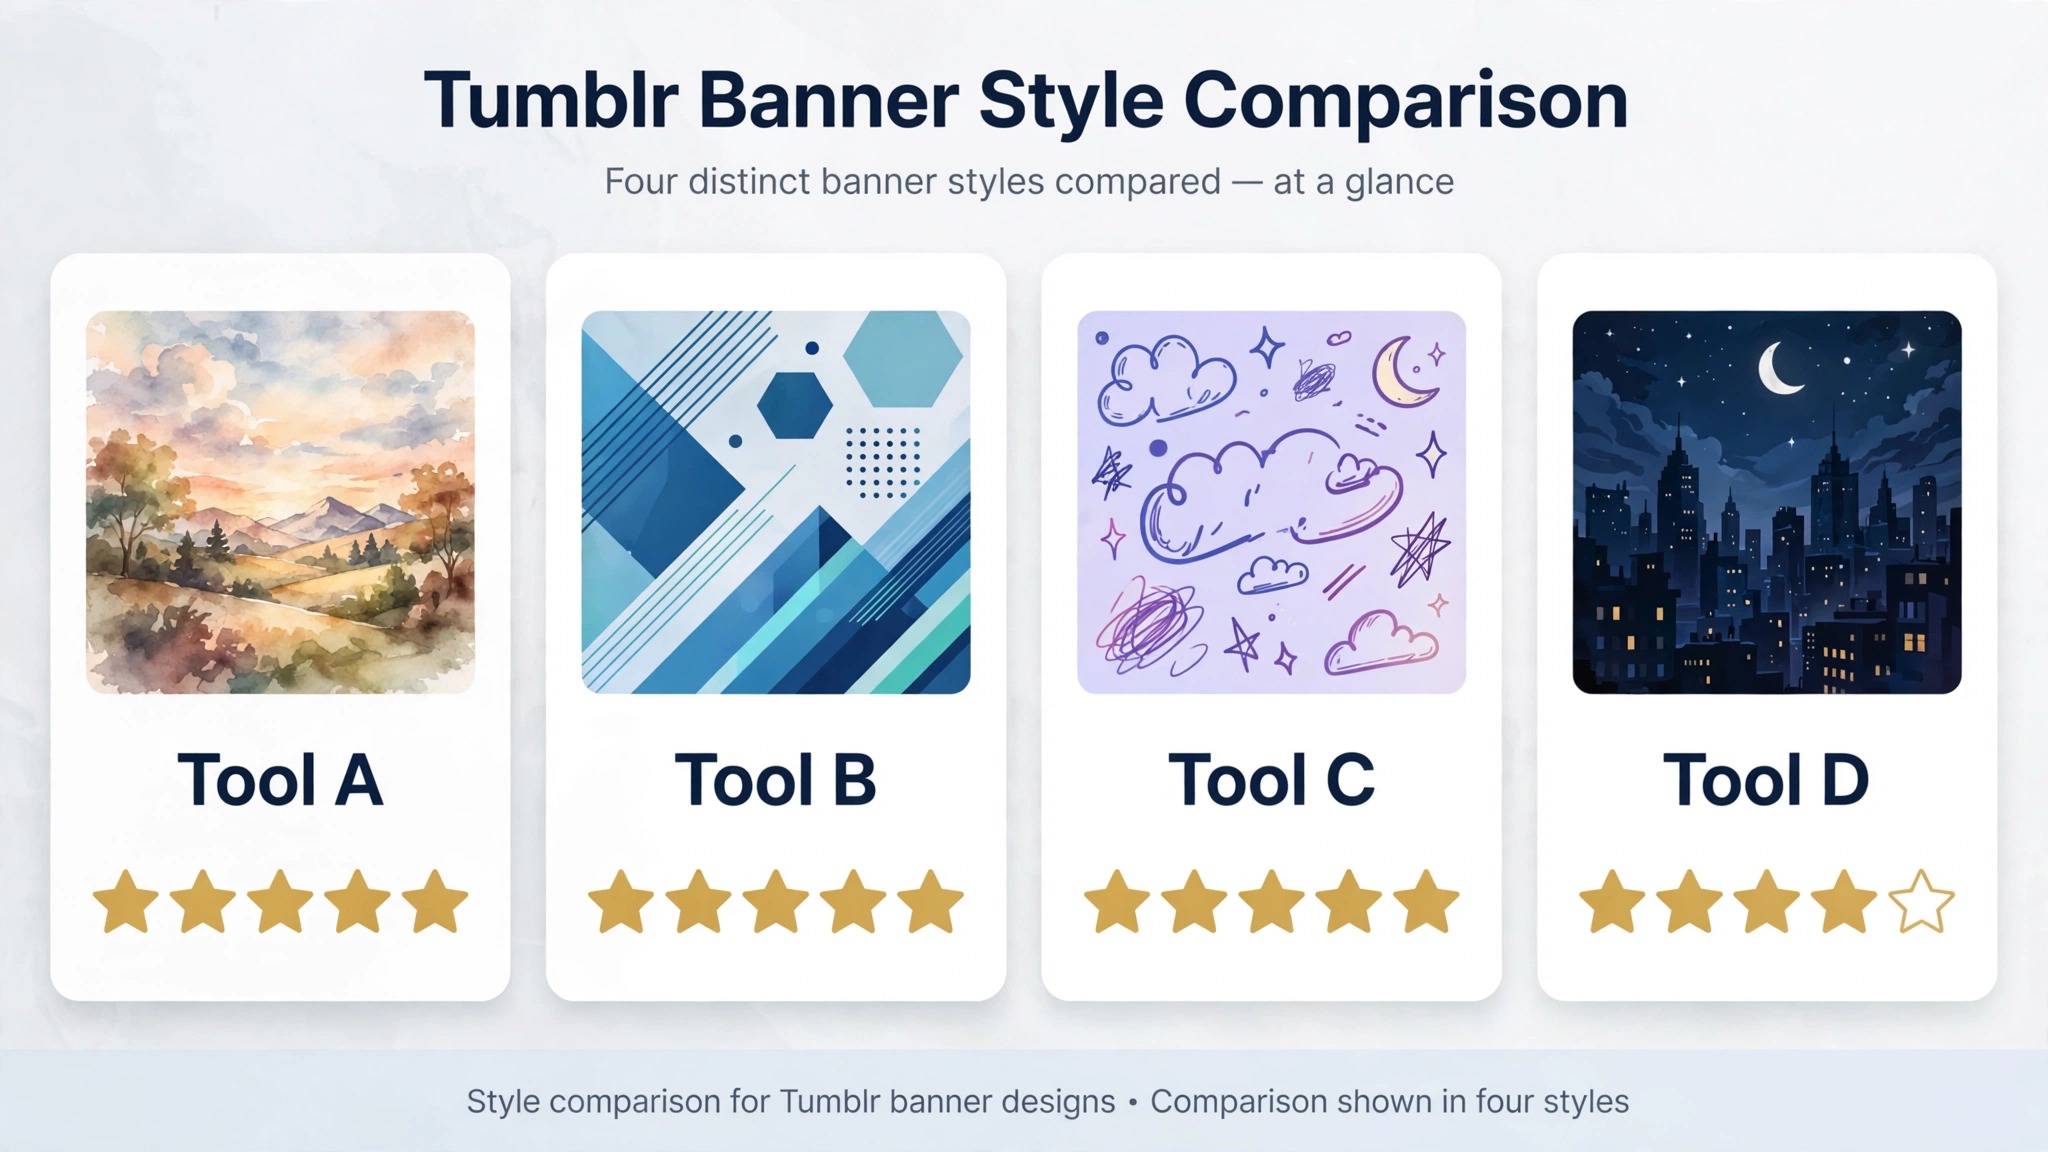
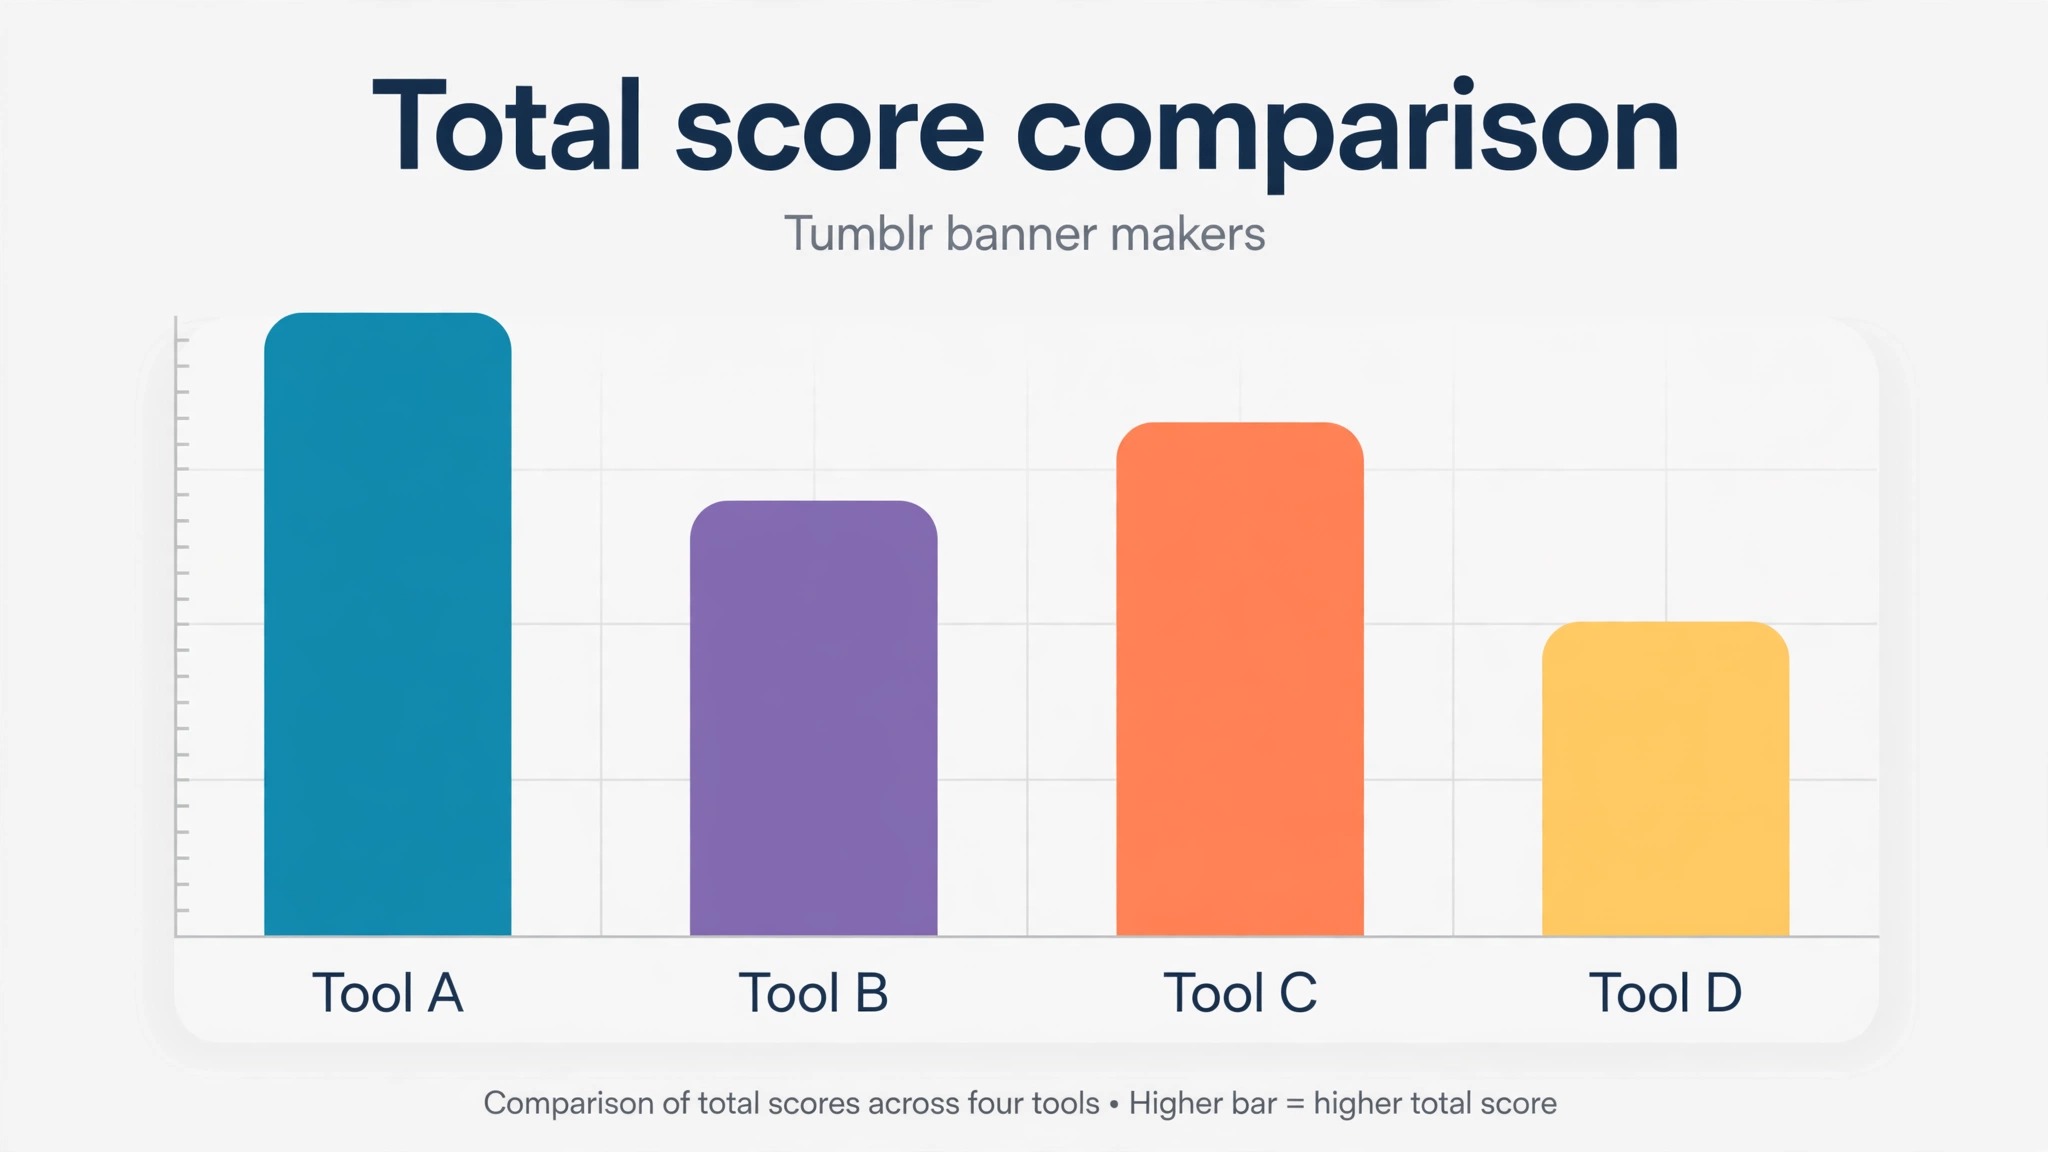
| Tool | Templates | Size handling | Free export | Ease of use | Price value | Total out of 25 |
|---|---|---|---|---|---|---|
| Canva | 5 | 5 | 5 | 5 | 4 | 24 |
| Adobe Express | 5 | 4 | 5 | 4 | 4 | 22 |
| Fotor | 4 | 4 | 4 | 4 | 4 | 20 |
| VistaCreate | 4 | 4 | 4 | 4 | 5 | 21 |
Canva wins the table because it is the only tool that scores full marks on four of the five tests, with a Tumblr preset, a large template library, full size free export and the easiest editor for a beginner. Adobe Express is the closest rival, with a stronger font and photo library and a slightly lower price, but its editor takes longer to learn. VistaCreate is the value pick, with the cheapest paid plan that covers up to ten seats, and Fotor is the pick for banners built around AI generated art or heavy photo editing. The rest of this guide explains each score, so you can see what you gain and what you give up with each choice.
1. Canva
Canva is the best Tumblr banner maker for most bloggers, and it wins on the simplest test of all. Search for Tumblr banner, pick a template already sized at 3,000 by 1,055 pixels, swap in your text and photo, and download a PNG at full size.
The free plan includes the editor, thousands of templates, 5 gigabytes of storage, and full resolution exports with no watermark. That combination is why Canva scores full marks on templates, size handling, free export and ease of use. The only test where it loses a point is price value, since Pro costs about 12 dollars a month on annual billing, or about 18 dollars month to month, and a blogger who makes one banner a month may never need what Pro adds.
The template library is the real advantage. Canva lists hundreds of Tumblr banner templates sized to the exact dimensions, across aesthetics from minimal text led designs to photo heavy collages and illustrated headers. A template built for the wide ratio saves you from the most common beginner error, which is stretching a square design to fit a wide canvas. The drag and drop editor is the easiest of the four tools to learn, and the mobile app is good enough to finish a banner on a phone, which matters for bloggers who design on the go.
Pro adds the features that heavy users need. Magic Resize turns one banner into multiple sizes at once, the brand kit stores your fonts and colours, and the background remover cleans up photos in one click. Pro also unlocks the full template and stock library. None of those features is needed for a single Tumblr banner, so start on the free plan and upgrade only when you hit a specific limit.
The weakness is the one every popular tool shares. Canva banners can look like Canva banners, since thousands of bloggers start from the same templates. Change the fonts, the colours and the photo before you publish, and the result will look like yours rather than like a template. Check that the download is set to 3,000 by 1,055 pixels before you save, and check the file size before you upload it to Tumblr.
2. Adobe Express
Adobe Express is the best pick when the banner must look polished and professional, and it is the closest rival to Canva in this guide. The free plan offers thousands of templates, a large library of royalty free photos, and a font library that makes text heavy banners look genuinely premium. Full size export works on the free plan with no watermark, and the editor handles custom sizes well, including 3,000 by 1,055 pixels. Premium costs 9.99 dollars a month and adds the full template, font and asset libraries plus the complete AI feature set, with a 30 day free trial.
The advantage over Canva is taste. Adobe fonts, stock photos and design assets carry a more editorial feel, and the templates lean toward clean typography rather than busy collage. If your blog is a photography blog, a writing blog or a portfolio, that difference shows. The AI features are also strong, with text to image generation and one click background removal that work well on banner art.
The weakness is the learning curve. Adobe Express takes longer to learn than Canva, and the template search is less forgiving for a beginner who does not know what to search for. There is no dedicated Tumblr banner preset as prominent as Canva own, so you will usually start from a custom size. Set the custom size first, before you add any text, and the rest of the workflow is smooth.
Adobe Express suits the blogger who cares about typography and who already uses Adobe tools, or who wants the most polished result for a professional blog. It suits a beginner less well than Canva, but it rewards the extra ten minutes of learning with a banner that looks less like a template and more like a designed header. If you plan to make banners for several blogs or several clients, the Premium plan at 9.99 dollars a month is the cheapest paid plan among the top two tools in this guide.
3. Fotor
Fotor is the best pick when the banner starts as a photo or as AI generated art rather than as a template. Fotor began as a photo editor and grew into a full design platform, and its banner maker carries that history. The preset sizes include social banners, the editor accepts a custom size of 3,000 by 1,055 pixels, and the AI tools can generate a background, enhance a photo, or remove a background in one click. The free Basic plan covers the editor and a set of templates, and Pro costs 8.99 dollars a month, or about 39.99 dollars a year on the annual option, which makes it the cheapest Pro plan among the four tools here.
The photo editing is the reason to pick Fotor. If your banner is a photograph of your art, your travel, your products or your face, Fotor lets you correct the exposure, sharpen the detail, and crop to the wide ratio without leaving the same tool. The AI background generator is genuinely useful for a banner, since a wide header needs a wide background and a plain colour can look empty at that size.
The weakness is the template library, which is smaller and less Tumblr specific than Canva or Adobe Express. You will often start from a blank custom size canvas rather than a ready made Tumblr template, which means more design decisions and more time. The free plan also limits some AI features and premium assets. A blogger who wants a template to start from will be happier with Canva, while a blogger who wants to build a banner around a photo will be happier here, and that trade off is the honest way to judge the best tumblr banner makers for a visual blog.
Fotor suits photographers, artists and sellers whose banner must show their work at its best. It is the only tool in this guide where the photo comes first and the template comes second, and that order fits a visual blog. Start on the free plan, test the AI background tool on one banner, and upgrade to Pro only if the photo editing and the AI features earn their keep across several banners.
4. VistaCreate
VistaCreate, formerly called Crello, is the best value pick in this guide, and the best choice for a small team or a blogger who makes banners for several blogs. The free Starter plan includes a large template library, one brand kit and 10 gigabytes of storage, with standard quality downloads. Pro costs 10 dollars a month on annual billing, or 13 dollars month to month, and it covers up to ten seats at no extra charge, which is a genuine bargain for a team. Pro adds the one click resizer, background removal and scheduling, plus the full stock library.
The template library is large, with more than 100,000 templates on the free plan and a strong set of animated designs. Animation matters on Tumblr, where an animated GIF banner can stand out in a feed of still images, and VistaCreate handles animated exports well. The editor is simple and fast, with a smaller learning curve than Adobe Express, and the brand kit on the free plan is a real advantage, since Canva locks some brand features behind Pro. For a blogger who runs two or three Tumblr blogs with different looks, the free brand kit per account keeps each blog consistent.
The weakness is export quality on the free plan, which is standard rather than high, and the resizer, which sits behind the Pro paywall. If you need one banner in one size, the free plan is fine. If you need the same design resized for several platforms, Pro is the honest price of that convenience. The Tumblr template set is also smaller than Canva own, so you may start from a custom size more often.
It is the tool to pick when the paid plan must cover more than one person, or when the free plan must include a brand kit. The score of 21 out of 25 reflects a tool that does everything well and nothing best, at a price that undercuts its rivals.
How to Make Your Banner in 15 Minutes
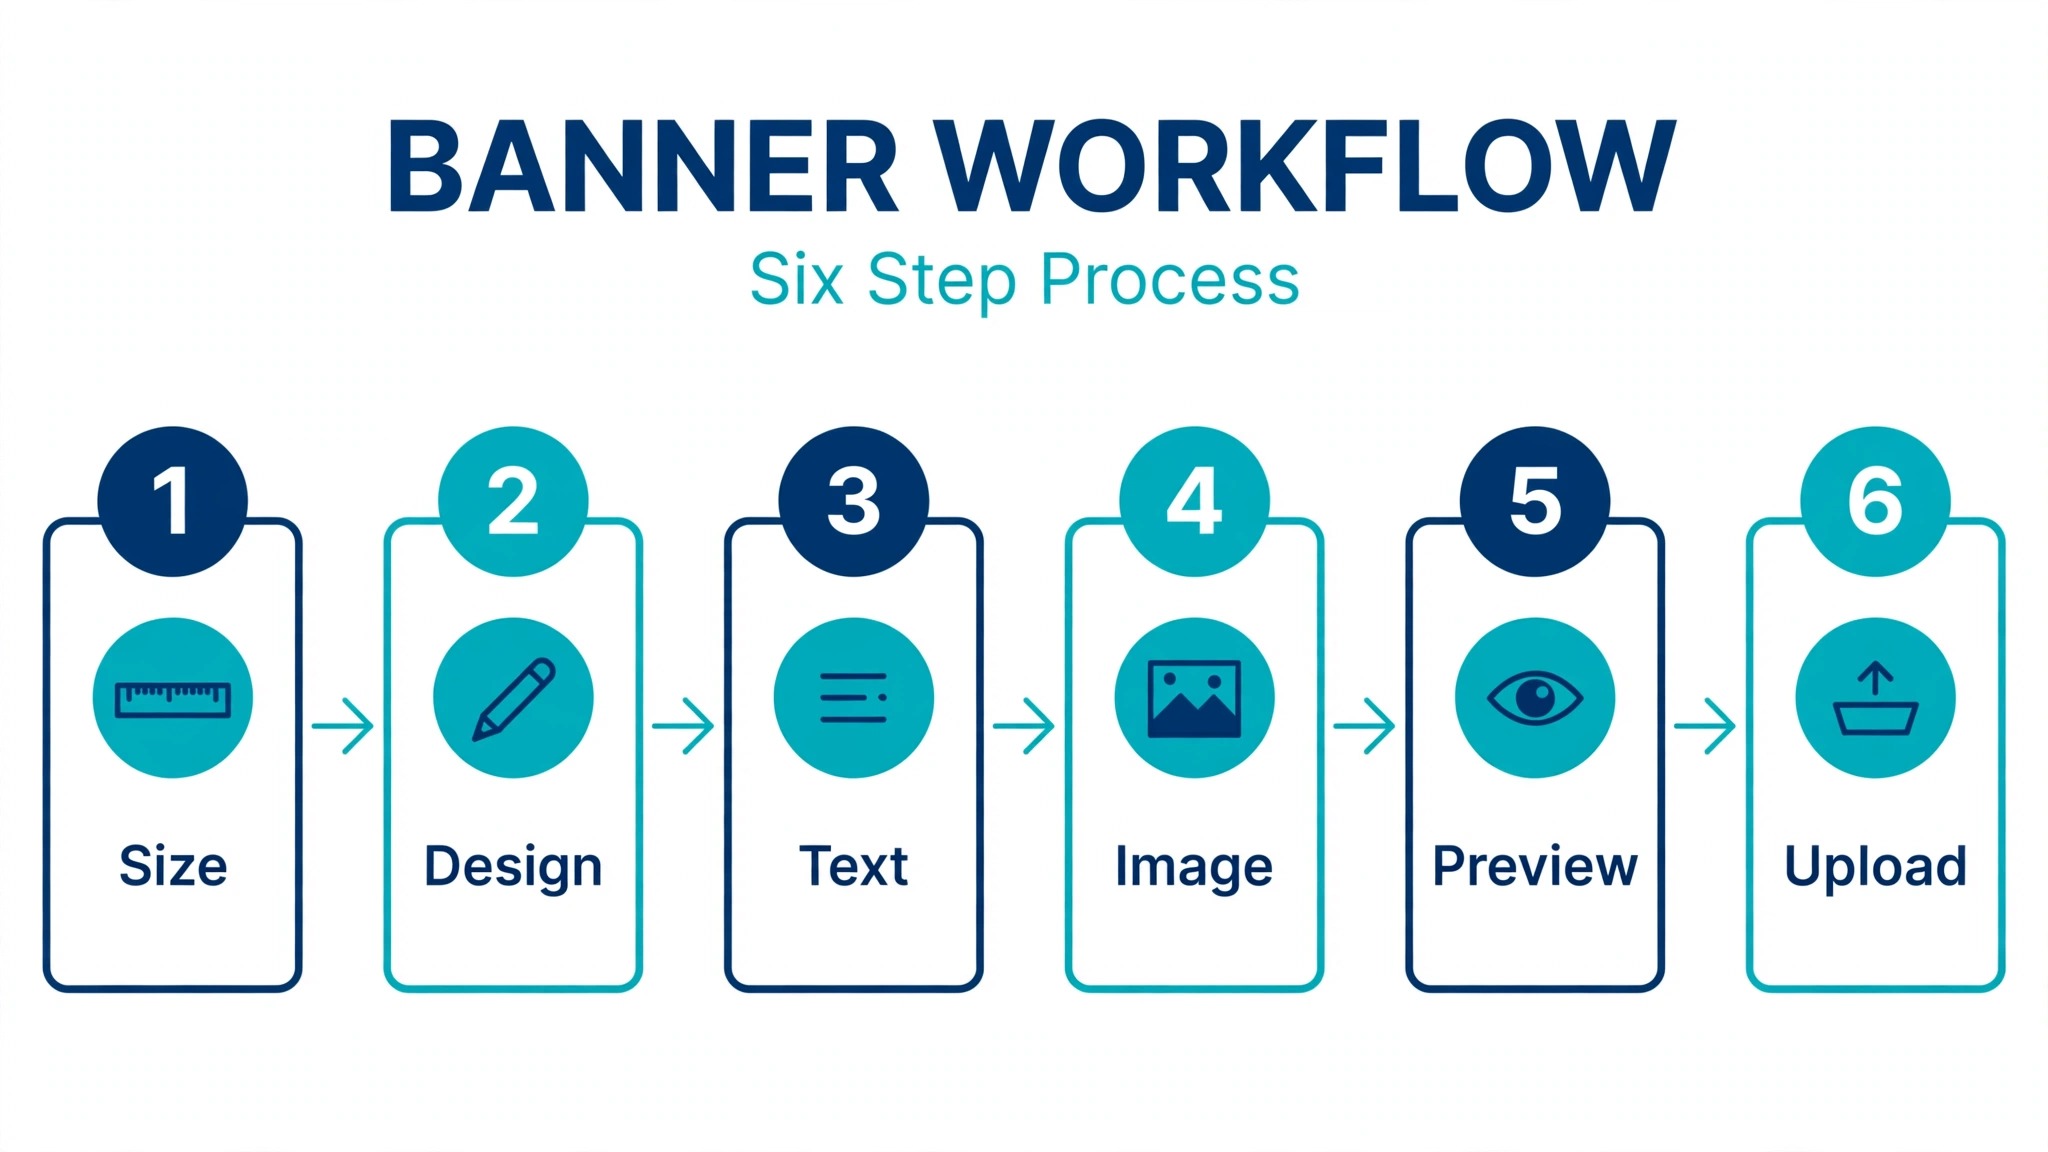
The workflow below works in any of the four tools, and it takes about fifteen minutes once you have done it twice. The order matters, since setting the size first prevents the most common error, which is designing a banner and then discovering it is the wrong shape.
- Open your chosen tool and set a custom size of 3,000 by 1,055 pixels, or search for the Tumblr banner preset where the tool offers one. Do this before you add any text or image.
- Pick a template built for a wide header, or start blank with a background colour or photo that fills the full width. Avoid square templates stretched to fit.
- Place your title, your blog name, or your tagline in the centre of the canvas, inside the middle 60 percent of the width. Keep it to eight words or fewer, and make it the largest text on the banner.
- Add one image or illustration that supports the title, and keep faces and logos inside the centre safe zone. Leave the outer edges for background and decoration only.
- Check the banner at phone width by shrinking the preview or exporting a small copy and viewing it on your phone. If the title still reads clearly, the banner works.
- Export as PNG for a graphic led banner or JPEG for a photo led banner, at full size, and check the file is under 10 megabytes. Upload it to Tumblr through Edit Appearance, then Banner, and preview it on desktop and on mobile before you save.
If the banner looks wrong after upload, the cause is almost always the safe zone or the file size. Move the text inward, re export, and upload again. Do not stretch the image to fix a crop problem, since stretching distorts the text and the photo together. The best tumblr banner makers all make this workflow short, and the difference between them is how much of it is already done for you by the template.
Free Plan or Paid Plan: What You Actually Get
The free plans in this guide are genuinely useful, which is not true of every design tool, and that is the first thing to check when comparing the best tumblr banner makers. Canva free exports at full size with no watermark, Adobe Express free does the same, VistaCreate free includes a brand kit and standard quality downloads, and Fotor free covers the editor and a set of templates. For a blogger who makes one banner and updates it a few times a year, the free plan of any of the four tools is enough, and paying would buy features you never use.
Paying earns its keep in three situations. The first is volume. If you make banners weekly, for several blogs or for clients, the paid plan saves time through resizing, brand kits and background removal. The second is assets. If you need premium templates, premium stock photos or premium fonts every time, the paid library pays for itself against buying assets one by one. The third is teams. VistaCreate Pro covers up to ten seats for 10 dollars a month, which is far cheaper per person than any rival paid plan, and Canva Teams and Adobe Express paid plans also cover collaboration that the free plans do not.
The table below compares the paid plans on the terms that matter to a blogger, using prices checked in October 2026. Check the vendor pricing page before you pay, since prices change.
| Tool | Free plan | Paid plan | Paid price per month |
|---|---|---|---|
| Canva | Full size export, no watermark | Pro | About 12 dollars on annual billing |
| Adobe Express | Full size export, no watermark | Premium | 9.99 dollars |
| Fotor | Editor and templates | Pro | 8.99 dollars, about 39.99 dollars a year |
| VistaCreate | Brand kit, standard downloads | Pro | 10 dollars on annual billing, 13 dollars monthly |
One caution applies to all four. A free trial of a paid plan will convert to a paid subscription if you do not cancel it, and the trial length differs by tool. Adobe Express offers a 30 day trial, VistaCreate offers 14 days, and Canva trials vary by offer. Set a calendar reminder for the day before the trial ends, and cancel if the paid features did not earn their keep. A trial that quietly becomes a subscription is the most expensive way to make a banner.
Best Pick by Job
Scores are useful, but jobs decide. The table below matches each common blogger job to the tool that fits it best, with the reason in plain words.
| Your job | Best pick | Why it fits |
|---|---|---|
| First banner, no design experience | Canva | Tumblr preset, easiest editor, free full size export |
| Professional or portfolio blog | Adobe Express | Best fonts and stock photos, polished result |
| Photo led or art led banner | Fotor | Strongest photo editing and AI backgrounds |
| Several blogs or a small team | VistaCreate | Pro covers ten seats, free brand kit |
| Animated GIF banner | VistaCreate | Strong animated templates and export |
| Tightest budget, one banner | Canva free | Full size free export, no watermark, no card needed |
| Typography led banner | Adobe Express | Editorial fonts and clean text templates |
If your job is not in the table, use the rule behind it. Pick the tool whose strength matches the banner you are making, not the tool with the highest total score. A photographer who picks Canva for its score will miss Fotor photo editing. A team that picks Adobe Express for its polish will miss VistaCreate ten seat pricing. The best tumblr banner makers are the ones that fit the job in front of you, and the job changes with every blog.
Mistakes That Ruin a Tumblr Banner
The first mistake is the wrong size. A banner built at 1,200 by 628 pixels, a common social size, will stretch or crop badly on Tumblr, and no amount of careful text placement will save it. Set 3,000 by 1,055 pixels before you design anything. The second mistake is text at the edges. A title that runs to the left or right edge will be cut off on mobile, where the banner crops to the centre strip. Keep every important word inside the middle 60 percent of the width.
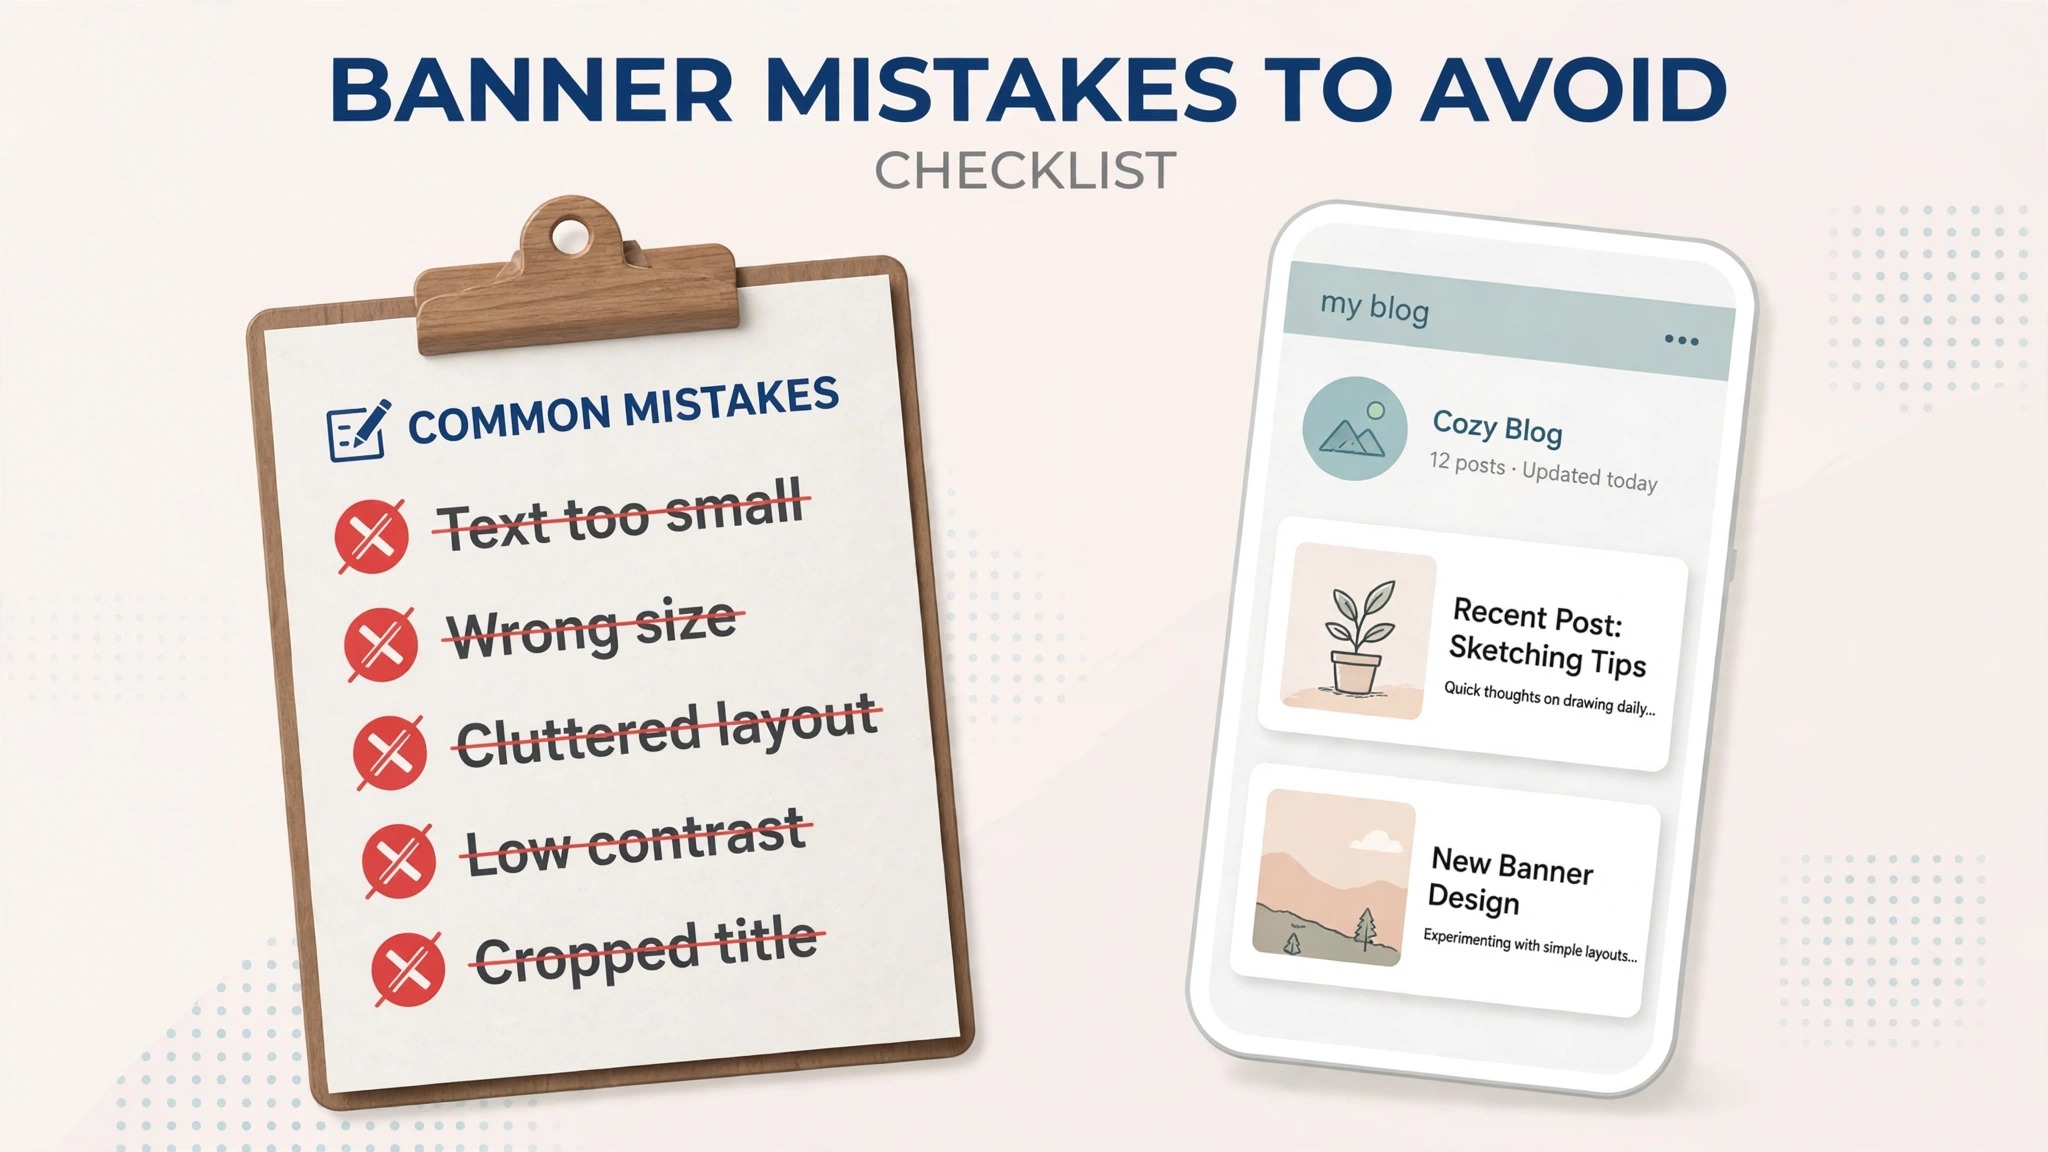
The third mistake is too much text. A banner is a header, not a poster, and a visitor reads it in two seconds. Eight words or fewer, one message, and nothing else. If the banner needs a paragraph to explain itself, the message is wrong, not the size.
The fourth mistake is a file that is too heavy. A photographic banner exported as a large PNG can pass 10 megabytes, and Tumblr will reject it or shrink it harshly. Export as JPEG for photo led banners, and check the file size before you upload. The fifth mistake is using a template unchanged. Thousands of bloggers start from the same templates, and an unchanged template looks like everyone else. Change the fonts, the colours and the photo, and the banner becomes yours.
Frequently Asked Questions
What size should a Tumblr banner be?
A Tumblr banner should be 3,000 by 1,055 pixels on desktop, and it crops to 640 by 360 pixels on mobile. Keep all important text, faces and logos inside the middle 60 percent of the width, since the mobile crop cuts the left and right edges. Set the custom size before you design anything, or use the Tumblr banner preset where your tool offers one.
Which Tumblr banner maker is best for beginners?
Canva is the best pick for a beginner. It offers Tumblr banner templates already sized at 3,000 by 1,055 pixels, the easiest drag and drop editor of the four tools, and full size exports with no watermark on the free plan. A beginner can publish a finished banner in about fifteen minutes without paying anything.
Can I make a Tumblr banner for free?
Yes. All four tools in this guide offer a free plan that can make and export a Tumblr banner. Canva and Adobe Express export at full size with no watermark on their free plans. VistaCreate free includes a brand kit with standard quality downloads. Fotor free covers the editor and a set of templates. Start free and pay only when you hit a specific limit.
Can I use an animated GIF as a Tumblr banner?
Yes. Tumblr supports animated GIF banners up to 10 megabytes. VistaCreate is the strongest pick for animated banners among the four tools, with animated templates and export built in. Keep the animation simple, since a busy looping banner distracts from the blog itself, and check the file size before you upload.
Why does my Tumblr banner look cropped on mobile?
Tumblr crops the banner to 640 by 360 pixels on mobile, showing the centre strip of the desktop image. Text, faces or logos near the left or right edges are cut off. Move everything important into the middle 60 percent of the width, keep clear space at the edges, and preview the banner on a phone before you save it.
Do I need the paid plan of a banner maker?
Usually not for a single banner. The free plans of Canva, Adobe Express, Fotor and VistaCreate all make and export a Tumblr banner. Paying earns its keep when you make banners weekly, need premium templates and stock, or work in a team. VistaCreate Pro at 10 dollars a month covers up to ten seats, which is the best team value in this guide.
What file format is best for a Tumblr banner?
Use PNG when the banner is mostly graphics, text or a logo, since PNG keeps edges crisp. Use JPEG when the banner is mostly a photograph, since JPEG keeps the file small at the same visual quality. Keep the file under 10 megabytes in every case, and under 2 megabytes when you can, so the blog loads fast.
Pick One Tool and Publish Today
A Tumblr banner is a fifteen minute job once the size is right and the text sits in the safe centre, and the four tools in this guide all get you there. Canva is the default pick for most bloggers, Adobe Express is the pick for a polished professional header, Fotor is the pick when the photo leads, and VistaCreate is the pick when the budget or the team decides. Choose the best tumblr banner makers for the banner you are making, set the canvas to 3,000 by 1,055 pixels, keep the title short and central, and publish it. The banner that is live today beats the perfect banner that is still in a draft folder next month.